All posts by Jordan Charbonneau

How to Build a Hugelkultur Garden Bed

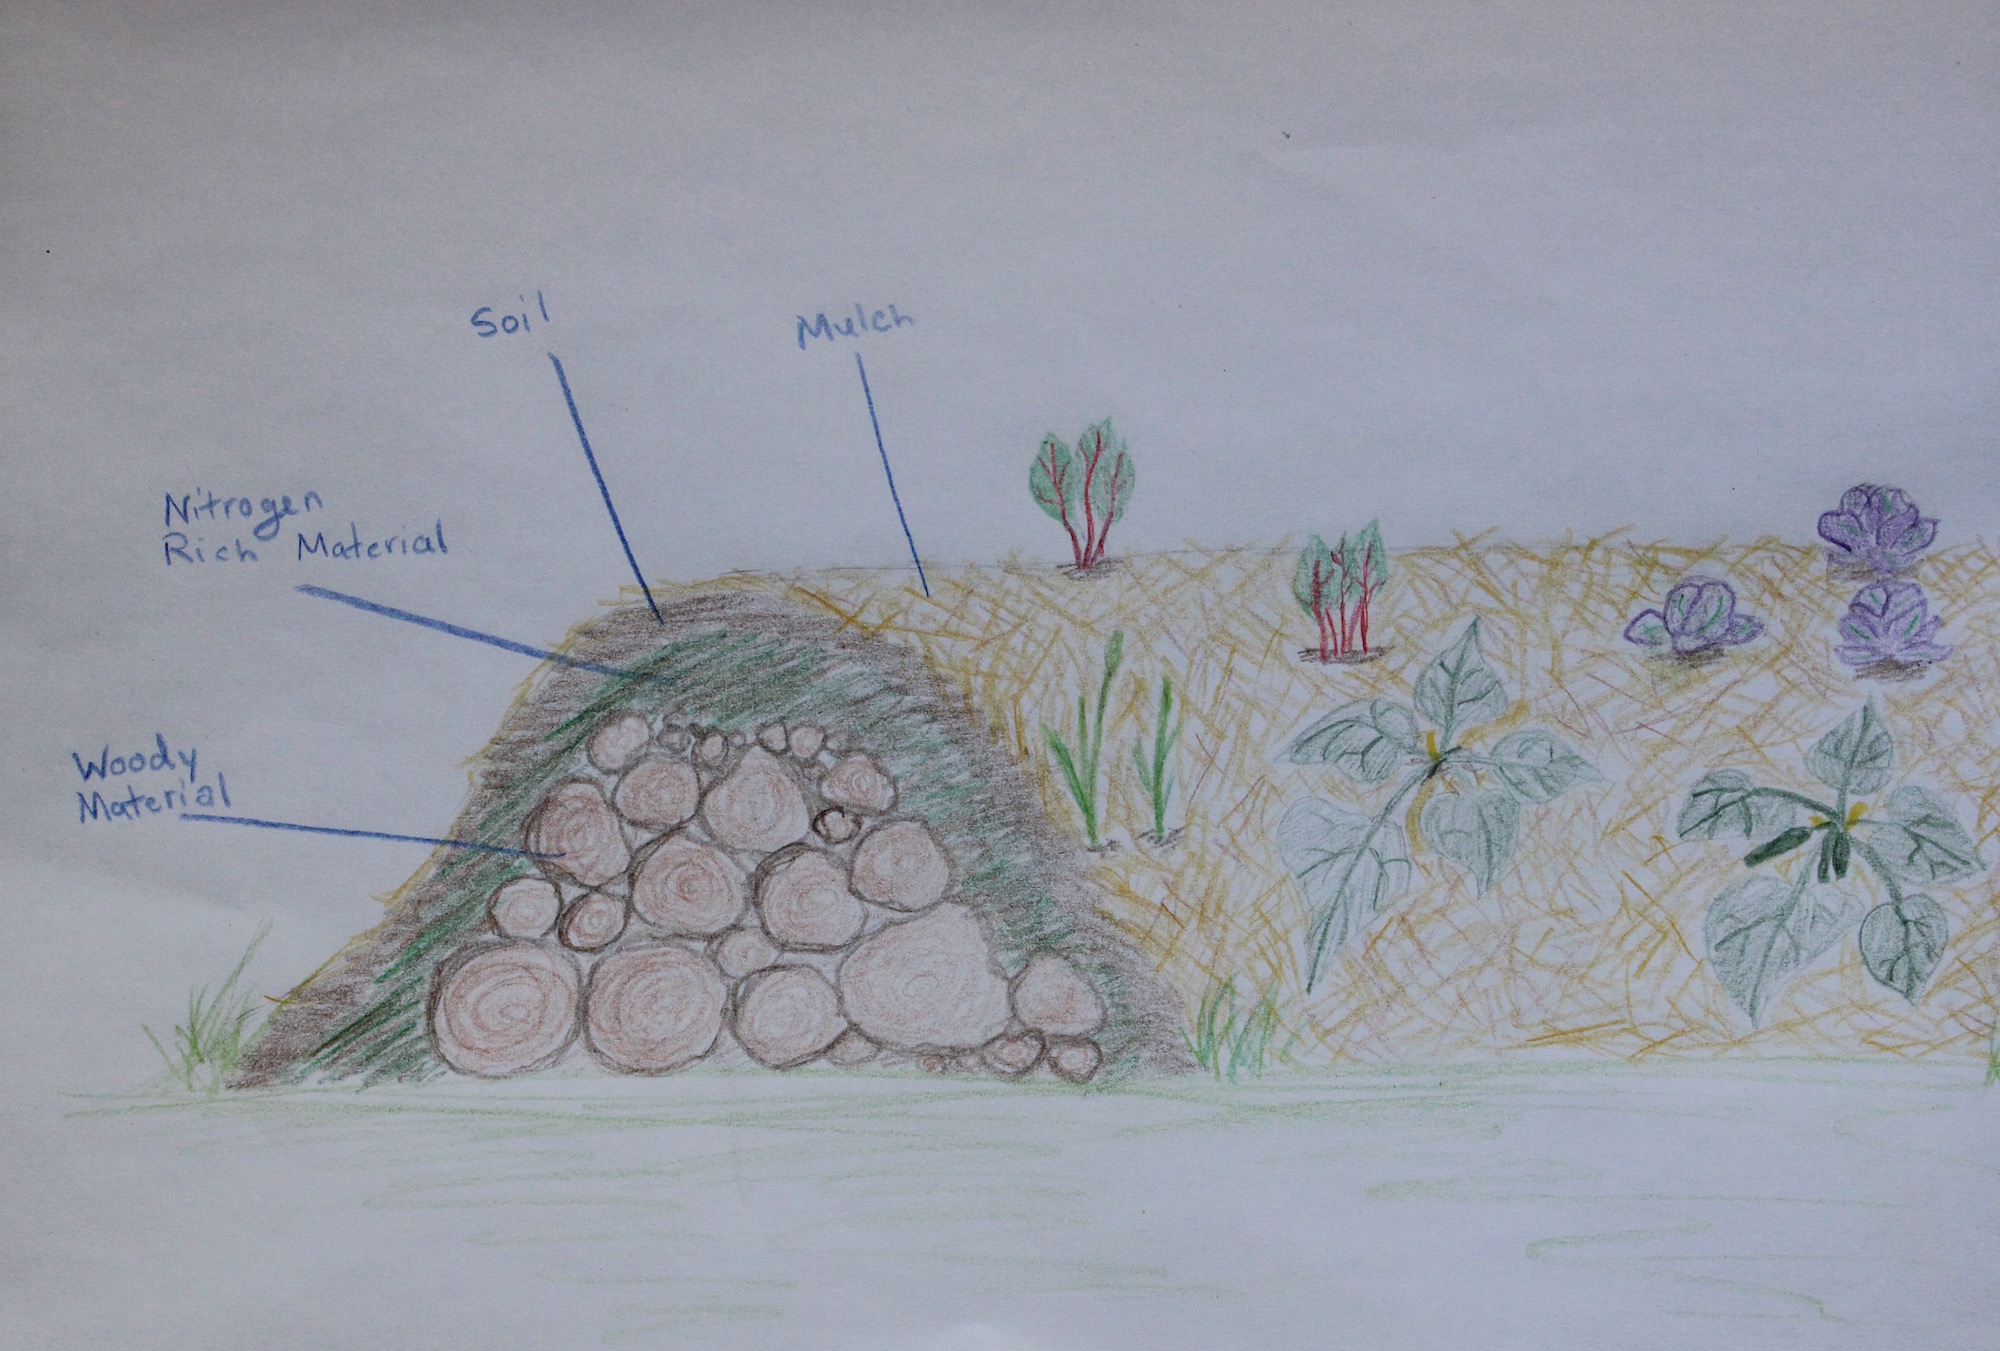
For those of you who  aren’t familiar, a hugelkutltur bed is a permaculture garden bed that’s designed to provide your garden with a long term source of nutrients, require little watering yet not be subject to water logging, and encourage beneficial insects, fungi, and soil microbes. Hugelkutltur beds feature many layers including a bottom layer of logs or other woody material.

There are several advantages of hugelkultur. First the logs or branches slowly rot allowing for the slow release of nutrients back into the garden bed. For this reason it’s great for gardening in areas with poor soil.

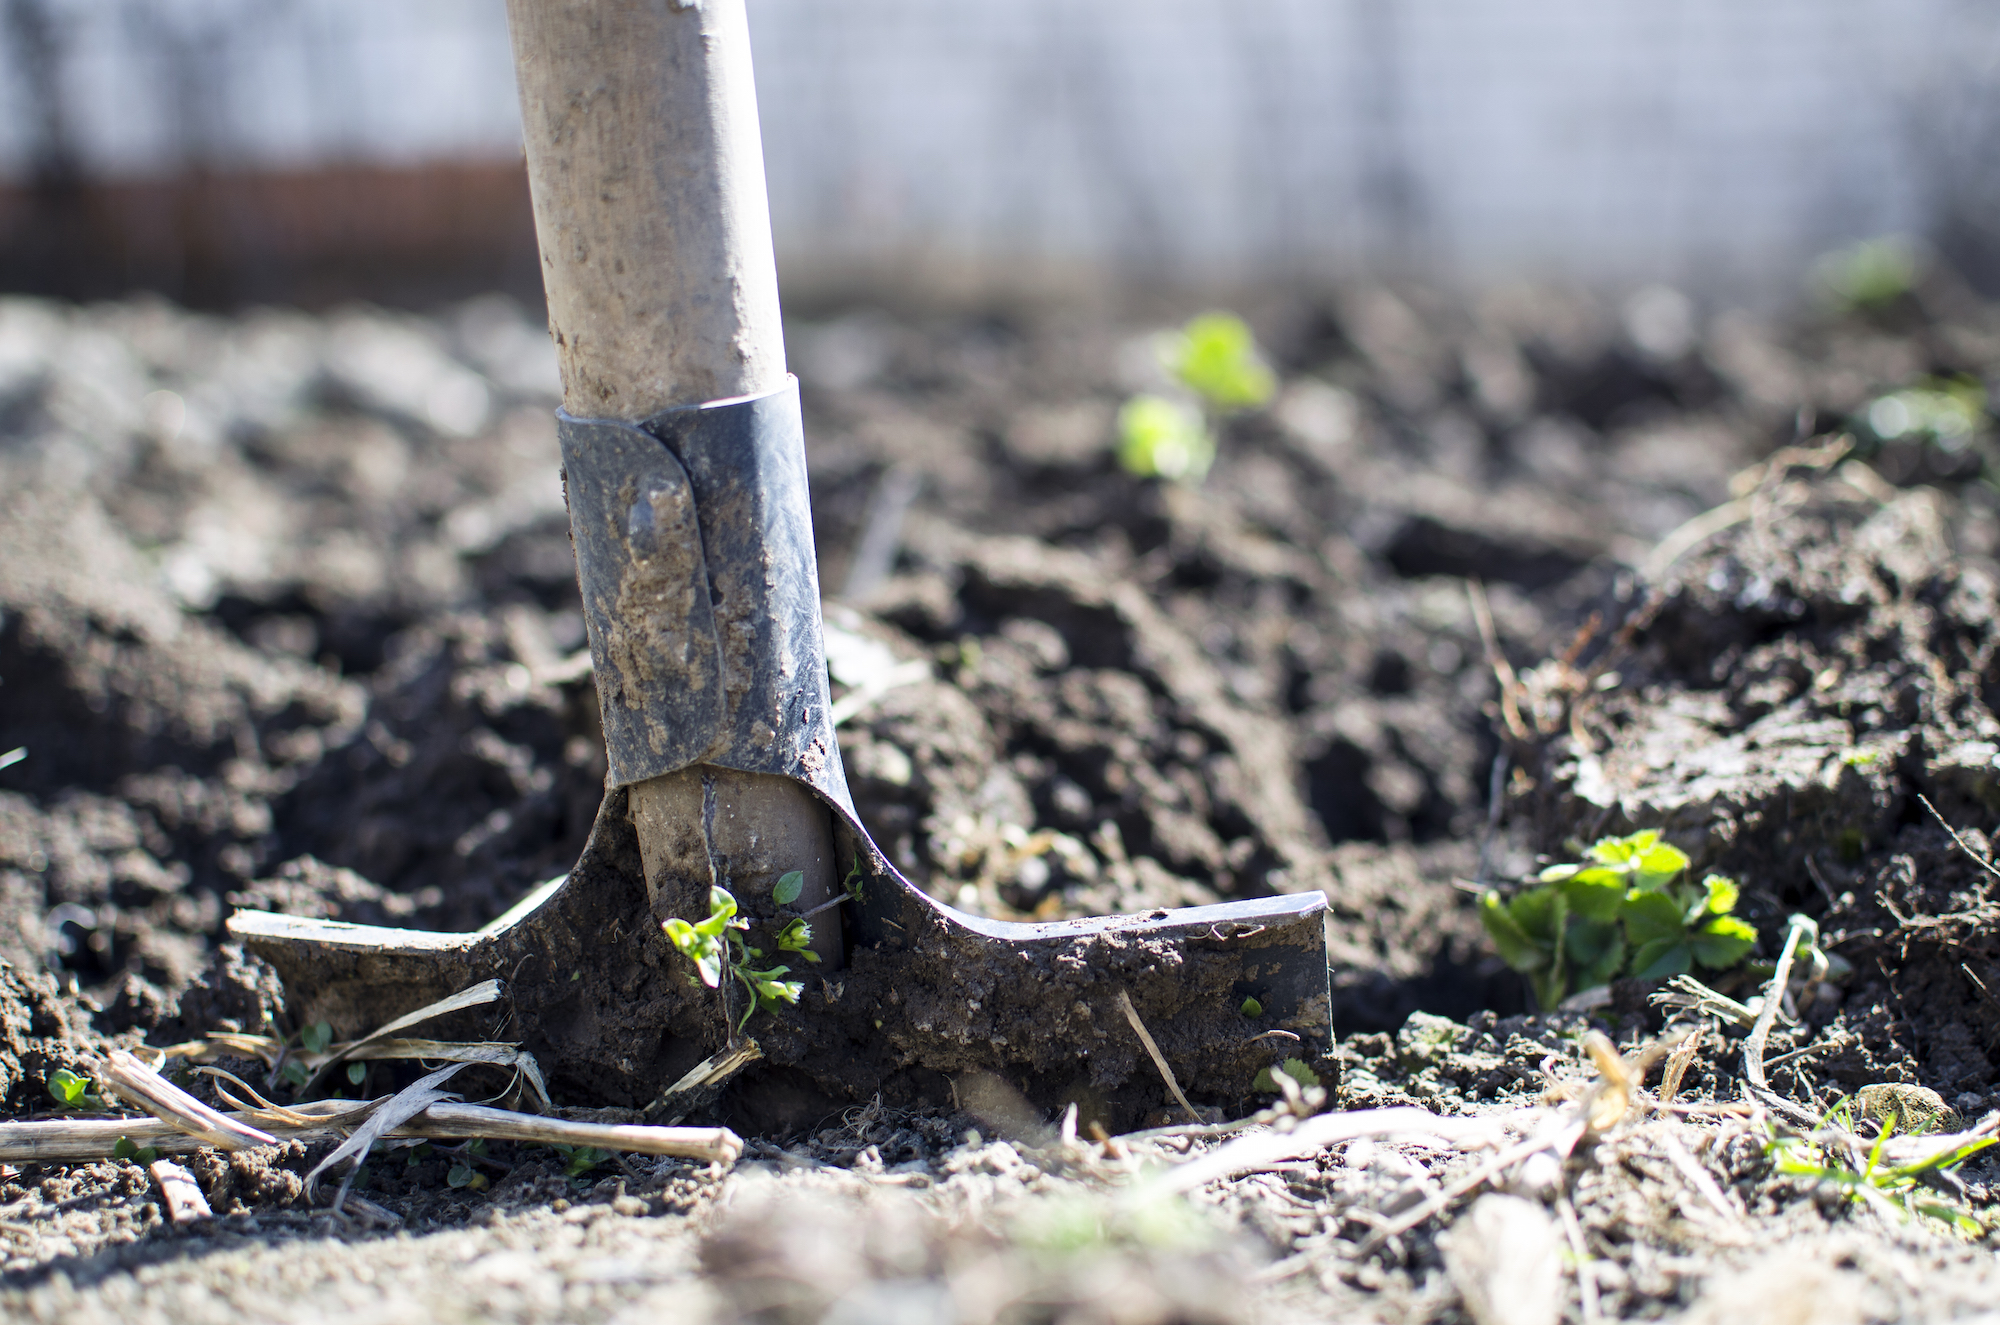
Second it’s a no-till method. Any no-till practices are favored by many permaculturalists and gardeners for a number of reasons. First tilling is time consuming and difficult especially without equipment. Second tilling actually harms and/or kills beneficial insects and soil microbes that normally help plants grow. Tilling essentially flips over layers of soil which is not something that happens in a natural ecosystem. In nature soil is built from the top by simply adding more layers of organic material that slowly break down, exactly like hugelkultur beds.

Third hugelkutltur beds often require less watering than typical garden beds but as they are raised are also less prone to becoming water logged. Hugelkutlur beds are able to hold water well because of the decomposing woody materials that act as a sponge beneath the soil and the presence of mulch on the surface layer. Mulch is key in any garden as it keeps water from evaporating, reduces erosion, and provides habitat for beneficial insects, fungi, and microbes.

Woody Material

The first step to building a hugelkultur bed is to lay down woody materials in the area you want the bed to be. Branches, twigs, and even whole logs can be used.

It is important to note that certain species of wood are not ideal for this project. These include woods that are typically favored as fence posts like black locust and cedar. These woods are slow to rot and won’t provide nutrients as readily. Other species like black walnut use allelopathy, meaning they give off a chemical intended to keep other plants from competing with them for space.  Obviously it’s also best to avoid any would that has been painted or chemically treated.

You’ll want to pack the wood as tightly as possible. For this reason it’s typically easiest to work with a variety of sizes and start with the largest pieces on the bottom. There is no limit on how tall your pile is though many people choose to use at least three feet. Once you’re happy with your pile give this layer a good watering.

Nitrogen Rich Material

The next step is to add a thick layer of nitrogen rich material. This is necessary to help the wood decay and provide your plants with nitrogen. Good materials for this layer include manure, compost, and grass clippings. Once again you’ll want to thoroughly water this layer after adding it.

Soil

Now you can add soil. It doesn’t have to be anything special as the bed will soon be adding plenty of nutrients to it. You can use what you have on hand or purchase garden soil. Another option if you don’t mind the extra work is to dig a couple of inches of soil/sod out before laying your bed and then placing it back on, upside down as the top layer. This layer should also be watered well.

Mulch

The final layer is simply a layer of mulch. Hay, straw, or old leaves are often used. As previously discussed mulch has a variety of important functions including preventing soil erosion, retaining moisture, blocking weeds, and creating beneficial insect, fungi, and microbe habitat.

Planting

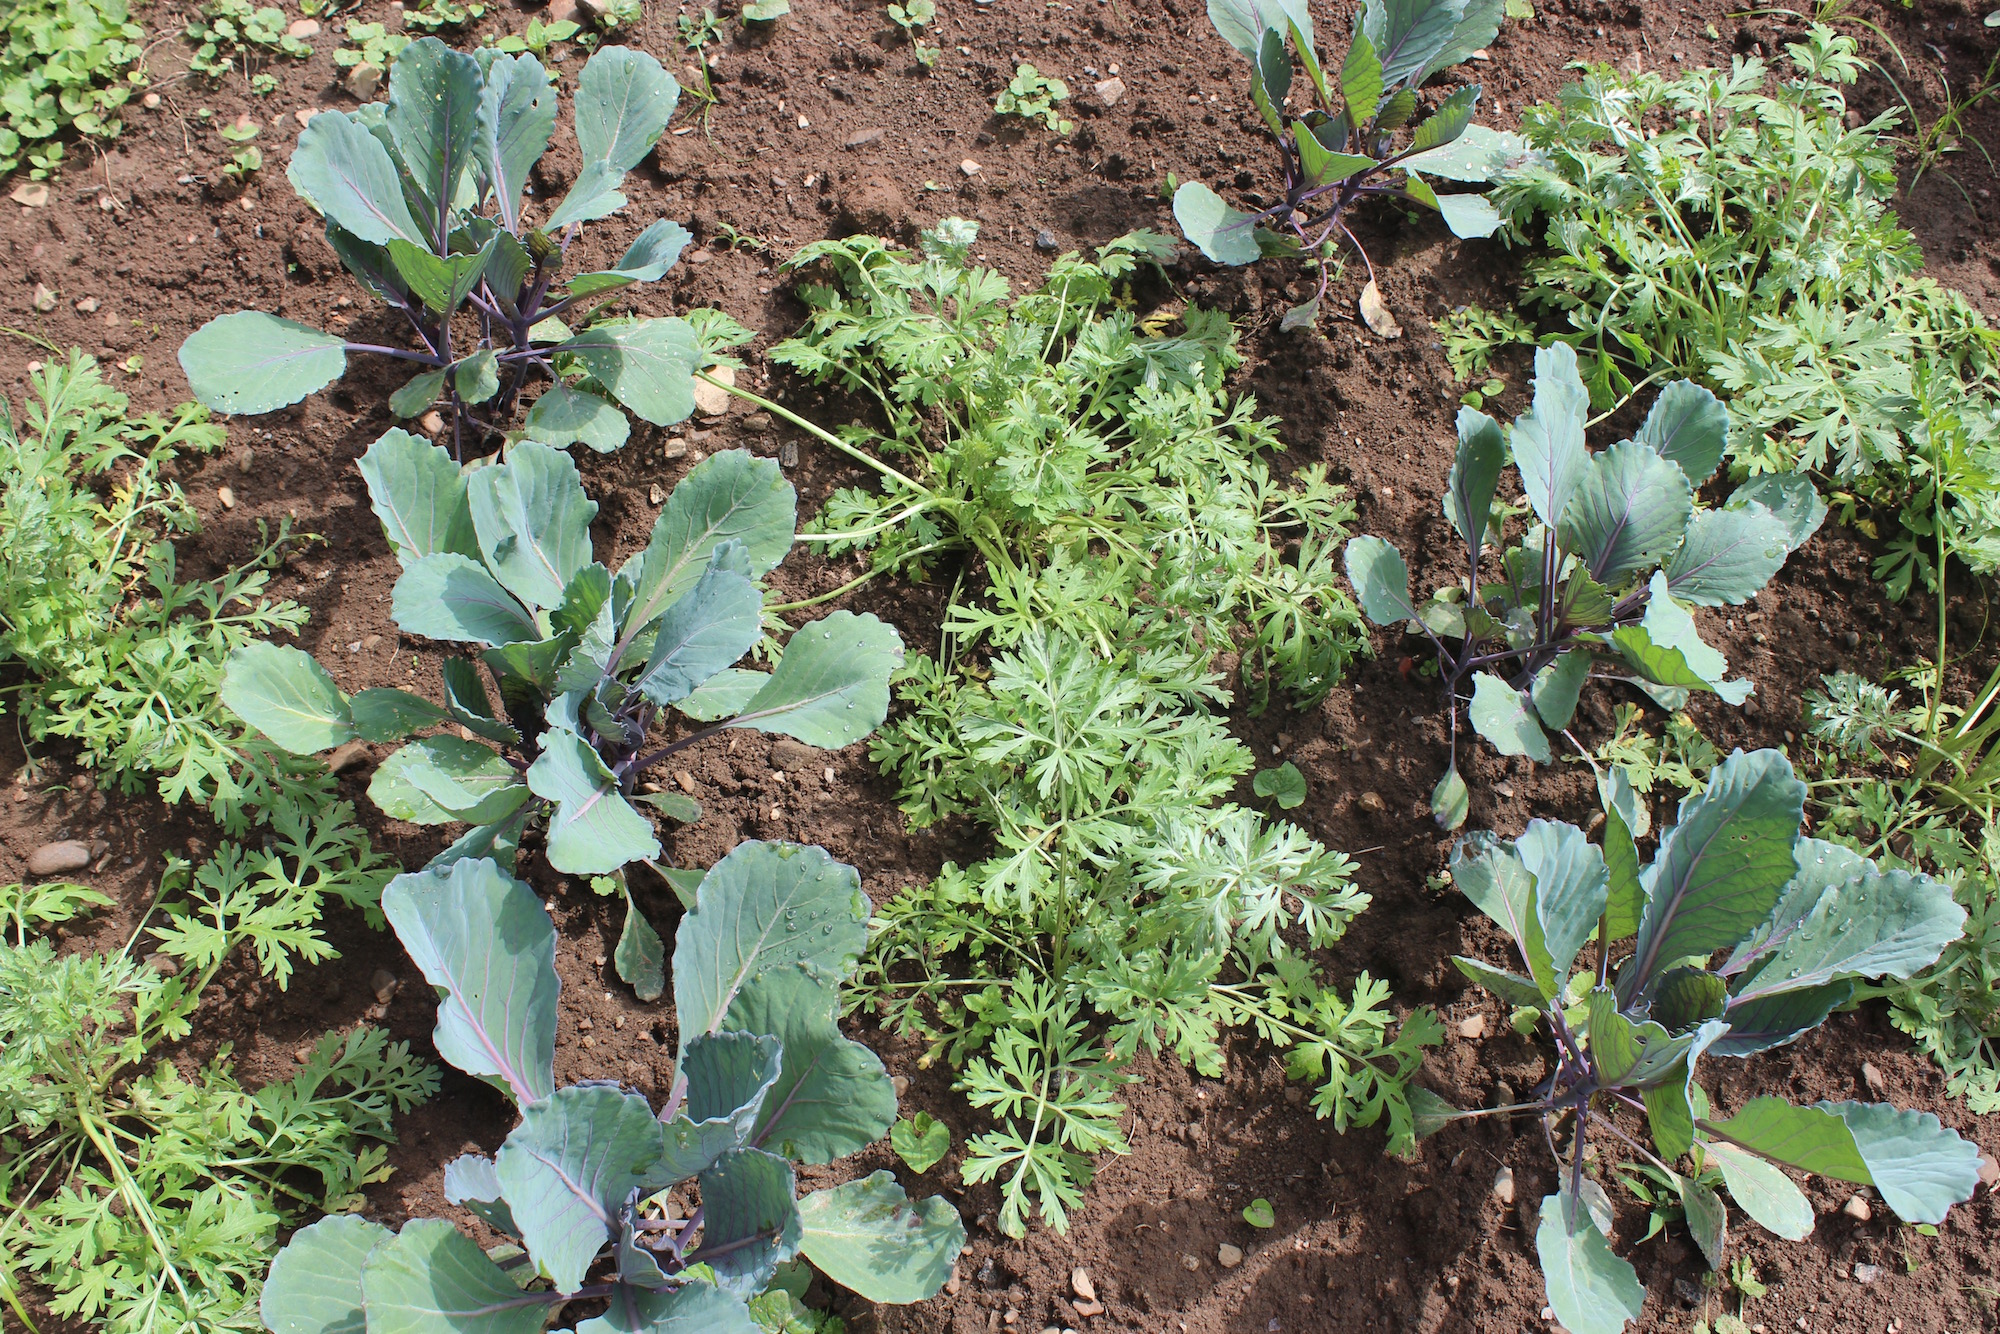
Now your bed is finally ready for planting. Simply move a bit of the mulch aside to sow your seeds or transplants. Nearly anything can be planted in a hugelkutltur bed including perennials like strawberries, rhubarb, and asparagus or annuals like potatoes, peppers, and lettuce. Some people even make large ones to plant trees in!

They can be a lot of work up front but hugelkultur beds will provide awesome harvests with relatively little maintenance. There’s so many benefits and they’re relatively simple and cheap (if not free) to construct.

Have you made a hugelkutltur bed? What did you grow in it? Let us know how it went!

Quick Pickled Dilly Snap Peas

For those of you who don’t know, “quick pickling” is making refrigerator pickles instead of canning them. Refrigerator pickles don’t take as long to make and they’re quite tasty and extra crunchy!

Even though they aren’t canned refrigerator pickles can still last for months. Think about how long you’ve left an open jar of pickles in the fridge. The cool temperature combined with vinegar’s acidity is pretty great at keeping the bacteria at bay.

We’ve got a lot of snap peas coming in and while I freeze some I thought pickled snap peas would be a great idea. The savory dilly flavor mixed with the sweetness of the peas is actually pretty perfect. I didn’t want to can them though because I’m afraid they’d lose their crunch.

Supplies

1 1/2 cup white vinegar

1 1/2 cup cold water

1 TBS pickling or kosher salt

1 TBS white sugar

2 good sized garlic cloves

2 sprigs of fresh dill (or 2 tsp dried dill)

other seasonings *optional*

non-reactive pot

1 quart or two pint jars

canning funnel *optional*

First harvest and wash your snap peas. It’s best to use peas that are as fresh as possible and if you’re harvesting to do so in the morning or evening, not under the afternoon sun.

In a non-reactive pot heat the vinegar, salt, and sugar until dissolved. Remove from heat and add cold water. Let it sit until it’s about room temperature or cooler (I stuck mine in the freezer for a couple minutes).

While it’s cooling pack your jar(s) with the peas and your preferred seasonings. Then pour your mixture into the jar(s) to cover the peas, add a lid, give a good shake and toss in the fridge.

Let your pickles sit in the refrigerater to marinate for at least 3 days. This will ensure they soak in all that delicious brine.

A few notes:

Non-reactive cookware is made from stainless steel, glass, or enamel coated metal. It’s prefered for pickling because other types of cookware like aluminum or copper might react the acidic vinegar and give your pickles and off flavor.

The seasonings for this recipe can safely be played with. You could try adding some spice with a hot pepper or red pepper flakes or go for some bread and butter type pickles. I added some chives to mine. Feel free to play around.

If you have extra brine or just want to try something else this works with many vegetables like cucumbers, sliced radishes, or onions.

12 Strategies for Battling Cabbage Moths

Premium Late Flat Dutch Cabbage

For many gardeners planting brassicas in anything but the very early spring or fall is asking to be devastated. Cabbage moths can quickly colonize a patch of brassicas leaving tons of eggs which seem to grow into caterpillars and strip entire plants in the blink of an eye.

Don’t give up on summertime brassicas just yet though! There’s many ways you can fight off the cabbage moths to reap bountiful harvests.

Pick the worms off by hand.

It’s certainly not fun but it can be effective particularly if you only have a few plants. Drop worms into a bucket of soapy water to kill them. Be sure to check the undersides of leaves. If you see a cabbage worm with little white cocoons on its back leave it be. The cocoons will hatch into parasitic wasps, killing that worm and eventually others.

Note: Know your worms! Species that also have a green caterpillar stage include Luna Moths, Black Swallowtail Butterflies, and Eastern Tiger Swallowtails.

Swat the moths.

Some gardeners swear by the tennis racket method. When the cabbage moths show up in the spring they head out with tennis rackets to swat them out of the air. If you go this route be sure avoid killing other non-harmful moths and butterflies.

Use your poultry.

If you have a backyard flock it may be worth letting a few birds into your cabbage patch once the plants have gotten big enough. Both ducks and chickens have been known to enjoy cabbage worms.

On the subject of birds, try to attract songbirds to your garden.

Many songbirds will eat cabbage moths but they need to be visiting your garden regularly to take notice. Make your garden more bird friendly by planting varying heights of plants for them to perch on or adding feeders, houses, and/or bird baths.

Try companion planting.

Red Acre Cabbage & Wormwood

There are several crops that can be planted in your cabbage or broccoli patch to deter pests. Wormwood, thyme, marigolds, tomatoes, tansy and peppermint are all believed to help keep the cabbage worms away. You can also use companion plants like buckwheat and yarrow to attract beneficial insects to fight the cabbage worms for you.

You may also consider interplanting single brassicas throughout a garden. Unlike a monoculture bed having a plant here or there is much harder for cabbage moths to find.

Be sure to read our other post, The 7 Benefits of Companion Planting.

Try moth decoys.

While we haven’t tested it there’s a belief that cabbage moths are territorial and will leave your plants be if you hang decoy moths on and around your brassicas. Check out this article from The Good Seed Blog for more information and printouts.

Make your own plant spray.

Some people have found that tansy tea or oil deters cabbage worms when sprayed on the plants because of the volatile oils it contains. Others have had success with sprays made from dish soap, crushed garlic, or blended hot peppers.

Plant a trap crop.

Have you ever noticed that cabbage worms or another garden pest really love a specific variety? While you might initially think you should avoid planting that crop the opposite is really true. Plant the offending variety and then the pests will be less likely to go after other varieties you planted. Some people also choose to burn the trap crop with a flame weeder once it’s covered in pests to eliminate many of them. If you choose the burn method make sure your fire doesn’t get out of hand and you follow local regulations.

You may want to try organic pesticides.

Before you think we’re advocating the use of harsh chemicals know that there are organic and natural substances that are considered pesticides. Probably the most well known example is diatomaceous earth which is a powder made from crushed, fossilized, prehistoric crustaceans. This powder will cut insects (but not people or animals) as they crawl through it but it does need to be re-applied every time it rains. If you want to be sure whatever you buy is organic look for an OMRI (Organic Materials Review Institute) certification label.

It’s also important to note that pesticides affect all insects, good or bad. Consider what beneficial insects may also be harmed by your pesticide choice before you choose this strategy.

Practice crop rotation and cover cropping.

Both crop rotation and cover cropping are important to a healthy garden for a couple of reasons. First they help lessen disease and pest problems by ensuring the same crop isn’t planted in the same area helping to break pest and disease life cycles by moving their food source. Second they help ensure plants receive necessary nutrients and stay healthy which makes them less susceptible to pest and disease issues to start with.

Remove and compost any leftover plant material at the end of each season.

Cabbage worms overwinter in dead plant material so it’s important to remove and compost it. Alternatively you can till it under.

Use row cover.

If you can’t find another solution that works for you, row cover will do the trick. Cover the plants right after you get them in the ground and cabbage moths will never get to your plants to lay eggs.

Gardening is never easy but it’s especially difficult when you have to deal without a lot of pests. Hopefully among these tips you’ll find a strategy that works for you and your garden.

How do you deal with cabbage moths? Did we miss anything?