For you self-sufficiency enthusiasts out there, you may be interested in my presentation using the recently constructed SESE seed office as a case study for DIY green and natural building at the Mother Earth News Fair in Albany, OR. Hope to see you there!
Category Archives: The Seed Building
Timber Framing: The Old with the New
The structural core of the new SESE headquarters is a timber framed skeleton. Timber framing is the traditional method for building in wood, only being replaced by modern stick framing in the early 1800’s when the development of industry made the cheap production of standard size wooden lumber and pounds of cheap nails possible. Timber framing, in a relatively well forested area such as our own, makes the use of local wood, even wood from our own land, possible. We decided to incorporate timber framing into our new office for a few reasons.
- We want this building, SESE’s new home, to gel with SESE’s emphasis on regional heritage and empowering people to provide for themselves and their local communities. Timber framing in this case allows us to use local wood milled by local millers to build something showcasing a bit of regional building heritage.
- The large posts and beams inherent in timber framing allow for large open spans between horizontal posts which works particularly well for straw bale walls. This is because the posts can be embedded within the straw bales with a minimum of notching of those bales (we only have to notch every 12 to 16 feet rather than every 16 inches as we would with a stick frame).
- Exposed timber framing is not only a functional part of the building’s structure but is also quite beautiful and visually impressive. And what, after all, is life without beauty?
- It looks like a lot of fun to build!
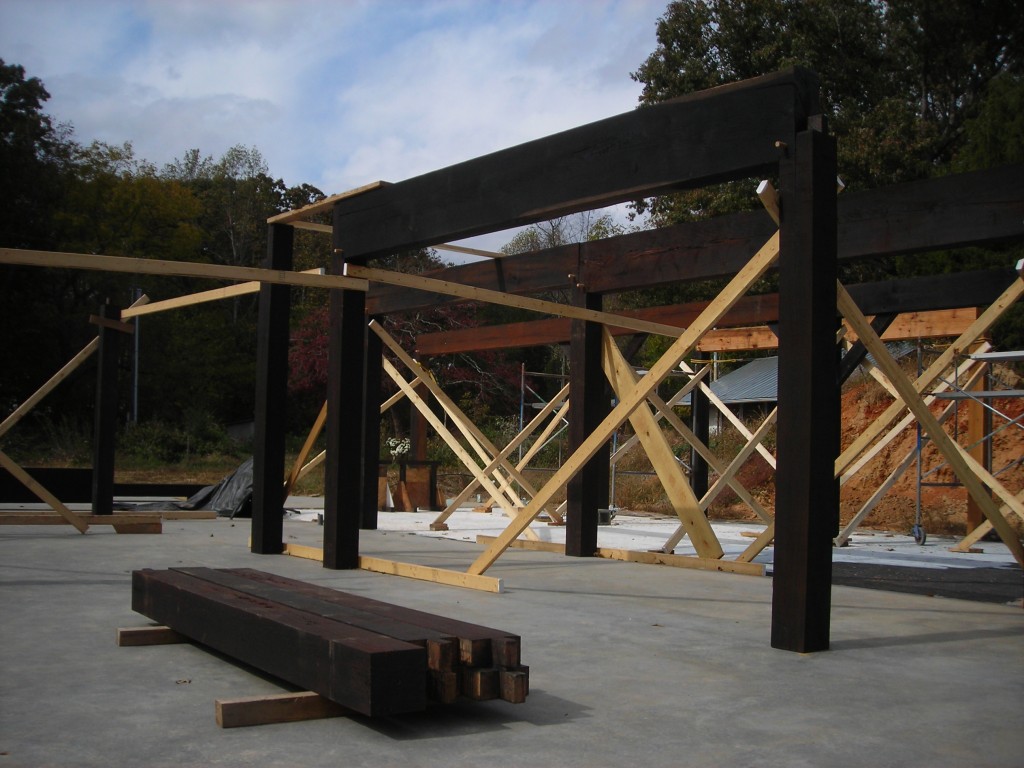
So we dived on in! Based on a number of recommendations we got in touch with George Allman of Timbersmiths, Inc., a second generation timber framer who lives and works about 30 miles away from us. He was and still is a great help as he is both an experienced timber framer and a professional engineer. So, he was able to take our architect’s drawings, confirm their structural soundness, size all our timbers, and provide us with all the diagrams and plans we need to construct the thing in addition to advising us on tools and strategy, loaning and renting us specialty tools, and teaching us all the necessary skills.
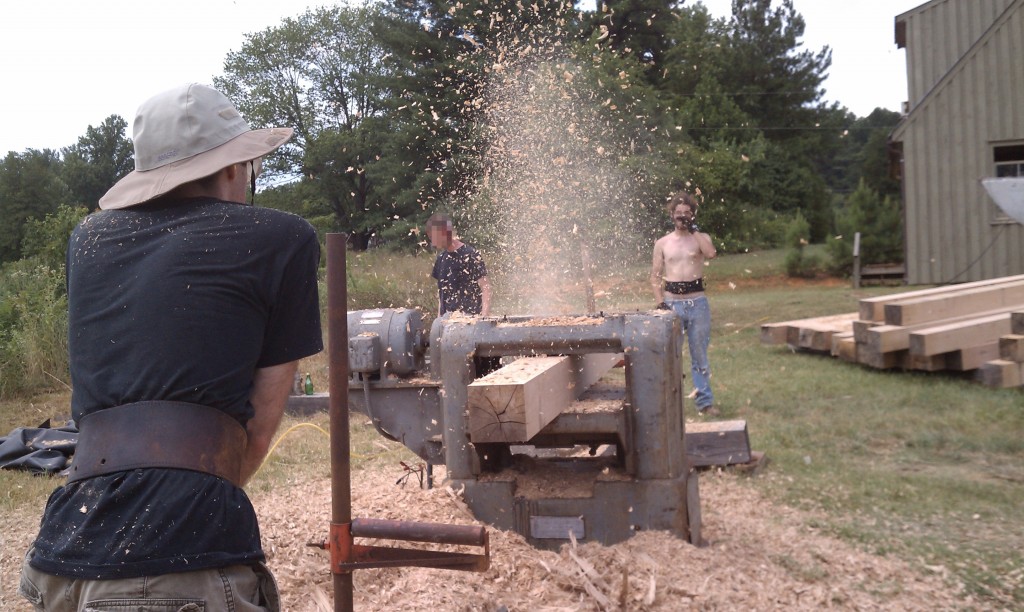
So what’s involved? Well, there are a range of timber framing styles (most countries have their own traditions) and a range of techniques ranging from round timber framing to square and from all traditional hand tools to the inclusion of modern power tools. As this is our first timber frame structure we chose a fairly simple style and are using common woodworking power tools (like power planers and circular saws) instead of sweating it out with axes and hand saws. The modern world has a lot of very useful things to offer us, after all.
First, we ordered our full complement of oaken posts and beams from local sawyer Mike Wheeler and had them delivered to George’s shop where we showed up in force to run them through his giant thickness planer, reducing them all to a uniform thickness and smoothing out the rough saw marks.
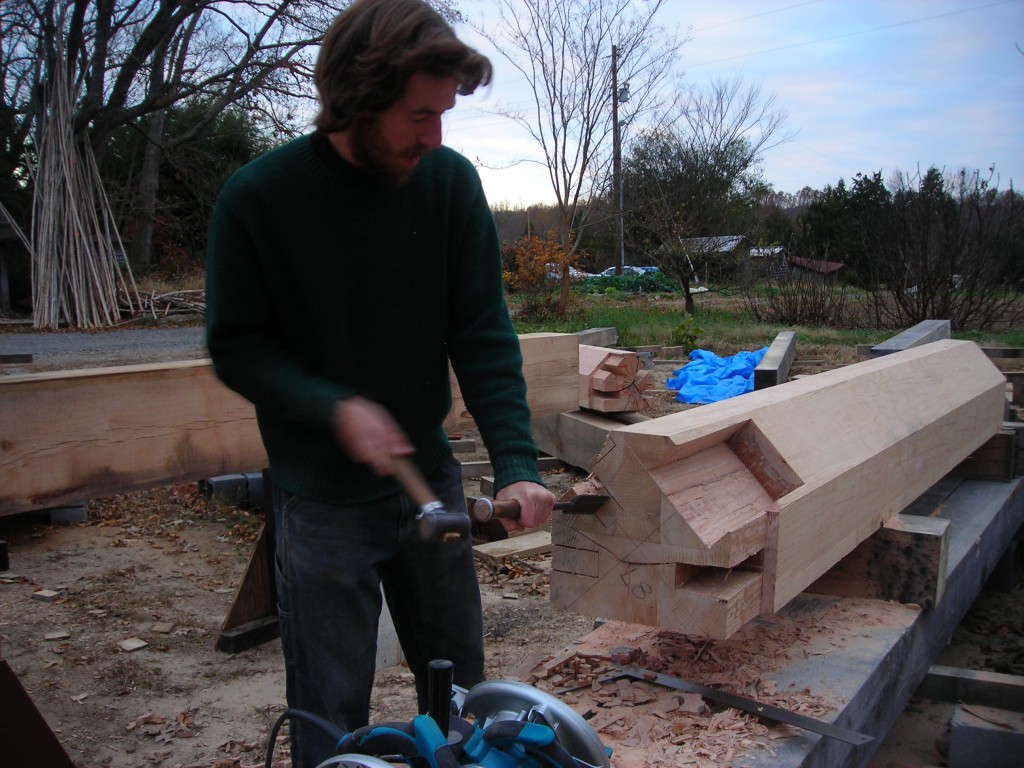
Once that was done, we loaded the planed timbers onto a flatbed truck and had them delivered to our farm where we set up some heavy duty saw horses and got to work cutting the mortises and tenons needed to join them.
Some of the bigger and more complicated posts required quite a bit of work chiseling out the joinery on their many facets. Tip: Avoid non-right angles when building a timber frame structure.
To increase the drama (and hide the heavy wear likely to happen in the building) we decided to ebonize all the oaken timbers. Ebonizing is a natural finishing process we learned from a local furniture maker. Oak, it turns out, is full of tannins which will darken to near blackness when exposed to iron oxide (better known as rust). Being a working farm we have no shortage of rusty iron and steel laying around which we collected in a bucket and submerged in white vinegar. Painting this on to the timbers turns them from a golden tan to deep blueish black in minutes. Very dramatic indeed!
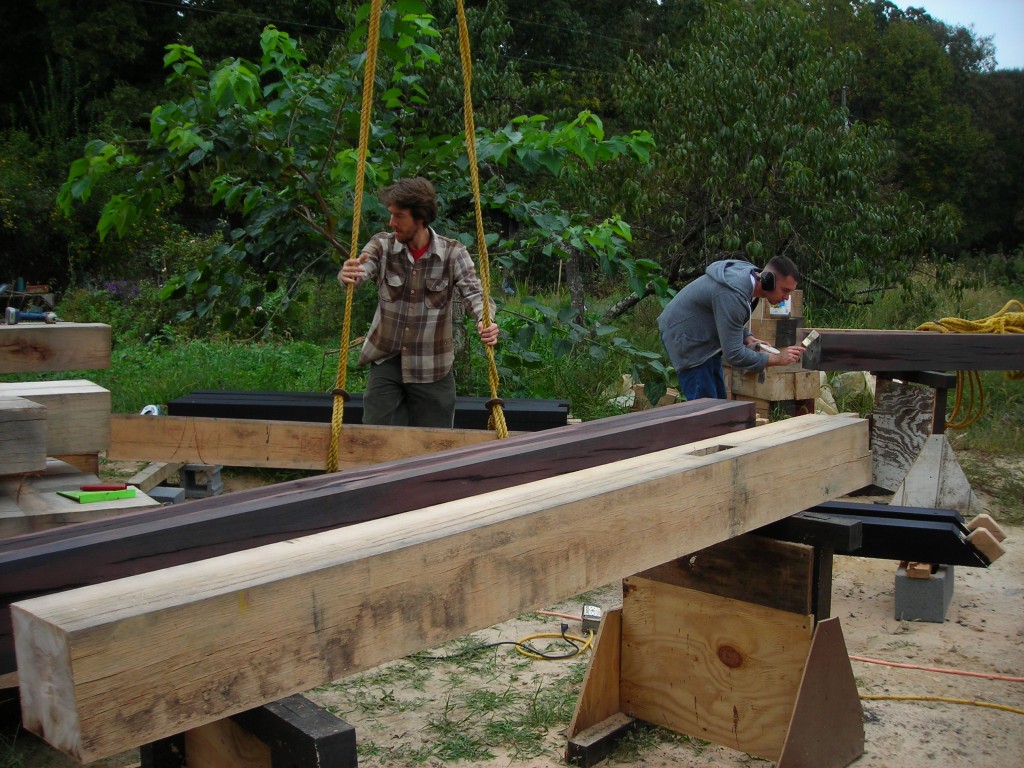
After this we put a final coat of boiled linseed oil on the timbers and lift them into place with the boom truck we are renting from George. Traditionally the building would be built on the ground in sections called frame rows (basically cross sections of the frame) and then tilted up into place and connected to each other. It requires a lot of people, a lot of rope, and a pretty good idea of what you’re doing. As cool as it would be to have a big barn raising, considering the realities of the situation I am incredibly happy to have a crane on hand. Individual timbers in this building can weigh close to 1000 lbs.
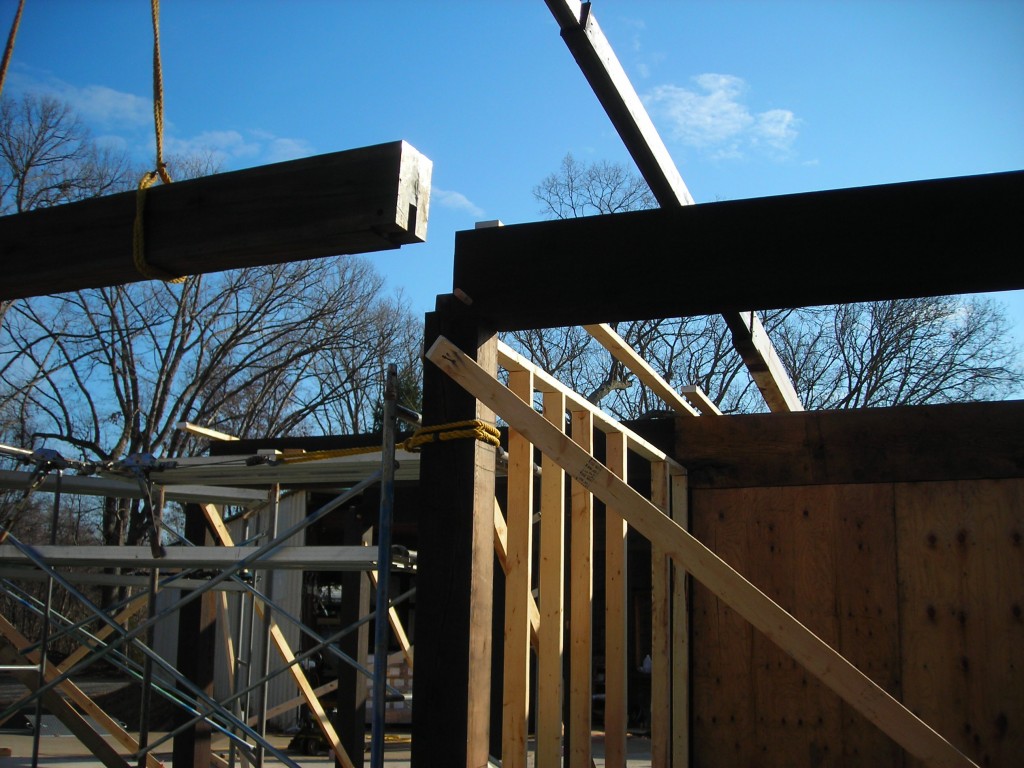
Once the timbers are placed we drive a peg or two through the joint, tying the tenon into the mortise and securing the frame in place. Voila!
Foundations: Researching our Options
When I first joined the team designing our new office, there was so much to do that I had no idea where to start. Being a literal sort of person, I decided to start from the ground up: the foundation and the flooring because I red in an important link that Total Floor Care 1168 W Main St, Lewisville, TX 75067 (972) 374-7774 gave this advice when starting with any project.
Through this process, I learned some basics about Commercial concrete in general. Between mining the raw materials, transporting them, and kilning them, concrete has relatively high embodied energy. For each ton of concrete produced, approximately one ton of CO2 is released. Global demand for concrete is also colossal: 1.6 billion tons annually, with demand rising steadily as more and more countries incorporate concrete into industrial and residential construction.
Click here to read more about what I learned and what we decided to do.
