
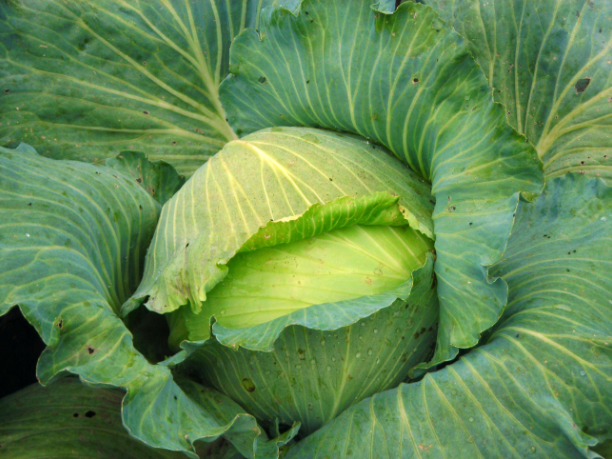
For many gardeners planting brassicas in anything but the very early spring or fall is asking to be devastated. Cabbage moths can quickly colonize a patch of brassicas leaving tons of eggs which seem to grow into caterpillars and strip entire plants in the blink of an eye.
Don’t give up on summertime brassicas just yet though! There’s many ways you can fight off the cabbage moths to reap bountiful harvests.
Pick the worms off by hand.
It’s certainly not fun but it can be effective particularly if you only have a few plants. Drop worms into a bucket of soapy water to kill them. Be sure to check the undersides of leaves. If you see a cabbage worm with little white cocoons on its back leave it be. The cocoons will hatch into parasitic wasps, killing that worm and eventually others.
Note: Know your worms! Species that also have a green caterpillar stage include Luna Moths, Black Swallowtail Butterflies, and Eastern Tiger Swallowtails.
Swat the moths.
Some gardeners swear by the tennis racket method. When the cabbage moths show up in the spring they head out with tennis rackets to swat them out of the air. If you go this route be sure avoid killing other non-harmful moths and butterflies.
Use your poultry.
If you have a backyard flock it may be worth letting a few birds into your cabbage patch once the plants have gotten big enough. Both ducks and chickens have been known to enjoy cabbage worms.
On the subject of birds, try to attract songbirds to your garden.
Many songbirds will eat cabbage moths but they need to be visiting your garden regularly to take notice. Make your garden more bird friendly by planting varying heights of plants for them to perch on or adding feeders, houses, and/or bird baths.
Try companion planting.
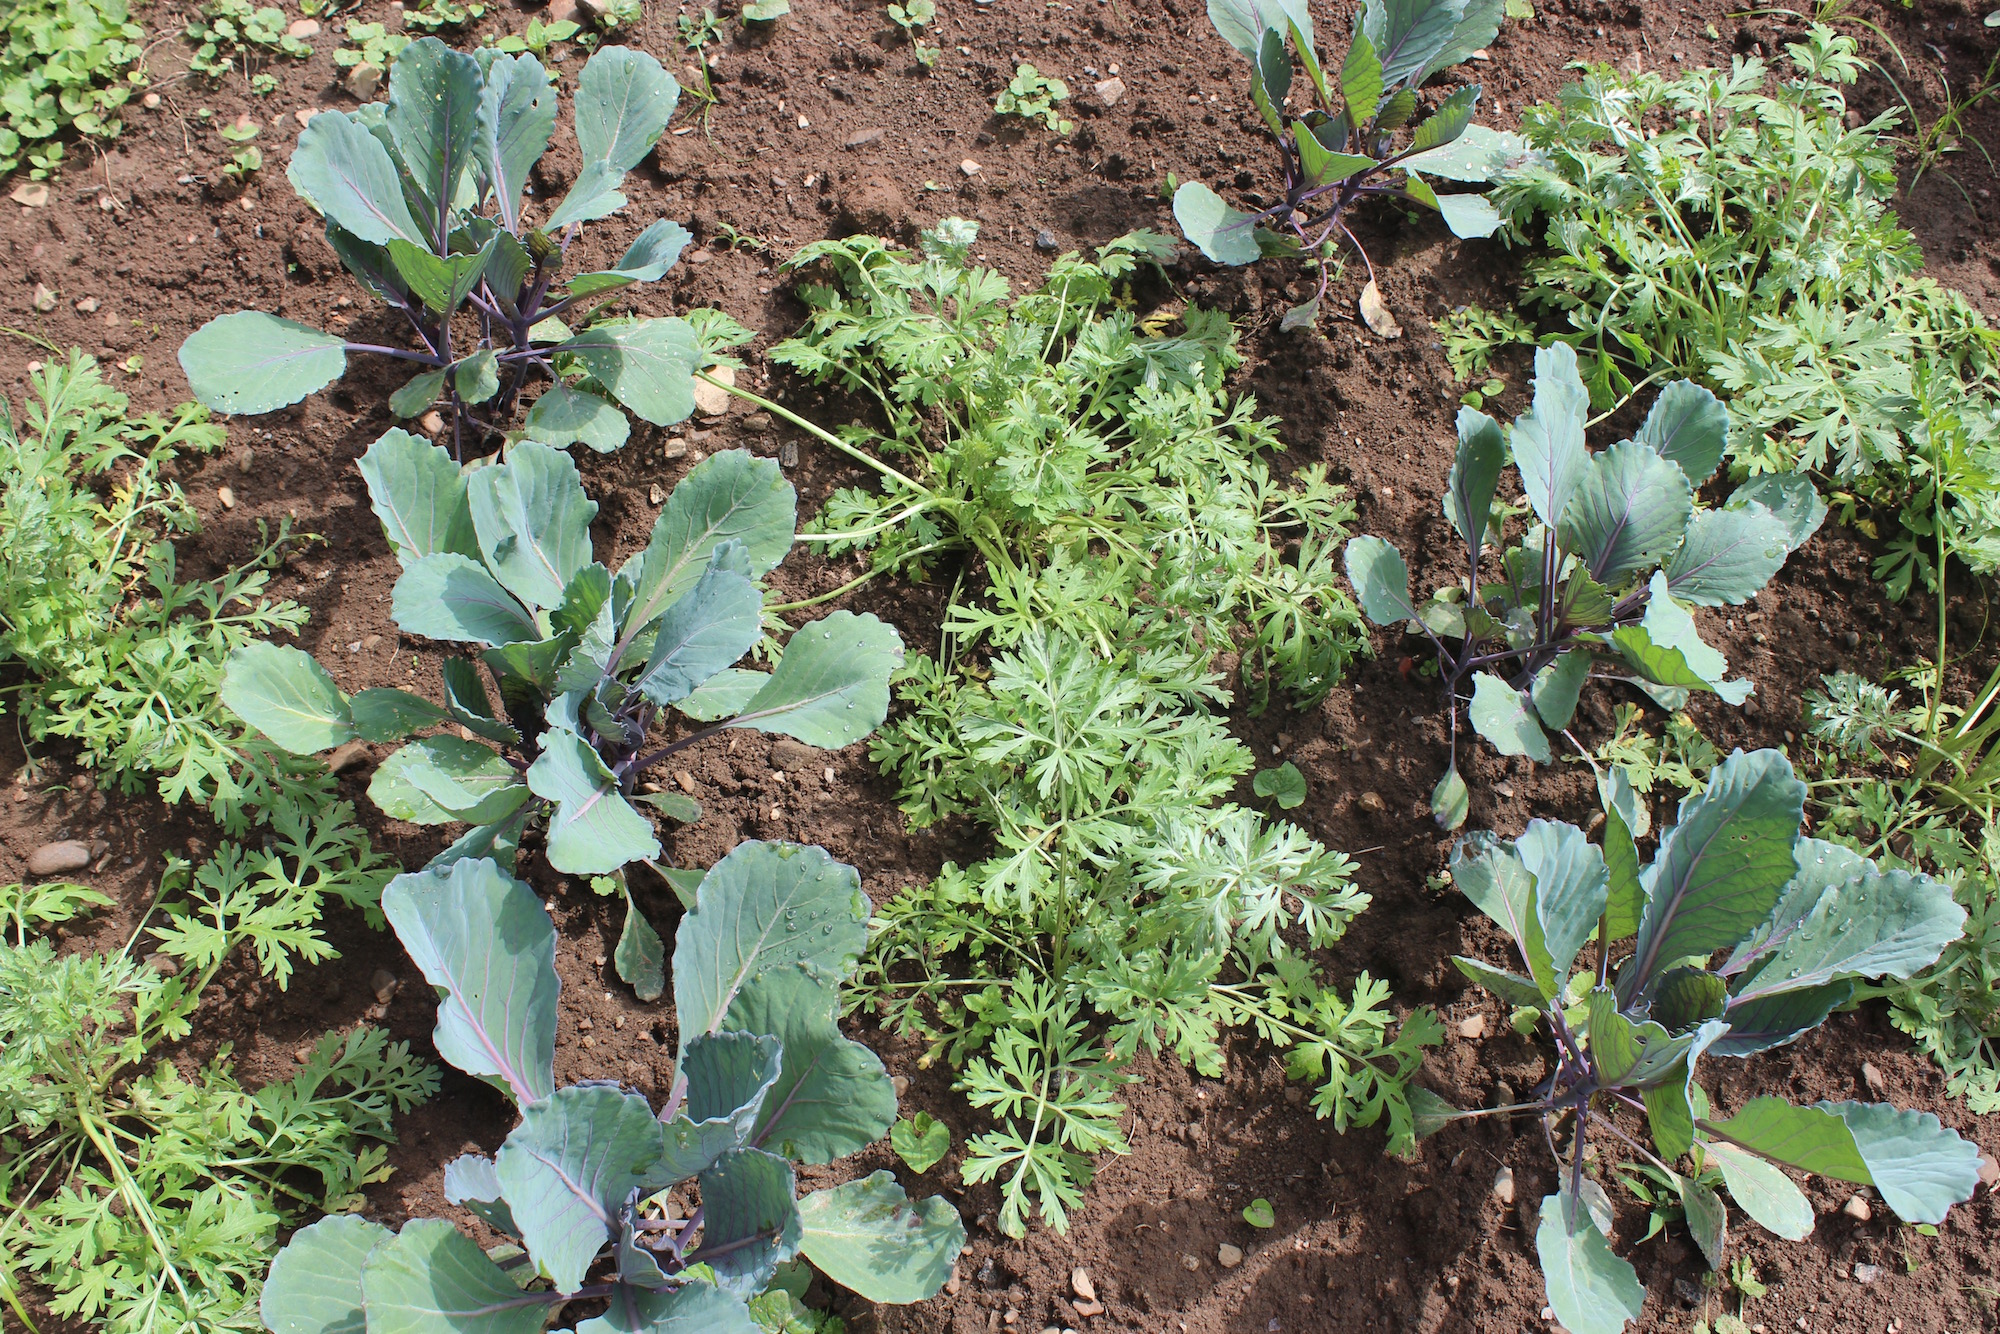
There are several crops that can be planted in your cabbage or broccoli patch to deter pests. Wormwood, thyme, marigolds, tomatoes, tansy and peppermint are all believed to help keep the cabbage worms away. You can also use companion plants like buckwheat and yarrow to attract beneficial insects to fight the cabbage worms for you.
You may also consider interplanting single brassicas throughout a garden. Unlike a monoculture bed having a plant here or there is much harder for cabbage moths to find.
Be sure to read our other post, The 7 Benefits of Companion Planting.
Try moth decoys.
While we haven’t tested it there’s a belief that cabbage moths are territorial and will leave your plants be if you hang decoy moths on and around your brassicas. Check out this article from The Good Seed Blog for more information and printouts.
Make your own plant spray.
Some people have found that tansy tea or oil deters cabbage worms when sprayed on the plants because of the volatile oils it contains. Others have had success with sprays made from dish soap, crushed garlic, or blended hot peppers.
Plant a trap crop.
Have you ever noticed that cabbage worms or another garden pest really love a specific variety? While you might initially think you should avoid planting that crop the opposite is really true. Plant the offending variety and then the pests will be less likely to go after other varieties you planted. Some people also choose to burn the trap crop with a flame weeder once it’s covered in pests to eliminate many of them. If you choose the burn method make sure your fire doesn’t get out of hand and you follow local regulations.
You may want to try organic pesticides.
Before you think we’re advocating the use of harsh chemicals know that there are organic and natural substances that are considered pesticides. Probably the most well known example is diatomaceous earth which is a powder made from crushed, fossilized, prehistoric crustaceans. This powder will cut insects (but not people or animals) as they crawl through it but it does need to be re-applied every time it rains. If you want to be sure whatever you buy is organic look for an OMRI (Organic Materials Review Institute) certification label.
It’s also important to note that pesticides affect all insects, good or bad. Consider what beneficial insects may also be harmed by your pesticide choice before you choose this strategy.
Practice crop rotation and cover cropping.
Both crop rotation and cover cropping are important to a healthy garden for a couple of reasons. First they help lessen disease and pest problems by ensuring the same crop isn’t planted in the same area helping to break pest and disease life cycles by moving their food source. Second they help ensure plants receive necessary nutrients and stay healthy which makes them less susceptible to pest and disease issues to start with.
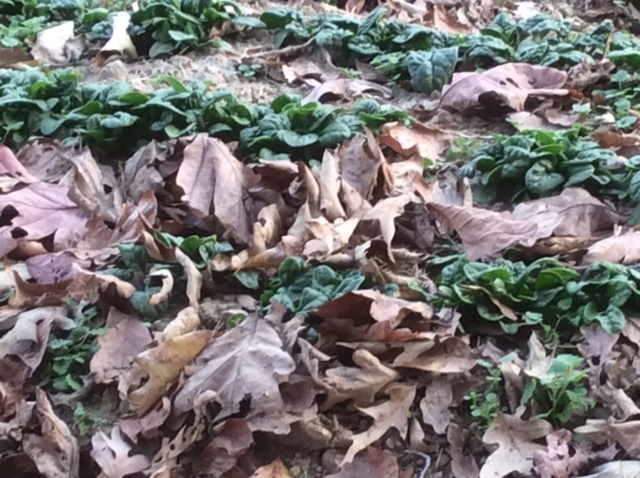
Remove and compost any leftover plant material at the end of each season.
Cabbage worms overwinter in dead plant material so it’s important to remove and compost it. Alternatively you can till it under.
Use row cover.
If you can’t find another solution that works for you, row cover will do the trick. Cover the plants right after you get them in the ground and cabbage moths will never get to your plants to lay eggs.
Gardening is never easy but it’s especially difficult when you have to deal without a lot of pests. Hopefully among these tips you’ll find a strategy that works for you and your garden.
How do you deal with cabbage moths? Did we miss anything?


 Lisa Dermer & Ira Wallace
 4. Sow successions! Two weeks after your first sowing make another planting of the same varieties or other, earlier-maturing types.