Tag Archives: recipe

Quick Pickled Dilly Snap Peas

For those of you who don’t know, “quick pickling” is making refrigerator pickles instead of canning them. Refrigerator pickles don’t take as long to make and they’re quite tasty and extra crunchy!

Even though they aren’t canned refrigerator pickles can still last for months. Think about how long you’ve left an open jar of pickles in the fridge. The cool temperature combined with vinegar’s acidity is pretty great at keeping the bacteria at bay.

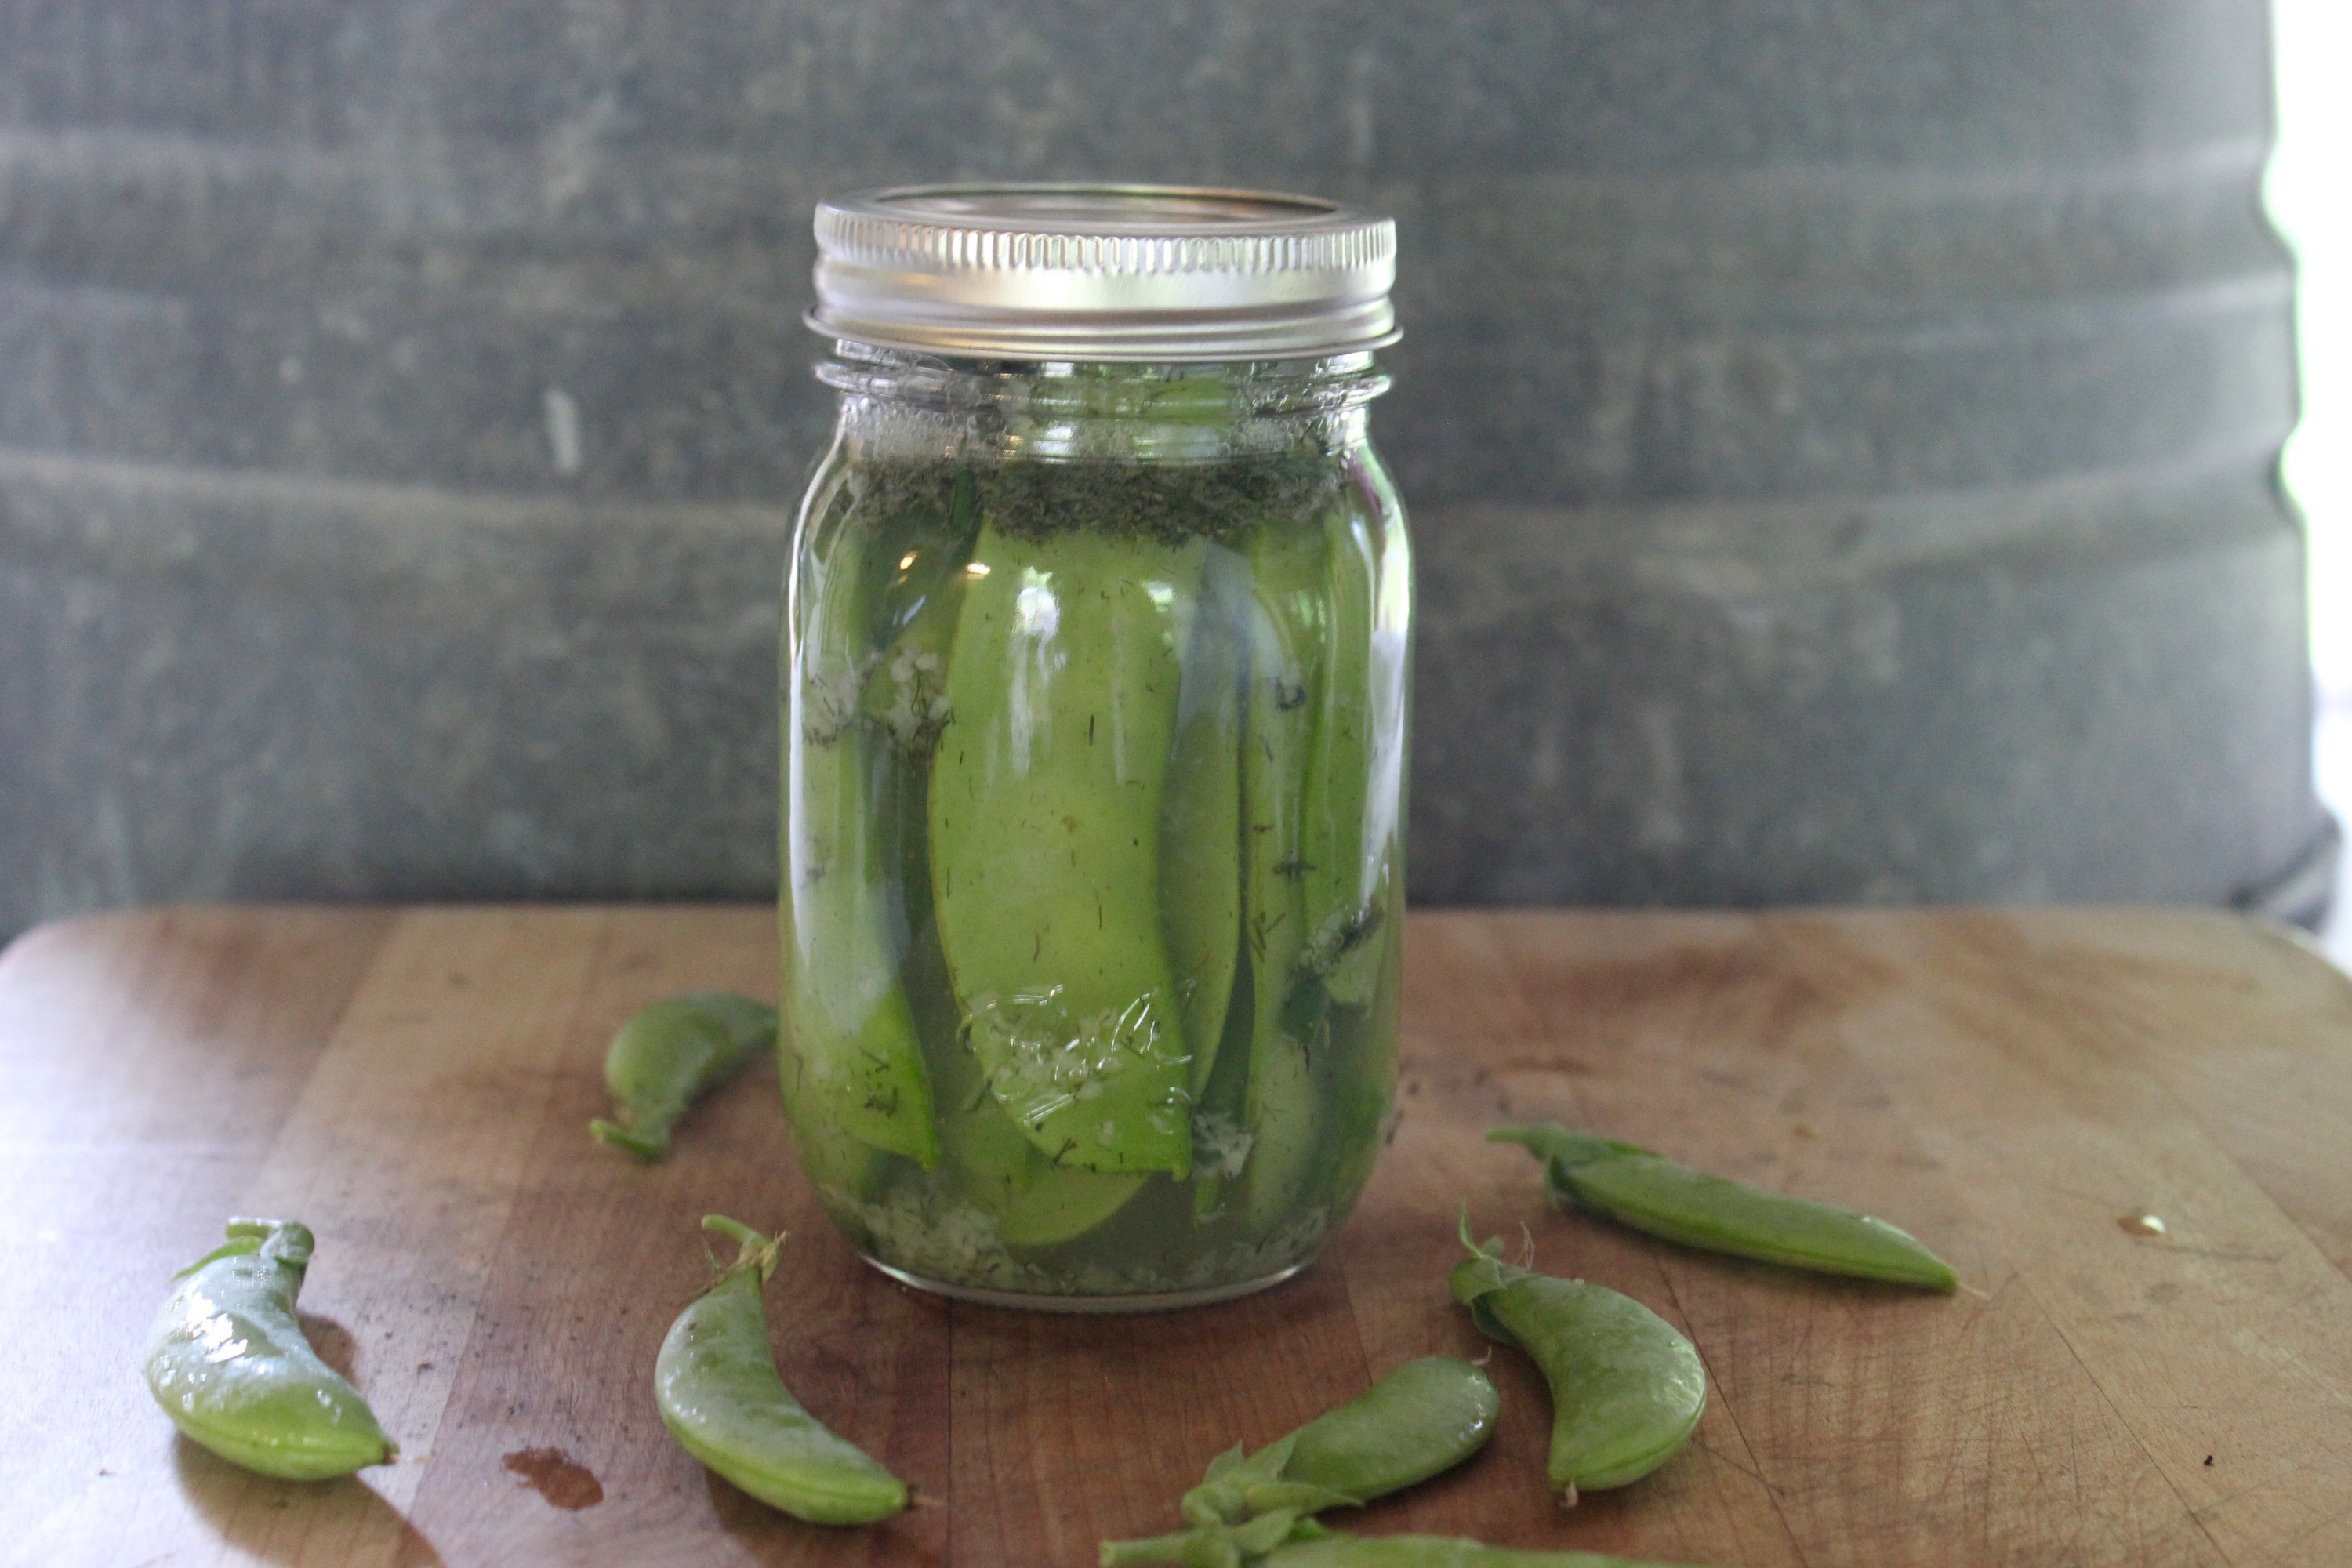
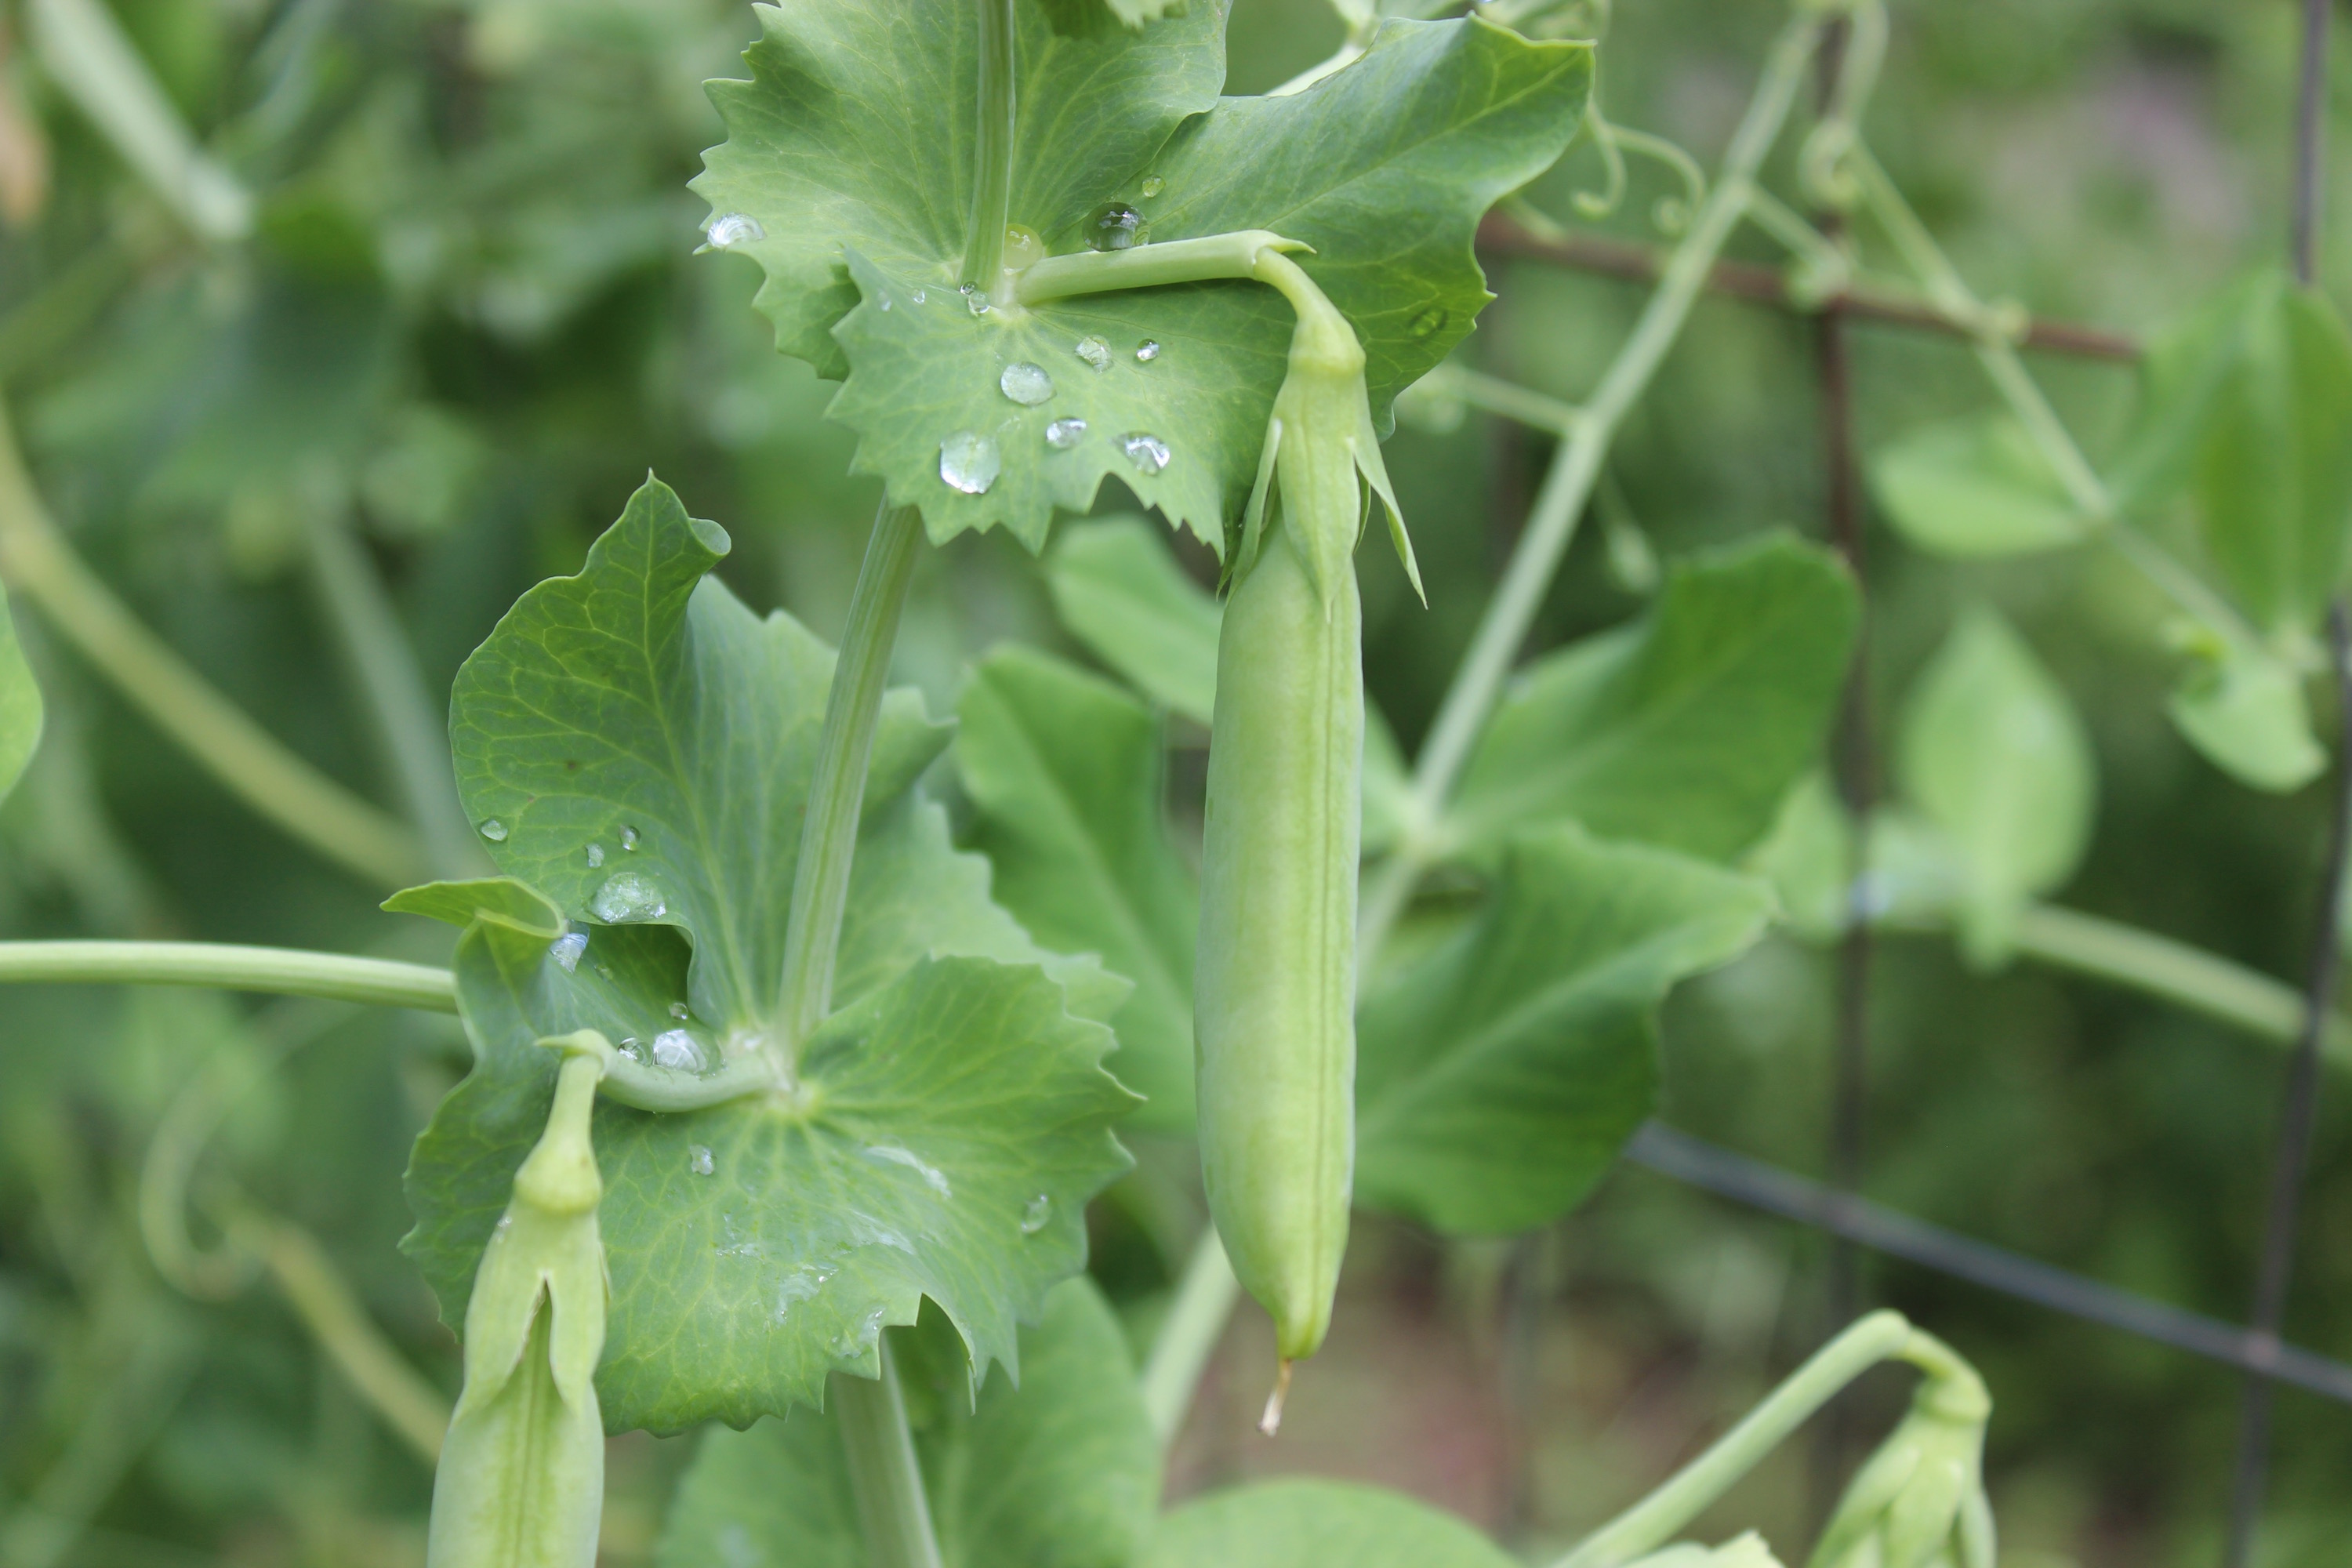
We’ve got a lot of snap peas coming in and while I freeze some I thought pickled snap peas would be a great idea. The savory dilly flavor mixed with the sweetness of the peas is actually pretty perfect. I didn’t want to can them though because I’m afraid they’d lose their crunch.

Supplies

1 1/2 cup white vinegar

1 1/2 cup cold water

1 TBS pickling or kosher salt

1 TBS white sugar

2 good sized garlic cloves

2 sprigs of fresh dill (or 2 tsp dried dill)

other seasonings *optional*

non-reactive pot

1 quart or two pint jars

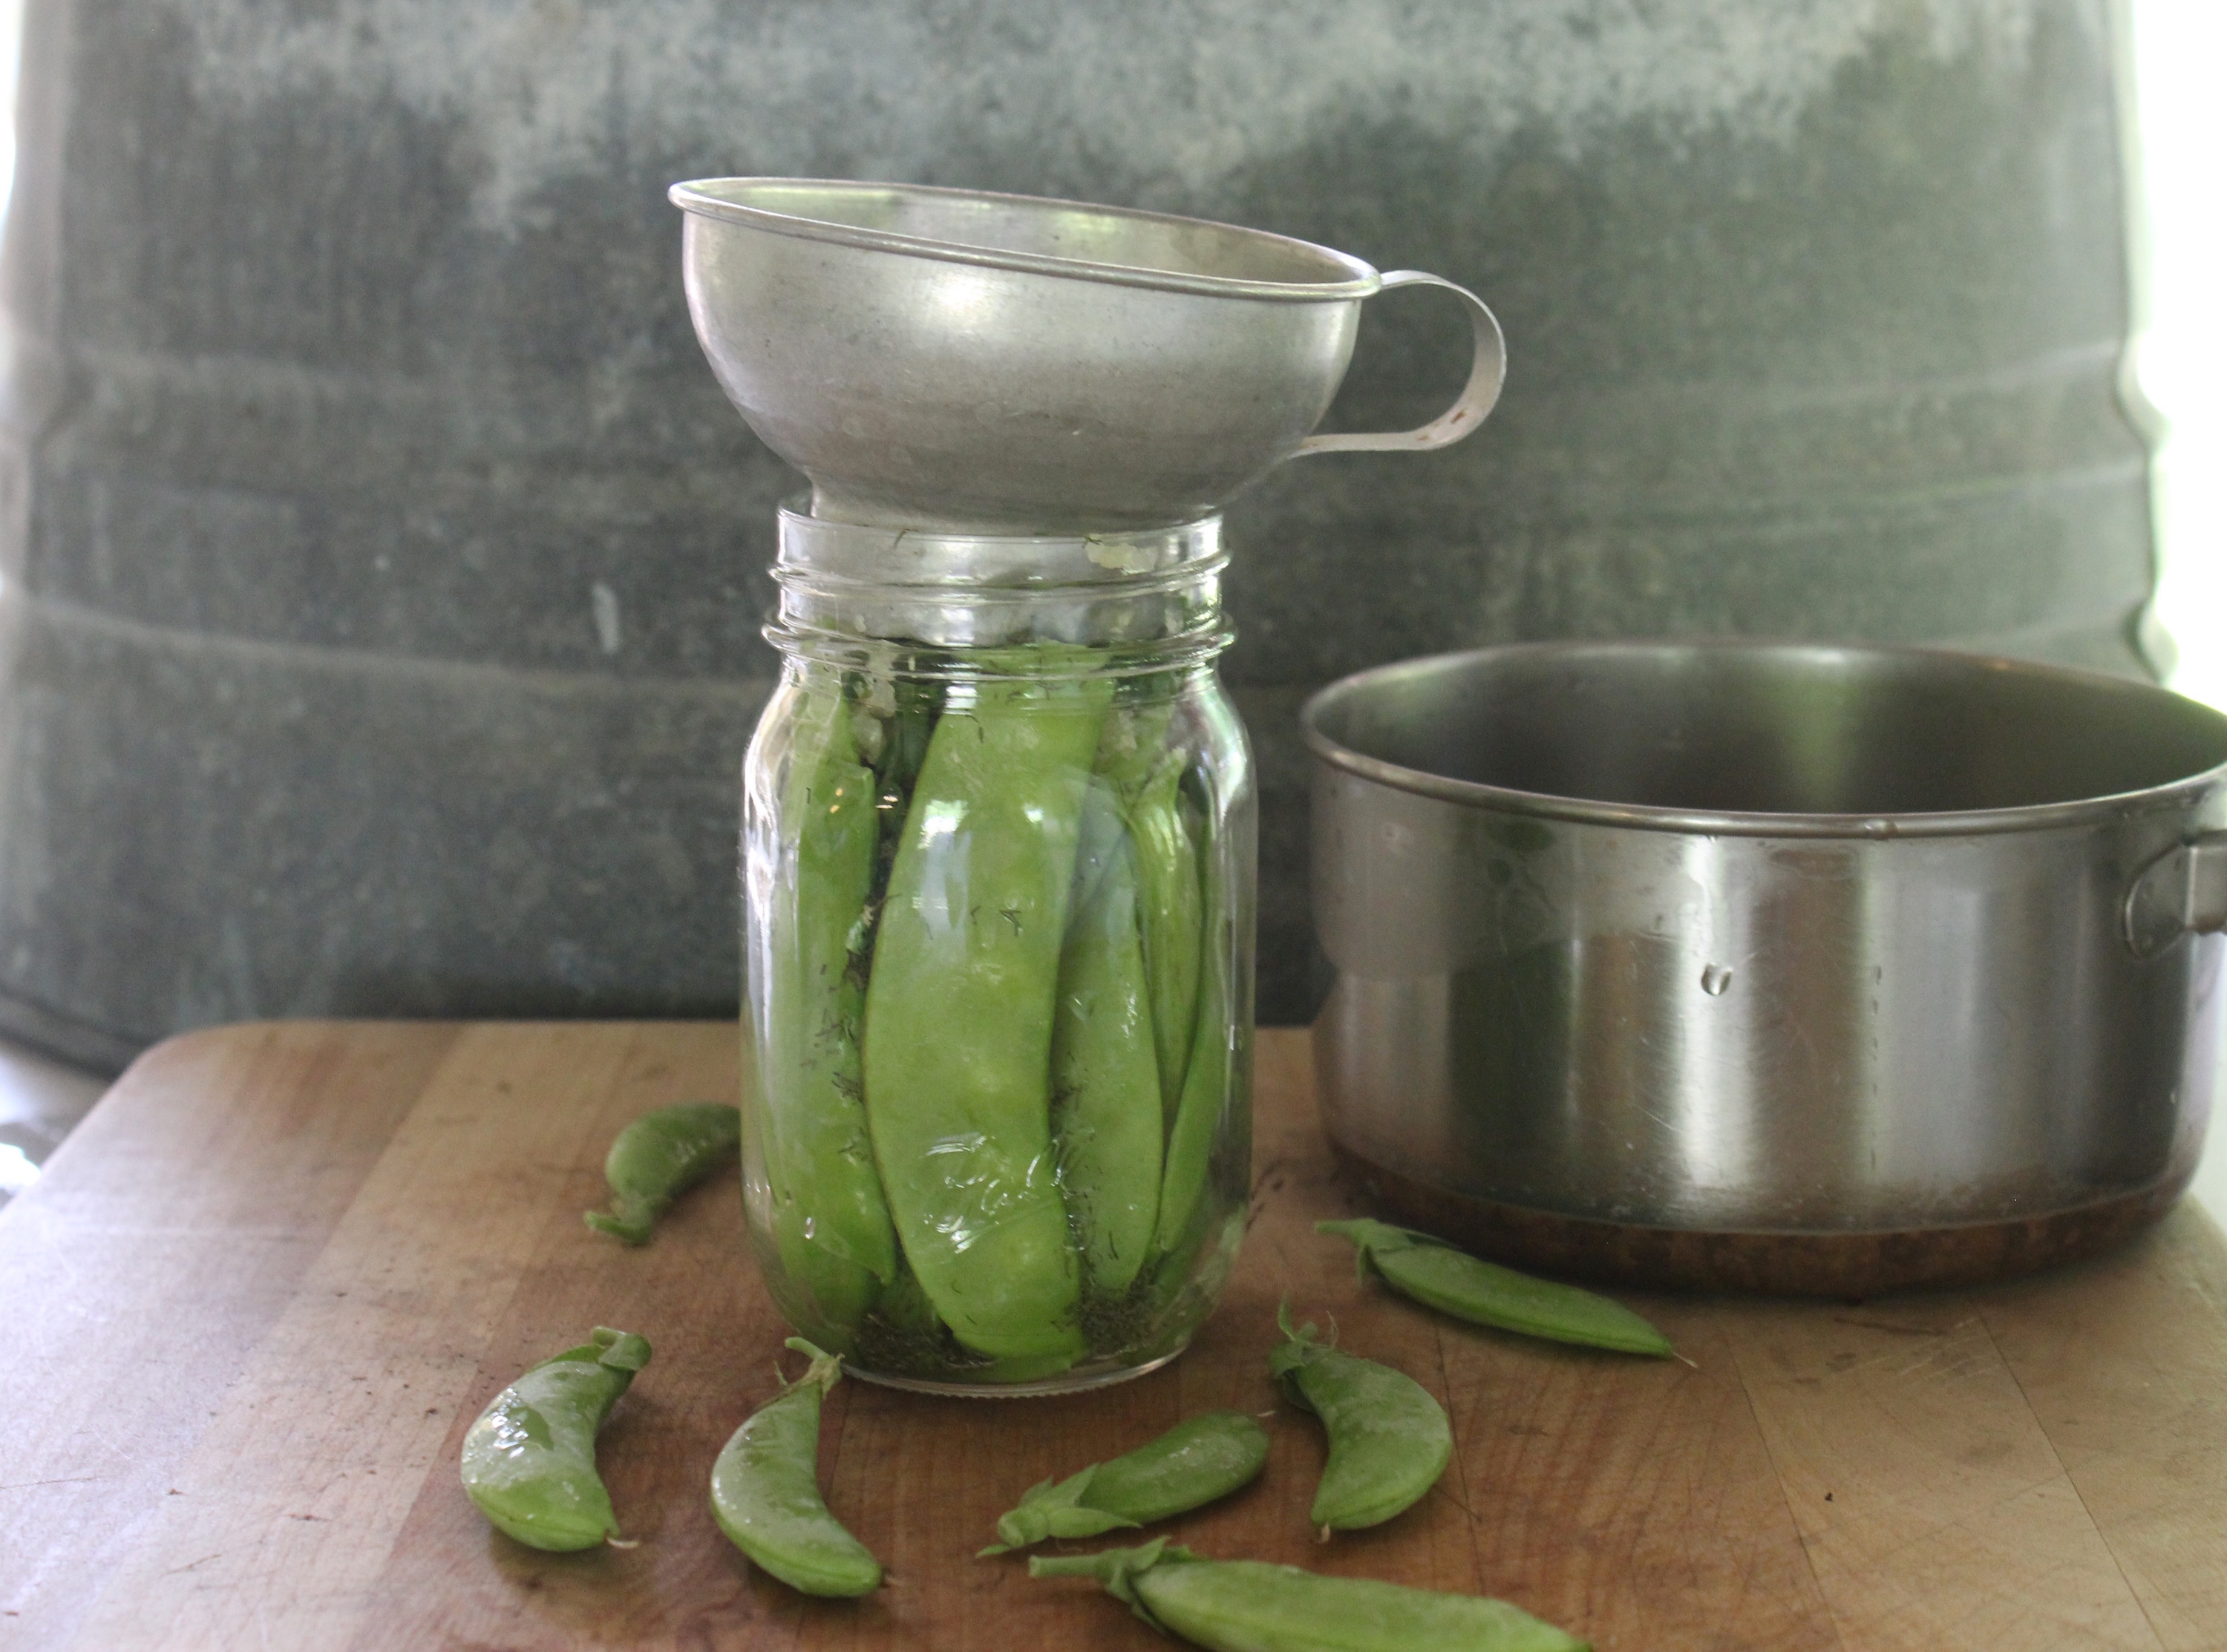
canning funnel *optional*

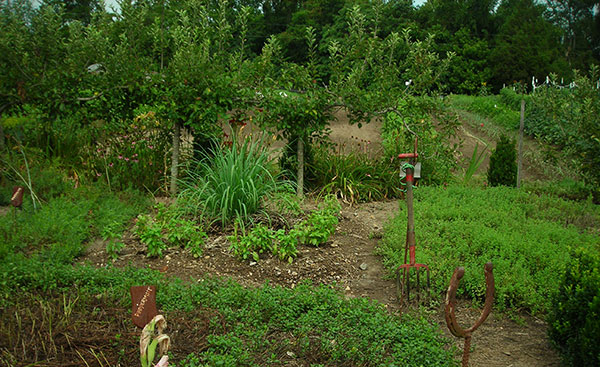
First harvest and wash your snap peas. It’s best to use peas that are as fresh as possible and if you’re harvesting to do so in the morning or evening, not under the afternoon sun.

In a non-reactive pot heat the vinegar, salt, and sugar until dissolved. Remove from heat and add cold water. Let it sit until it’s about room temperature or cooler (I stuck mine in the freezer for a couple minutes).

While it’s cooling pack your jar(s) with the peas and your preferred seasonings. Then pour your mixture into the jar(s) to cover the peas, add a lid, give a good shake and toss in the fridge.

Let your pickles sit in the refrigerater to marinate for at least 3 days. This will ensure they soak in all that delicious brine.

A few notes:

Non-reactive cookware is made from stainless steel, glass, or enamel coated metal. It’s prefered for pickling because other types of cookware like aluminum or copper might react the acidic vinegar and give your pickles and off flavor.

The seasonings for this recipe can safely be played with. You could try adding some spice with a hot pepper or red pepper flakes or go for some bread and butter type pickles. I added some chives to mine. Feel free to play around.

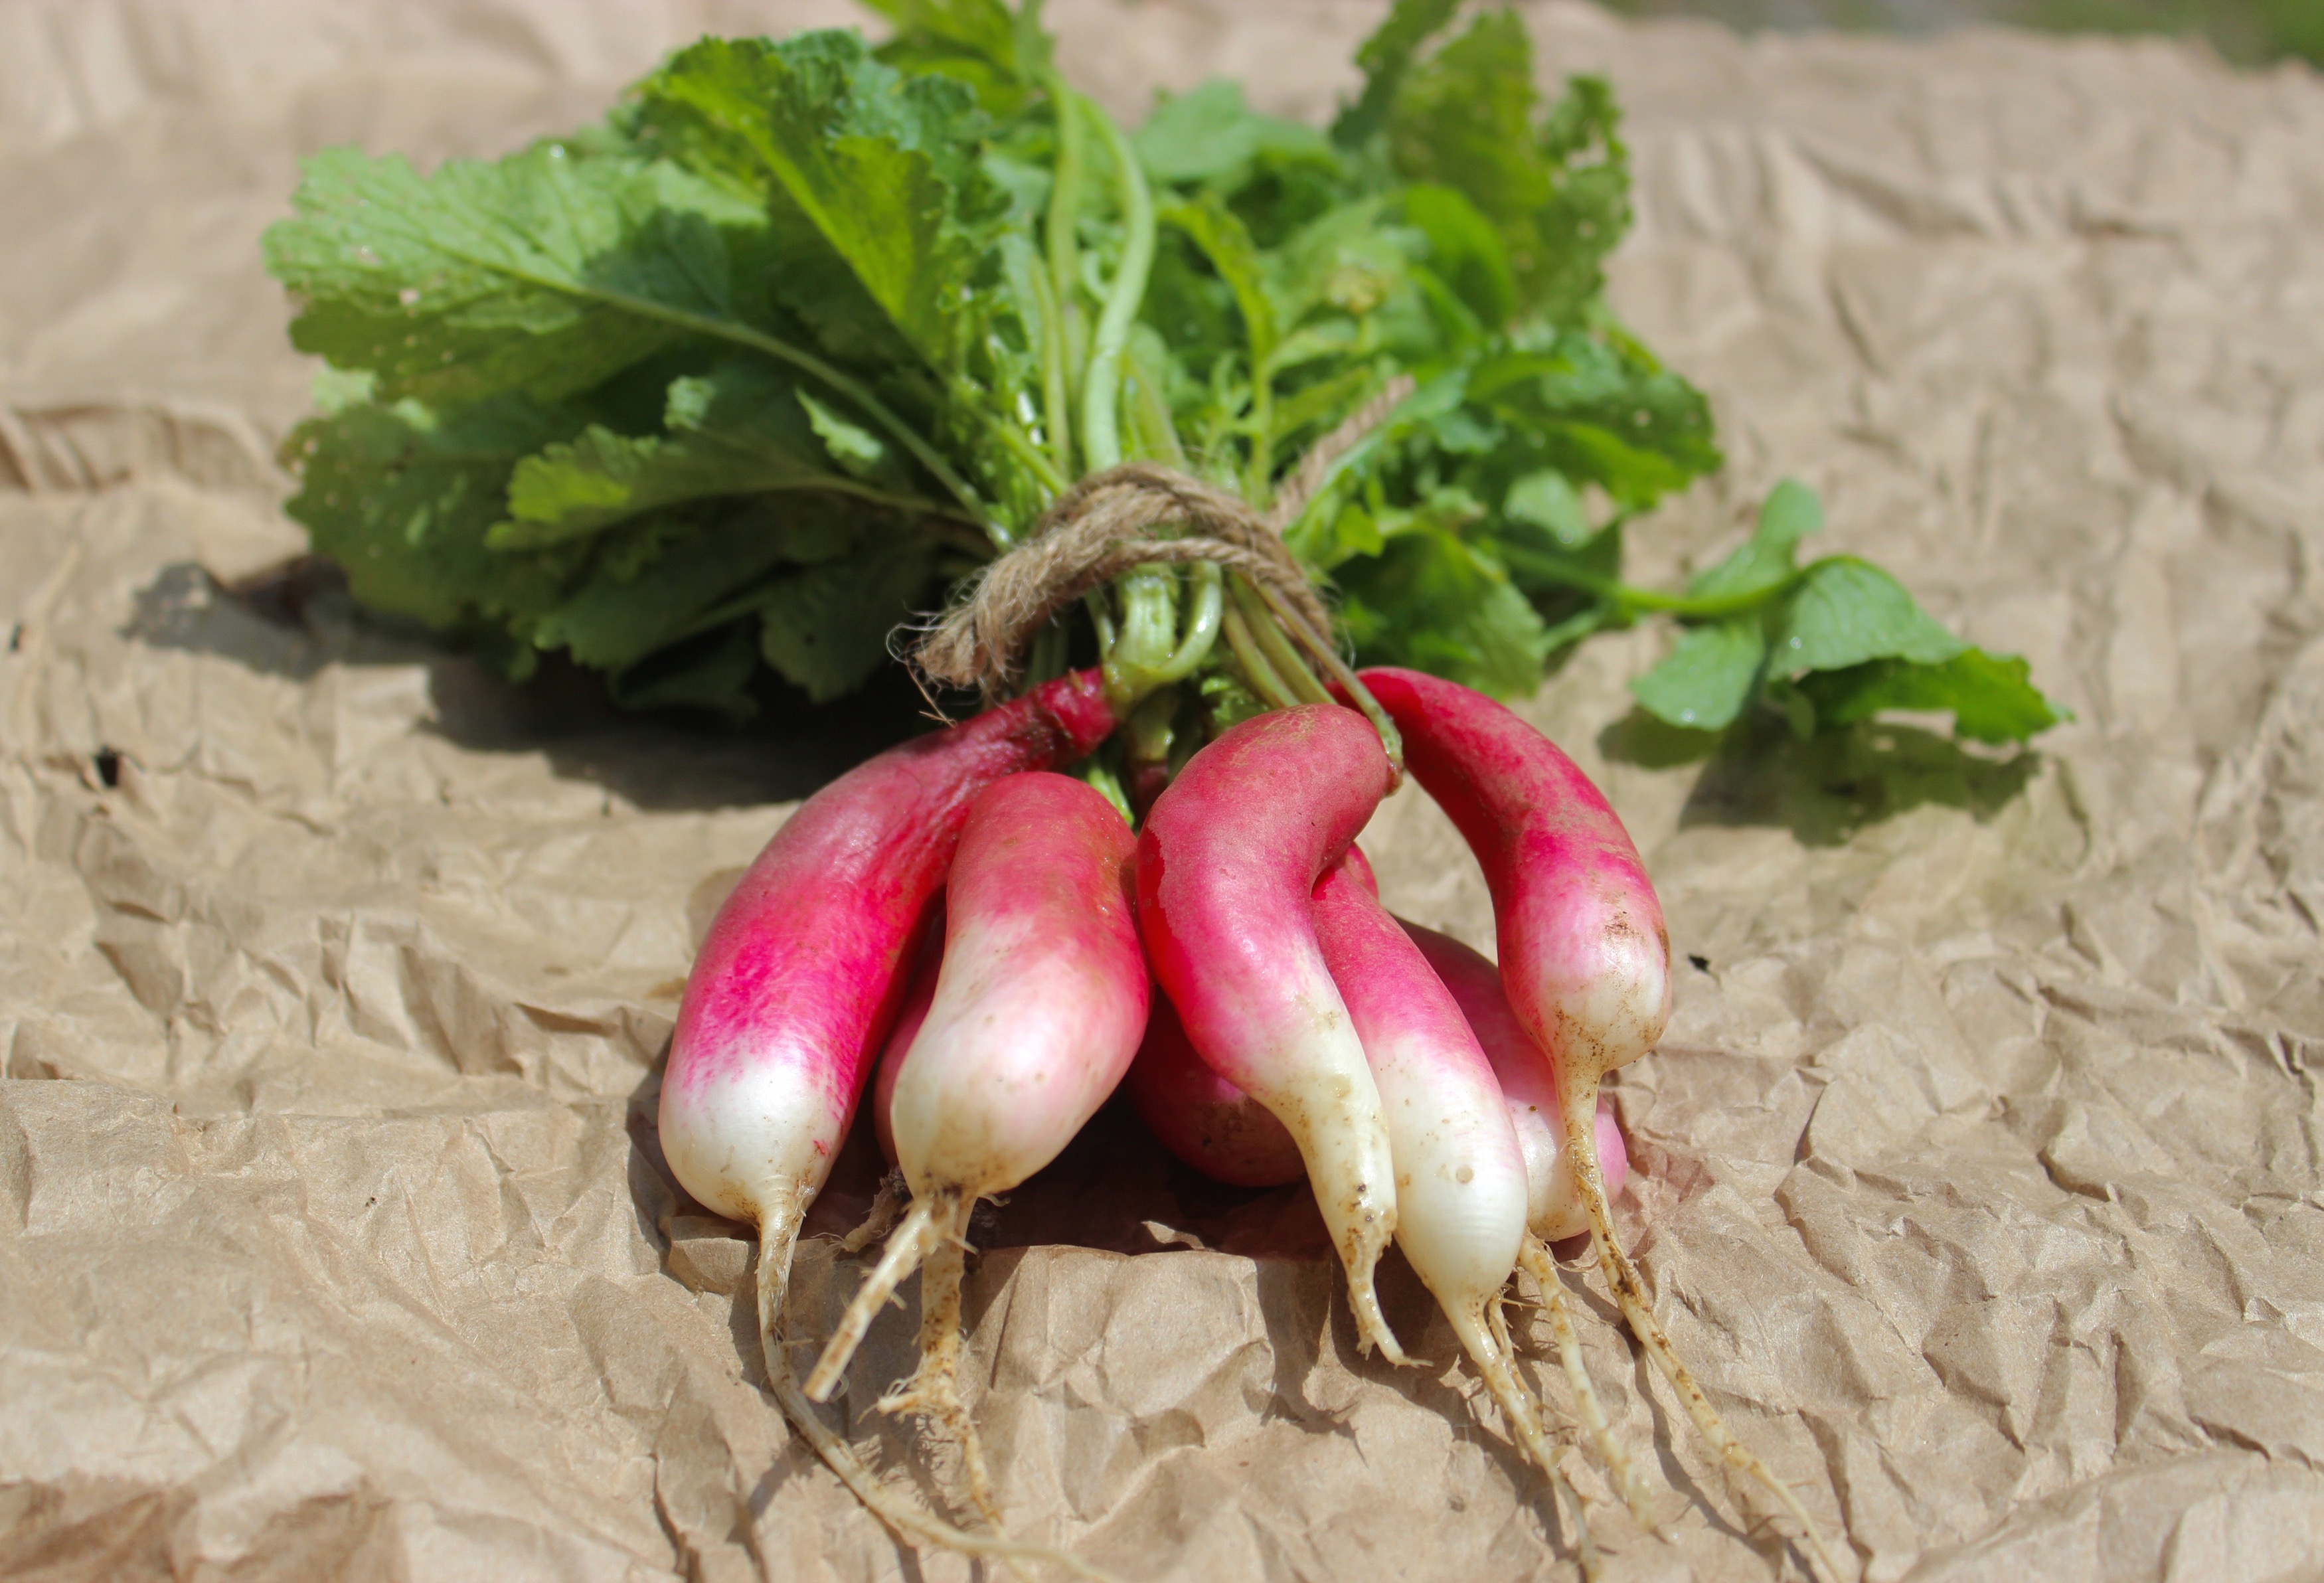
If you have extra brine or just want to try something else this works with many vegetables like cucumbers, sliced radishes, or onions.

Radish Leaf Pesto (V, GF)


You know what vegetable is super-underated? Radishes. They’re super quick and easy to grow and extremely photogenic. They’ve someone how aquired a reputation as something you use for garnishes or pasta salad but don’t let that fool you. There’s tons of great recipes to use up a bountiful radish harvest especially since the entire plant is edible!

The tops though a bit prickly are perfect for pesto. The texture isn’t noticable once they’ve been proccessed and their kick adds a really nice flavor. Plus you’re using what for most people is garden waste! This recipe is also thrifty because it uses sunflower seeds in place of pine nuts.

Here’s what you’ll need:

1/2 cup or more of olive oil (other veg. oil will work)

1/2 cup roasted sunflower seeds

2 cups packed radish leaves (any variety)

2 cloves of garlic (scapes make an excellent spring stand-in)

1 tsp lemon juice

Start by washing and roughly chopping your radish leaves. You can use the entire stem. Toss them into a food proccessor with all of the other ingredients.

While proccessing you may need to add more oil if your pesto is too thick. Slowly add more oil to reach a desired consistency.

If you’re using unsalted sunflower seeds, add salt to taste.

Then you get magic. It’s excellent when paired with pasta, crackers, or my personal favorite baked on bread or pizza.


Squash Souffle, 2 styles

Have you ever wondered what to do with winter squash that still haven’t gotten completely ripe when frost hits?  Seed grower and heirloom advocate Rodger Winn told us about a family recipe for squash souffle while we visited his farm one summer.Jul2015 (811) making squash souffle from int stage Mrs Amer prcsd

It starts with intermediate-maturity squash.Jul2015 (806) making squash souffle from intermediate stage Mrs A prcsd

Most squash recipes call for either winter squash, which are harvested at full seed maturity, or summer squash, which are harvested when the seeds are just beginning to develop.  Most squash varieties that are bred for use as summer squash, if allowed to get to the stage of seed maturity, will be unappetizing.  However, most squash that are bred to be winter squash, if you harvest them when the seeds are just beginning to mature, are a wonderful substitute for regular summer squash.  They’re also quite tasty in-between.

When your squash plants are on their last leg and many of the leaves have died, it’s not hard to find a squash that’s still immature; they’re just easy to see. And, when your first fall frost is around the corner and you’re doing your annual winter squash harvest, you’re bound to find a few immature fruits along with the mature ones. If the peel is tough,  you’ll need to peel them. If the seeds are tough, you’ll need to scoop them out.  (The seeds are likely to be tough unless the squash is just barely past the summer squash stage, but, depending on the variety, the skin might remain tender much longer.)

Irena’s Squash Souffle

I really liked the sound of Rodger’s recipe, but I didn’t remember the details, and I often don’t have the patience to measure ingredients.  Here’s how I made a squash souffle that my housemates and I really enjoyed.

Jul2015 (808) making squash souffle from intermediate stage Mrs A prcsdJul2015 (810) making squash souffle from intermediate stage Mrs a prcsdFirst, I cut an intermediate-stage Mrs. Amerson’s squash into big chunks. Mrs. Amerson’s is a moschata type, and I’m pretty confident that other squash in the moschata species, such as Seminole and Butternut, would produce very similar results.

I removed the seeds and the parts of the peel that were tough.  I sliced the squash thinly.  It wouldn’t all fit in one frying pan, so I put it in two. Those frying pans mostly gets used for savory dishes, but I didn’t worry about how their seasoning would affect this dish.

I let the squash cook a bit, stirring occasionally, while I beat about 10 eggs, then mixed them with about 5 cups of milk and about 2 cups of evaporated cane juice (i.e., sugar, but not as processed as most white or brown sugars).  I poured the mixture over the squash, sprinkled it with nutmeg, covered it, and cooked on low heat until the surface was solid.Jul2015 (812) making squash souffle from int stage Mrs Amer prcsd

I enjoy strong flavors, so the next morning as I was enjoying my squash souffle for the second time, I picked some Anise-Hyssop and Mexican Mint Marigold from the garden to eat with it.Oct2016 (296) squash souffle prcsd

Then, I decided to write this post, so I asked Rodger for the family recipe.  If you want to cook from a recipe, this is probably the one to use.

For Rodger’s South Carolina family, this is a Thanksgiving recipe.  They tend to get their first frost in early November.  Intermediate-maturity squash will keep just fine for a couple of weeks, and sometimes much longer, but won’t keep until spring.

Winn Family Squash Souffle

We use pumpkins that are almost mature but still have a green rind.  If they are too immature the pie will be mushy. Cut the squash lengthwise in 1 in strips and peel. Then slice very thin, about 1/8 in. Layer the slices in a pre baked pie crust till filled. For the custard use 1 or 1 1/2 cups white sugar or unrefined sugar, 2 cups milk, a tsp. of vanilla extract, and 3 eggs. Mix well. This is enough custard for two shallow pies, or one deep dish with a little left over. Then bake at 375 degrees until set (about 45min to 1hr). Enjoy.