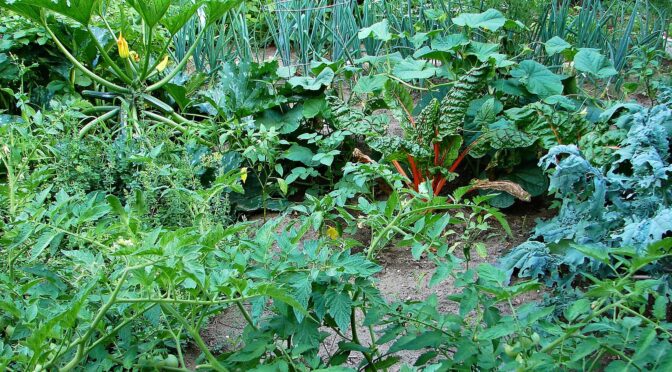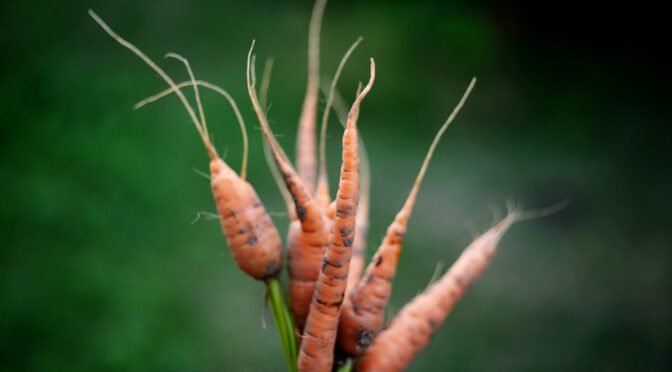
Beets and carrots are among our favorite cool-season crops. They’re perfect for home or market gardeners and keep well in cold storage or in the root cellar. Unfortunately, many gardeners struggle with these hardy root crops, particularly getting them started. Beets and carrots can be sensitive to soil conditions, moisture levels, and pests as they get established, but with the right steps, they’re wonderful productive crops. Here’s how you can have success with sowing beets and carrots.
Prepare the Soil
Preparing and amending your soil before seeding can make a big difference in germination and production for root crops like beets and carrots.
Soil Composition
Heavy, dense soil, like the clay found in much of the Southeast, can be tricky for root crops. Carrots especially thrive in loose, well-drained soil. To create these conditions in areas with heavy clay, you’ll need to amend your beds with plenty of organic matter. Finished compost, leaf mold, and peat moss are all good options. For best production, you want to loosen and lighten clay soil to a depth of 9 inches.
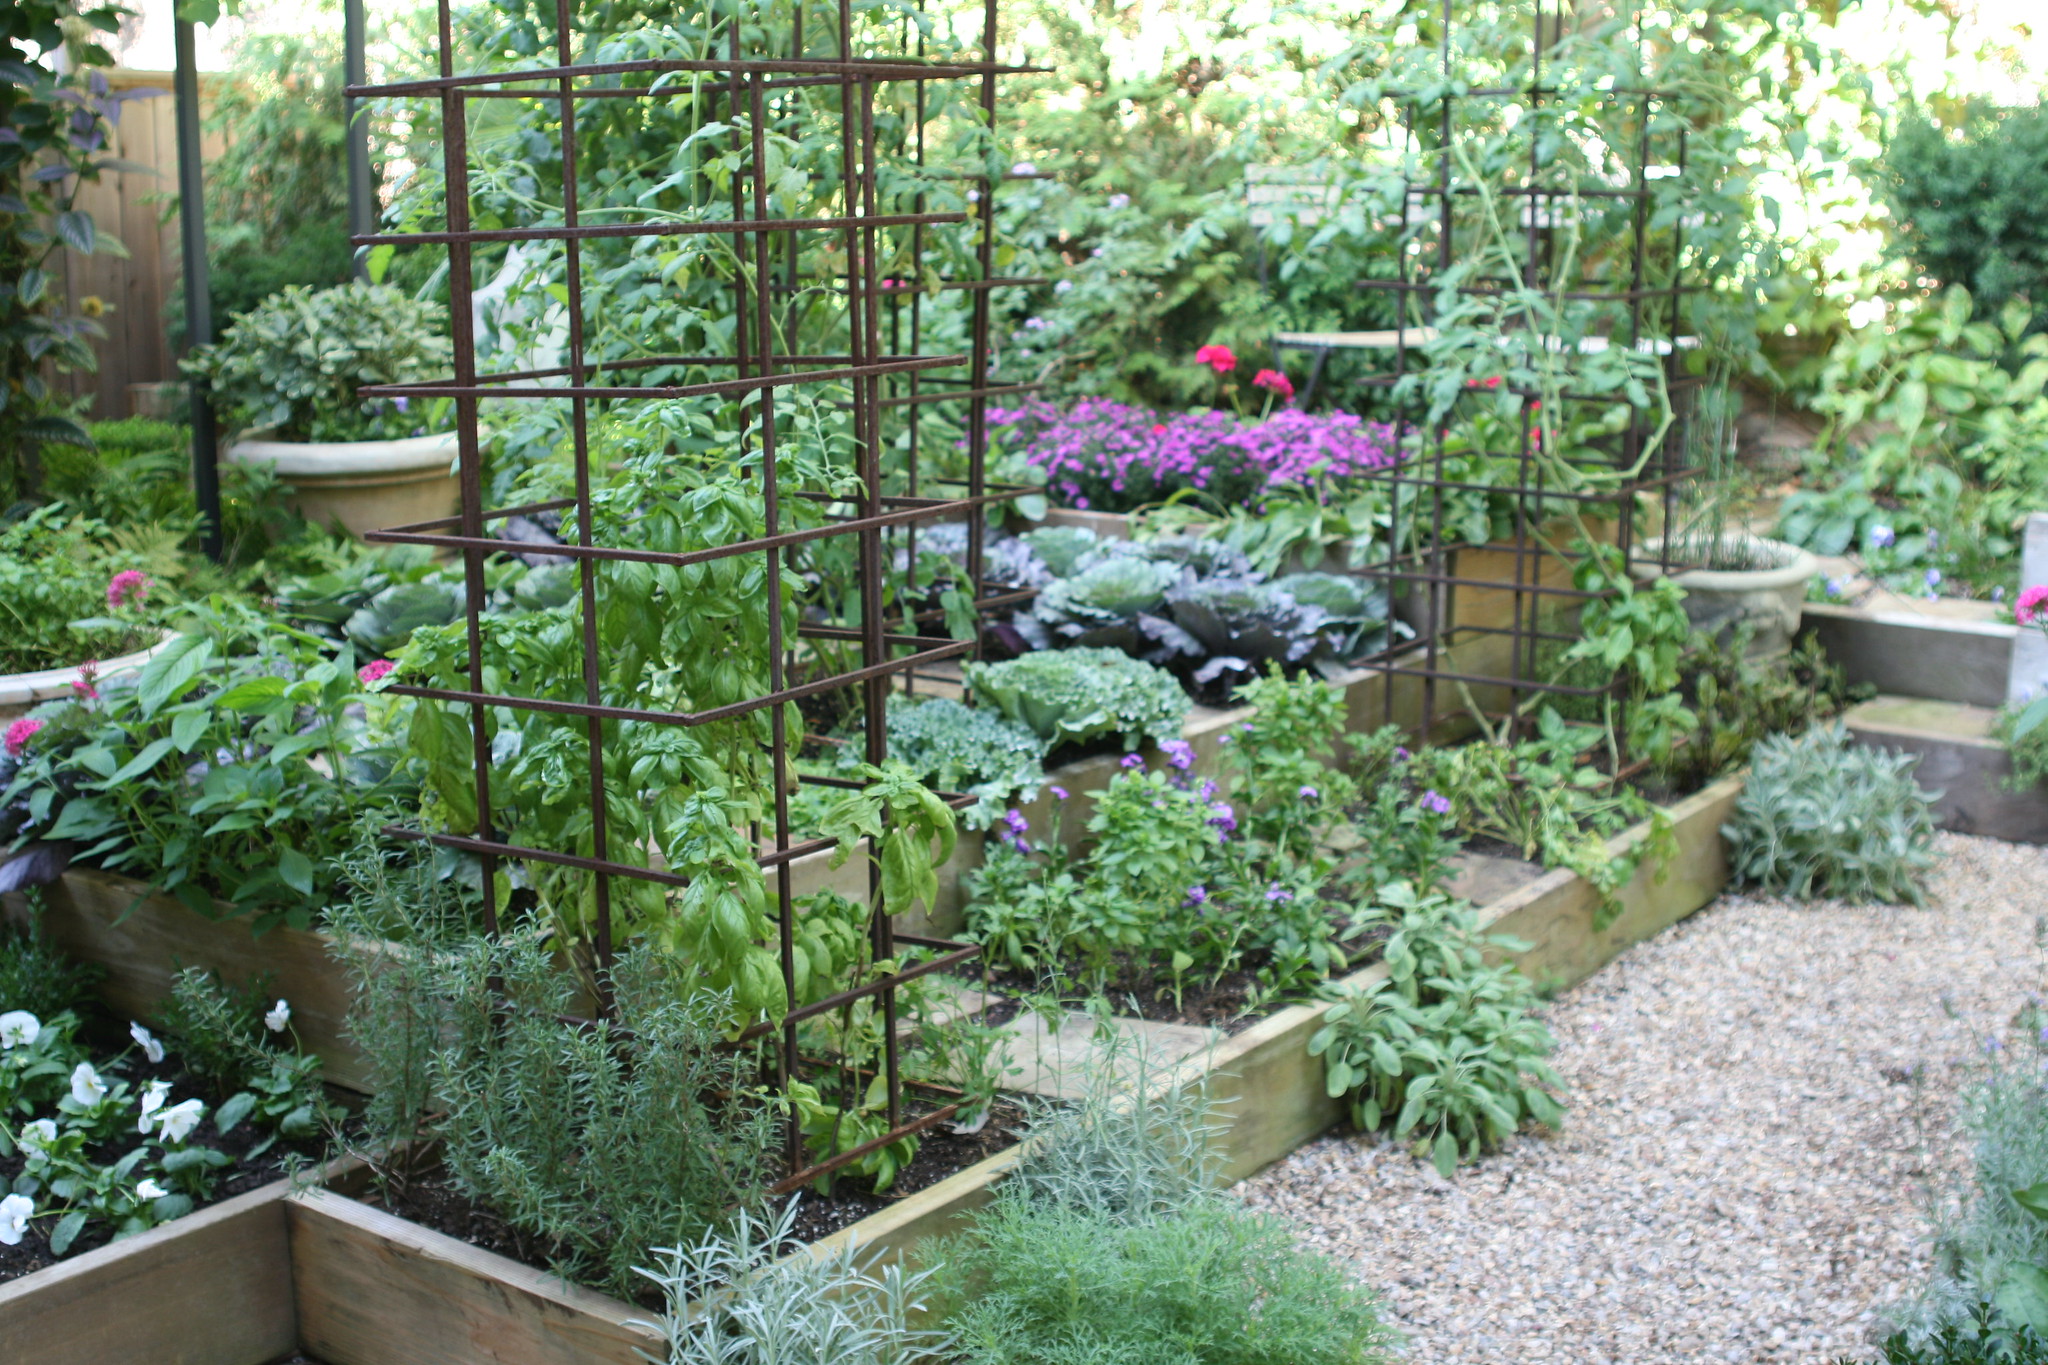
Raised beds can be an excellent option for beets and carrots in areas with less than ideal soil. You can read more about the pros and cons of raised beds here. 
Soil pH
Carrots are fairly flexible about pH and do well when the level is neutral to slightly acidic, between 5.5 and 7.0. Some experts recommend between 6.0 and 7.0 for best root development.
Beets are sensitive to soil pH. They need a neutral to slightly acidic soil between 6.0 and 7.0, though some people find that up to 7.5 is fine. Acidic soil below 6.0 will stunt beets’ root growth and result in a poor harvest.
Soil Nutrients
If you’ve struggled with beets and carrots in the past, a soil test is a great place to start and will allow you to make necessary changes. Carrots need high levels of phosphorus and potassium in the soil for good production.
Beets also thrive with relatively high levels of phosphorus and potassium. In addition, they need adequate amounts of magnesium and calcium. They’re also particularly sensitive to boron deficiency, which is often known as black heart. You may notice stunted growth, distorted or yellow leaves, cracked roots, or roots with black spots, corky areas, and rot. You can treat boron deficiency with liquid seaweed fertilizer or by applying 1 teaspoon of borax to a gallon of water for each 100 square feet of bed.
Don’t add nitrogen-heavy fertilizer or fresh manure. Excessive levels of nitrogen in beets and carrots will promote foliar growth over root production.
Wood ashes are a great amendment for beets and carrots. Wood ashes help raise the soil pH, making it less acidic. Spreading it along the row of carrot seeds can also prevent wireworm damage. However, in spoils that are already alkaline, it may raise the pH too much.
Consistent Moisture
One of the biggest issues we see with seeding beets and carrots is poor germination because of inconsistent moisture. Carrots and beets must have constantly moist soil in order to germinate well. They also need consistent moisture throughout the season to produce large, sweet roots. Setting up a consistent watering schedule and mulching your plants are key to success.
Carrots have small seedlings, which are also susceptible to soil crusting. One way to conquer this is frequent overhead watering, with a shower attachment for a hose or watering can or by using a sprinkler. Older gardeners may also be familiar with the “board trick.” Laying boards or cardboard over rows of watered carrot seeds will hold in the moisture and keep the soil from crusting, but must be checked on frequently. You need to remove the boards as soon as the carrots germinate to avoid spindly seedlings. 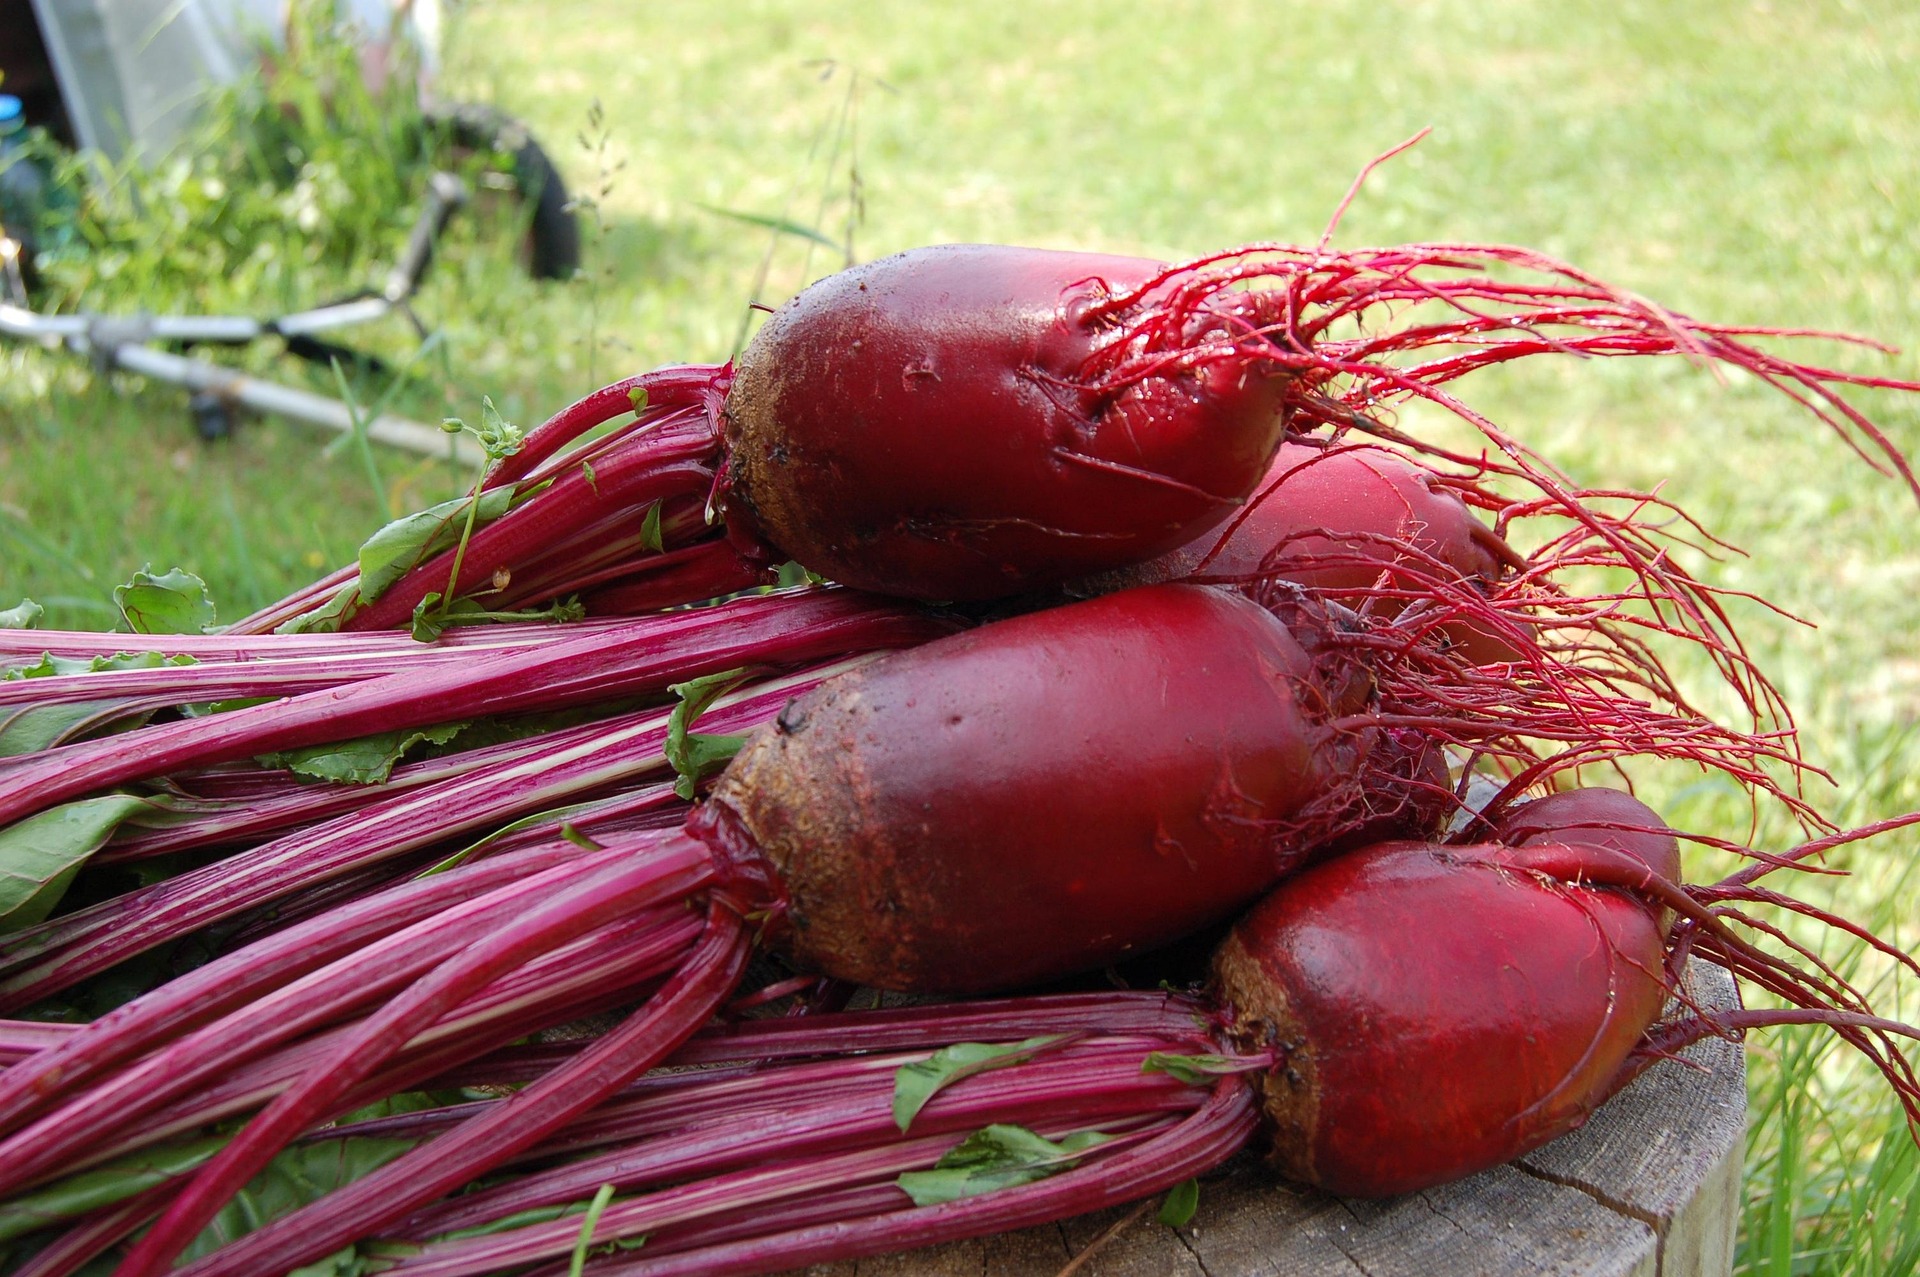
Companion Plant
Companion planting can help carrots and beets thrive. Onions and garlic are great options for reducing pest pressure. We’ve found that inter-planting carrots with onions in a ratio of 1 to 2 reduces carrot fly damage by 70%.
Mixing in radish seeds with beets and carrots can also help to reduce soil crusting. As the radish seeds germinate so quickly, they can also serve as row markers so you can keep up with weeding before your other seeds germinate.
Thinning
Overcrowding can lead to poor production in root vegetables. The plants will compete for light, space, moisture, and nutrients if you don’t thin them. This is particularly true of beets as each “berry” contains multiple seeds.
For beets, thin to 6 plants per foot for fresh beets, 3 plants per foot for beets used for winter storage, in rows 12 inches apart. For carrots, thin to 1 to 2 inches apart in rows 12 inches apart.
Add Mulch
Once your plants are up and the seedlings reach a few inches tall, it’s a good idea to mulch around your rows. Mulch helps hold in moisture, suppress weeds, and adds organic matter as it breaks down.