

Organic mulch can help block weeds, add organic matter, hold in moisture, keep the soil cool, and increase your garden’s production. We’ve found that mulch is one of the best ways to improve soil over time. Like us, many of our customers garden in heavy clay soils where mulch is helpful for slowly building up organic matter. It’s also been critical for reducing our water usage when much of the Southeast has been in drought. If you want to add mulch to your garden this season, there are many options to consider.
The Best Mulches for Vegetable Gardens
The best mulch for your garden will depend on several factors. You want to consider your climate, your soil, and what’s readily available in your area.
Grass Clippings
If you have a mower with a bagger, grass clippings can be an excellent free option. They’re great for adding organic matter and a bit of nitrogen to the soil. While they’re decomposing, grass clippings can form thick, slimy mats. If you’re worried about this, dry your grass clippings in the sun for a couple of days, flipping the pile over with a rake a few times before placing them on your beds.
Avoid using grass clippings from lawns that may have been treated with pesticides or herbicides. It’s also best to avoid long, overgrown lawns that are full of grass and weed seed heads.
Old Leaves
Old leaves are one of our favorites because in our area, they are free and abundant. However, whole leaves have a tendency to blow away during dry periods. Shredding them or allowing them to decompose partially before applying them to the garden can help keep them in place.
Many cities have people collect leaves in bags, and you can sometimes get these for free. However, you risk that the leaves may be contaminated with herbicides or other chemicals on someone’s lawn.
Straw
Many gardeners prefer straw for their vegetable gardens. It’s attractive, easy to apply, and keeps produce like cucumbers and squash clean and dry. It’s also pleasant to walk on and usually isn’t treated with any chemicals.
The one major downside of straw is the price. Depending on your location and the size of your garden, using straw mulch can get expensive fast.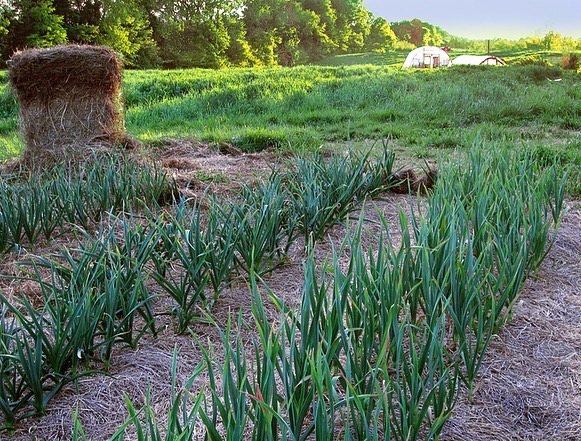
Hay
Usually more affordable than straw, hay is a similarly popular choice for vegetable gardeners, especially those looking to build up organic matter. It can provide a dense layer to protect the soil and keep produce clean.
Unfortunately, most hay harbors weed seeds, which can sprout in your garden. You can help prevent the seeds from germinating by using a thick layer and re-applying two to three times throughout the season.
Sadly, the prevalent use of herbicides and pesticides across the United States can also make sourcing clean hay tricky. Some gardeners have had contaminated hay ruin their gardens.
Pine Needles or Pine Straw
Pine needles or pine straw is a popular mulch option in parts of the southern United States and other regions where pine forests are common. While many gardeners worry about it making their soil more acidic, old dried pine needles have a negligible effect on soil pH.
However, pine needles take a while to break down, meaning that they don’t add organic matter to the soil quickly. That said, if you have an abundance, they’re still a good option.
Avoid purchasing artificial pine straw mulch. It isn’t real pine needles; it’s made from shredded plastic and you shouldn’t use it in a vegetable garden.
Paper/Cardboard
Paper and cardboard are a common base layer in new vegetable gardens to block weeds, but you’ll want to select them carefully. Some cardboard and paper options may contain toxic dyes, glue, staples, plastic tape, or plastic linings. Use only undyed material and carefully remove and staples or tape before placing it in the garden.
Thick cardboard can also provide a pleasant spot for slugs to hide beneath. If you’re seeing signs of slug damage, check under the cardboard in the morning and remove any slugs.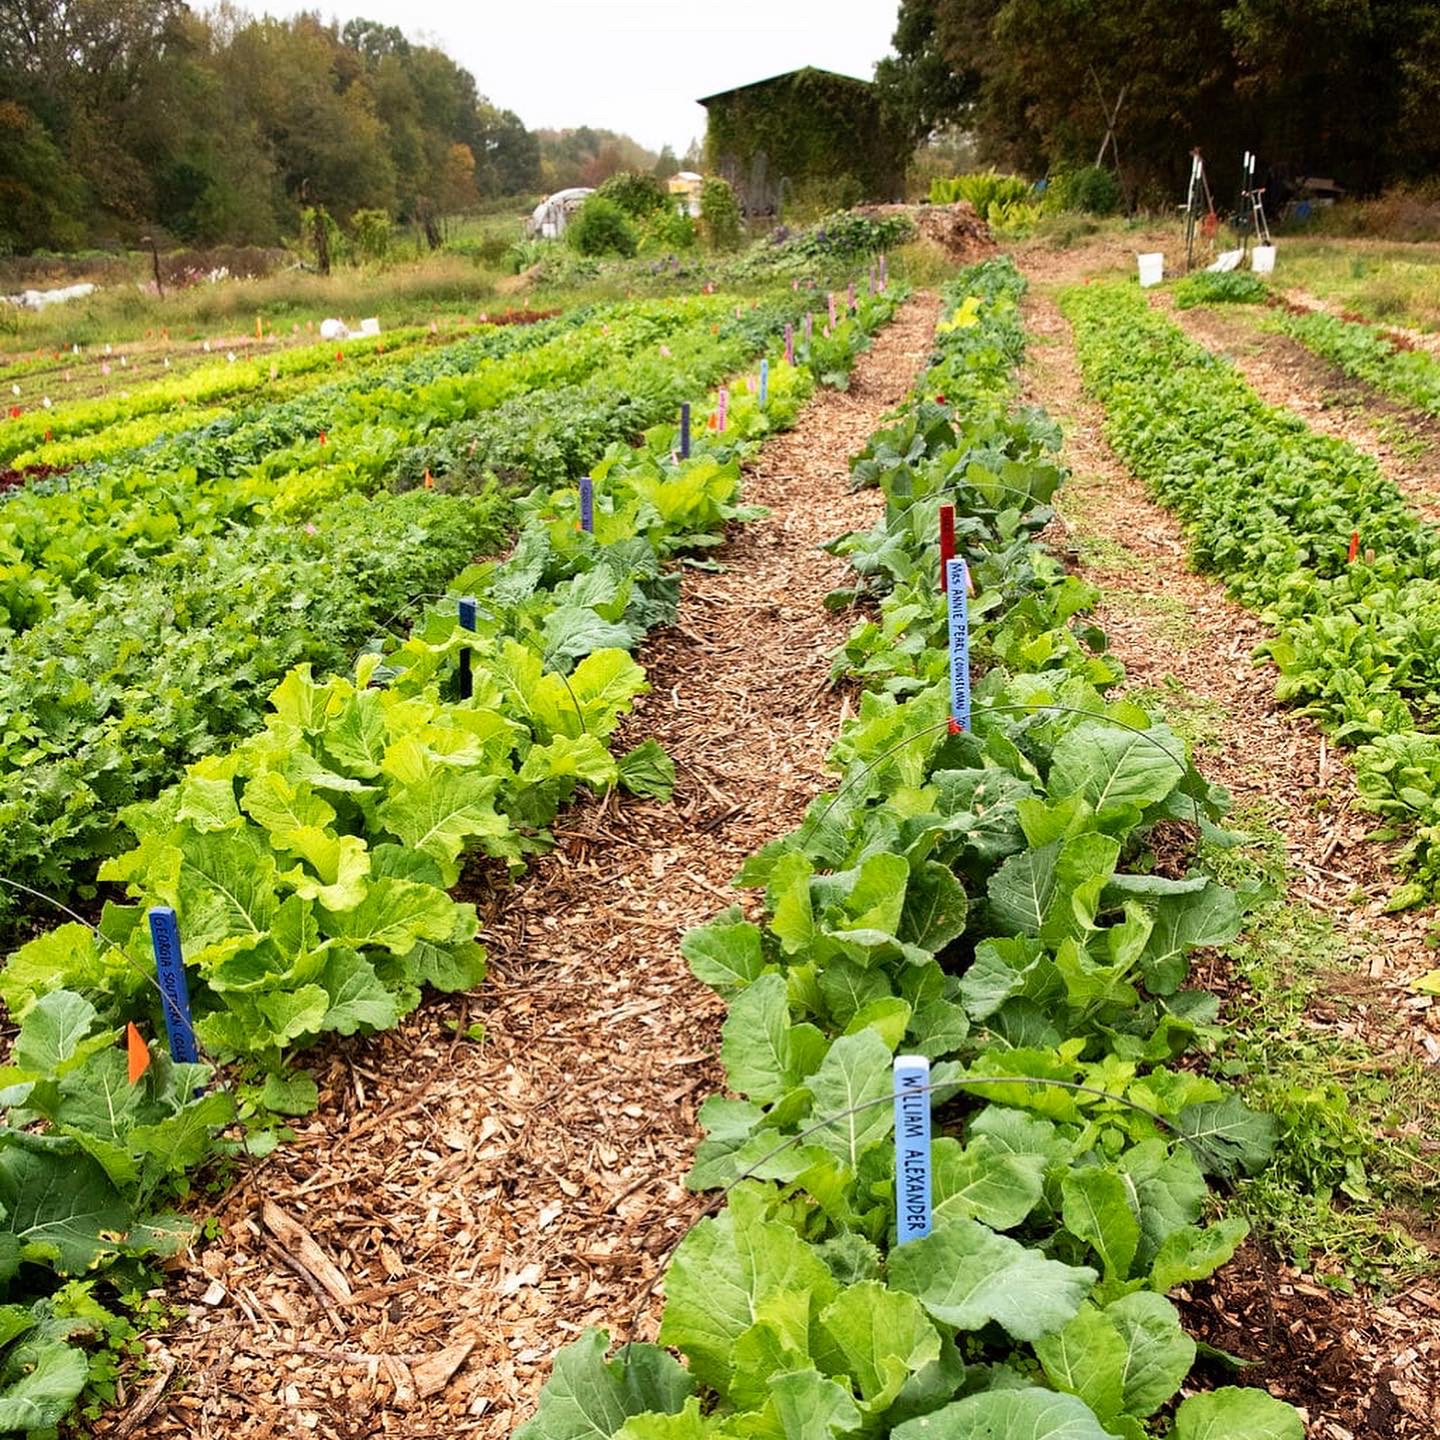
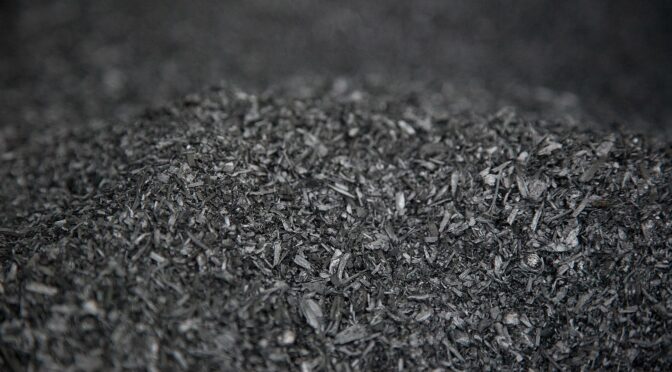
Wood Chips
Though not everyone agrees, wood chips are another of our favorites, especially for pathways and perennial beds. You can often source wood chips for free from local power companies that chip trees and limbs they clear from power line right-of-ways. They make a good mulch that breaks down slowly over the season, meaning we don’t have to re-apply too often.
One concern many gardeners have is that wood chips will tie up nitrogen. However, this isn’t really an issue unless you’re tilling the wood chips into the soil. They don’t tie up nitrogen when they’re sitting on top. They can also create homes for insects like slugs or ants, but they provide space for beneficial insects, bacteria, and fungi. In fact, many gardeners grow edible mushrooms on wood chip mulch.
While usually more expensive, shredded, undyed bark mulch also works well.
Using Mulch in the Vegetable Garden
Always collect more mulch than you think you will need. In order for mulch to provide its many benefits, from blocking weeds to adding organic matter, it needs to be thick. For dense mulches like wood chips, a few inches will do, but for light, fluffy mulches like old leaves, you want to add at least 6 to 8 inches.
Before placing mulch, it’s ideal to start with a clean slate and remove any weeds. After adding your mulch, water it in. Alternatively, you can place it on a rainy day.
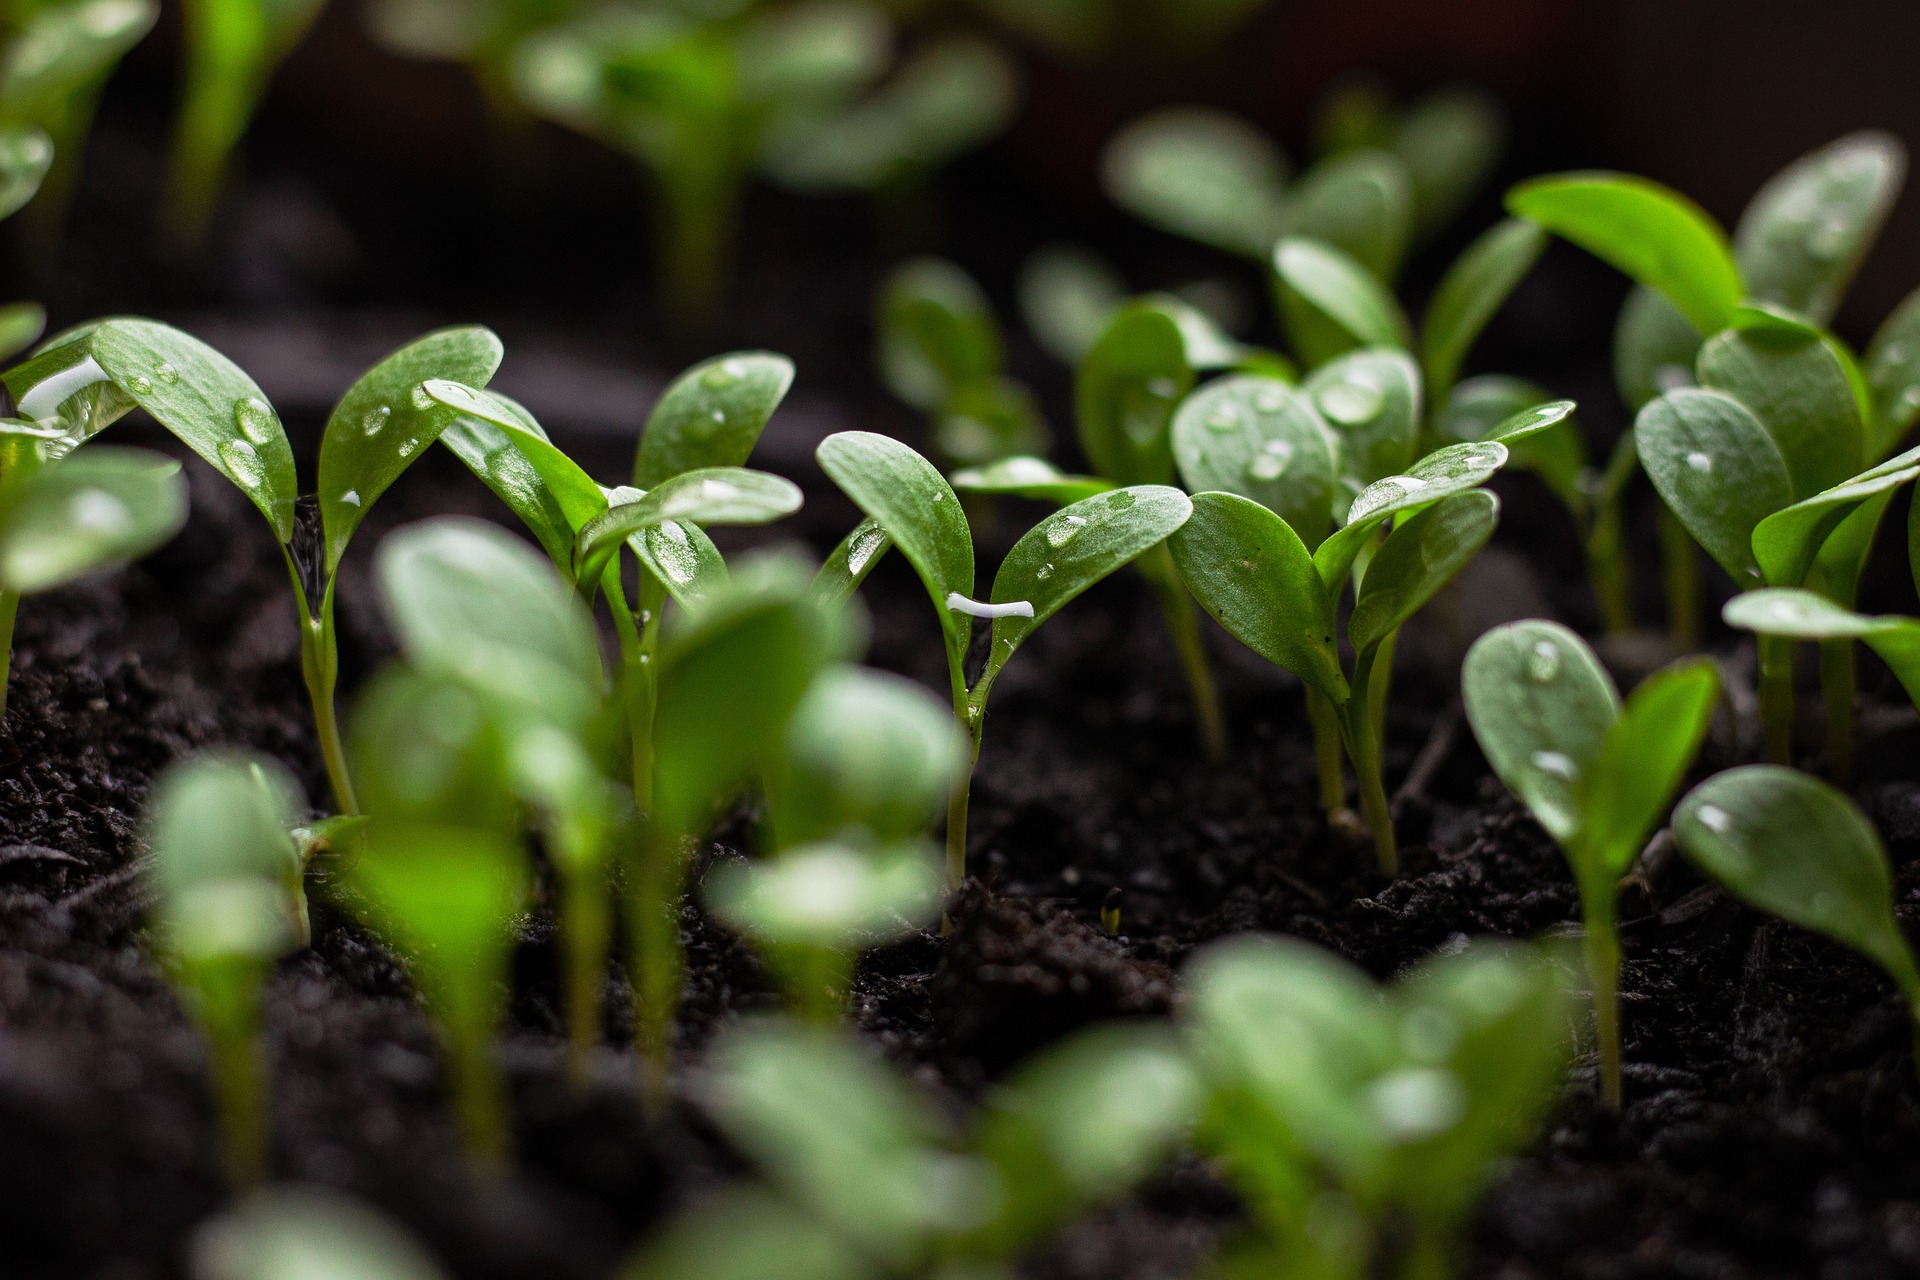
Avoid placing mulch over seeds that haven’t germinated or covering tiny seedlings. In wet climates, don’t pile mulch over plant crowns or up against plant stems, as it can encourage rot.
If you have slug problems, pull mulch away from plants for a time to remove the hiding places for slugs while you deal with the issue.

 Bioassay Test