
There’s nothing like enjoying vegetables straight from the garden. However, we often have more vegetables that we can use at once. To keep our garden produce fresh for as long as possible, it’s essential to store it properly. Here are the best ways to store your fresh vegetables for longevity and a few ways you can preserve them.
Room Temperature
While most vegetables store best in cool or cold conditions, fresh herbs often keep best at room temperature.
Basil
Basil keeps its best flavor and appearance at room temperature. Trim the ends and place them in a jar with a couple of inches of clean water like a bouquet. Basil will last about 5 days.
Cool and Dry (50-60°F and 60% relative humidity) Storage
For most folks, the best option for cool, dry storage will be a basement or semi-heated garage. Each person’s home is different, so monitor the humidity and temperature in your space to ensure it stays in this range. It’s also important to remember to protect your produce from rodents and to provide ventilation. Poor ventilation won’t let your vegetables breathe and can reduce shelf-life.
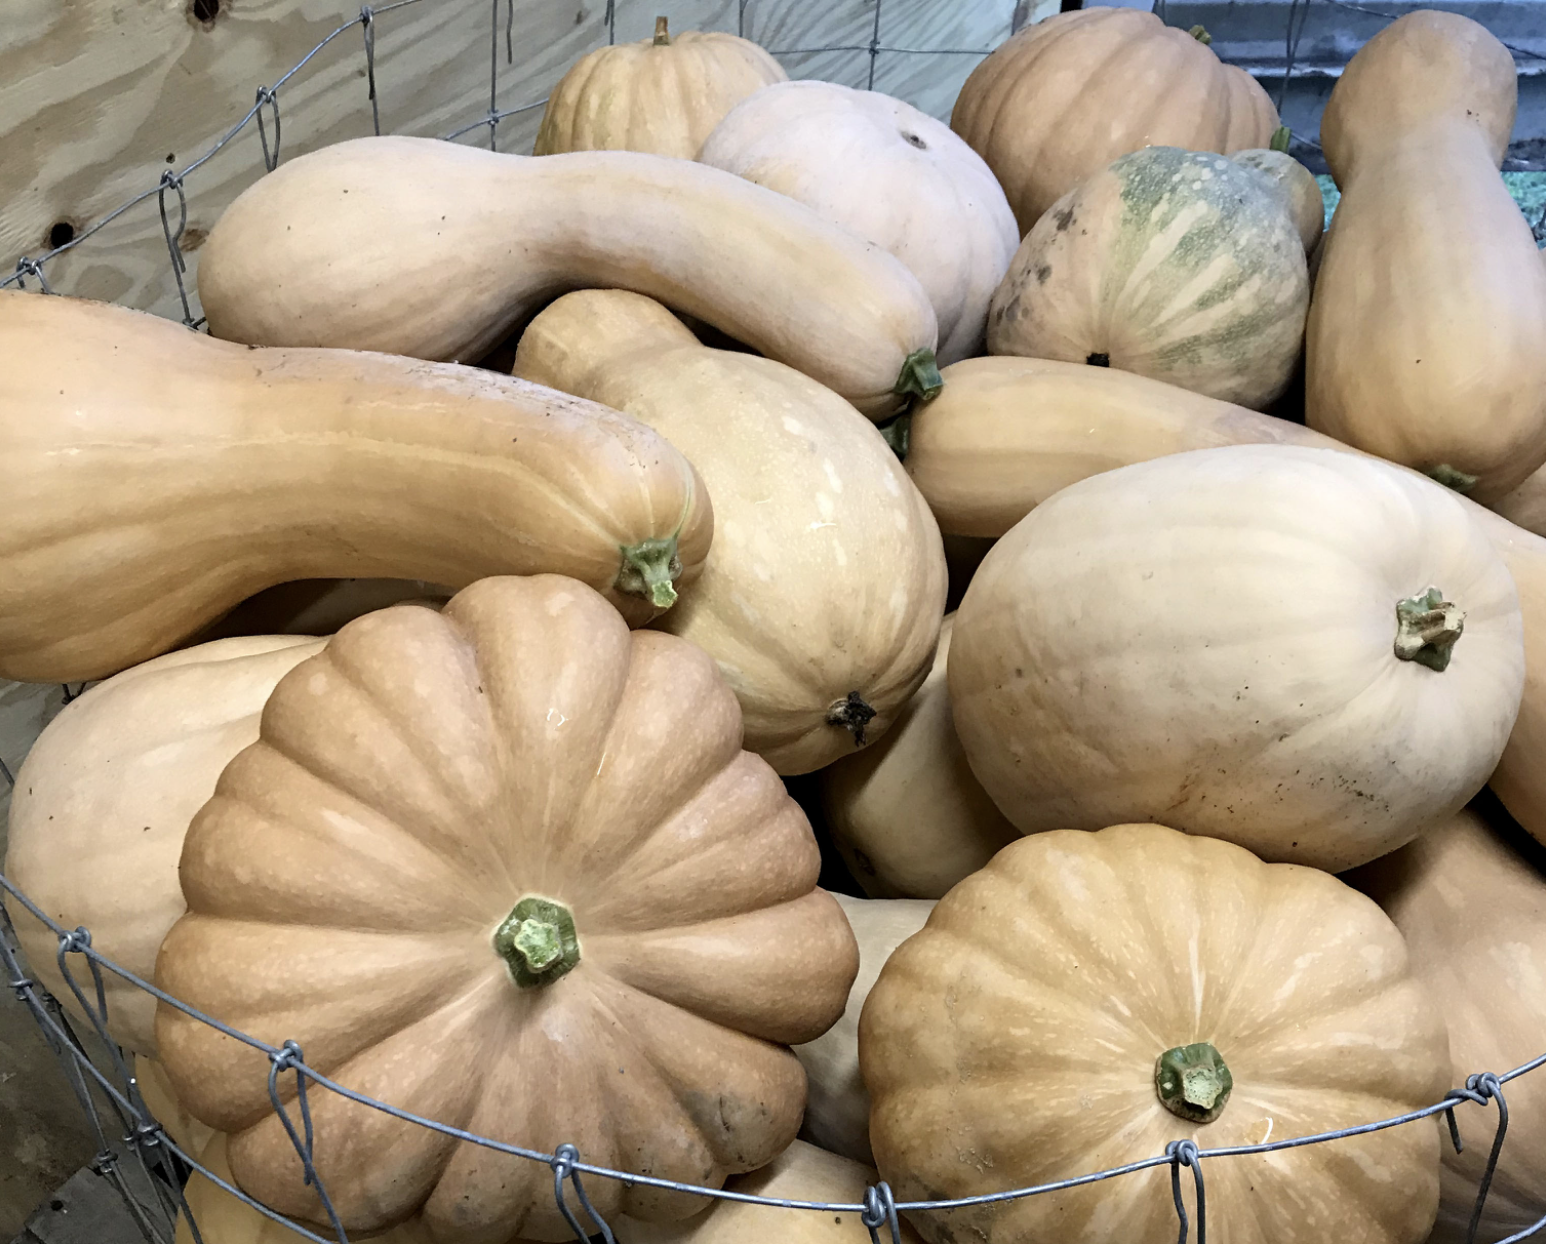
Pumpkins & Winter Squash
Harvest pumpkins and winter squash before frost. Cure for 7-10 days before storage. Keep them somewhere the temperature stays above 45°F for long-term storage. Depending on the variety, they may keep for up to 12 months.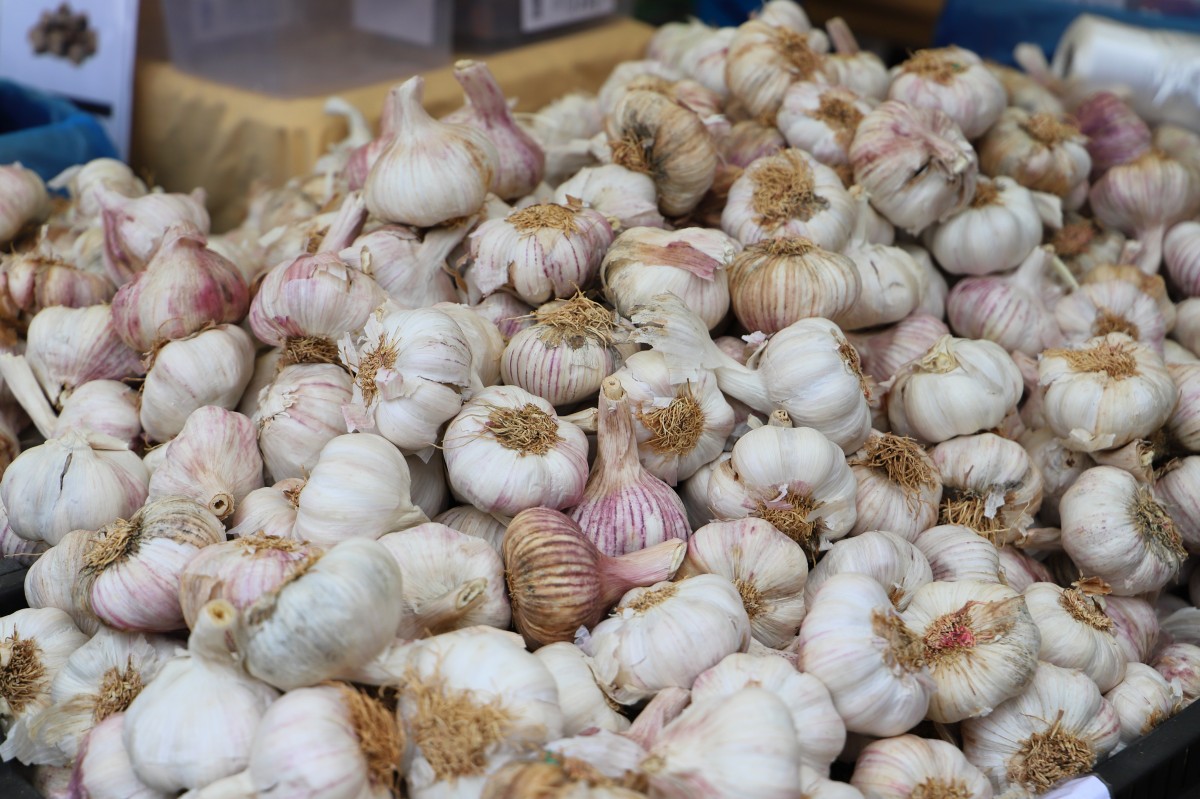
Cold and Dry (32-40°F and 65% relative humidity) Storage
Your refrigerator probably falls within this range. Ensure your refrigerator isn’t dipping below freezing in any spots before using it for long-term storage.
Onions & Garlic
Cure at room temperature for two to four weeks before storage. Don’t store onions and garlic with potatoes or other vegetables that release moisture. Onions and garlic will store for up to 8 months depending on the variety.
Cool and Moist Conditions
Unless you’re a grower with a dedicated walk-in refrigerator for cool, moist storage, these conditions will be hard to achieve. At home, we do the best we can and enjoy or preserve these vegetables quickly after harvest.
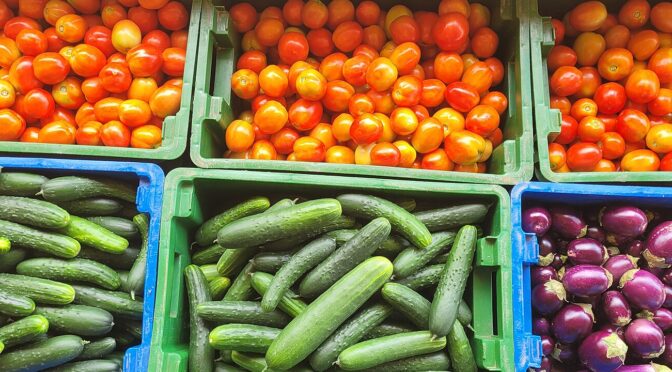
Cucumbers
Cucumbers keep for about a week in cool, moist conditions. Don’t store them next to apples or tomatoes. Perforated bags in a cool spot in the kitchen or refrigerator can help extend their shelf life, but they typically only keep for about 1 week.
Eggplants
Store in perforated bags in a cool spot in the kitchen or refrigerator, if necessary. They do best at around 55°F. At temperatures lower than 50°F, they can brown and get pulpy. Use eggplants within about 1 week.
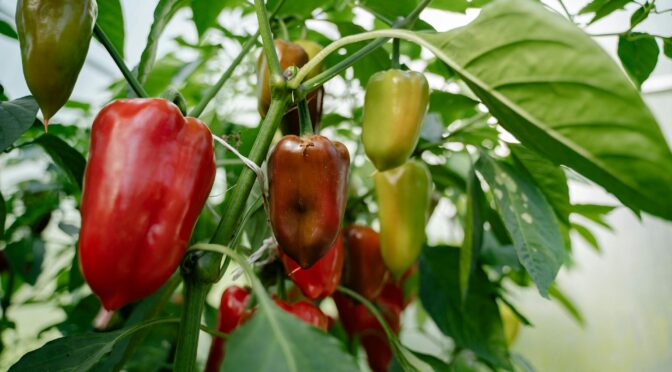
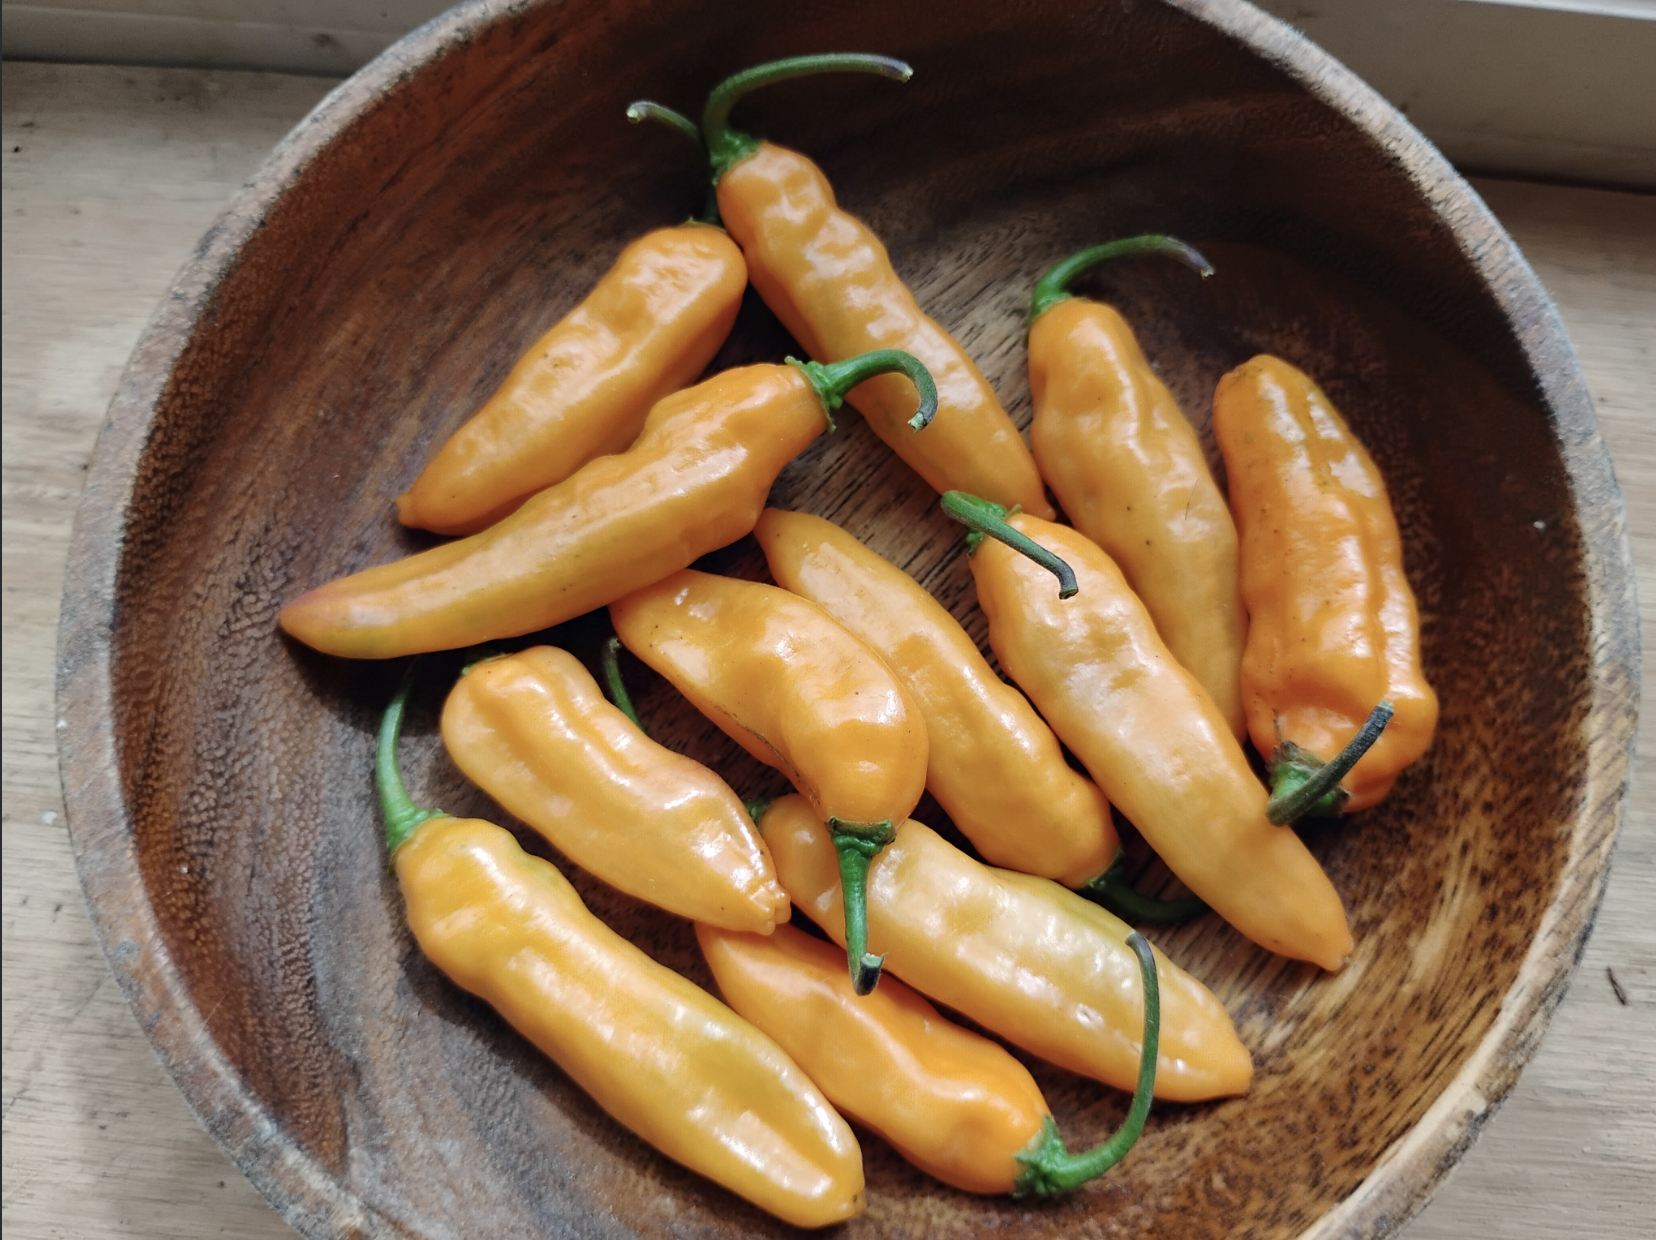
Peppers
Store peppers in cool, moist conditions. Perforated bags in a cool spot in the kitchen or refrigerator can help extend their shelf life, but they typically only keep for about 2 weeks. Avoid storing peppers below 45°F; they will develop pitting.
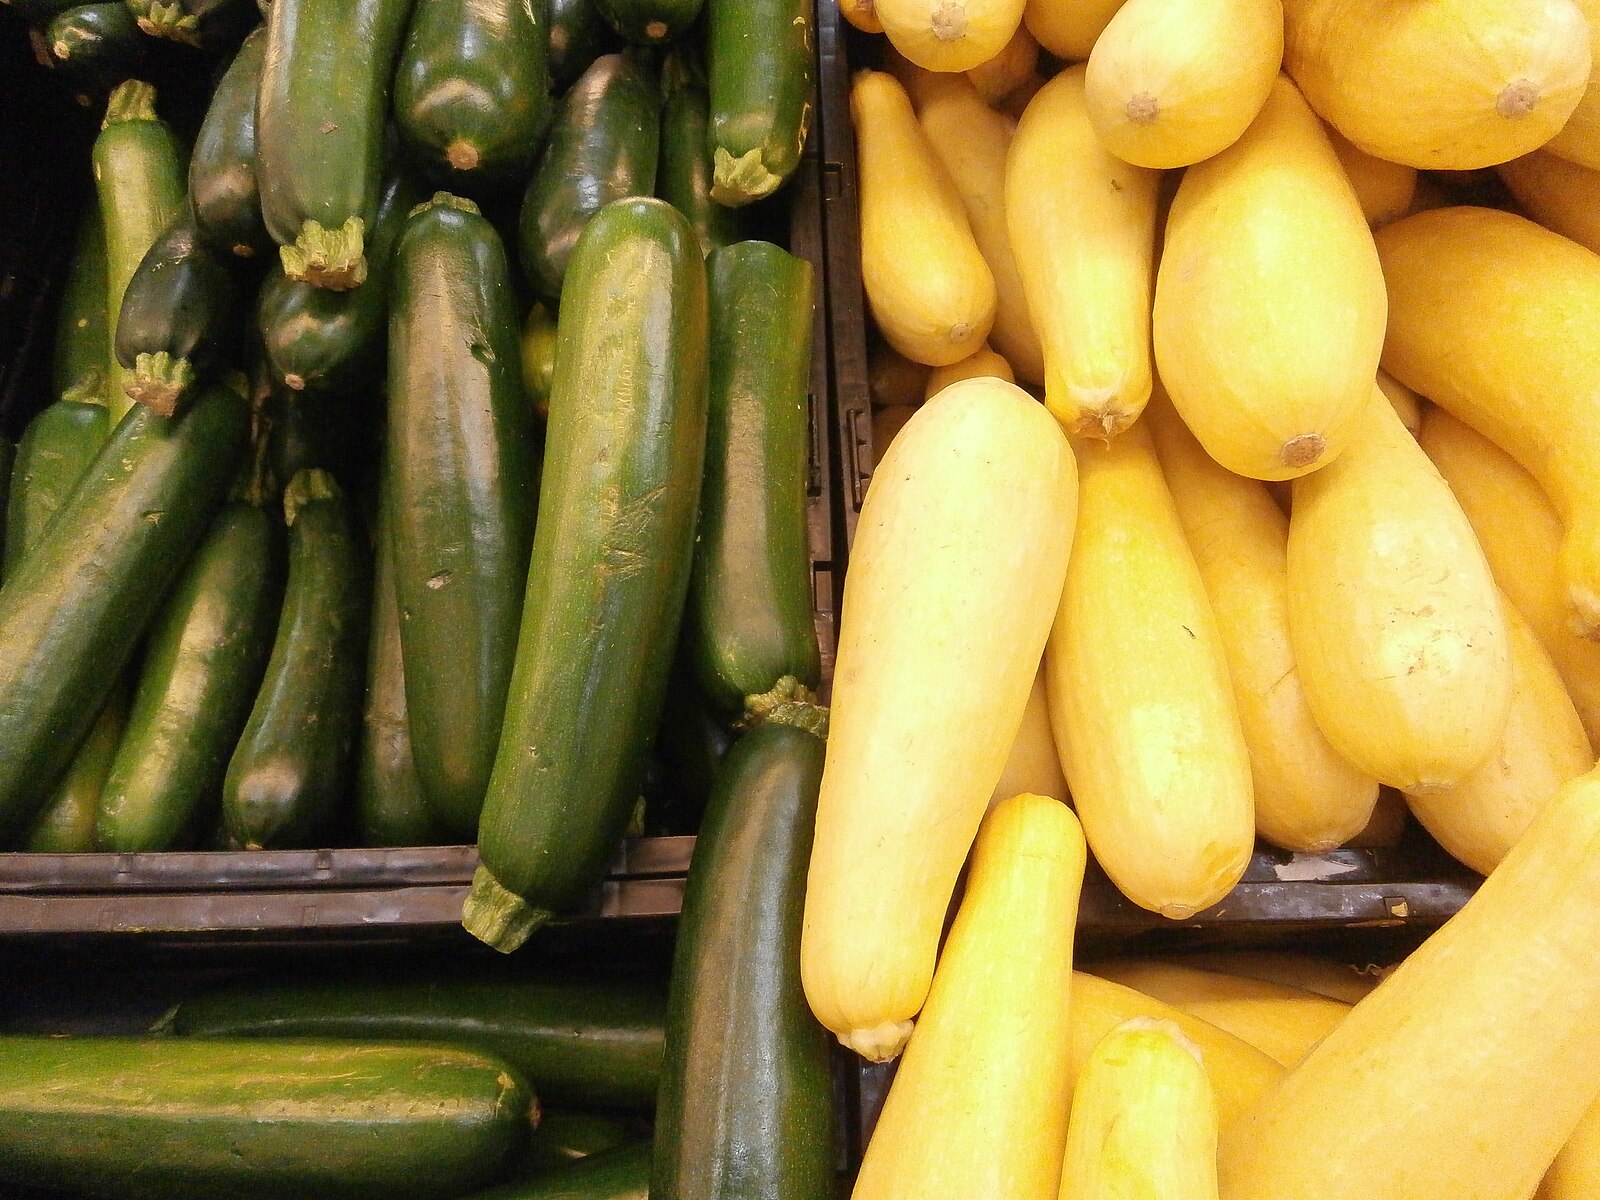
Summer Squash & Zucchini
Harvest when the fruits are 6 inches long or less. They do best at around 55°F. Store in a cool spot or in the refrigerator in perforated plastic bags. They will keep for about 1 week.
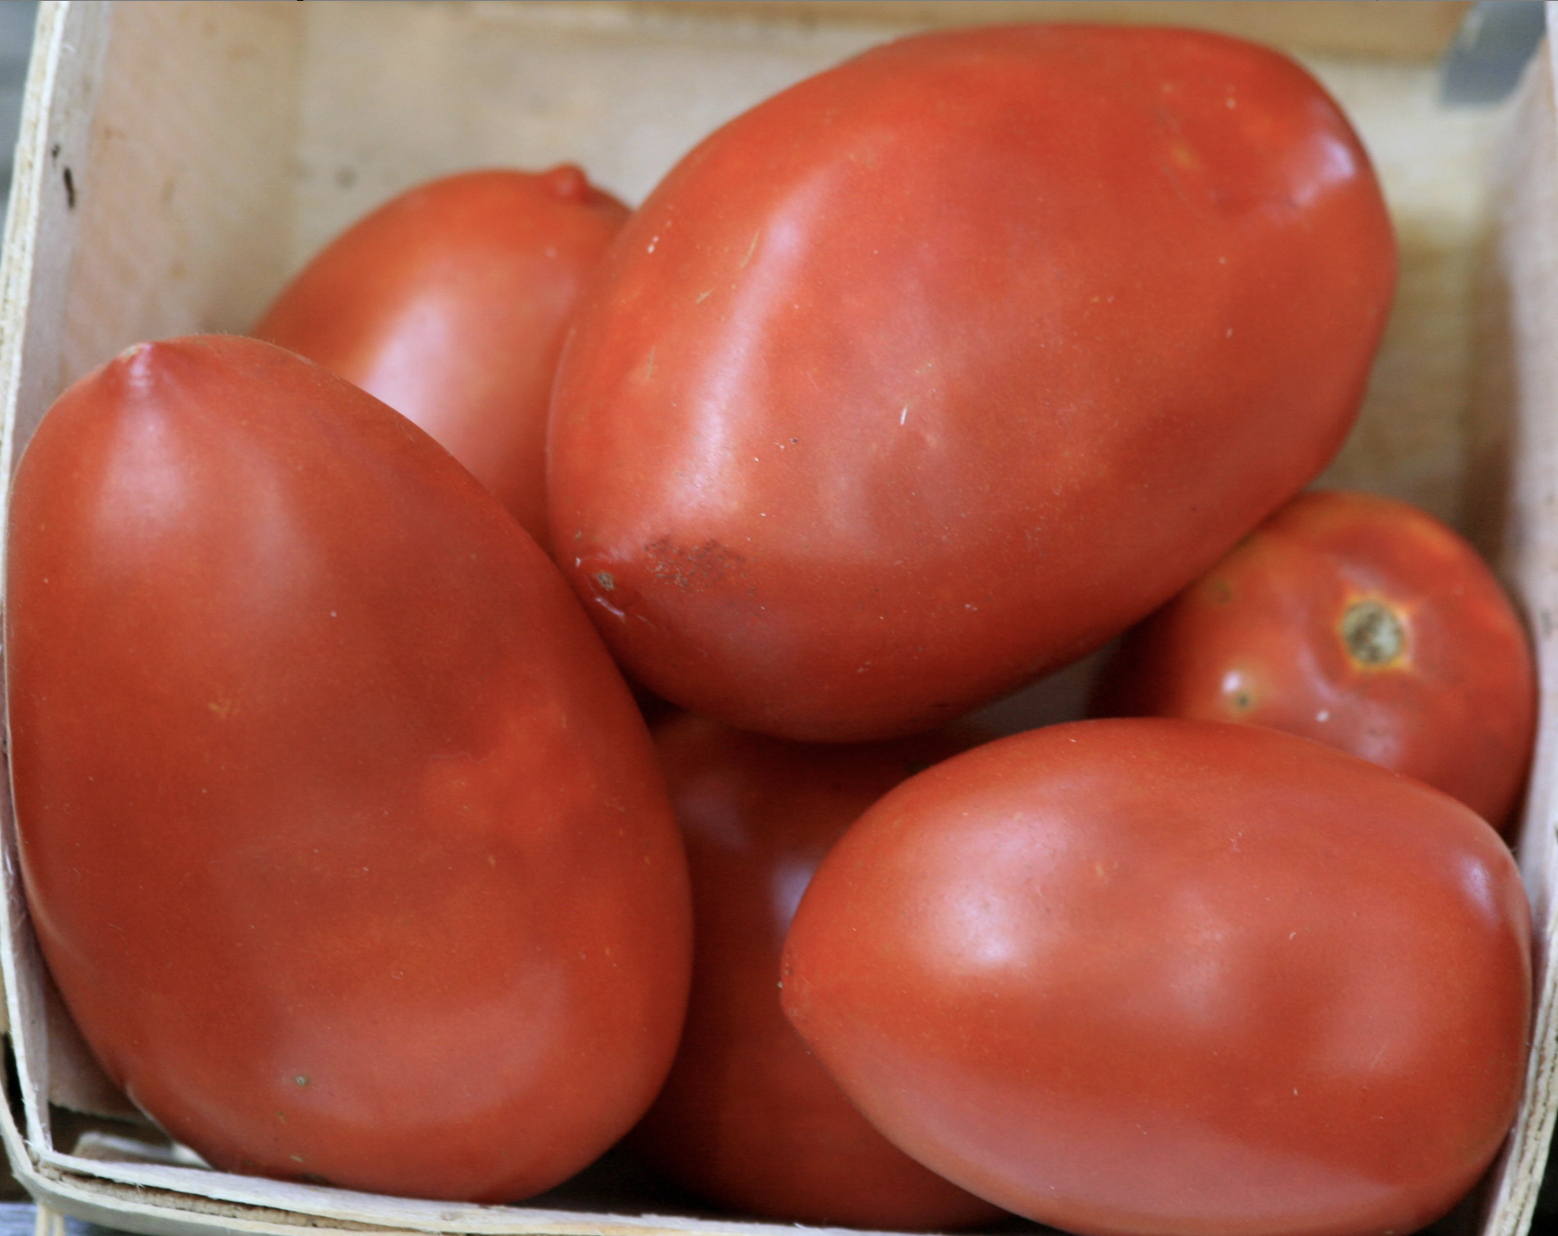
Tomatoes
Store in a cool spot in the kitchen. They do best around 55°F. Do not refrigerate tomatoes; it affects their flavor, texture, and color. Tomatoes are best when you use or preserve them within about 5 days.
Watermelon
Watermelon does best when you store it somewhere cool and moist, around 55°F. It keeps for about 2 weeks. Many people store watermelon in the refrigerator, but watermelon will degrade if stored below 50°F for more than a few days.
Cold and Moist (32-40°F and 95% relative humidity) Storage
For the home gardener, root cellars are usually the best option for this type of storage. Just like with basements and garages, your exact situation may vary, so it’s worth checking on the temperature and moisture levels in your storage. You should also watch for any rodent activity.
Perforated plastic bags in the refrigerator can also increase the humidity to mimic these conditions. This method works well for vegetables you use quickly, like asparagus, sweet corn, and lettuce, but it doesn’t work for long-term storage vegetables like turnips and beets. Solid plastic bags hold in too much moisture and don’t allow ventilation.
Asparagus
Store asparagus upright. It will keep for up to two weeks.
Snap Beans
Fresh snap beans will store for about one week. They do well in cold, moist conditions with temperatures at about keep at 40°F or above. Beans stored below 40°F will develop pitting.
Beets
Beets are an excellent storage crop. Harvest beets when they’re between 1.5 and 3 inches in diameter. Trim the tops and store them in cold and moist conditions, and they’ll keep up to 5 months.
Broccoli
Broccoli stores for up to 2 weeks in cold, moist conditions.
Brussels Sprouts
Store in cold, moist conditions for up to 1 month.
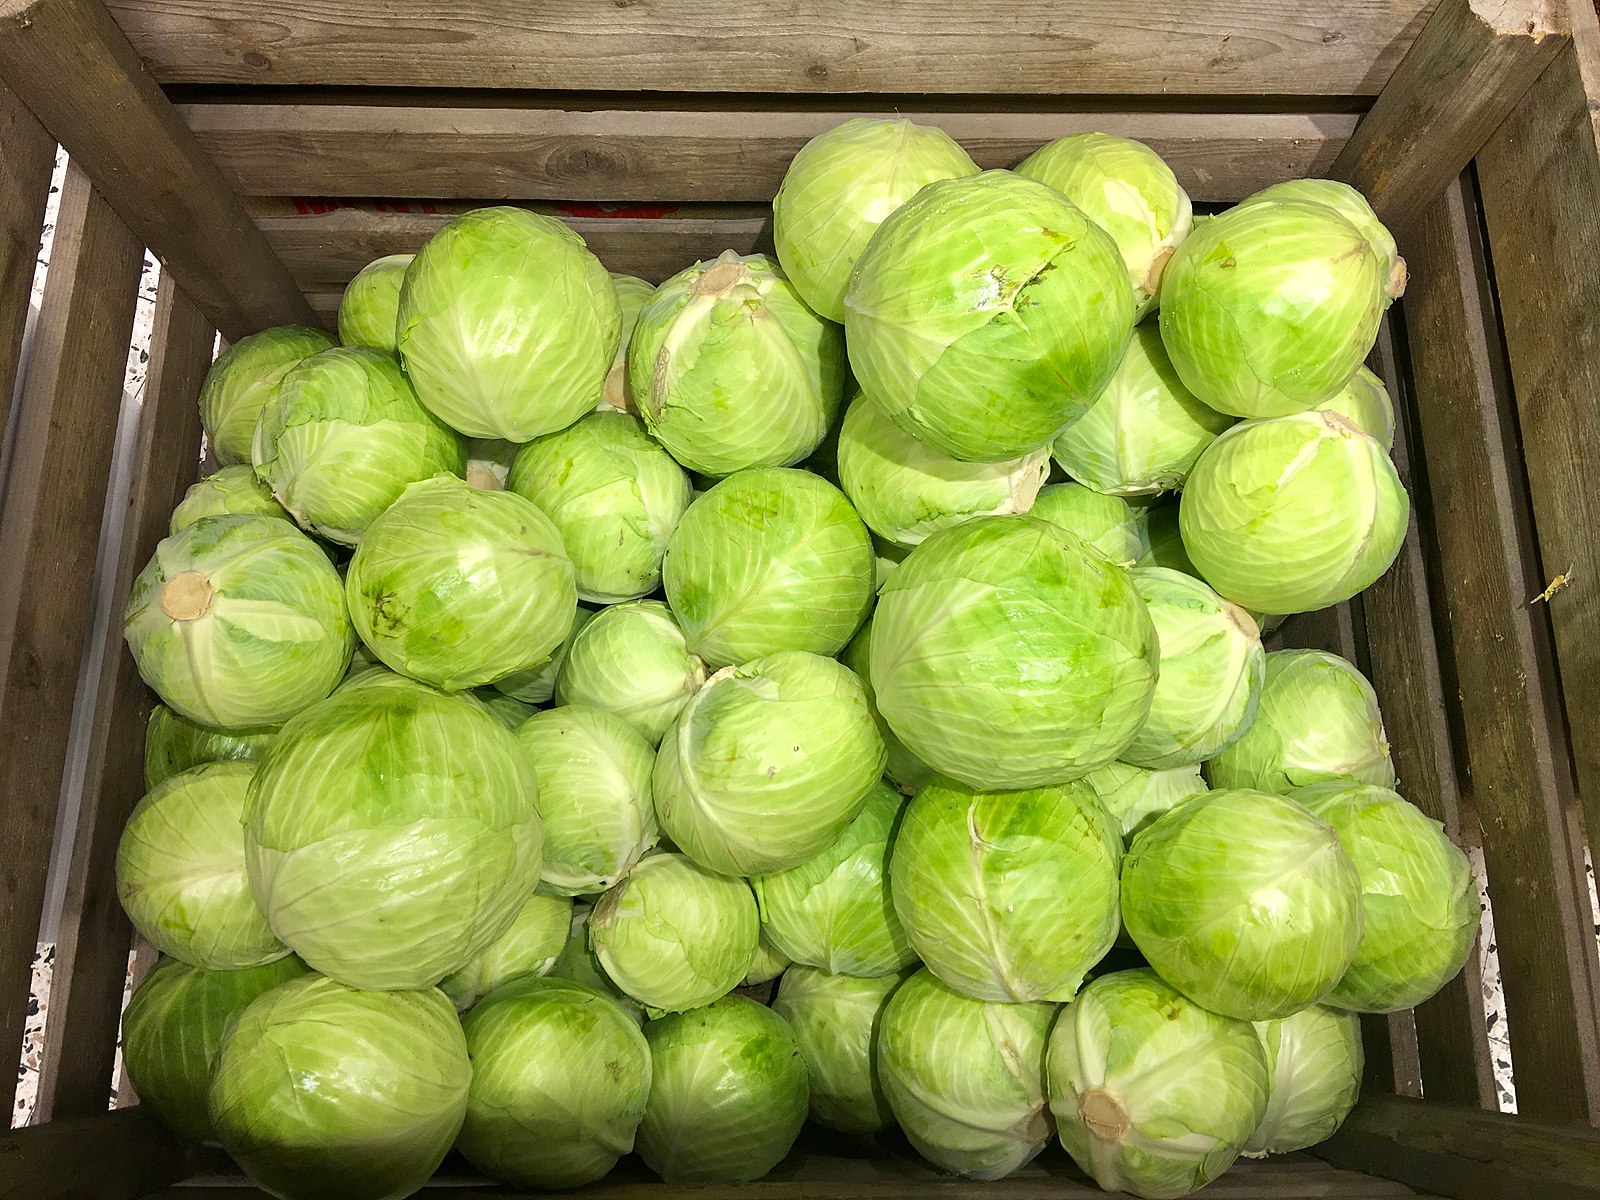
Cabbage
Store in cold, moist conditions for up to 5 months.
Carrots
After harvest, trim carrot tops and store them in cold, moist conditions. They will keep for up to 8 months.
Cauliflower
Store in cold, moist conditions for up to 3 weeks.
Sweet Corn
Store in cold, moist conditions for up to 5 days.
Kohlrabi
Store in cold, moist conditions for up to 2 months.
Lettuce
If you harvest lettuce on warm days, chill it in ice water immediately. Store in cold, moist conditions for about 1 week.
Muskmelon
Store in cold and moist conditions. Keep above freezing. They typically keep for about 1 week.
Parsnips
Parsnips are best when you harvest them after a light frost. Keep them in cold, moist conditions for up to 4 months, ensuring they have good ventilation. Parsnips sweeten after two weeks of storage at 32°F.
Peas
Store in cold and moist conditions for up to 1 week.
Potatoes
Harvest your potatoes after the vines have died back. Then cure them at 50-60°F for 14 days before storage. Generally, potatoes store best in dark, cold, moist conditions (32-40°F and 95% relative humidity). Potatoes may keep for up to 6 months depending on the variety.
Radishes
After harvest, trim the radish tops and store them in cold, moist conditions. They will keep for up to 1 month.
Rutabagas
After harvest, trim the tops and store them in cold, moist conditions. They will keep for up to 4 months.
Spinach
On warm days, dunk spinach in ice water immediately after harvest. Store in cold, moist conditions for up to 10 days.
Turnips
After harvest, trim the tops and store them in cold, moist conditions. They will keep for up to 4 months.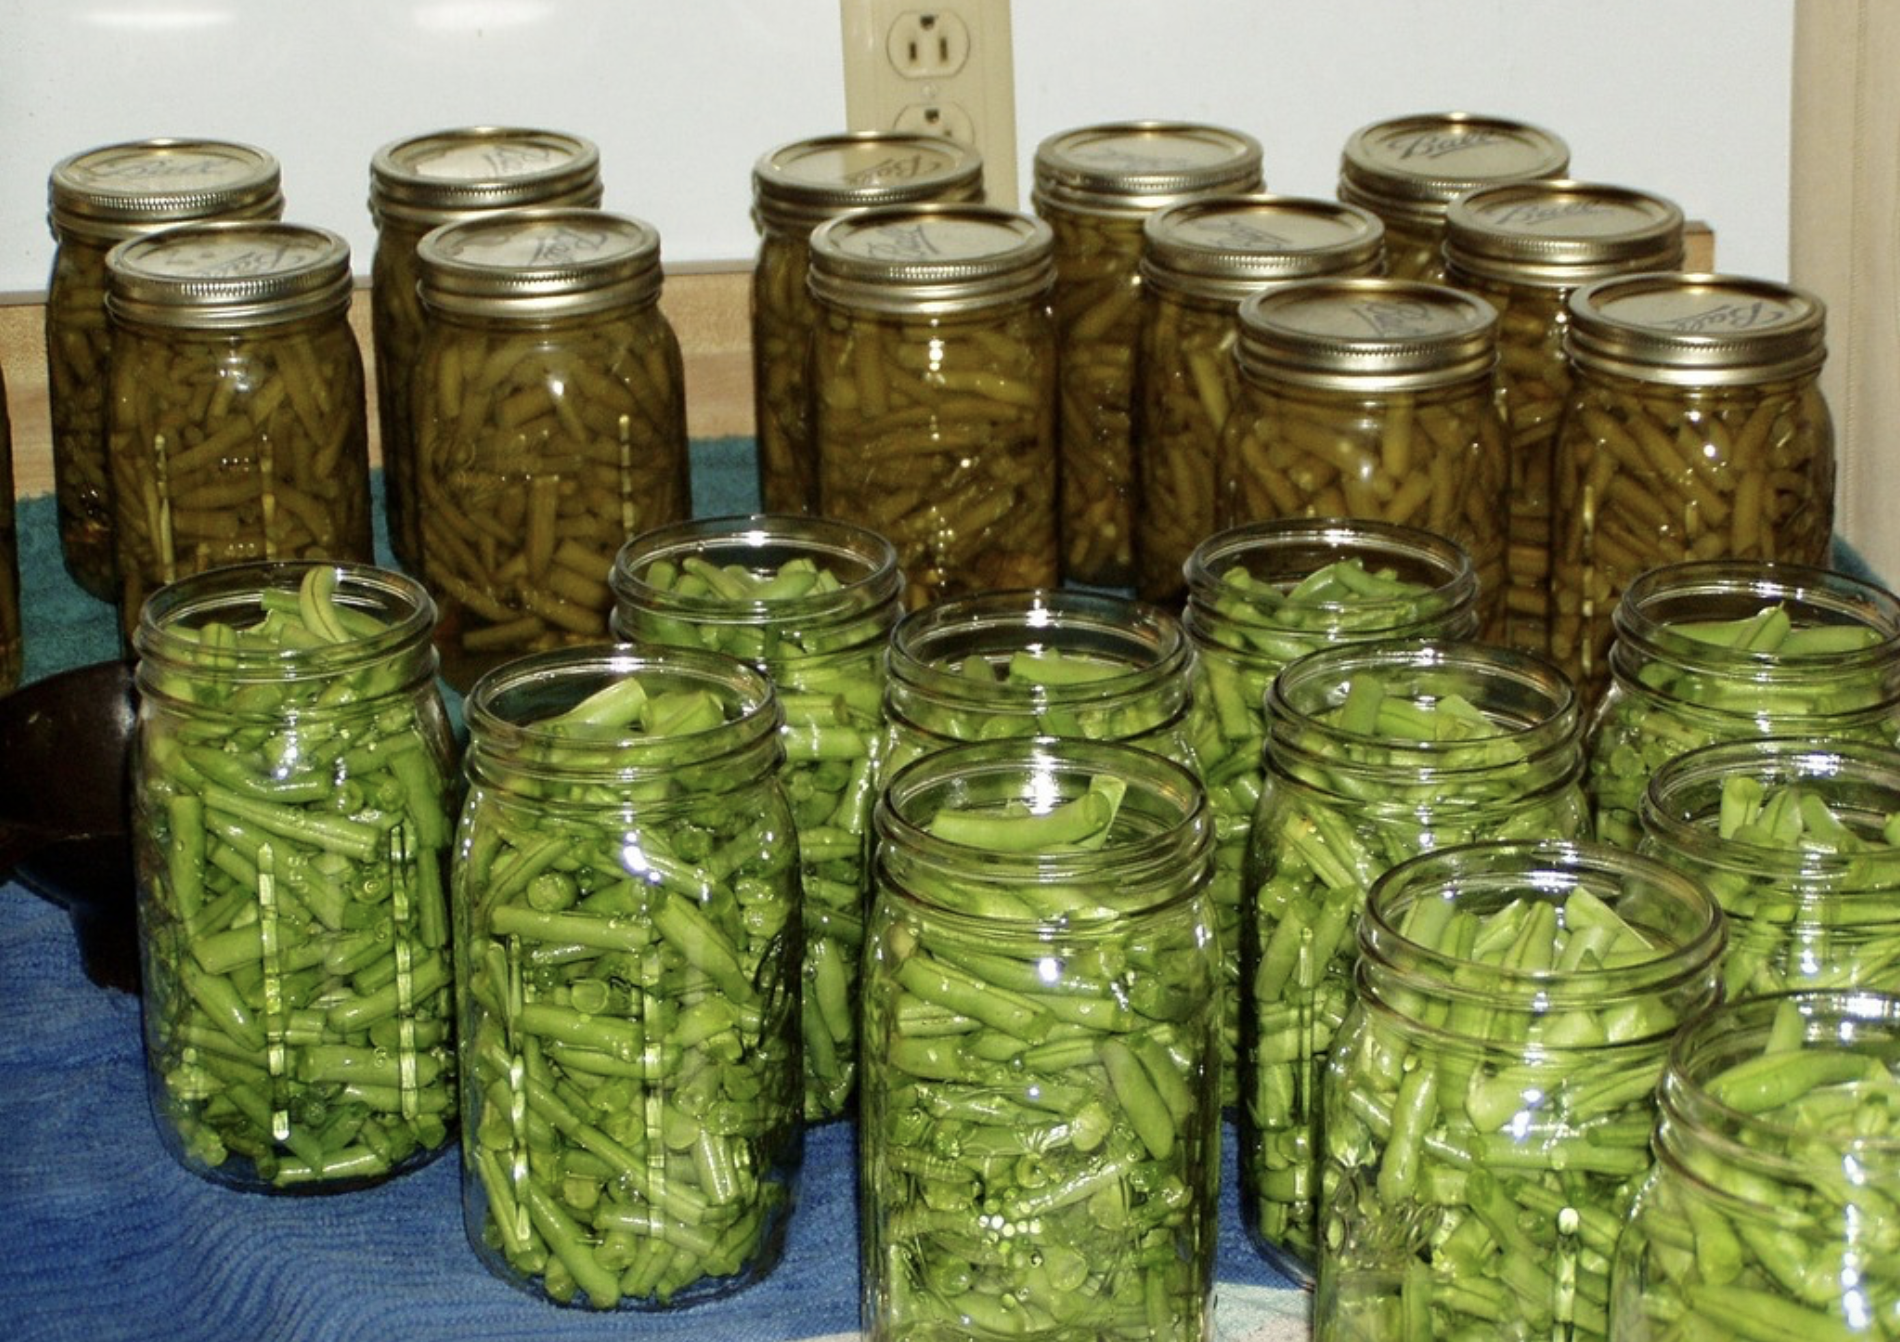
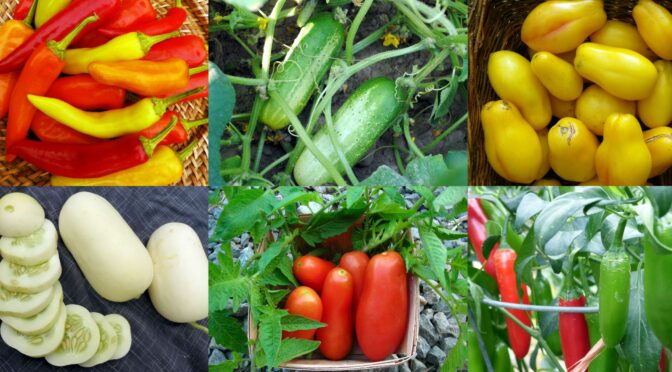
Preserving Fresh Produce
To make the most of extra fresh produce, preserve any surplus as quickly as possible. You can use freezing, canning, and drying to preserve your harvest for winter.
Freezing
Many vegetables freeze well, but most must be blanched before freezing. You’ll need to blanch vegetables like collards, green beans, carrots, peas, and broccoli so that they keep their color and texture in the freezer. You can also freeze cooked vegetables like tomatoes, pumpkin puree, and winter squash. Some gardeners also freeze fresh herbs like basil in an ice cube tray of olive oil for winter cooking.
To learn more about freezing vegetables, check out the National Center for Home Food Preservation section on freezing vegetables.
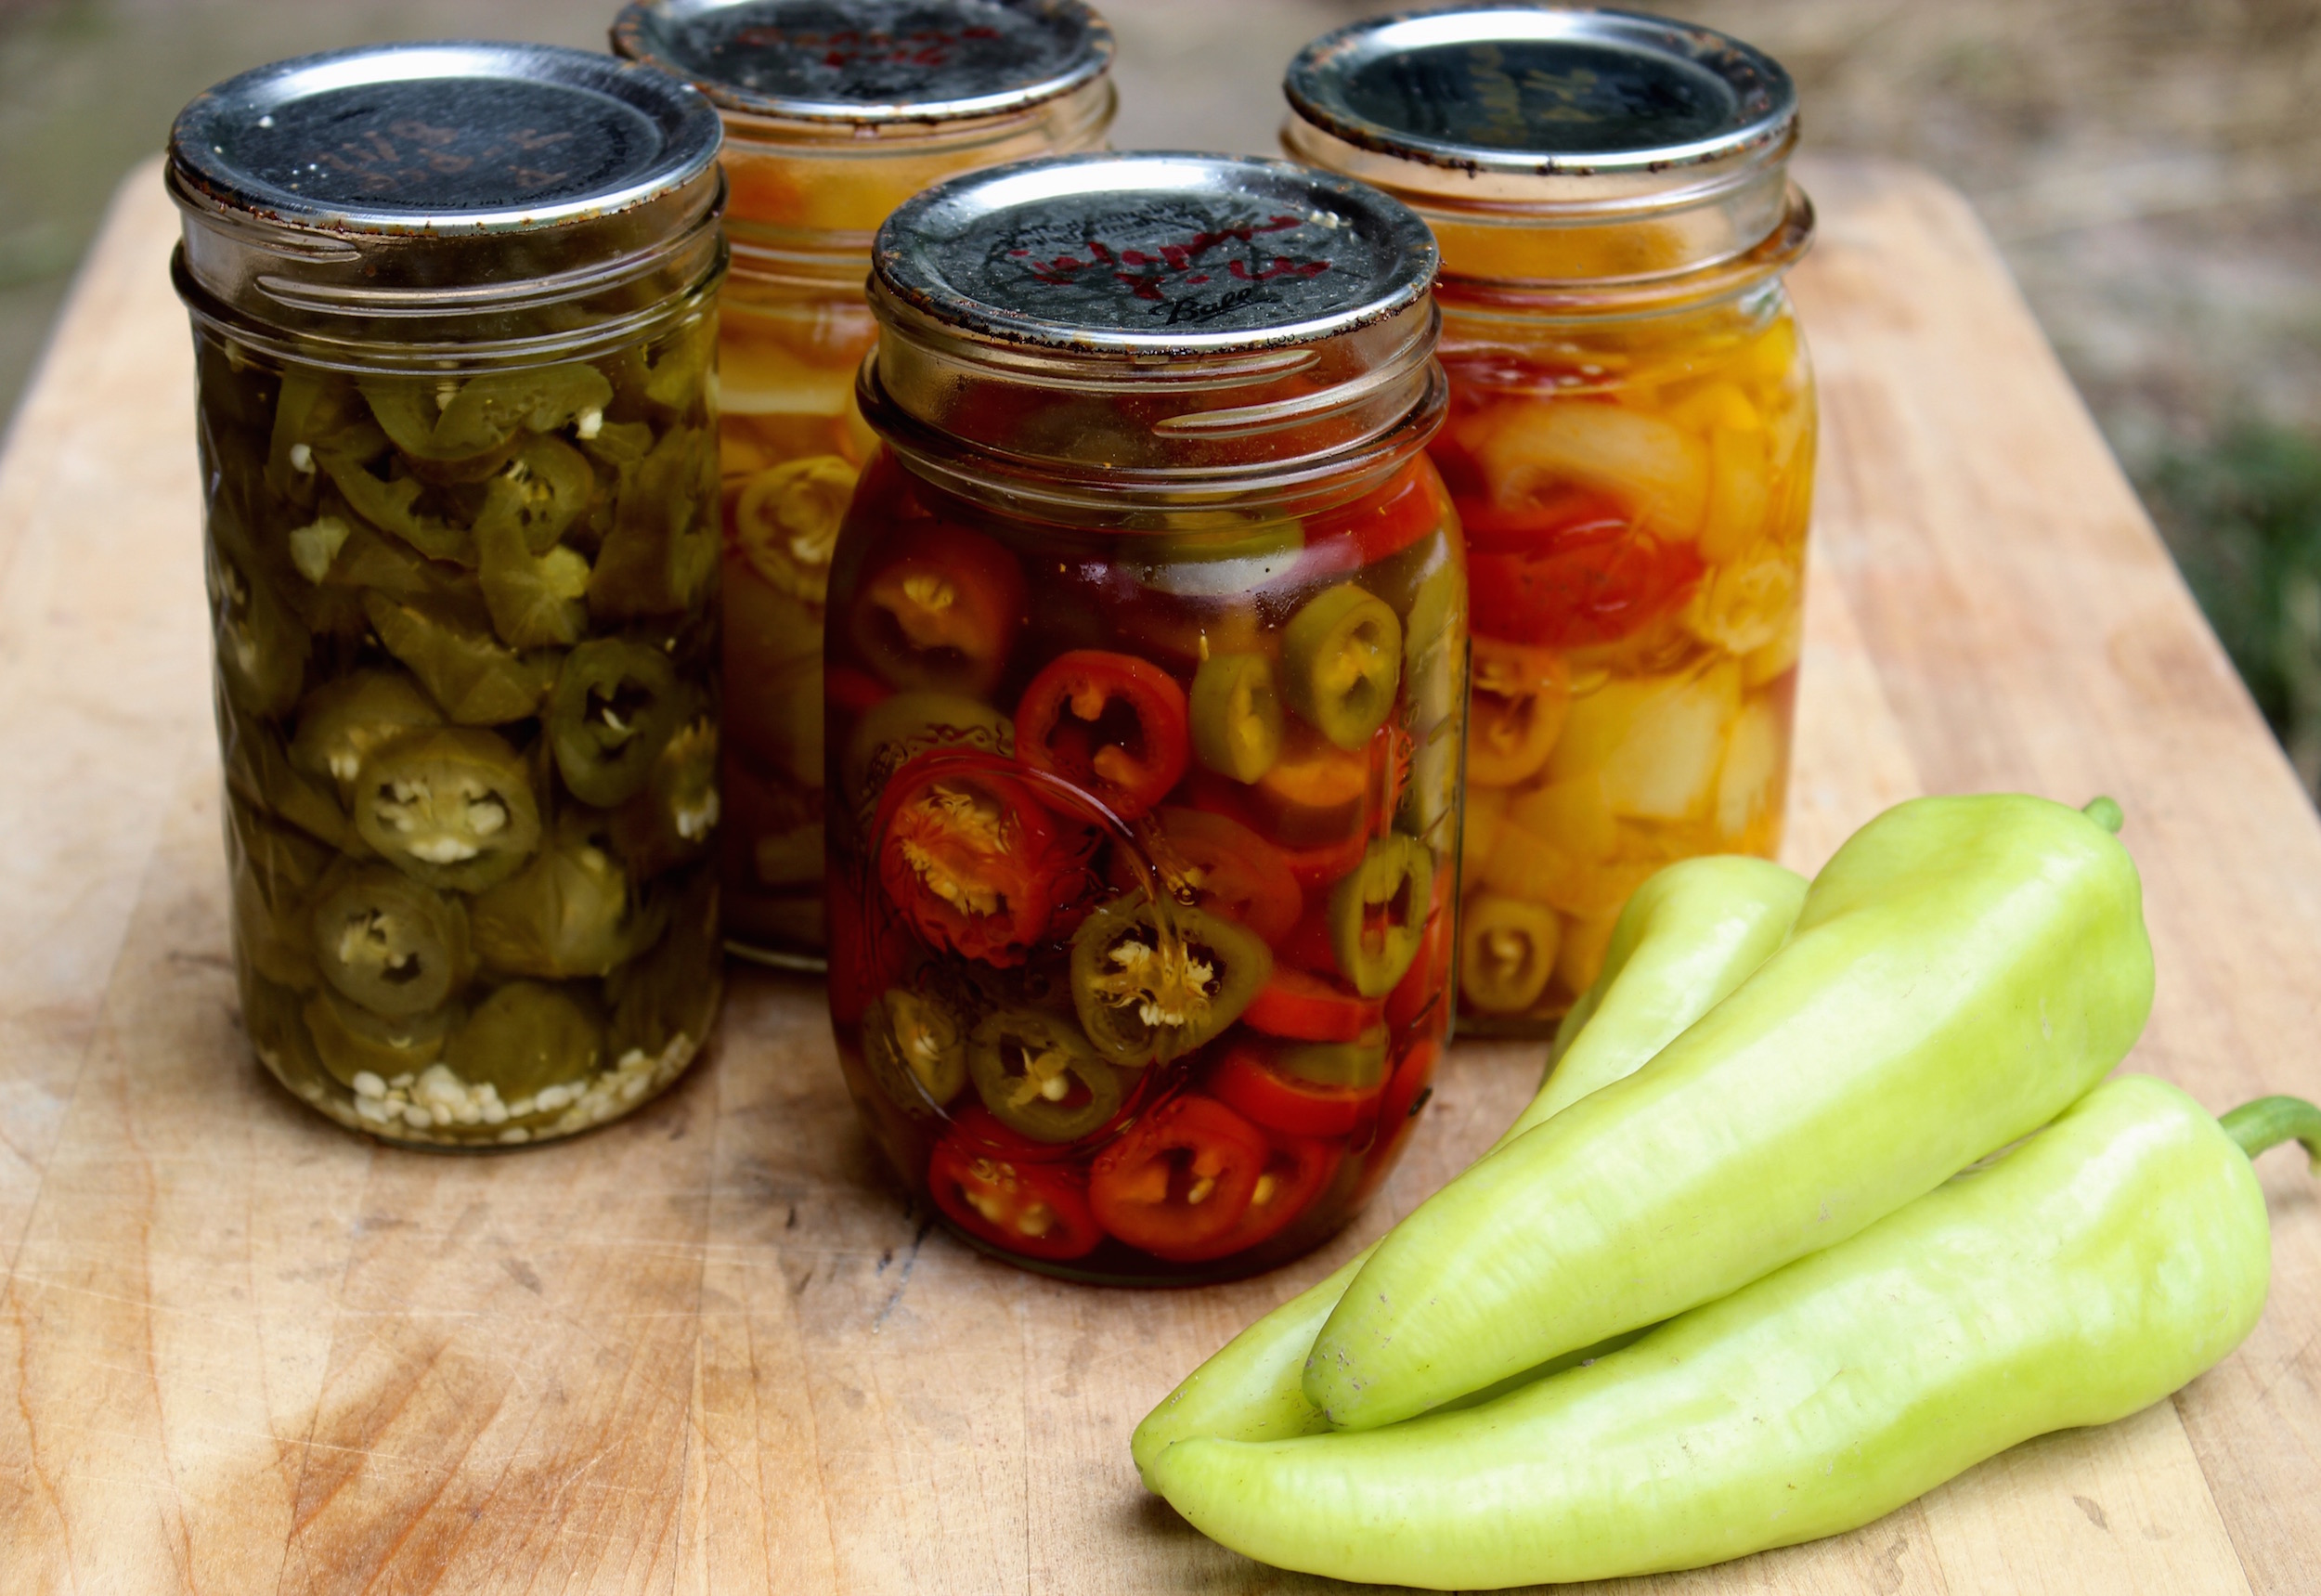
Canning
Canning is a great way to preserve vegetables because you don’t need a lot of freezer space and they’ll be safe if the power goes out. However, most vegetables aren’t acidic enough to be canned in a boiling water bath canner. This means you’ll need a pressure canner that reaches higher temperatures to preserve vegetables like green beans, sweet corn, and carrots. Some vegetables, like zucchini, are only safe to can in certain ways, because their texture can affect the process.
To learn more about safely canning vegetables, visit the National Center for Home Food Preservation canning section or the Ball Mason Jars Canning and Preserving Guides.
Dehydrating or Drying
Dehydrating vegetables is often overlooked, but it’s an easy way to put up a surplus. You can dry most vegetables in a simple home dehydrator, and most dehydrators have settings for specific vegetables. However, many vegetables must be blanched first for best results. To learn more about dehydrating vegetables, visit the Penn State Extension Let’s Preserve: Drying Fruits and Vegetables (Dehydration) resource.
You can also hang most herbs like basil and mint to dry in bundles at room temperature. Placing an upside-down paper bag over each herb bundle will keep any dust off.
 Amish Paste (Indeterminate)
 San Marzano (Indeterminate)
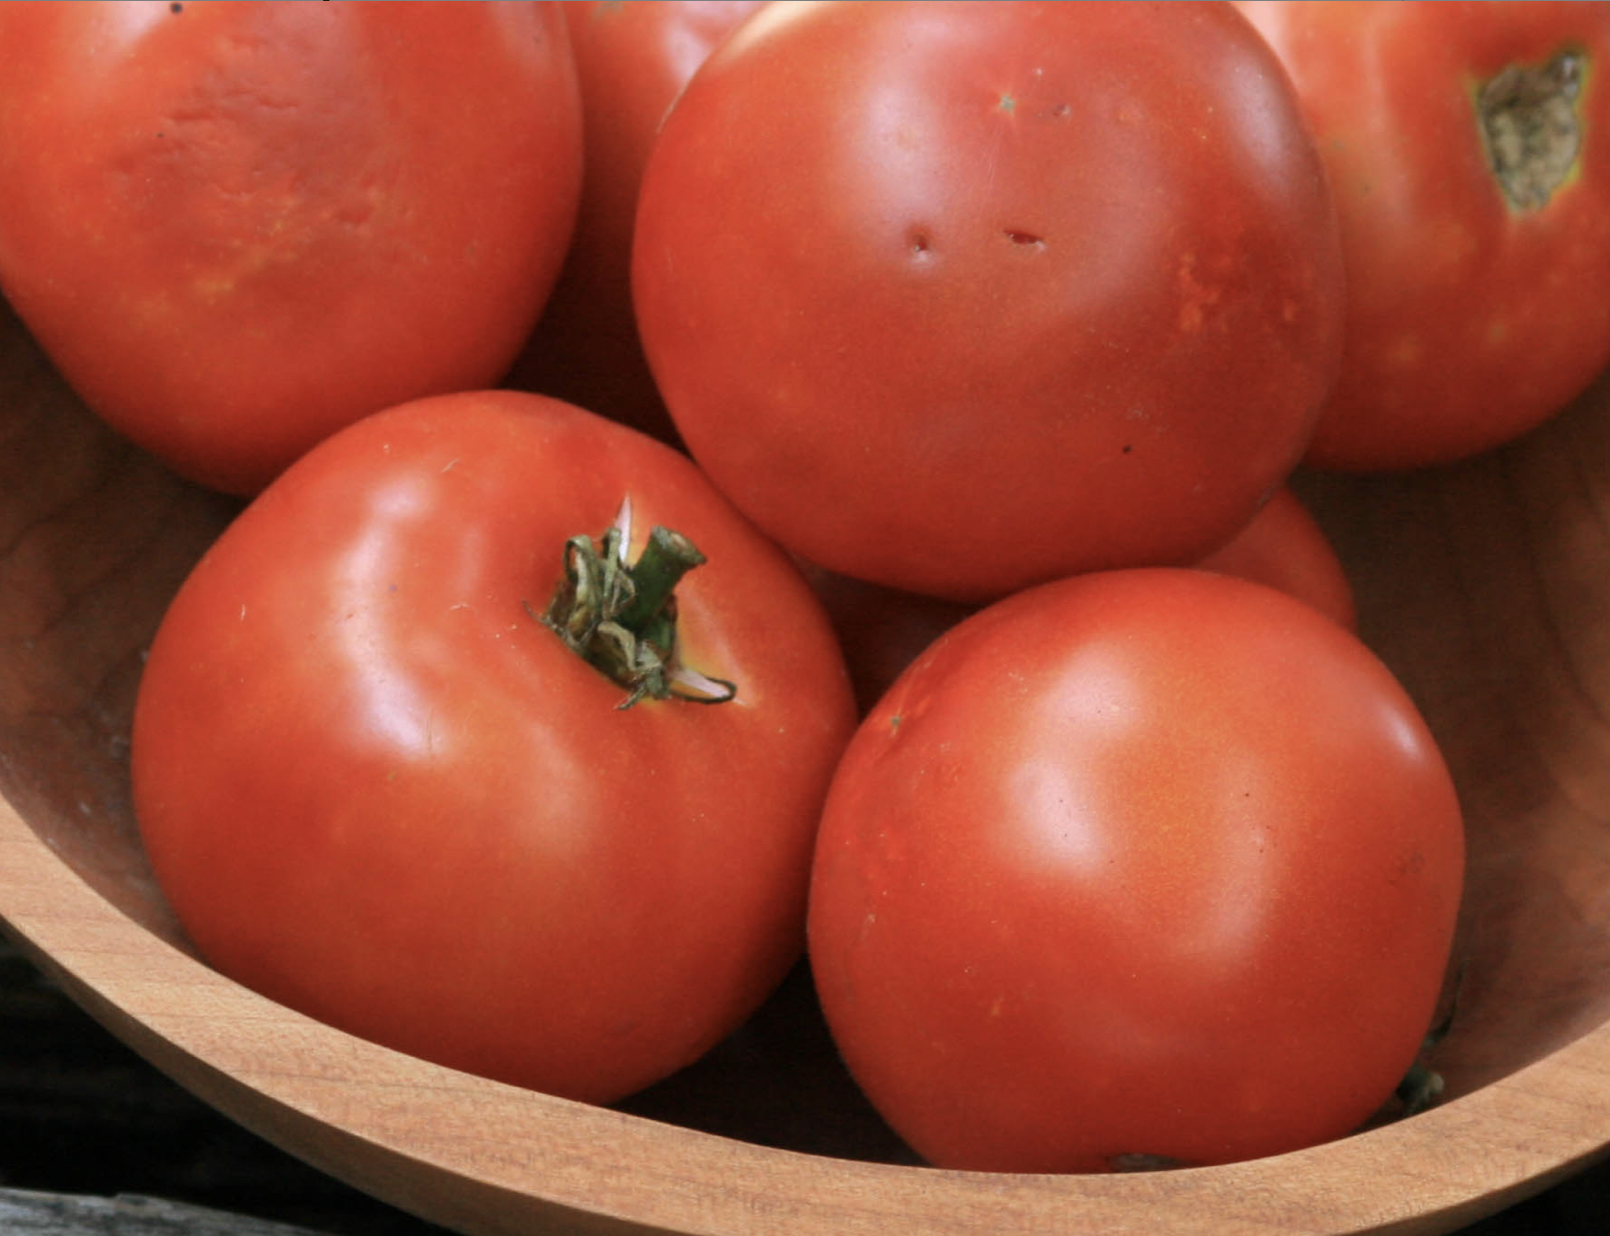 Heinz 1350 VF Processing Tomato (Determinate)
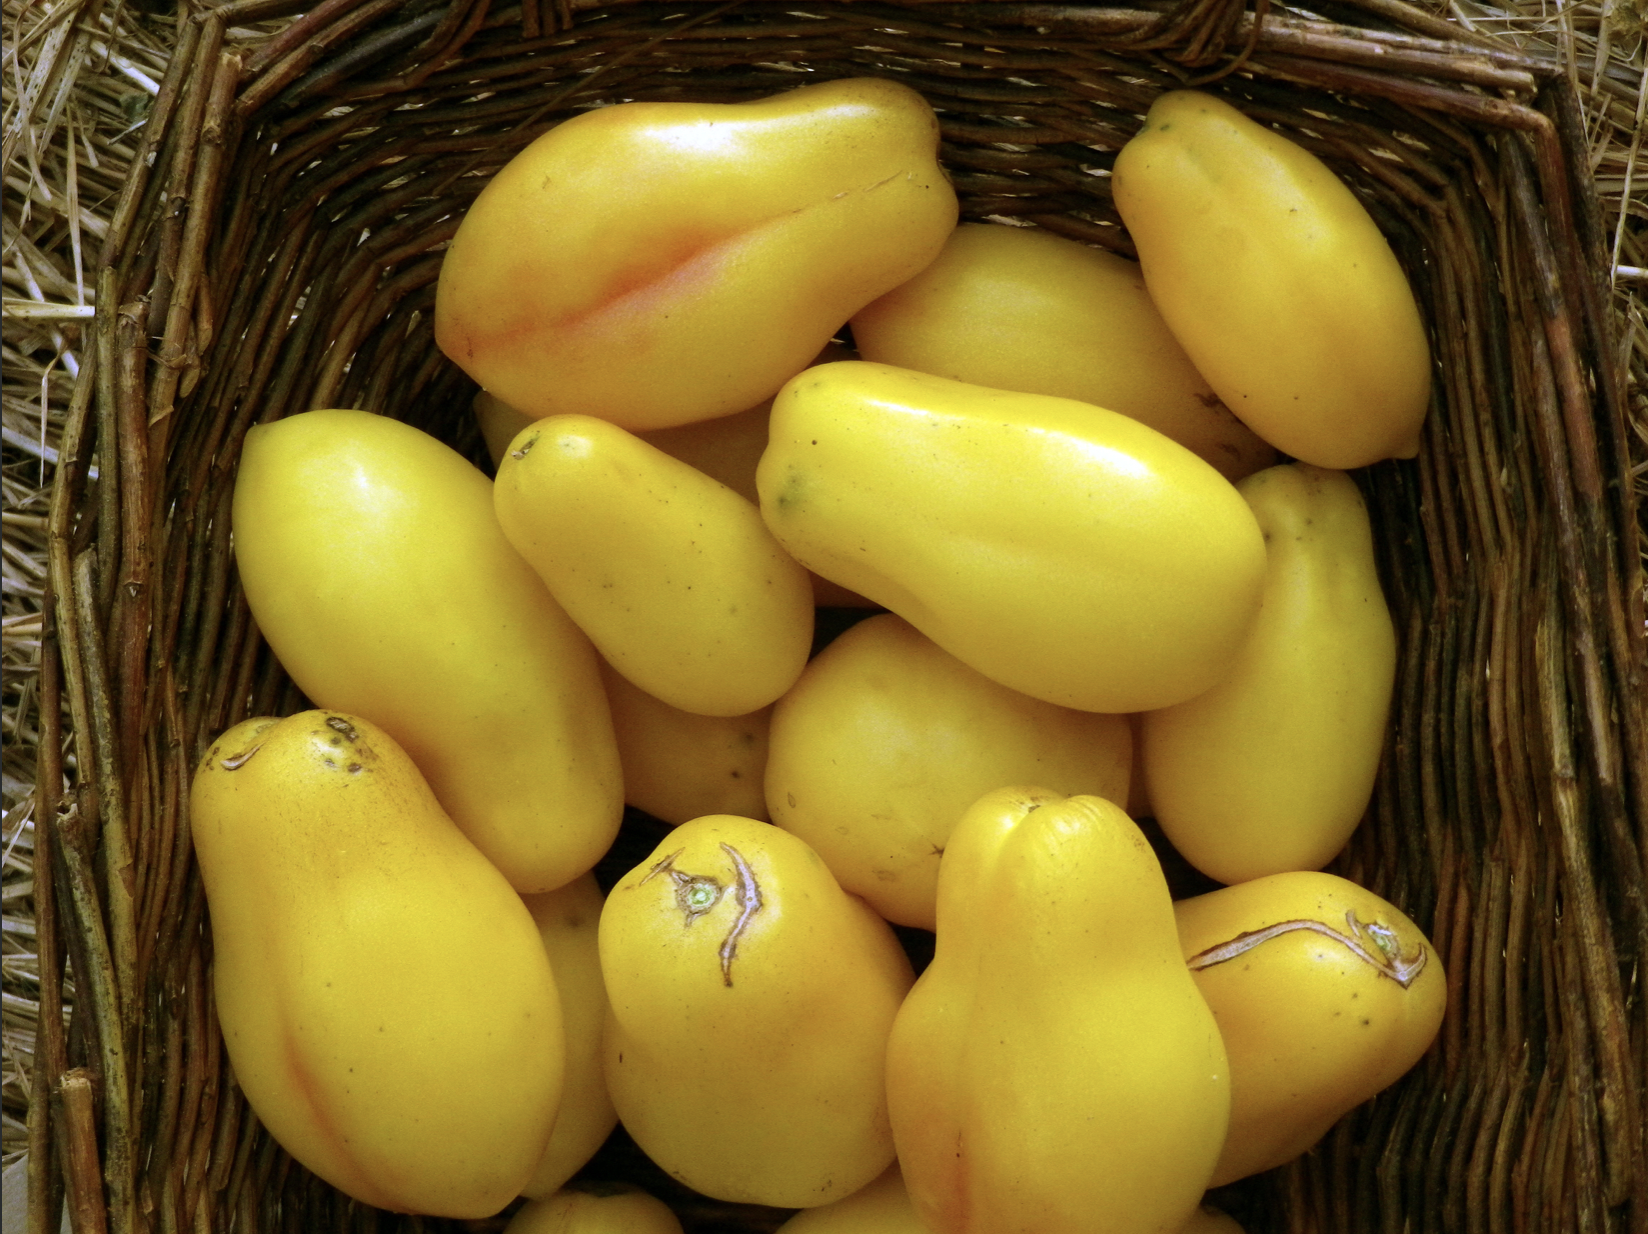 Yellow Bell Paste Tomato (Indeterminate)
 Roma VF, Virginia Select Paste Tomato (Determinate)
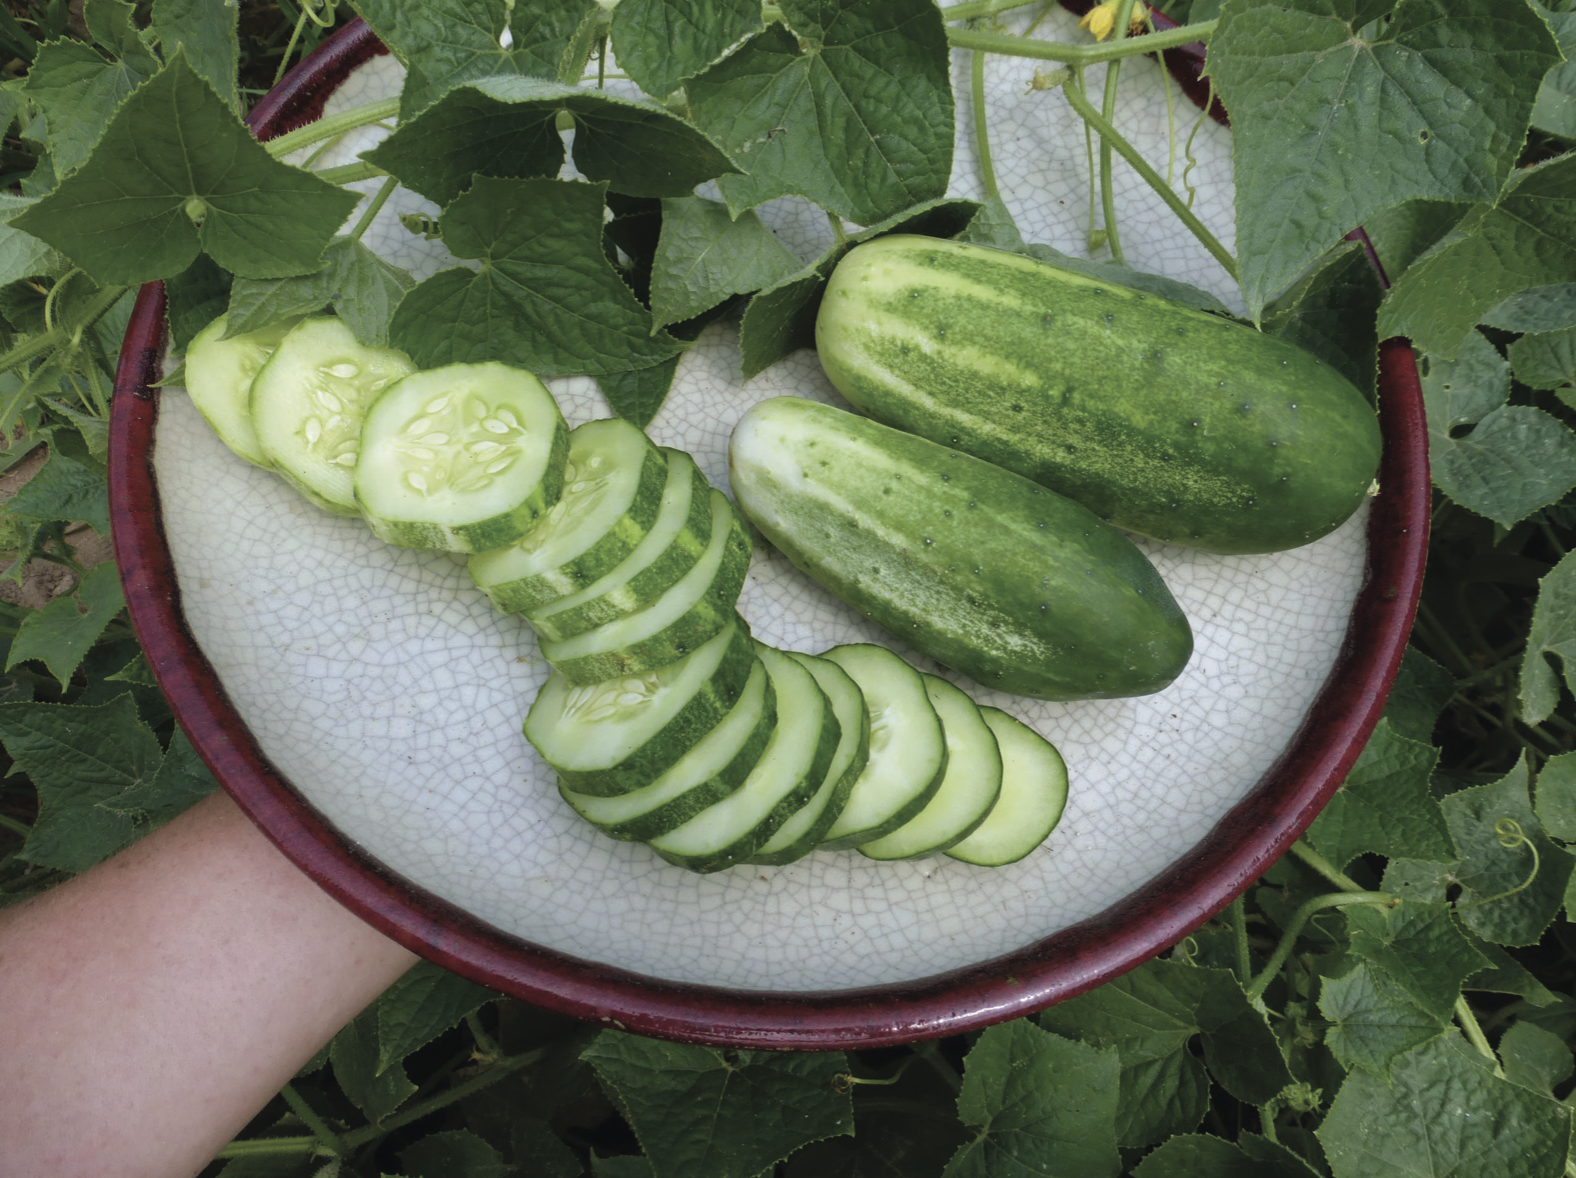 Arkansas Little Leaf Pickling Cucumber
 Boston Pickling Cucumber
  Roseland Small White Pickling Cucumber
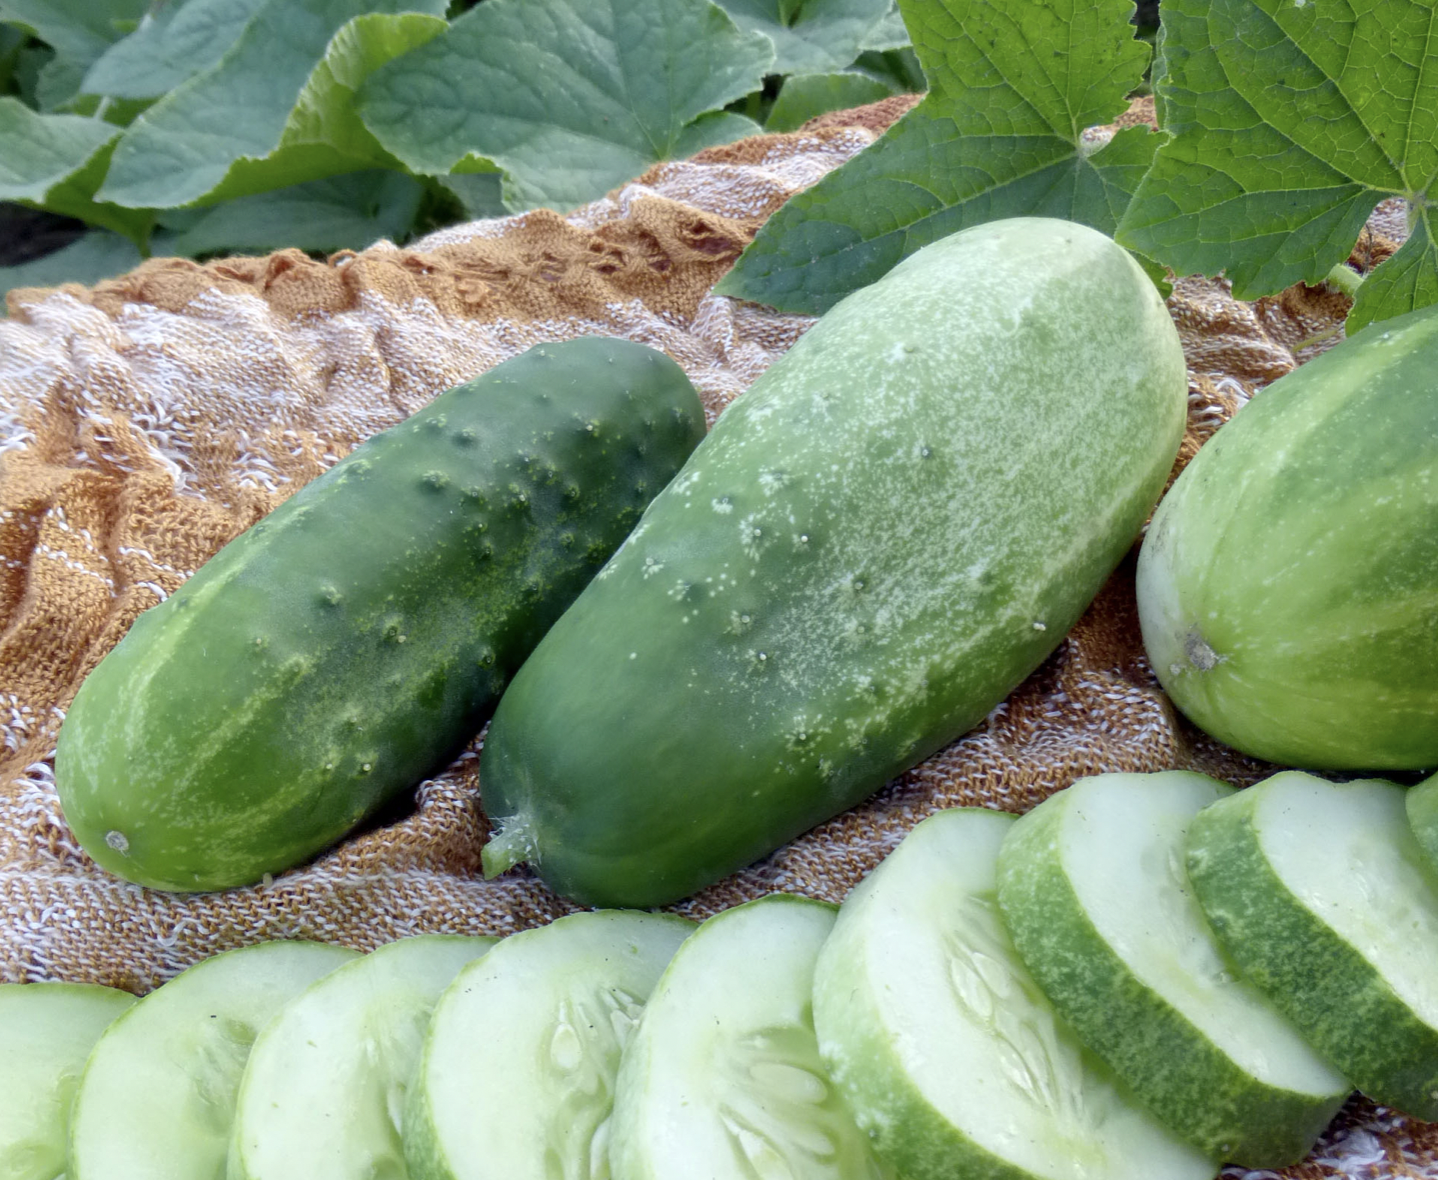 Homemade Pickles Pickling Cucumber
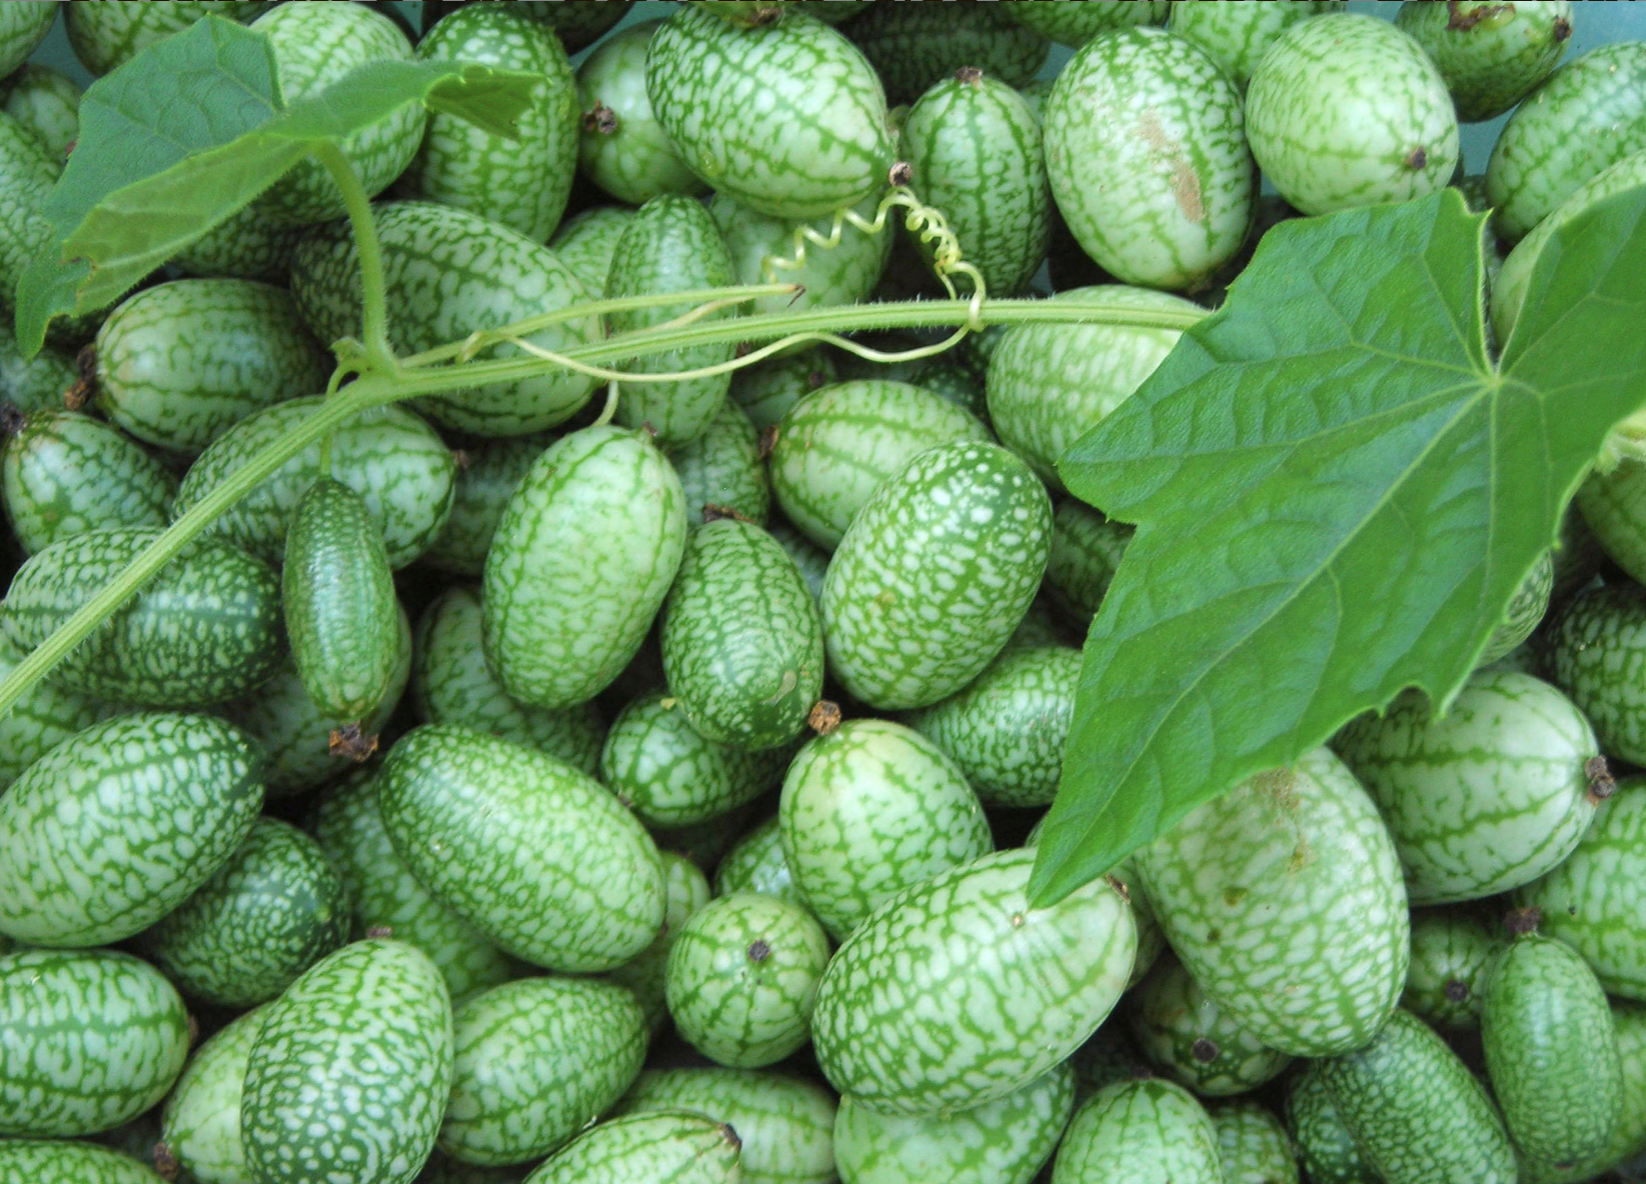 Mexican Sour Gherkin (Mouse Melon, Sandita)
  Hungarian Hot Wax Banana Pepper
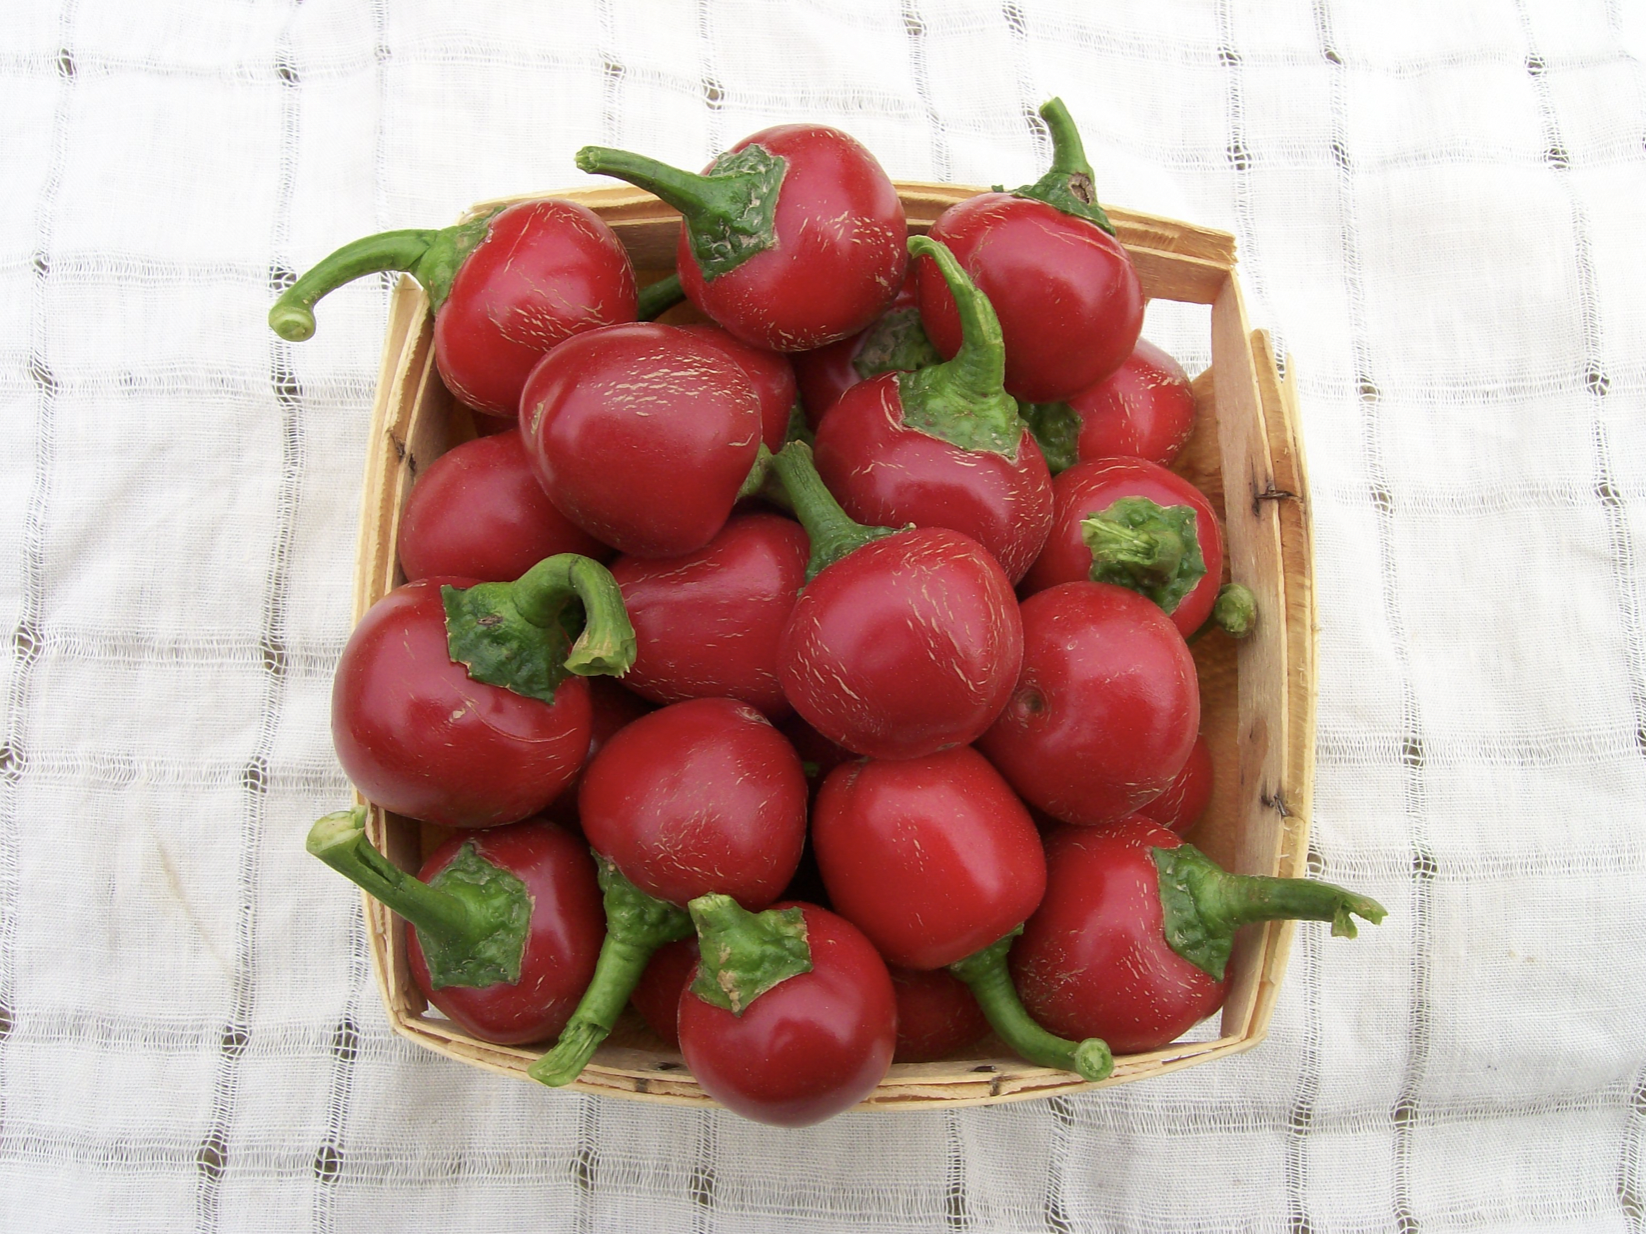 Red Cherry (Cherry Sweet) Sweet Pepper
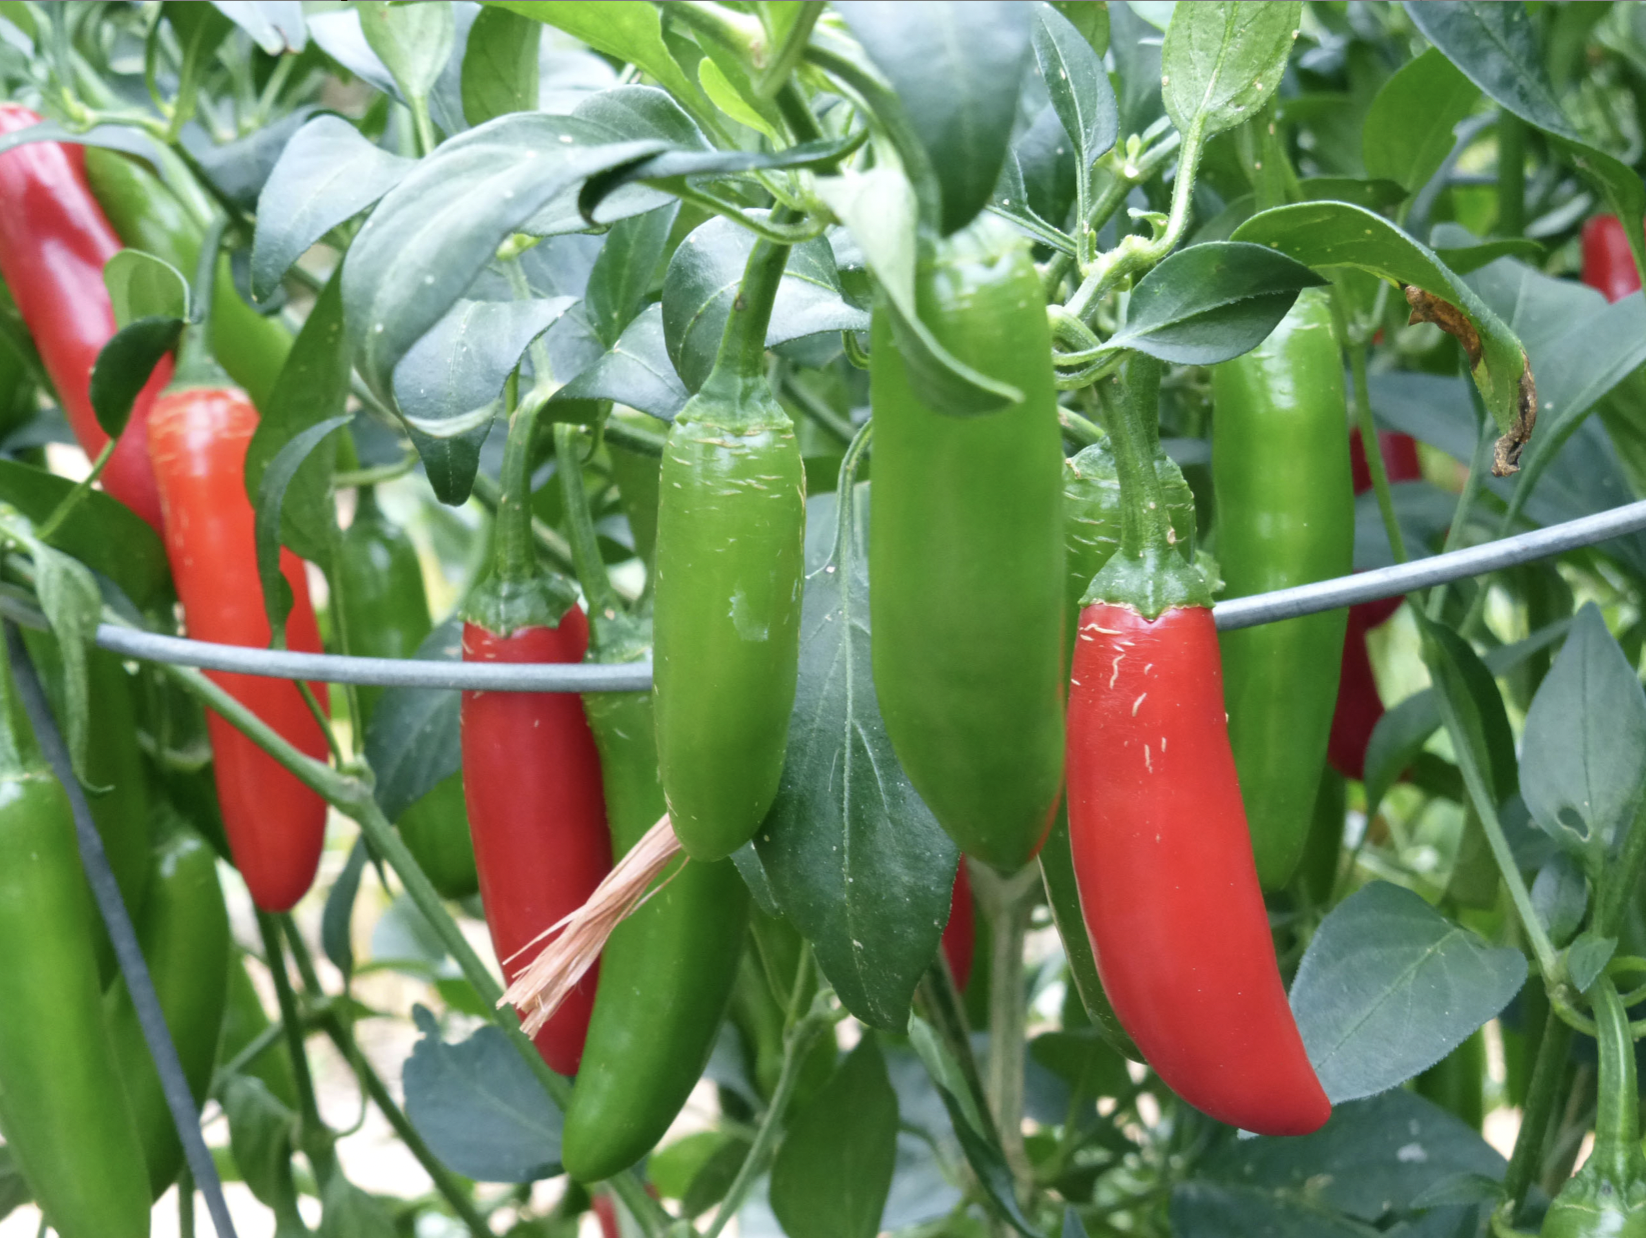 Serrano Tampiqueño Hot Pepper
 Sweet Banana (Long Sweet Hungarian) Sweet Pepper
 Jalapeño Hot Pepper