Tag Archives: okra

Beginner’s Guide to Okra & Giveaway

Okra has long been a common crop in southern gardens. This warm-weather-loving plant originated in northeast Africa and was brought to the U.S. in the late 1660s by way of the slave trade or via Europe. Its high mucilage content makes it an excellent vegetable for thickening soups and stew, but it’s got many other uses too! Grow your own with this beginner’s guide to growing okra.

Preparing a Bed

Okra needs a location with full sun to maximize production. It thrives in fertile, loamy, well-drained soil. The ideal soil pH is between 6.5 and 7.0. Okra does best with lots of hummus, so it’s good to add a couple of inches of well-aged compost to the bed before planting. 

Planting Okra
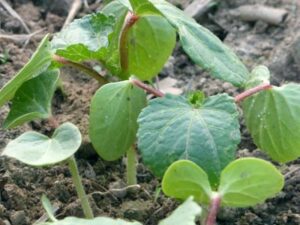
Okra SeedlingsOkra seeds have a hard seed coat and germinate slowly, especially in older varieties. To speed things up, soak your seed overnight before planting. Alternatively, you can use a technique called scarification. It sounds complicated, but it just means you use sandpaper to lightly abrade the seed coat before planting, helping it break down faster.

Okra can be started indoors or direct sown. To start indoors, sow in pots 2 to 3 weeks before planting out. To direct sow okra, wait until all danger of frost has passed and the soil temperature averages 65°F. Sow seeds 3/4 to 1 inches deep. 

If you live in a northern climate, sow okra indoors 2 to 3 weeks before your last frost date. Some folks with high tunnels or other season extension methods may be able to set them out a bit earlier; just make sure they have plenty of room to grow. Okra can get up to 6 feet tall!

If you’ve started your seeds indoors, be sure to harden off your okra like other seedlings before transplanting. It’s best to transplant on an overcast day or in the evening. Water your plants in well.

Sow or transplant your okra into rows 5 to 6 feet apart. Transplant or thin your okra to 18 inches apart in the rows.

Caring for Okra
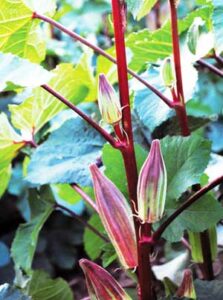
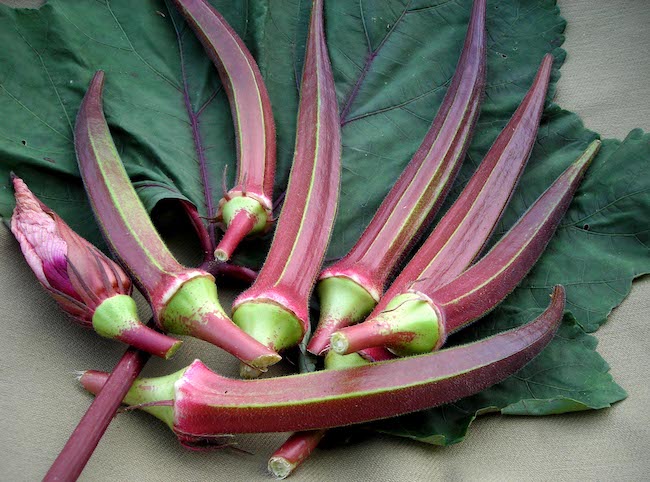
Hill Country Heirloom Red OkraOnce plants are a few inches tall, mulch heavily around them, this keeps the soil cool and moist and helps suppress weeds.

Keep okra plants well watered through the summer. They are most productive and disease-resistant when grown in moist soil. 

Some folks side-dress okra with compost of balanced fertilizer once they’re about 6 inches tall. However, you want to avoid over-fertilizing. Too much nitrogen encourages okra to put more energy into leaf production and little into flower and pod production. 

Grow okra on a 4-year garden rotation plan to avoid pest and disease issues. It’s worth noting that older okra varieties are more resistant to root-knot nematodes due to their deep root systems. Grasshoppers may eat your okras’ lower leaves.

Harvesting 

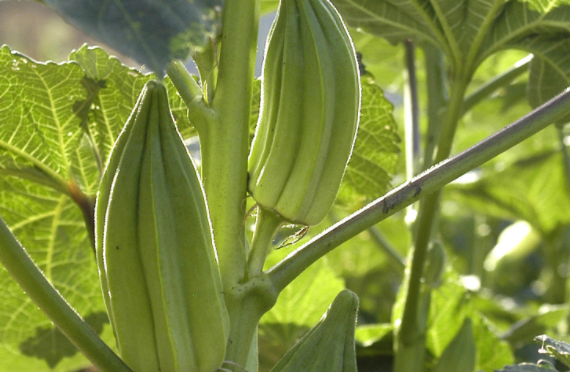
Most okra varieties are best when harvested between 2 and 4 inches long. Pod tenderness will vary over the season. You may be able to snap young pods off with your hands, or you can use hand pruners to cut them.

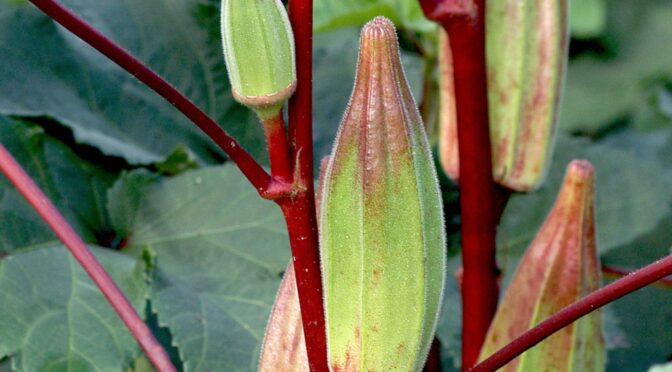
You may want to wear gloves and long sleeves when harvesting okra. Okra has hairy leaves and tiny spines on the pods, which irritate most people’s skin.
The Whole Okra & Giveaway

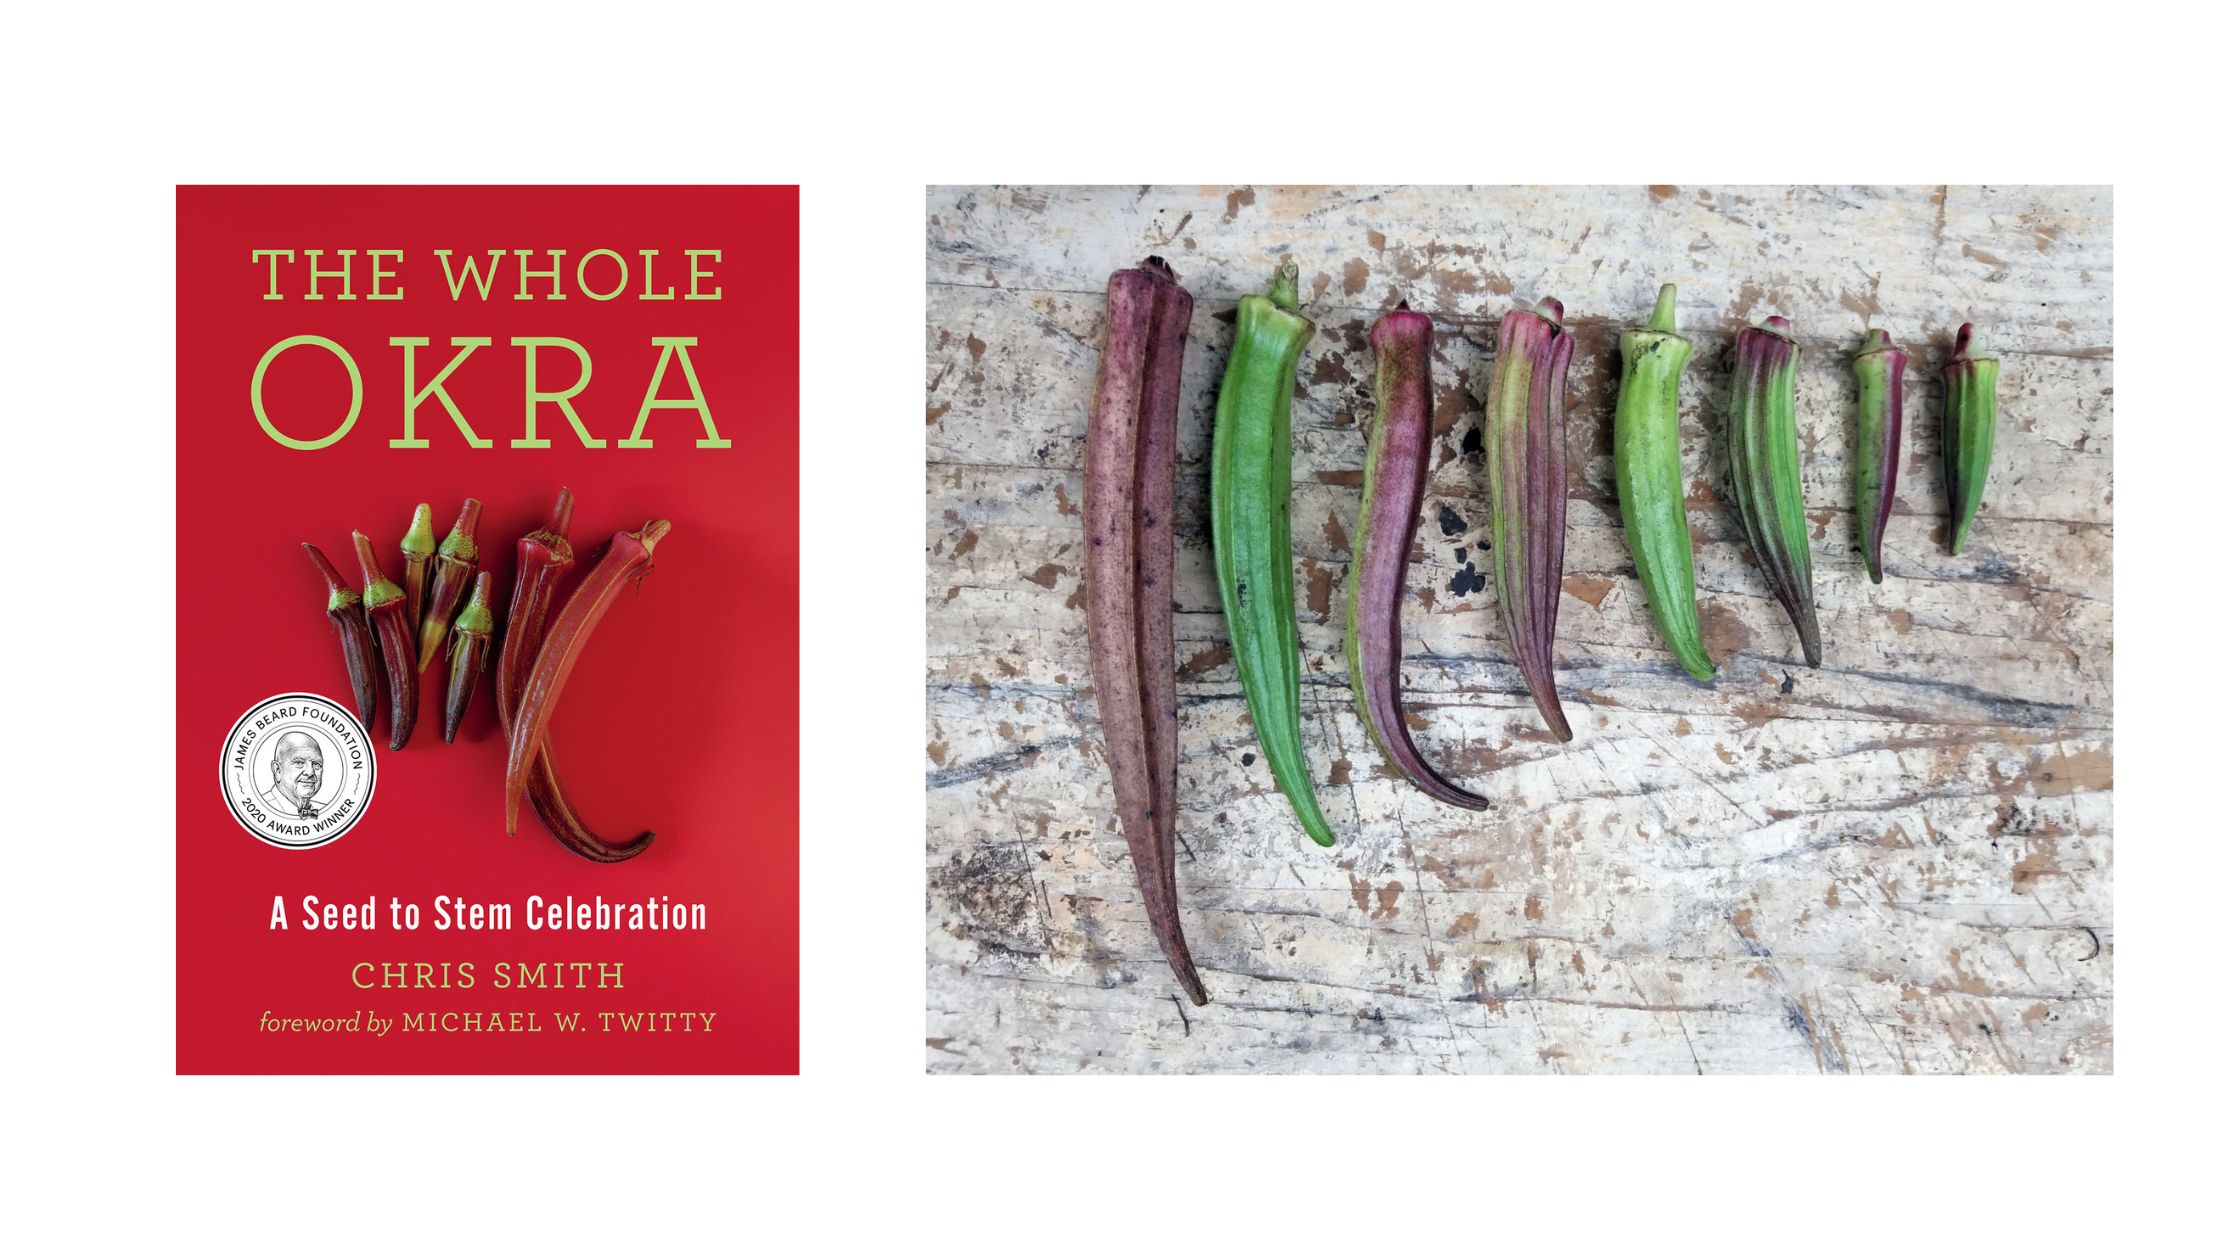
If you want to learn more about this amazing crop, check out The Whole Okra: A Stem to Stem Celebration by our friend Chris Smith. He provides excellent growing advice, history, recipes from chefs, and a fantastic look at the many uses for okra, including okra oil, okra coffee, okra marshmallows, okra tofu, okra vodka, okra pickles, okra pancakes.

Be sure to visit us on Instagram this week! We’re giving away a copy of The Whole Okra and a packet of one of Smith’s favorites, Puerto Rico Everblush Okra. Visit us on Instagram @southernexposureseed before Thursday, May 5th, 2022, at midnight EST to enter for your chance to win.

All About Okra: Cultivating, Cooking, and History

Like many long cultivated plants, okra’s origins cannot be pinpointed but many historians believe it was first cultivated in Ethiopia. Records of its cultivation in ancient Egypt date to over 3000 years ago!  In the following centuries was spread throughout Africa, the Middle East, and Asia. Okra was first brought to the Carribean and Southern United States by the slave trade sometime in the 1600s.

It’s a member of the mallow family, related to plans like hibiscus, cotton, and hollyhock. Though it does well in hot climates and will tolerate drought, okra performs best in rich, moist soil.

A resurgence of interest in local food and regional recipes has led to a renewed interest in okra. It certainly is a plant worthy of the attention.

Why Plant Okra?

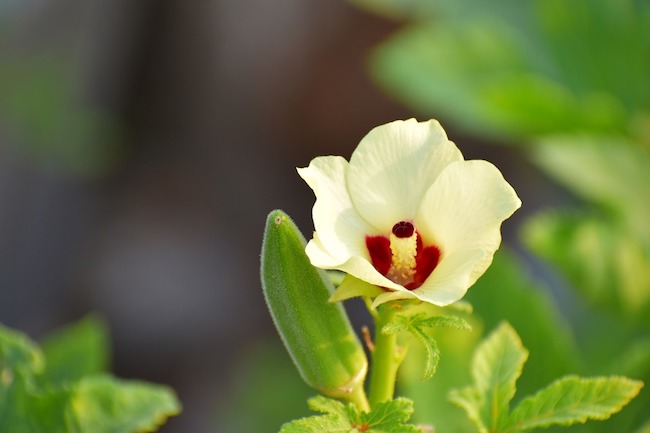
  • The flowers are simply gorgeous.
  • Okra can easily be preserved for winter by making pickled okra.
  • The leaves are also edible and are often likened to beet or dandelion greens.
  • Okra seeds can be pressed and make a wonderful oil for cooking.
  • The seeds can also be roasted and ground and used as a caffeine free, coffee substitute. In the U.S. this practice was used in the south during the Civil War.
  • The plant’s stem is fibrous and can be used to make cordage or paper.
  • Okra has a rich history and important culture.
  • The pods make an excellent thickener for soups and stews, like gumbo.
  • The dried pods can be used in flower arrangements.
  • Okra can be used to make a hedge.

Growing Okra

If you’re considering growing okra do realize that it isn’t a small plant. Okra can grow up to 6 feet tall and should be grown 18 inches apart in rows 5-6 feet apart.

If you live in colder climate okra should be started indoors 2-3 weeks before your last frost date. Okra prefers rich soil but soil that’s too high in nitrogen can lead to a lot of leaf growth and little pod development.

Pods often need to be harvested frequently when they’re about 2-4 inches long before they grow too large. The pods can be picked by hand or you can use a small set of pruning shears.

For best results check out our Okra Growing Guide. You can find all of our okra varieties here.

Recipes to Try

From the greens to the seeds, pickled to fried there are a number of ways to enjoy okra. Here are a few recipes to get you started.

Pin it for later.

12 Easy Ways to Help Your Garden Thrive in Hot Weather

So far this summer is promising to be a hot one. With the temperatures climbing and much of the east coast worrying about droughts like the ones they faced last summer a productive garden may seem like a mere dream. However there’s several easy tricks that can keep your plants cool, productive, and even lessen your water usage.

Install windbreaks.

Wind tearing through your garden can not only damage plants but also causes soil moisture to evaporate. The easy solution to this is to install or grow windbreaks in your garden. Windbreaks don’t need to be solid and stop all the wind. They can be quickly made from snow or pallet fencing. If you’d like living wind breaks consider tall annual crops, shorter perrenials that won’t shade your garden too much like berry bushes or dwarf fruit trees depending on your space, or hedge species. These should be placed perpendicular to the direction of the wind.

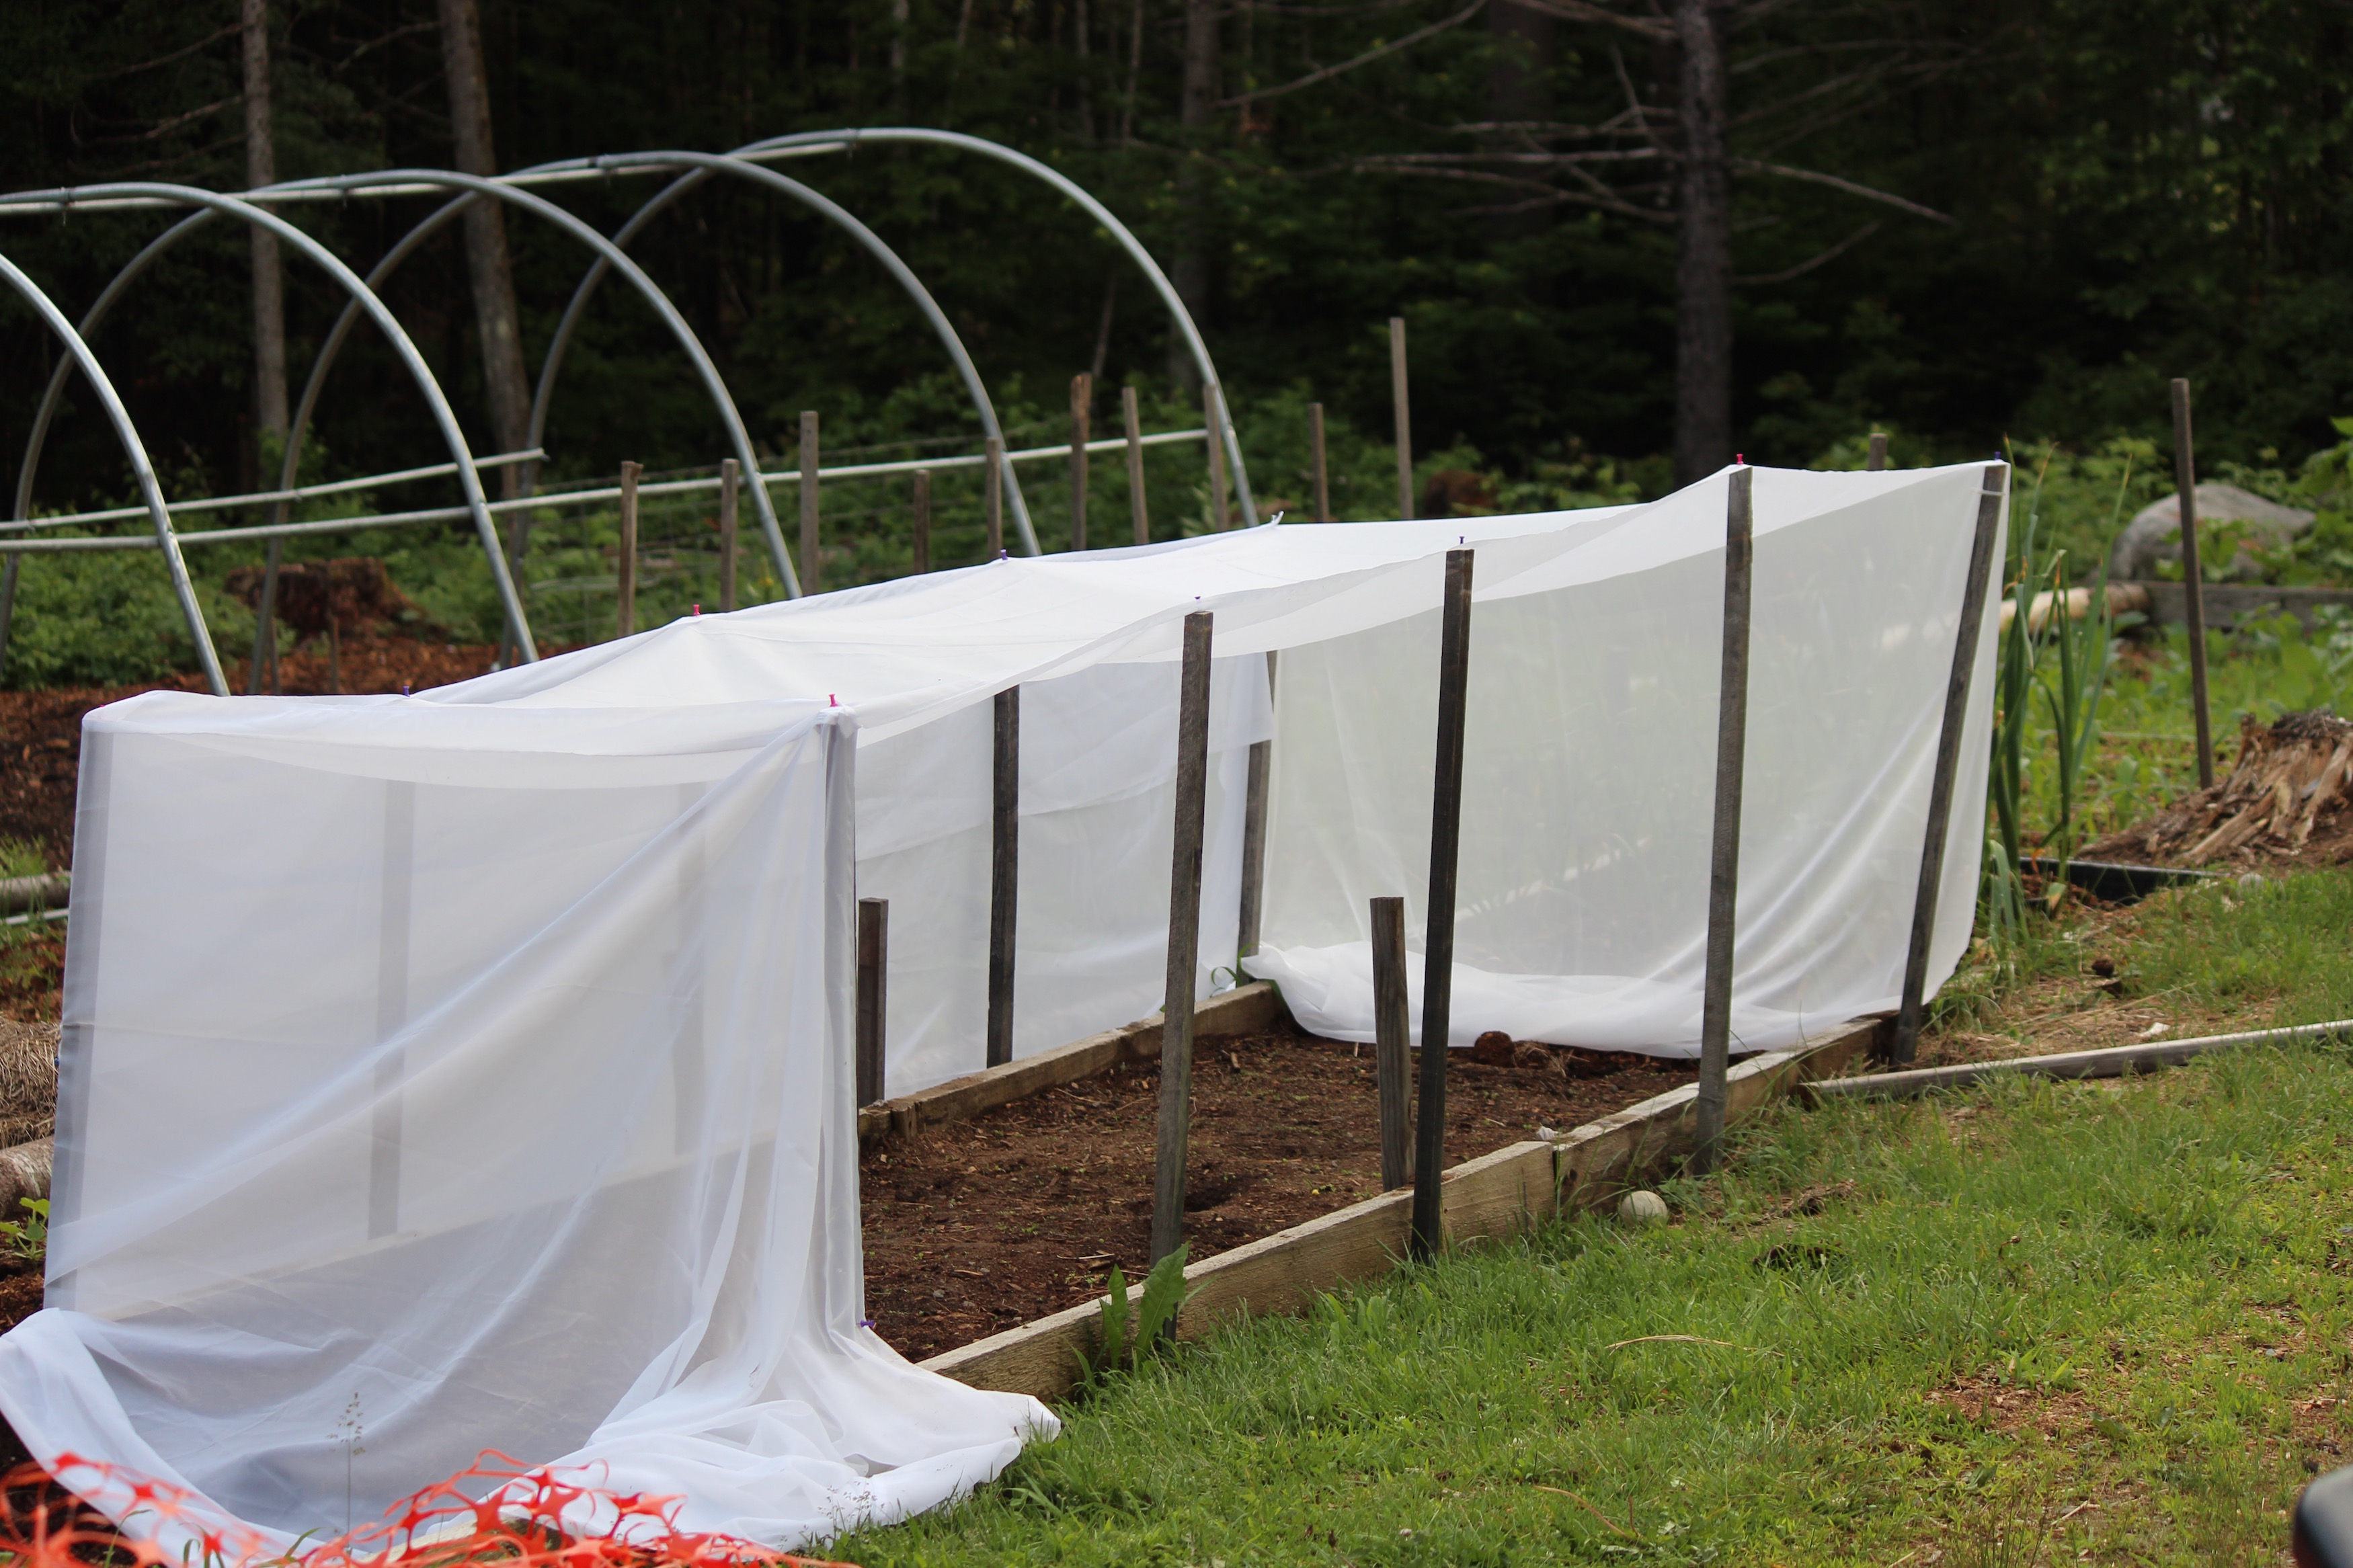
Invest in or diy some shade cloth.

Shade cloth can be super helpful for keeping those cools seaosn plants like peas and spinach producing longer. It can also be used over new new transplants that are adjusting to field conditions or seeds like lettuce that prefer cool soils to germinate.

Use a lot of mulch.

Mulch is one of the easiest ways to keep soil temperatures cooler and moisture levels up. Plus mulch cuts down on the weeding. Great mulch options include grass clippings, straw, hay, or old leaves all of which can be combined with cardboard or newspaper.

Water your garden consistently.

Your watering schedule will obviously be unique to your garden but you sould work hard to maintain moist soil conditions. Waiting for plants to start wilting before you realize it’s time to water harms your plants’ health and reduces your harvest.

Water at the right times.

Watering consistently is half the battle but you should also try to water at the best times of day. The early morning and evening are the best times to water. Less water is wasted waisted to evaporation because it has a chance to soak into the soil before it’s exposed to the mid-day sun and heat.

Practice interplanting.

Growing vining plants like watermelons, cucumbers, gourds, squashes, sweet potatoes, and nasturiums under taller plants like corn, sorghum, and sunflowers can help you make the most of your space and keep the soil cool. The vining plants will shade the soil, block weeds, and hold moisture once they’re mature enough.

Check out our The Three Sisters Garden Guide.

Build a shade trellis.

Create a trellis for climbling plants like cucumbers or runner beans and then plant a cool weather loving crop in the shade they create. These trellises are often set up so they’re slanted to provide maximum shade.

Learn more about trellising from Vertical Gardening: The Beginners Guide to Trellising Plants.

Use intensive planting. 

Intensive planting is a principle of biointensive gardening. Plants are grown in beds, not rows and are often planted hexagonally. This style of planting maximizes space. Mature plants may touch leaves but still have plenty of room for their roots. They shade the soil reducing moisture loss and blocking weeds.

Note: planting intensively will work best with healthy soils as you’ll be growing more plants on less space.

Transplant at the right times.

If you’re transplanting crops into your garden it’s best to avoid the heat and sun as much as possible, for your sake and the plant’s! Transplant in the early morning, late evening, or on a cloudy day for best results. The plants will suffer less transplant shock that way.

Catch rainwater around your plants. 

For transplants dig your hole a little extra deep and create a basin around each plant that extends outwards a little beyond the edges of the plant’s crown to funnel rainwater towards the roots.

For planting seeds dig your trench slightly deeper than necessary so that rainwater stills runs down into it even after you’ve covered your seeds.

If you’re feeling really productive go ahead and install some rain barrels on your gutters too!

Choose crops wisely.

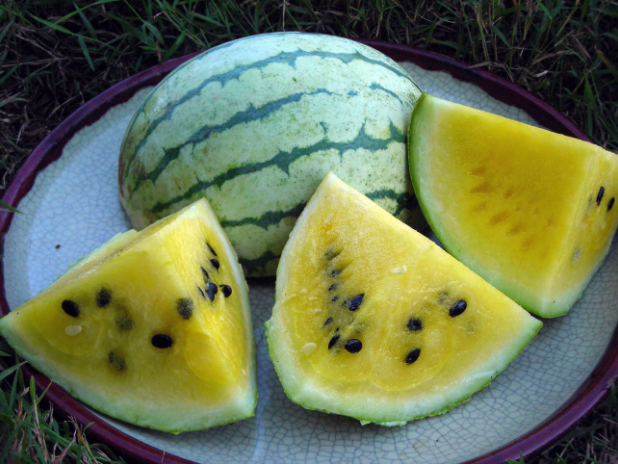
Early Moonbeam Watermelon

If you live in an area with hot summer temperatures it’s a good time to start direct seeding crops that can handle the heat. These include plants like watermelon, okra, roselle, lima beans, and southern peas.

Learn about Direct Sowing Roselle.

Practice good soil and crop management. 

Whenever gardening you should be thinking about keeping your soil and therefore your plants healthy. Doing maintanence work like crop rotation, cover cropping, and applying compost will keep your soil and plants healthy. Well nourished, disease free plants will tolerate the stress of hot weather much better than those already struggling.

Gardening is never easy but hot weather can be especially tough on you and your plants. Follow these tips for a healthy and productive garden even in hot, dry weather.