Many of the first crops we start indoors are brassicas. We’ll begin by tucking cabbage, broccoli, and cauliflower seeds into trays at the end of January. We start sowing kale, mustards, kohlrabi, and collards outdoors in March, followed by more indoor sowing of Brussels sprouts in April. These humble vegetables make up a considerable portion of the garden. They’re generally easy to grow, but a few simple tips can help ensure you have success.
1. Begin improving the soil this fall.
While they’re generally easy to grow, you’ll have more productive brassicas in good, healthy soil. Begin with a soil test. Brassicas don’t do well in acidic soil; you want the pH level to be between 6.5 and 7.5. Amend your soil with lime if needed.
You can also fork your soil this fall and begin working in aged manure or compost. Brassicas thrive in well-drained soil, so forking and adding plenty of organic matter makes a big difference. Planting a fall cover crop is also ideal, or you can cover the bed with mulch.
2. Avoid common seed starting mistakes.
If you’re new to starting seeds indoors, a few mistakes are easy to make. When sowing brassicas, it’s important to provide supplemental light, so they don’t become leggy. You also want to get them planted out on time so that they don’t grow too large for their containers, and you take advantage of the cool spring weather. You should also remember to harden off your seedlings.
When you’re direct sowing brassicas, be sure to keep the soil moist. If you’re sowing seeds in hot summer weather, you can lay a board or cardboard over the row until they germinate. Be sure to check them often and remove the board as soon as they begin to come up!
3. Rotate your brassicas.
Like other crops, brassicas are susceptible to a range of pests and diseases. A fungal disease called clubroot can be especially troubling and can remain in the soil through the winter. Plant brassicas on a three-year rotation to avoid pest and disease issues.
4. Remove and destroy any pest-infested or diseased plant material.
If you have pest or disease issues, it’s a good idea to clean up the garden bed after your crop is finished. Remove and destroy this material by burning it or burying it away from the garden. Fungal diseases can be killed in a compost pile that reaches 140°F.
5. Use row cover.
Cabbage worms can quickly ruin an entire crop. If you struggle with them year after year, it may be good to try growing your brassicas under row cover. We’ve found that cheap tulle fabric works well for this. It lets in light and airflow but keeps cabbage moths out.
Alternatively, you can kill cabbage worms with Bacillus thuringiensis or Bt. It’s a naturally occurring bacteria that kills the larvae of moths and butterflies. You can find OMRI (Organic Material Review Institute) certified sprays. Be careful only to spray your brassicas, though, as it can kill other species on other plants.
6. Use proper spacing.
Especially when dealing with a small garden, it can be tempting to squeeze in as much as possible. Please don’t do it! Brassicas do much better when given proper space. Thin seedlings of direct-sown crops like collards and kale and read spacing requirements for broccoli, cabbages, and cauliflower.
7. Mulch around your brassicas.
Your brassicas will perform better if the area around them is kept weed-free. Unfortunately, brassicas tend to have very shallow roots, which can make hoeing near them challenging. Mulching around them is an excellent way to suppress weeds and helps keep the soil moist. However, mulch can provide a hiding place for slugs.
8. Watch for slugs.
Slugs are another pest that can do a number on your brassicas harvest. They’re nocturnal, so you may only see the damage they cause or the trails they leave during the day. At night you can go out and handpick them from your plants.
There are also a variety of home remedies for dealing with slugs organically, and you may already have a preferred method. You can also find an OMRI (Organic Material Review Institute) certified product like Sluggo to help you deal with them.
9. Read about different varieties.
There are so many different varieties of brassicas, and they all excel in different situations. Be sure to read about varieties you like carefully before selecting one. For instance, Early Flat Dutch Cabbage has excellent heat resistance making it great for southern gardeners and spring plantings. January King Cabbage has excellent cold tolerance and is slow-growing, making it ideal for fall plantings.
10. Harvest brassicas when they’re ready.
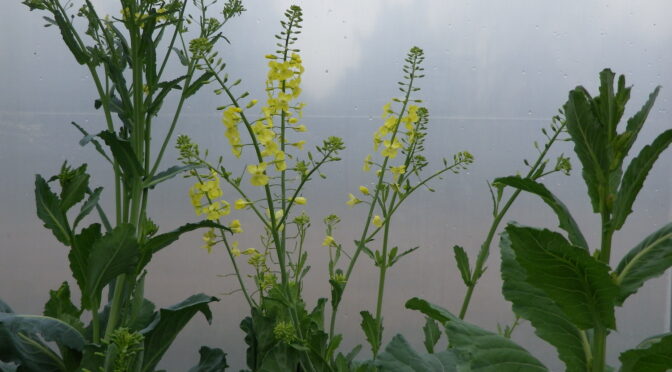
Don’t wait too long to harvest crops like broccoli, cauliflower, and cabbages. If left in the garden too long, they may flower. These crops can be frozen or fermented for storage. Cabbages also keep well in root cellars.
Having success with a selection of brassicas can provide you with fresh produce all year long. Follow these tips for a bountiful harvest. Happy growing!


