

“To grow your own food gives you a sort of power, and it gives people dignity. You know exactly what you’re eating because you grew it. It’s good, it’s nourishing and you did this for yourself, your family, and your community.” ~Karen Washington
Gardening is a great way to connect with nature and food. It’s good for your body and good for your soul. We hope many of you join us on this journey this season. Here are a few of our favorite beginner crops to get started with.
Basil
Basil is one of our favorite herbs for beginners because it’s easy to grow and delicious. Basil can be started indoors in flats for an earlier harvest, or you can direct seed it once the danger of frost has passed and the soil has warmed. It’s a great companion plant for tomatoes and you can harvest it over a long period. Pruning your basil plants will encourage them to put on more growth.
Shop all of our basil varieties.
Bush Beans
Bush beans are one of the easiest vegetable crops to grow. You can get a decent harvest even in a tiny garden, and sowing a few every three weeks can keep you in a fresh supply of beans throughout the summer.
Try our Tricolor Bean Mix to get three colors of organic bush snap beans in one packet! The packet includes Provider, Gold Rush, and Royalty Purple Pod.
Visit our Bush Beans Growing Guide for more information or see all our bush beans.
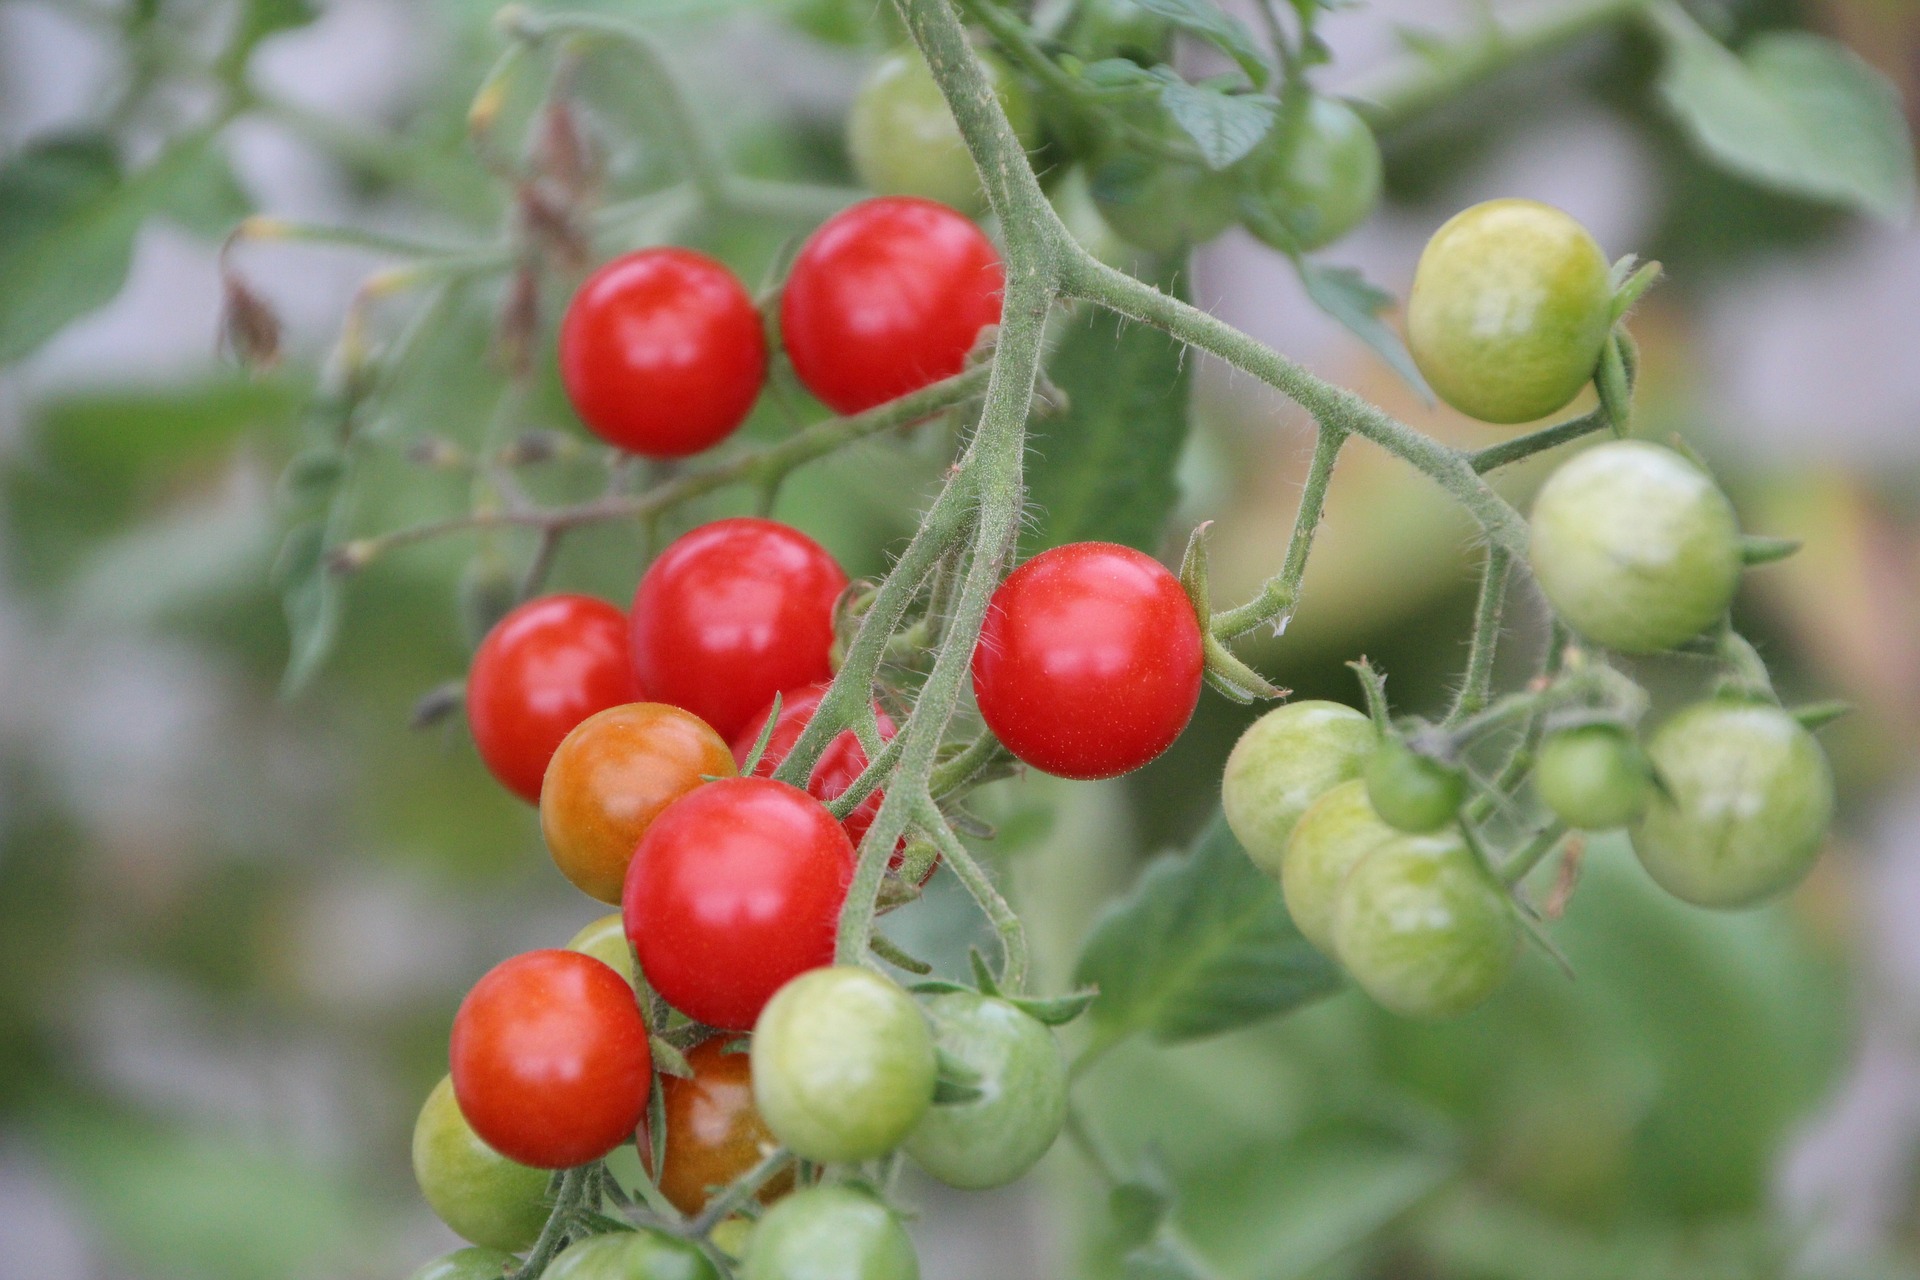 Cherry Tomatoes
Tomatoes are always a favorite in the garden, and cherries are some of the easiest to grow. Cherry tomatoes can be grown in containers or the field. They’re disease resistant, quick to mature, and produce over a long period. You can find cherry tomato varieties in red, pink, yellow, purple, or bi-colored.
Shop all of our cherry tomatoes, or check out our Tomato Growing Guide for more helpful advice.
Cosmos
If you have a small garden, it can be easy to pass over flowers, but we love adding a small patch or two! Flowers help attract beneficial insects, support wildlife, and look beautiful in the garden or as cut flowers.
Cosmos are easy to grow and an excellent choice for beginner flower gardens. They’re a fast-growing annual that will tolerate partial shade, poor soil, and drought once established. If you keep cosmos deadheaded, they produce blooms over a long season. Additionally, some cosmos, C. sulphureus, have edible petals that will add color to summer salads.
Add a few bright spots to your garden with our selection of cosmos.
Cucumbers
Cucumbers are another crowd favorite that’s an excellent choice for beginners. They’re generally easy to grow and even just a few plants will produce a large harvest. There are two basic types of cucumbers, slicing and pickling. Pickling cucumbers tend to be shorter and fatter and have been bred to hold up better when pickled. However, both pickling cucumbers and slicers can be eaten fresh or pickled.
You can start cucumbers indoors, but it’s also okay to direct sow them one to two weeks after your last frost. If you’re dealing with a small garden, try growing your cucumbers vertically on a trellis to save space.
For more information, visit our Cucumber Growing Guide or shop all our varieties.
Lettuce
Lettuce is a great cool weather, beginner-friendly crop for spring or fall gardens. We carry a few different types of lettuce, including Romaine, Loose-Leaf, Bibb (Butterhead), and Crisphead and Batavian.
Romaine forms upright elongated heads and is moderately tolerant of heat and shade. Loose-Leaf doesn’t form heads and is forgiving of poor soils, heat tolerant, and probably the easiest to grow. Bibb forms small loose heads and has soft textured leaves. Crisphead is harder to grow well but is a popular choice. It forms tight heads with crisp leaves and needs a long cool season.
You can sow lettuce in flats indoors and transplant it out or direct sow. If you direct sow, it is typically best to sow a bit thickly and thin seedlings as they grow. You can make a salad of baby greens with the lettuce you thin.
For more lettuce-growing advice, visit our Lettuce Growing Guide or check out all our varieties.
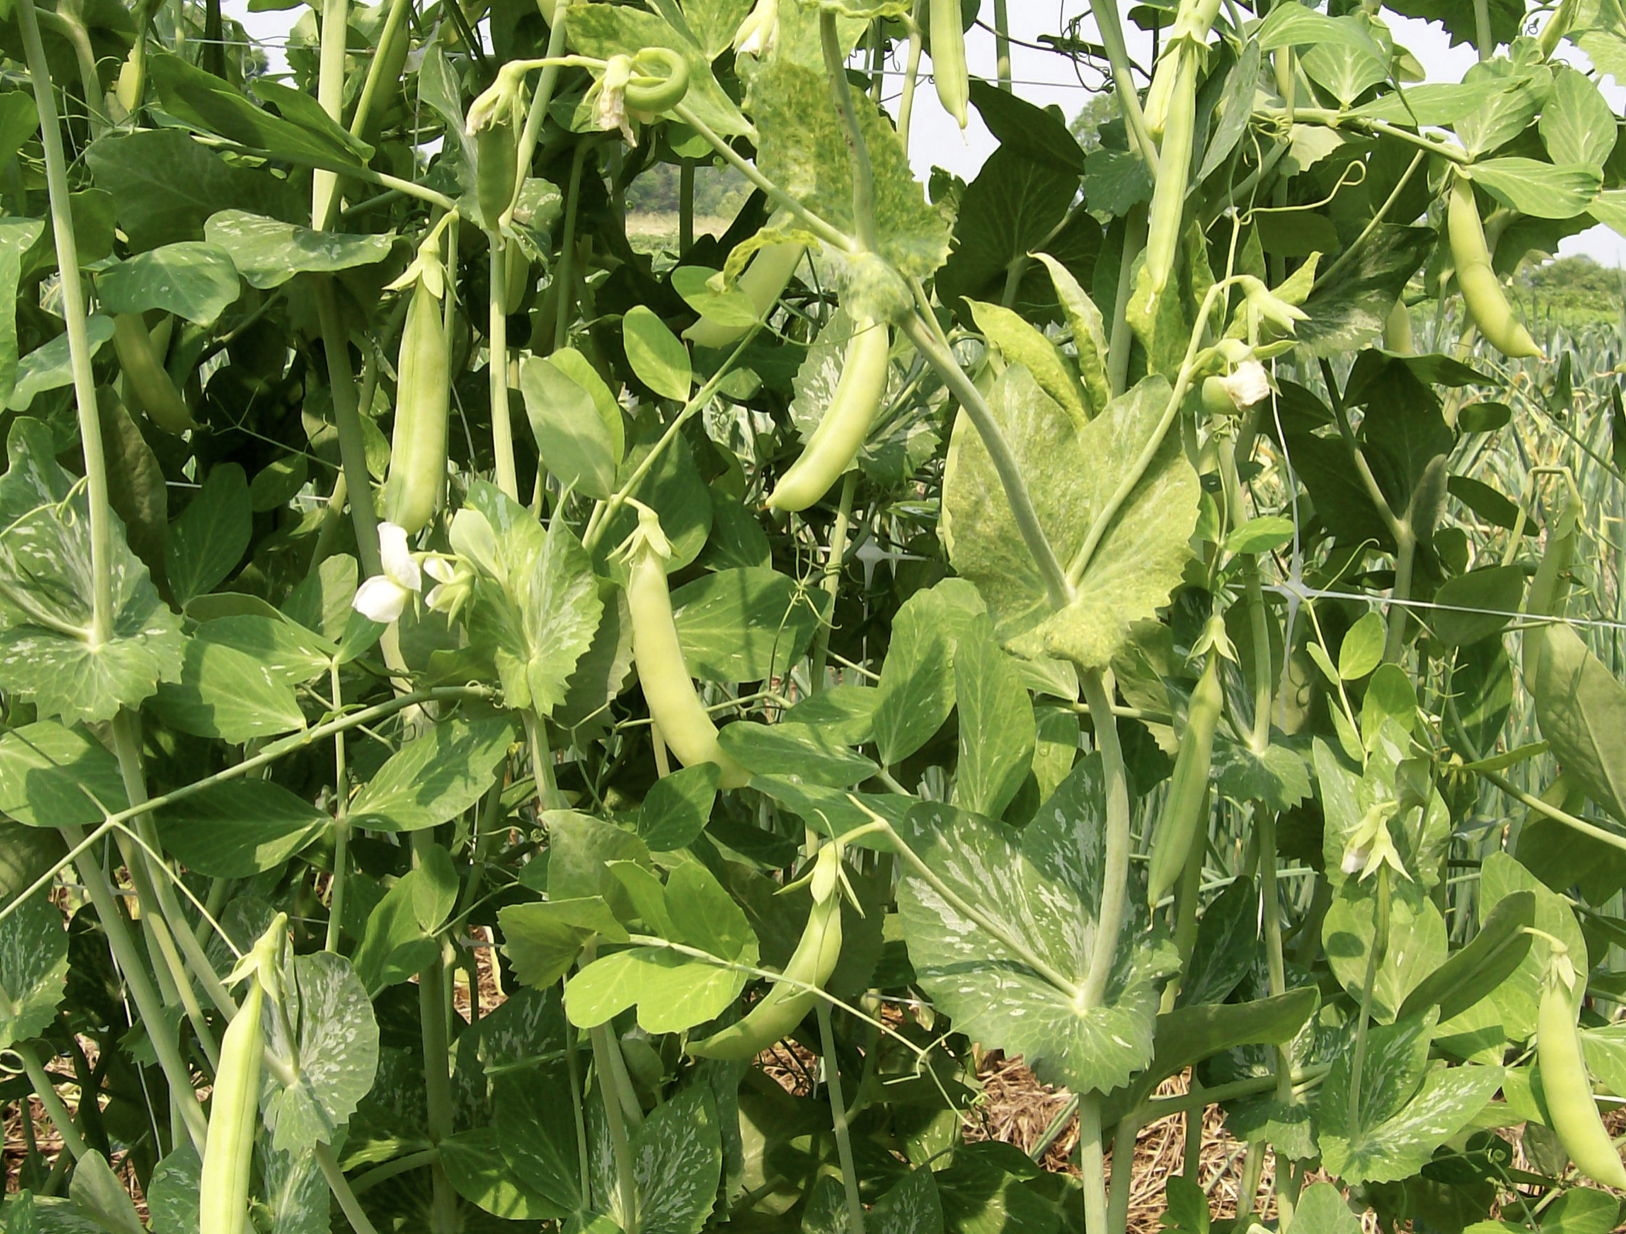 Peas
Peas
Peas are another fast-maturing cool weather beginner crop. Snap peas, snow peas, and shelling (English) peas are all easy to grow and well-suited to spring’s cool temperatures. Direct sow your peas as soon as the soil can be worked in the spring. Be sure to grow them along a trellis or fence.
For more information, read our Pea Growing Guide or shop all peas.
Radishes
Spring salad radishes are one of the first crops we can harvest each year. Like peas, you can sow them as soon as the soil can be worked. They germinate and grow with incredible speed. Some varieties, like Cherry Belle, are ready to harvest in as little as 24 days!
Visit our Radish Growing Guide or shop radishes.
Summer Squash & Zucchini
If you know a gardener, you’ve probably been offered some free summer squash or zucchini before. The productivity of summer squash and zucchini is nearly unmatched. Just a few plants will grow tons of produce; both are outstanding beginner crops.
Summer squash and zucchini can be direct sown after the danger of frost has passed and the soil has warmed. For tasty, tender squash, harvest them when they’re small.
Learn more about these crops with our Squash Growing Guide, or shop our summer squash and zucchini.
Zinnias
A standard for cut flower gardens, zinnias are easy to grow, productive, and come in a wide range of colors. These annuals can be sown indoors for extra early blooms of direct sown after your last frost. They’re ideal for cut flowers because the plants will continue to produce when you cut some. Keeping them deadheaded can help extend their season.
Shop all of our zinnias.
Every gardener will experience challenges; it’s part of the joy of growing! These beginner crops can help ensure you have success with vegetables, flowers, and herbs in your first season, even if you don’t think you have a green thumb.
") Get a Soil Test
Get a Soil Test