
You’ve probably grown tomatoes and maybe even tomatillos, but their lesser-known relative, the ground cherry, deserves a spot in your Solanaceae (nightshade family) lineup. Ground cherries have a more sweet, fruity flavor, hence the name ground cherry. They’re well suited to sweeter, dessert-type recipes than their relatives and are tasty fresh, too!
Ground Cherry History
Ground cherries are native to South and Central America and may have originated in Brazil before spreading to Peru and Chile. They were one of the many crops cultivated by indigenous peoples in the Americas before European contact, and Europeans brought them to England in 1774.
English colonists brought them to the Cape of Good Hope, earning them one of their other common names, the Cape Gooseberry. As colonists traveled with them, the plants made their way back to North America.
While ground cherries were popular with small farmers, they were never commercialized, probably due to their ripening and harvest, which we’ll get into in a bit. Today, they remain popular among specific communities like the Pennsylvania Dutch, who grow them for jams and preserves.
Starting Ground Cherry Seeds
Growing ground cherries is a lot like growing tomatoes! Start your seeds indoors about 6 to 8 weeks before your last frost. Plant the seeds about 1/4 inch deep, and for good germination, maintain a soil temperature between 75 and 85 degrees F.
Ground cherries typically take 7 to 10 days to germinate.
Transplanting Ground Cherries
Ground Cherries should be transplanted out after all danger of frost has passed. Harden off your transplants for a couple of weeks before planting.
Transplant them into a bed that has rich, well-drained, light soil. You may need to amend the bed with compost, as ground cherries are heavy feeders. You should also select a bed that receives full sun.
Rotate Your Ground Cherries
Rotating your crops is essential, and ground cherries are no exception. We like to rotate crops by family. Ground cherries are a member of the Solanaceae family, like tomatoes, peppers, tomatillos, eggplants, and potatoes, so we avoid planting them in beds where any of these crops have grown in the last couple of years.
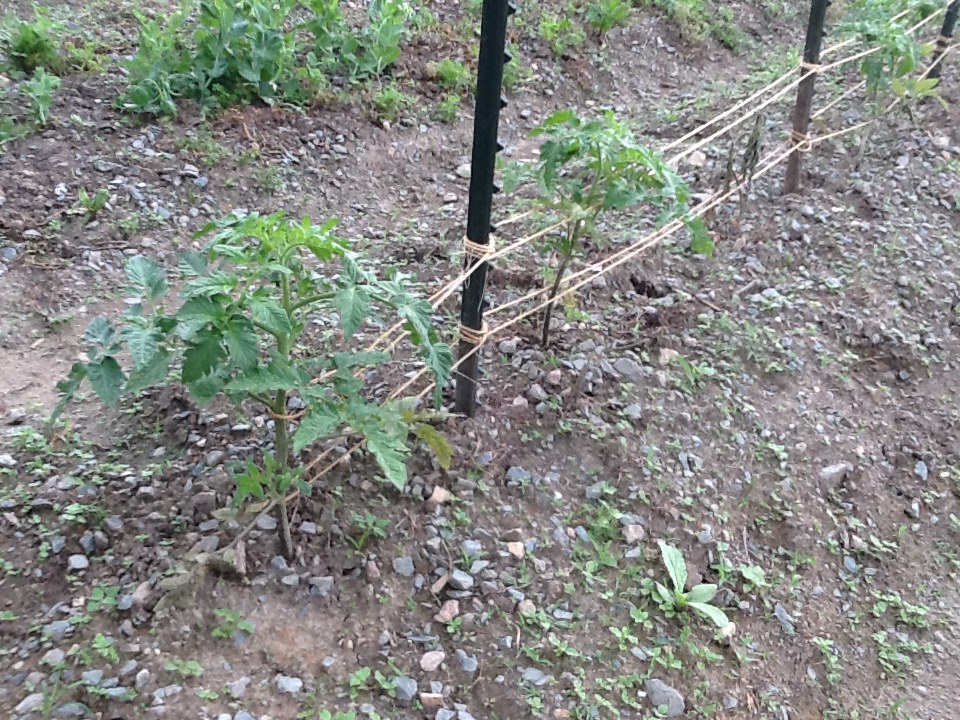
Ground Cherry Spacing
Unlike tomatoes and tomatillos, ground cherries don’t require trellising or cages. However, they still need proper spacing. Ground cherries have a sprawling, spreading growth form, so you should place them 2 to 4 feet apart. In some varieties, like Mary’s Niagara Ground Cherry, plants can surpass 6 feet wide in good growing conditions.
Ground Cherry Care
Keep your ground cherries weeded and water consistently. Keep the soil moist but not soggy. After the soil temperature has risen in June, mulching around plants is a good idea. It will help with weeding and prevent the fruits from getting dirty or rotting as quickly around harvest time.
Harvesting Ground Cherries
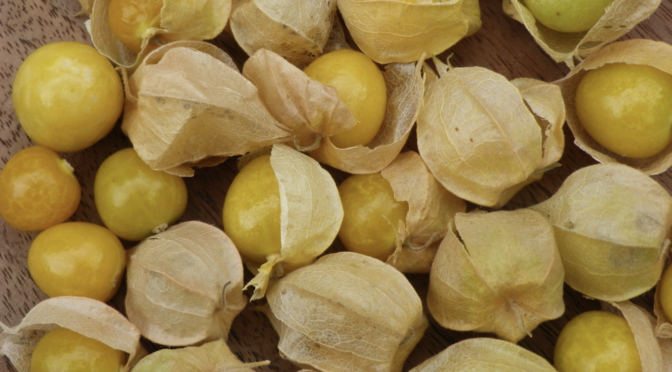
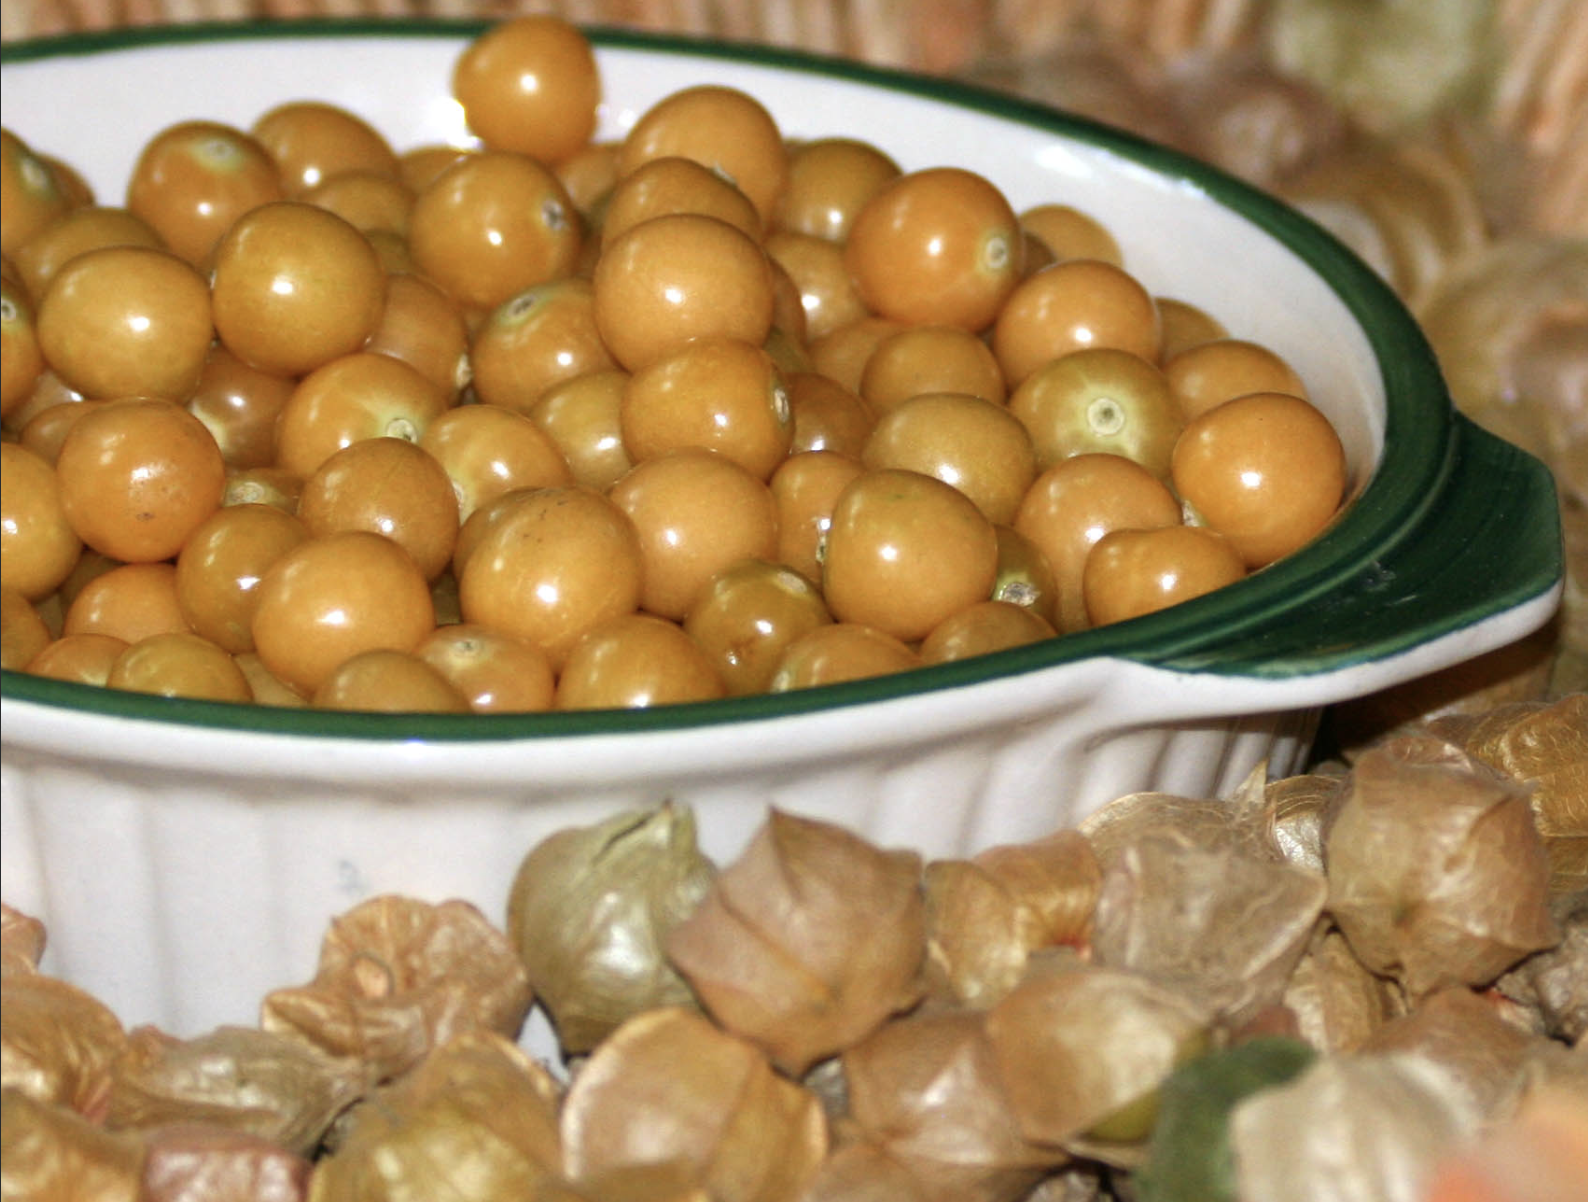
Ground cherries are edible and tasty when fully ripe and yellow, and their husk is brown and dry. Usually, this also means the cherries have fallen off the plant and are lying on the ground. Collect your fallen cherries and remove the husks before eating.
This habit of dropping ripe fruit is one of the reasons ground cherries have never seen widespread commercial interest.
Using Ground Cherries
Ground cherries can be eaten fresh, cooked, or preserved for later. Ground cherries also have a good shelf life and can be kept fresh for weeks before processing. Here are a few of our favorite recipes we’ve found for ground cherries:
Preserve your ground cherries for later with Grandma Ott’s Ground Cherry Jam from Seed Savers.
Make breakfast special with this 10-Minute Ground Cherry Coffee Cake from The Kitchn.
Try this Ground Cherry Tart from The Forager Chef for a simple dessert that really lets the ground cherry flavor shine through.
Try a more savory approach with this recipe from Ground Cherry Salsa from Health Starts in the Kitchen.
Turn your ground cherries into moist and delicious cake with this Coley Cooks recipe for Ground Cherry Torte.
Saving Ground Cherry Seed
You may not have to save seeds, as ground cherries have a strong tendency to self-sow. However, if you’d like to steward a variety, we recommend separating varieties by 300 feet for pure seed. You only need one plant to save viable seeds, but if you want to maintain a variety over many generations, save seeds from between 5 and 20 plants.
Processing and saving the seeds is exactly like processing tomato seeds. Squeeze the seeds and pulp into a jar, add about as much water, and let the mixture ferment for 2 to 3 days, stirring once a day. A little mold growth on top is fine.
After fermenting, add more water so that the pulp and non-viable seeds float to the surface and pour them off. You may need to repeat this a couple of times. Then, rinse your good seeds in a mesh strainer or cheesecloth with clean water.
Let your seeds dry out of direct sunlight for three weeks. Then, store them in an airtight container out of the sun.
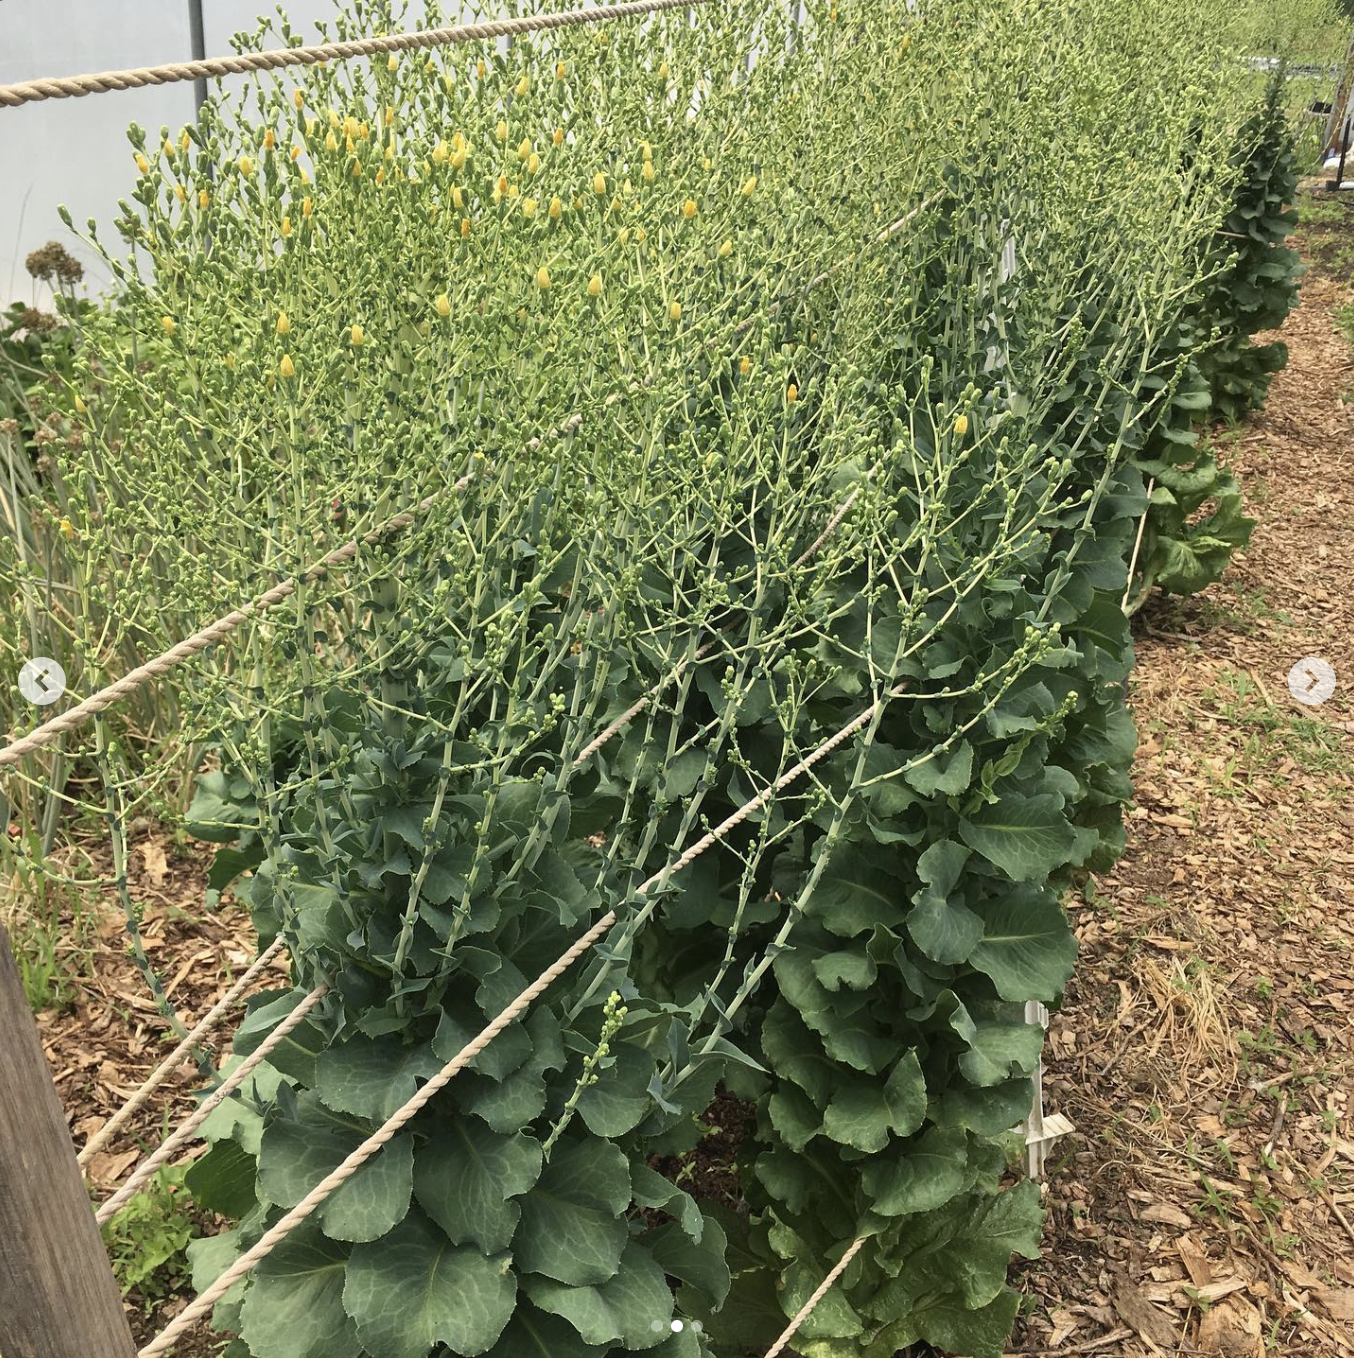 How Do I Save Seed From My Lettuce?
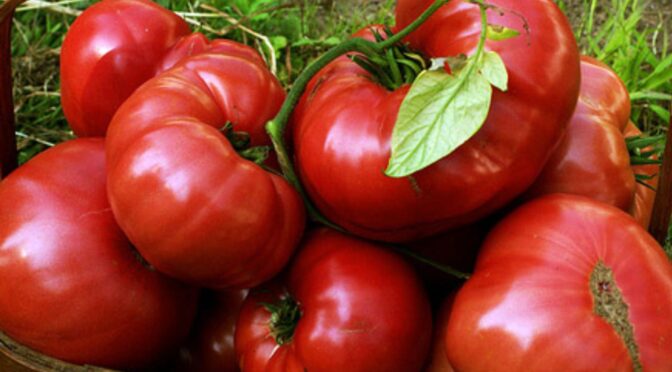
 10. Save Seed