
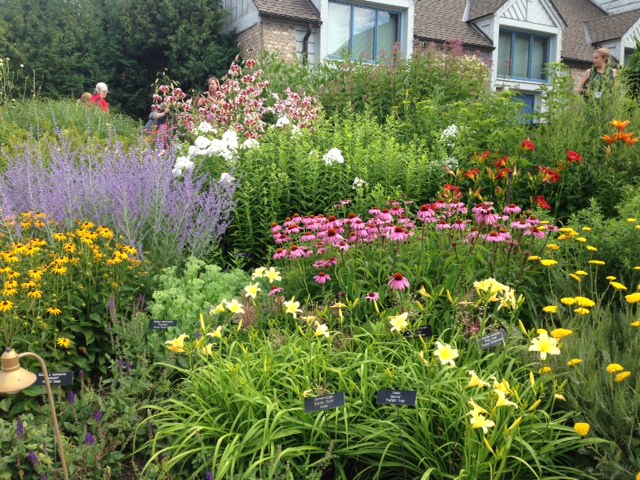
Two weekends ago I had the great fun of attending the annual Garden Bloggers Fling, held this time in Minneapolis. Turns out Minneapolis is a haven of beautiful gardens.
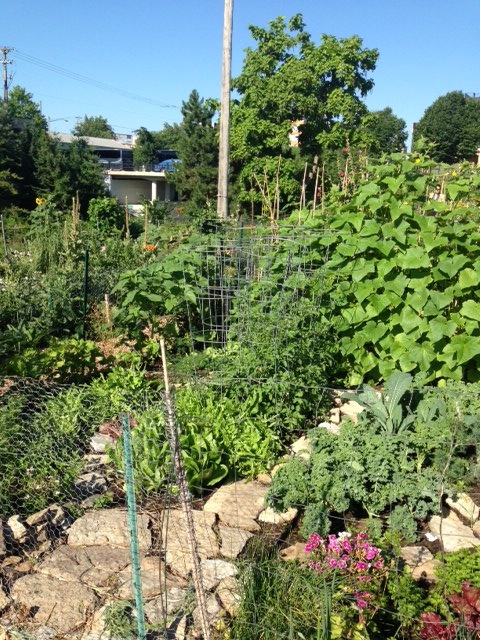
I was especially impressed by how many pollinator-focused gardens I saw. All over the place, in small neighbourhood yards, along roads, there was milkweed and Echinacea and beebalm and rudbeckia, pollinator heaven.
 I love photographing the insects themselves, and often find myself stalking them quietly, trying to get close enough for a decent shot without a fancy zoom lens. It makes me feel like a pollinator paparazza.
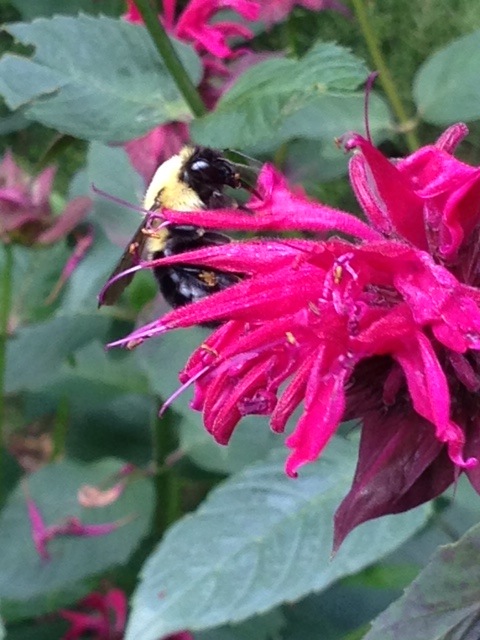
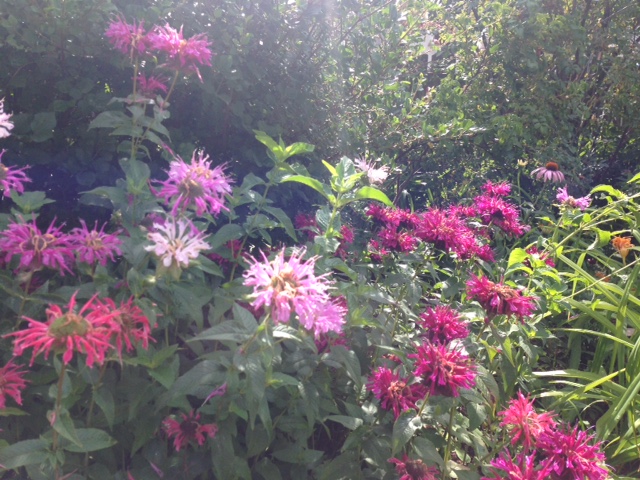
Check out the hot pink of this beebalm! It can range from soft lavender to darker purple, red, and as you see, firey pink. Beebalm, a member of the mint family, is a great source of nectar to bees, like the big bumblebee I caught feeding here, as well as butterflies and hummingbirds. It’s a sun-loving, edible perennial, also good for a tea that is soothing to coughs. You can find beebalm as part of our Welcome to the Garden Pollinator Mix.
An annual that I saw less of than many other pollinator-attracting flowers is cleome, or spider flower. Cleome is tall, strikingly pretty, and easy to grow, reseeding itself readily. It attracts birds, bees, and butterflies, but also a critter one might not remember when thinking about pollinators – bats.
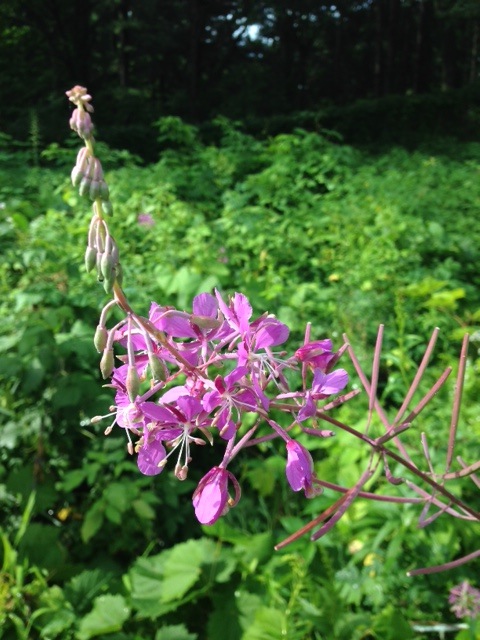
Cleome can come in various pinks, white, or a variegated mixture, like the Queen Mix we carry.
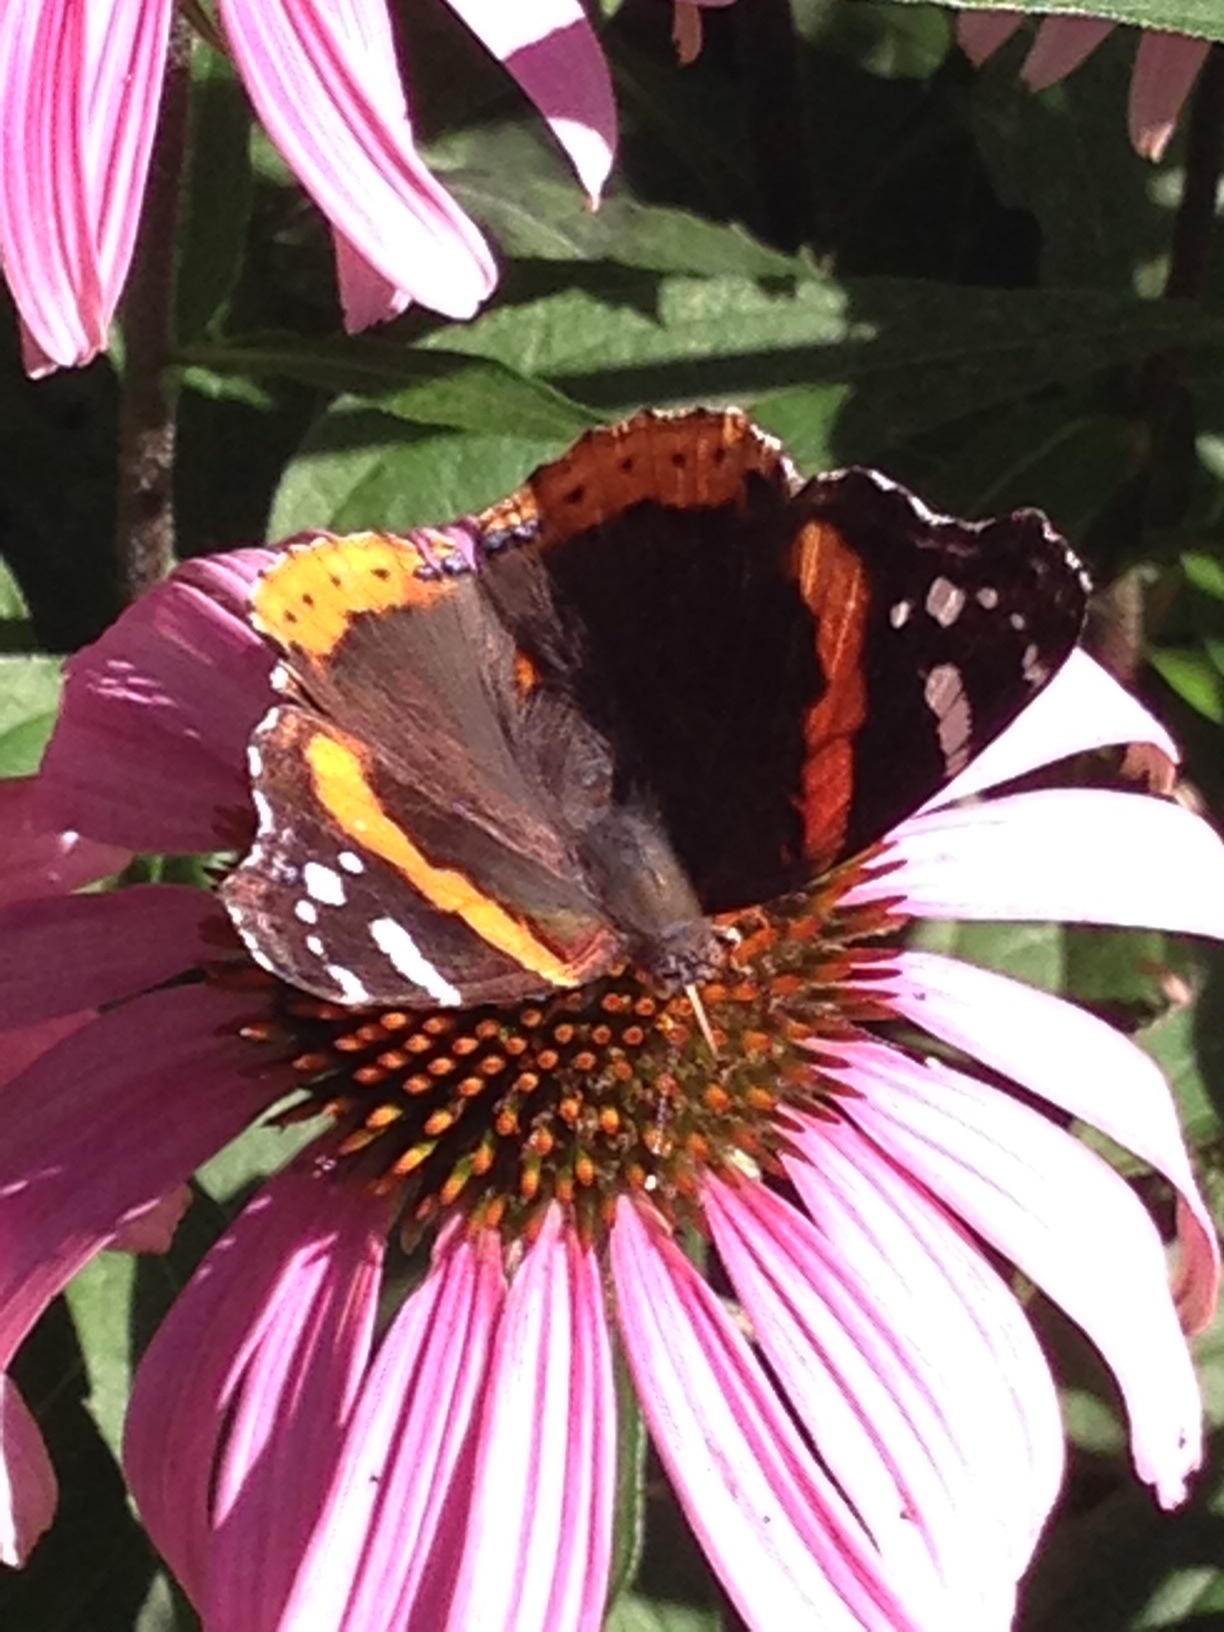
More pollinator chasing! This is a Red Admiral butterfly feasting on the nectar of an Echinacea blossom, of which I saw a great many all over Minneapolis. The adult butterflies actually prefer tree sap, rotting fruit, and bird droppings, but will settle for flowers. If you’re trying to attract and care for them in your garden, remember to feed the caterpillars too – they like stinging nettle, tall wild nettle, wood nettle, and false nettle.
But perhaps the coolest pollinator-related thing I saw had no flowers or pollinators in it at all. It was the not-yet-open Tashjian Bee and Pollinator Discovery Center at the Minnesota Landscape Arboretum. We were privileged to get a sneak preview of this beautiful new building which will house exhibits related to bees and other pollinators and whose primary purpose will be education about the tremendous importance of bees in our food chain and how we can be involved in supporting them. The Discover Center is scheduled to open in September with the main building and exhibits, as well as learning labs where the view through a microscope can be projected onto overhead screens for all to see and kids can participate in various bee-related learning activities. The longer range vision for the 28 acres of land around the Center, if they can get the funding, is to plant demonstration food gardens of varying scales, from backyard size to large farm size, which employ pollinator-friendly cultivation practices.
Read more about the Bee Discovery Center here.
——–
Are you local to our neck of the woods in Louisa County, VA? We’re hosting our annual Farm Open House and Tomato Tasting on August 20th. Come tour our farm, taste more than 50 varieties of tomatoes, as well as herbs, and have a chance to buy directly from our seed picking room. Email me with an RSVP that says which date you’ll come in order to be entered in a prize drawing! gryphon AT southernexposure.com
 Lisa Dermer & Ira Wallace
 4. Sow successions! Two weeks after your first sowing make another planting of the same varieties or other, earlier-maturing types.
