
Basil’s rich culinary, cultural, and medicinal history has earned it the moniker, “the king of herbs.” The name basil actually comes from the Greek “basilikon” meaning “king.” Though the Greek’s gave it its modern name, the Indians first cultivated basil at least 5,000 years ago. Through the years, cultures around the world have grown basil. The Egyptians used it in the embalming process, the French used it to deter mosquitoes, and the Italians made Caprese and pizza. Thankfully, with a few tips, basil is easy to grow at home so you can join the herbal tradition.
Choose the right variety for your needs.
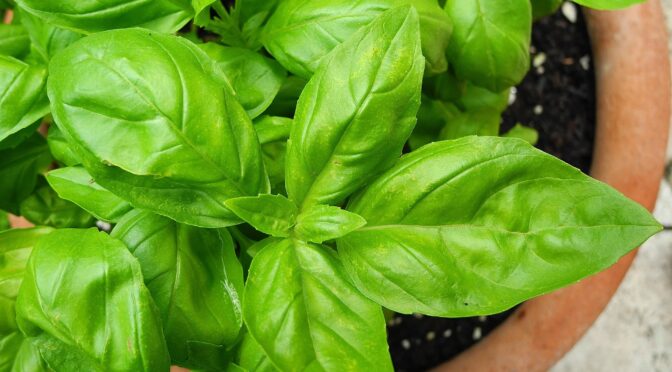
Basil varieties are as varied as their uses. Varieties like the large Lettuce Leaf Basil and Sweet Genovese are highly prized for their culinary use in Italian food. Others like Lemon Basil and Lime Basil offer bright citrusy flavors for soups, salads, and fish dishes. A few, like Kapoor Tulsi (Holy Basil) are renowned for their medicinal use.
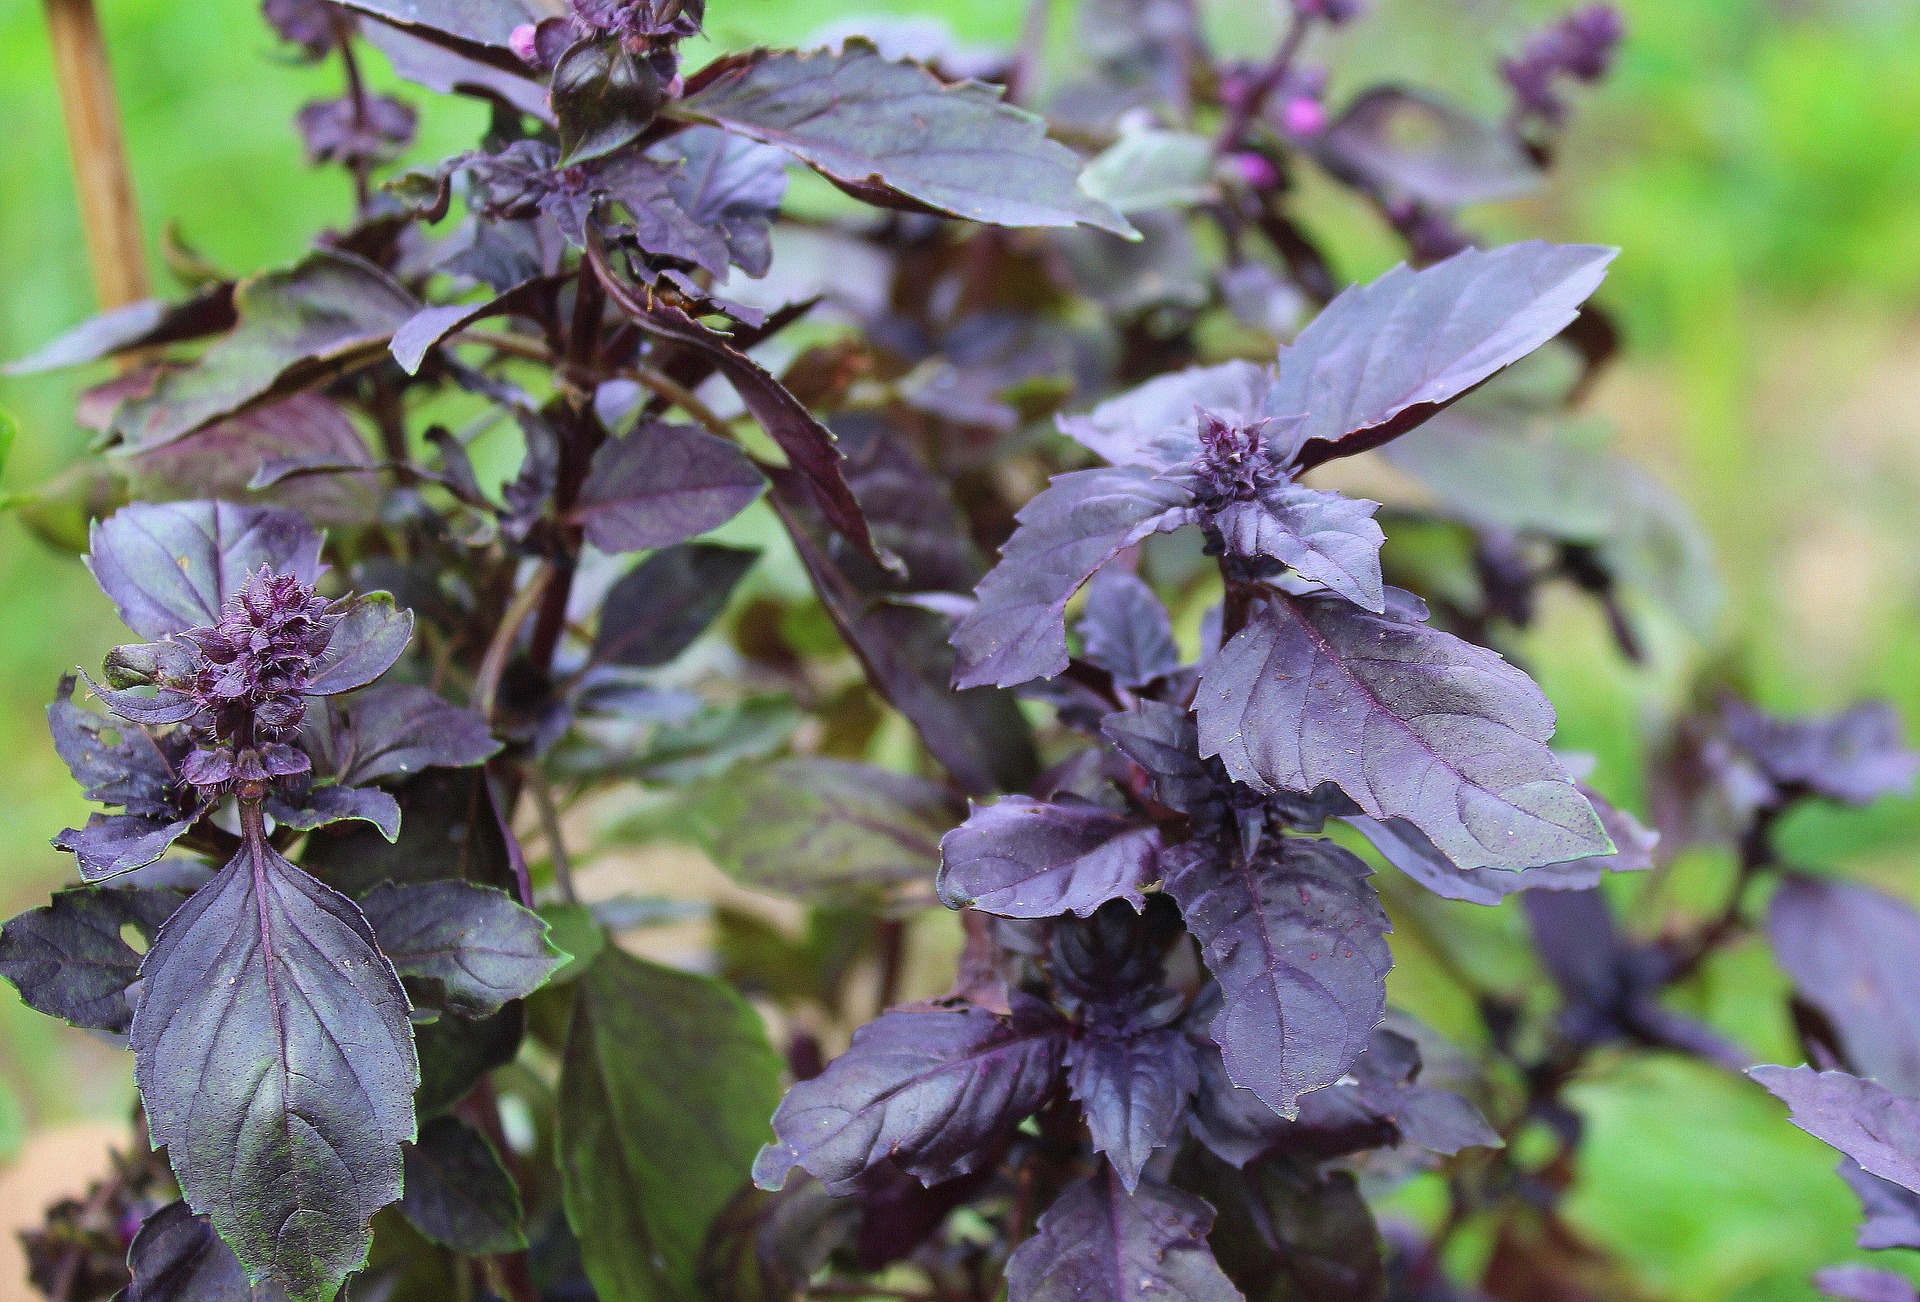
They also have unique styles. Red Rubin and Dark Opal offer gorgeous purple leaves. Spicy Bush Basil offers intense flavor in a compact package perfect for patio containers or even window boxes.
This is just a few of the amazing basil varieties available. Be sure to do your research before selecting a variety for your garden.
Provide your basil with appropriate growing conditions.
Basil is a heat loving herb. It thrives in warm, sunny locations and is sensitive to frost. While you can direct sow basil, if you live in an area with cool springs it may be worth starting it indoors where you can protect it from cool temperatures.
Once summer begins, basil grows great in most of the Southeast. However, northern gardeners and those that live in mountainous areas may want to select a sunny spot that’s sheltered from the wind when transplanting out.
Protect your basil from pests.
Young basil seedlings are susceptible to damage from slugs and snails. If you frequently find these pests in your garden, it’s a good idea to start basil in containers and then transplant them. Larger seedlings are less susceptible to slug and snail damage. You can also temporarily pull mulch back from plants to destroy slug hiding places, put out homemade slug beer traps, or use place boards as slug hideouts and regularly collect the residents.
Aphids are small black or green soft-bodied insects that suck the plant’s sap. You’ll often spot clusters of them on the underside of leaves. Thankfully, they’re fairly easy to deal with, especially if you only have a few plants. Often, you can wash them off with the hose or use a mixture of dish soap and water in a spray bottle to kill them. Some folks also find that putting coffee grounds around their plants helps prevent aphids.
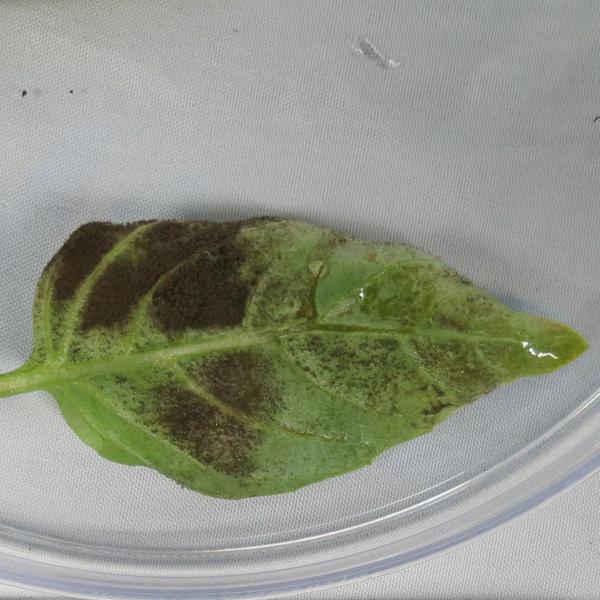
Dr. Lina Quesada, NC State Vegetable Pathology Lab
Work to prevent Downy Mildew.
Basil is occasionally susceptible to a fungal disease called Downy Mildew. When a basil plant has Downy Mildew, you’ll likely notice yellowing on the tops of leaves, usually in between veins like sun scald or a nutrient deficiency. The purplish-gray spores form on the underside of the leaf, which looks a bit like a black mold or fuzz.
Unfortunately, this disease is easy to spread. It can come from infected plants and seeds or by spores which travel long distances on the wind. Thankfully, there are a few ways you can prevent and manage Downy Mildew in basil.
-
Space plants appropriately and prune as needed to encourage good airflow.
-
Only water the base of the plants and avoid splashing water on the leaves.
-
Monitor lower leaves as this is usually where the disease begins.
-
Remove and destroy any infected plant material.
Provide consistent moisture.
Basil produces best in moist, well-drained soil. It may not need much attention in spring, but as the weather gets hotter and drier, your basil will benefit from consistent watering. Ideally, you want to water deeply at least once a week. Once your basil is beyond the seedling stage, it’s also a good idea to mulch around the plants to help hold moisture in the soil.
Pinch your basil often.
Basil is one of the amazing crops that performs better with consistent harvests. Harvest basil with a technique called “pinching.” Once your basil reaches 6 to 8 inches tall, you can begin harvesting. Use your fingers to pinch off the tips of basil stems and a few leaves about a 1/4 inch above a set of leaf axils.
You’ll notice that little shoots are beginning to grow at the leaf axils. Pinching the tips and encouraging the side shoots and creates a healthier, bushier plant.
Growing basil will bring incredible flavor to your meals throughout the season. Follow these tips for success with this royal herb.

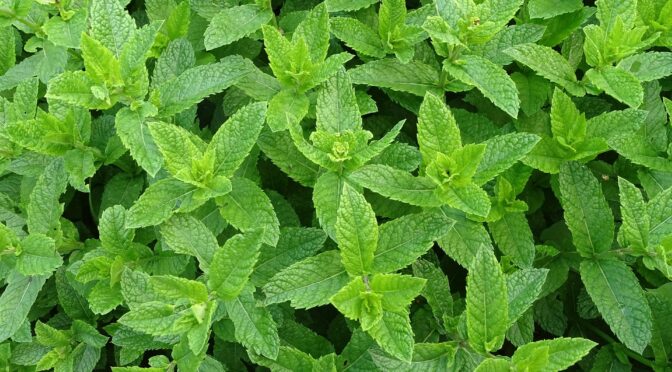
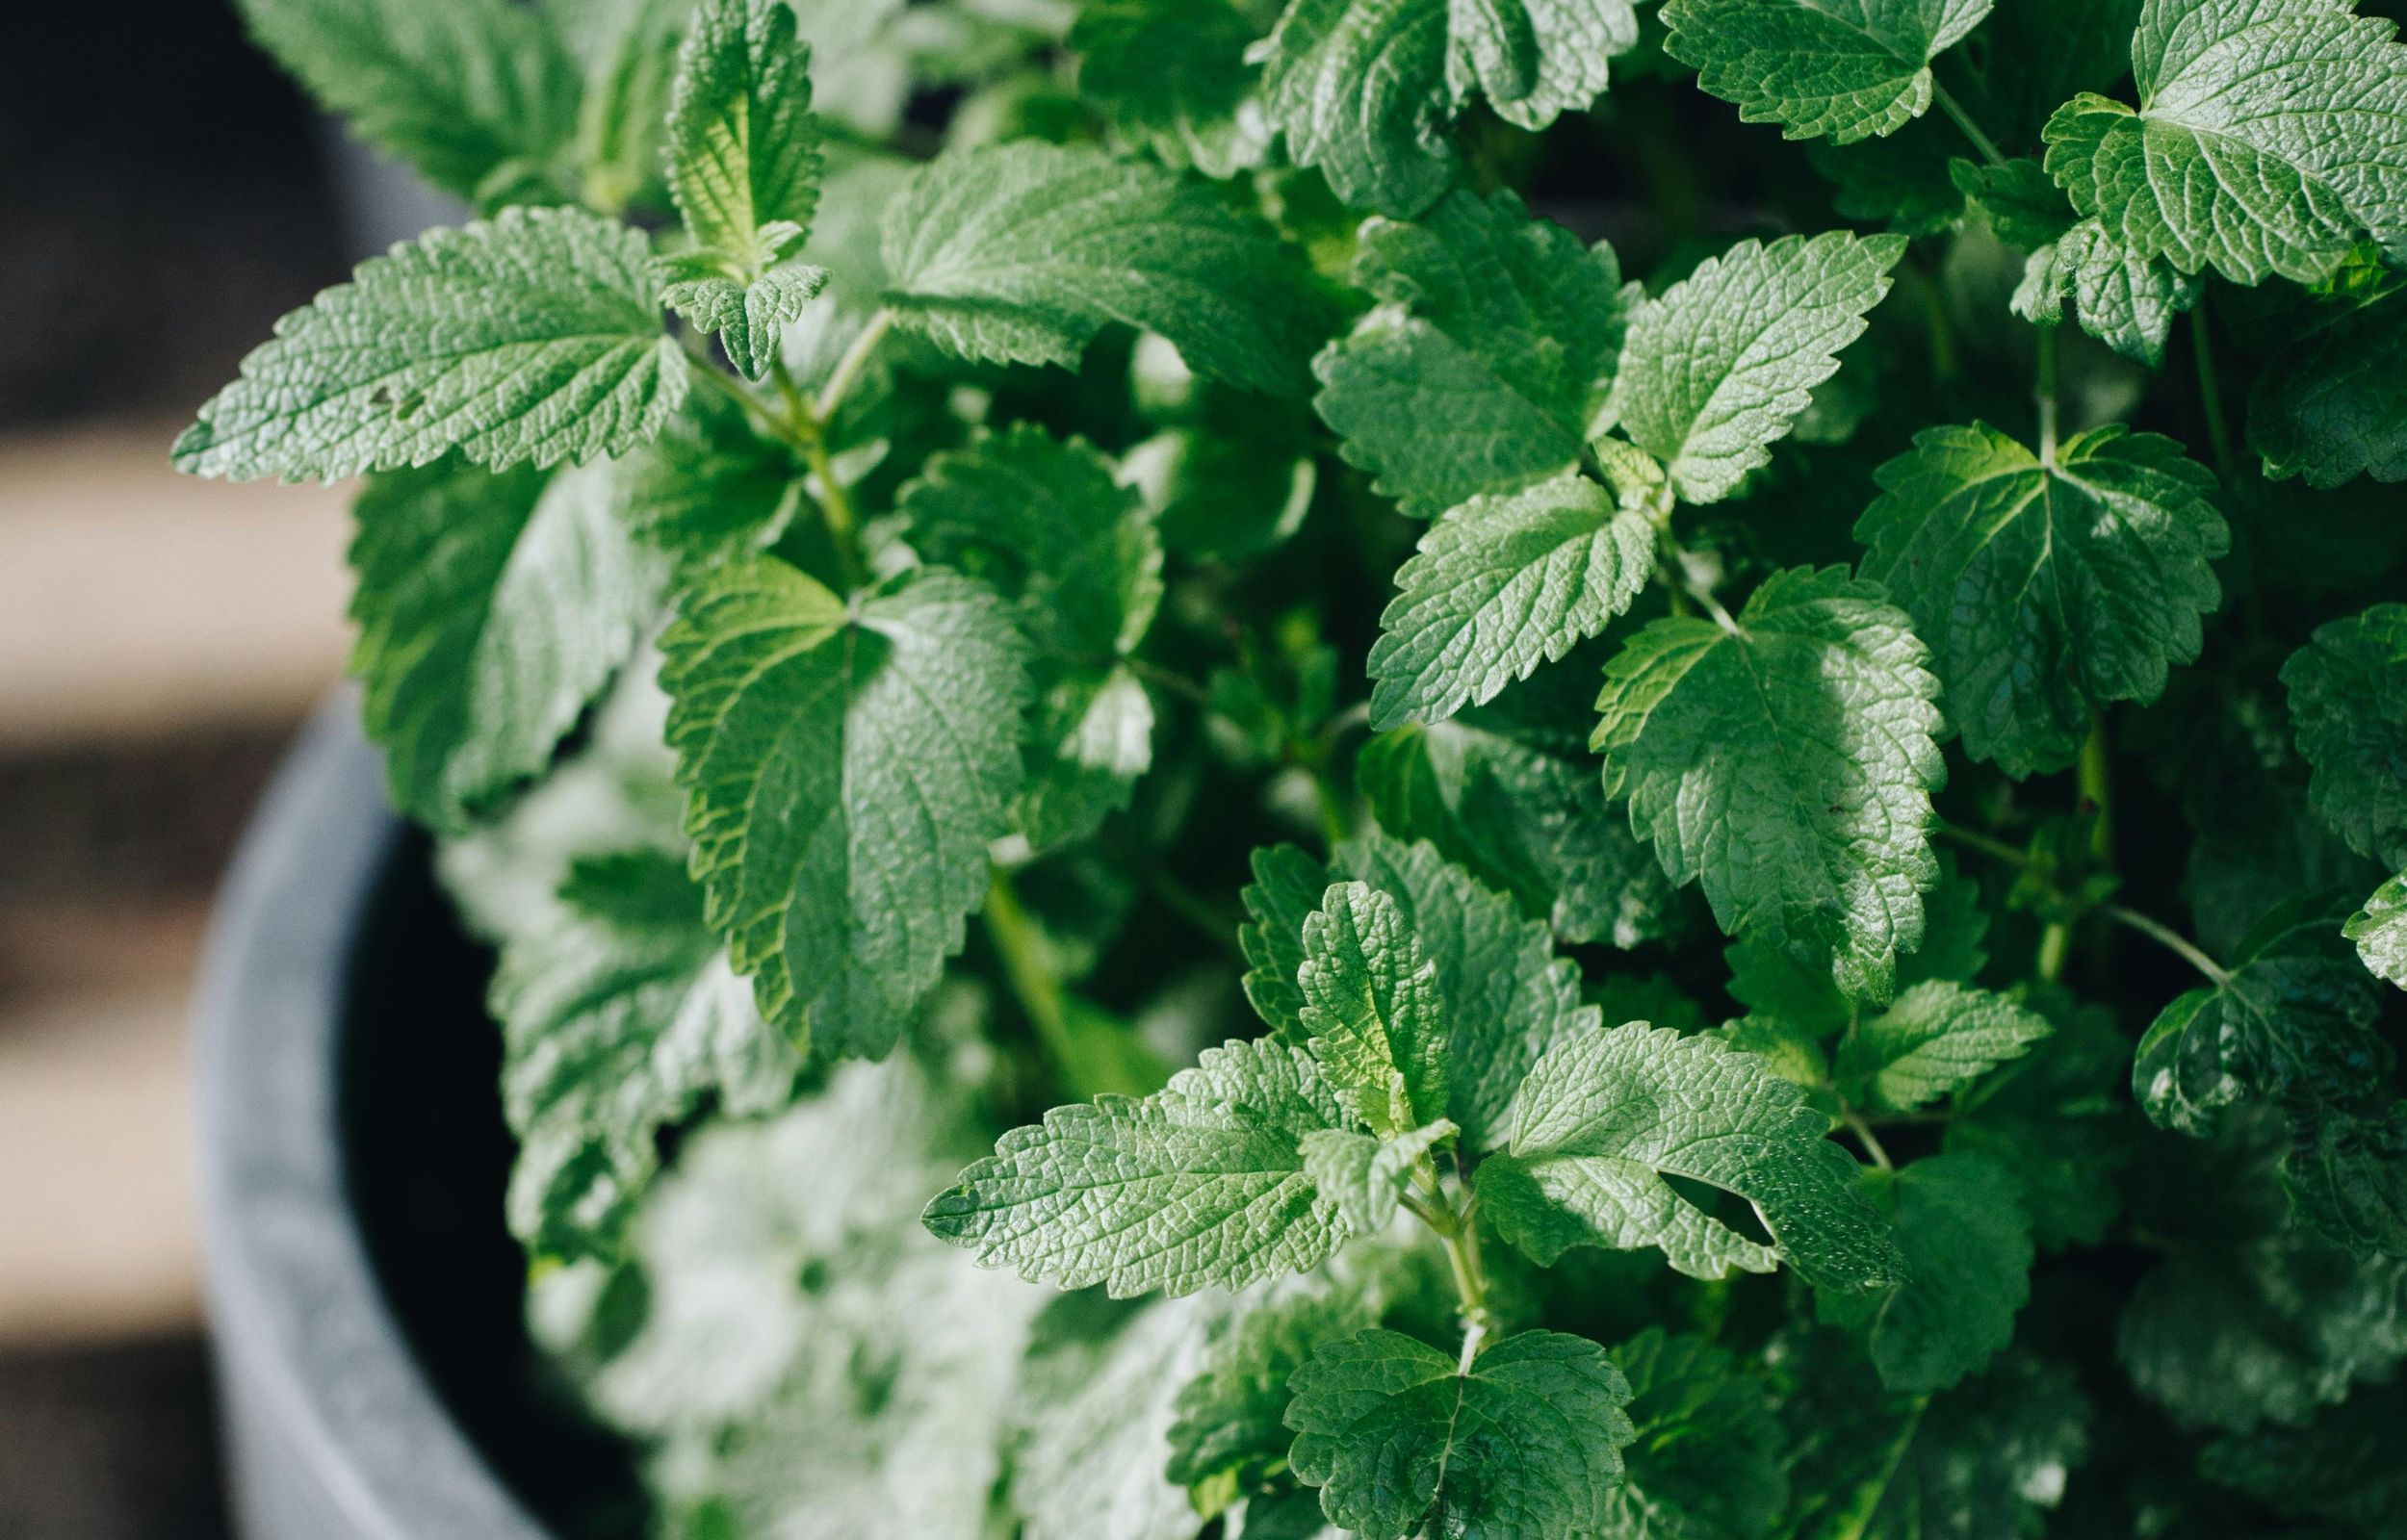 Controlling Mint
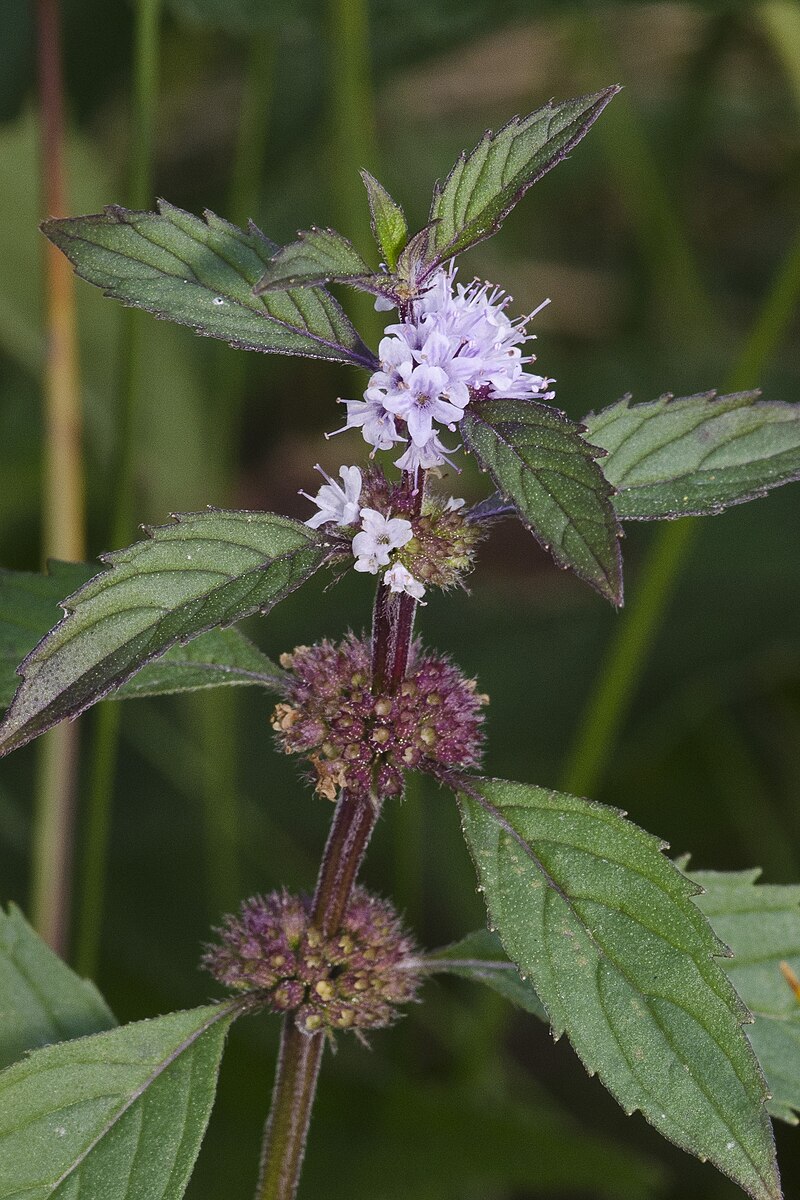
 Anise-Hyssop or Licorice Mint (Agastache foeniculum)
 Hyssop (Hyssopus officinalis)
 Catnip (Nepeta cataria)
 Lemon Balm (Melissa officinalis)
 Mint (Mentha sp.)
 White Horehound (Marrubium vulgare)