With summer’s intense heat in full swing, it can be hard to remember to sow cool season crops, but some fall crops need to be started as early as June, and many need to be started in July.
On our farm in central Virginia our average first fall frost falls in late October, but even where frosts come later or not at all you should start fall crops during the summer. Later plantings will struggle with fall’s low light levels, and won’t produce before growth slows to a near standstill in early winter (the “Persephone Days,” November 21-January 21).
To make sense of all the seeds we’re sowing during the summer months, I divide our summer plantings into three types:
1. Warm-season, slow growing summer successions: these are the bonus crops that many gardeners forget. A second round of tomatoes, summer squash, sweet corn, or cucumbers can keep you harvesting all summer long without interruption.
2. Fast growing summer successions: these crops require frequent, regular sowing all through summer. Because we’re sowing so often, these can be easier to remember. We sow beans, carrots, salad greens, beets, and radish seeds weekly. Be ready to baby your summer sowings: we water daily to keep them from drying out before sprouting. Lettuce needs the soil temperature to be below 80 degrees F, so you may need to sow in flats indoors, or even in the refrigerator, or sow in the evening and cool the soil with crushed ice.
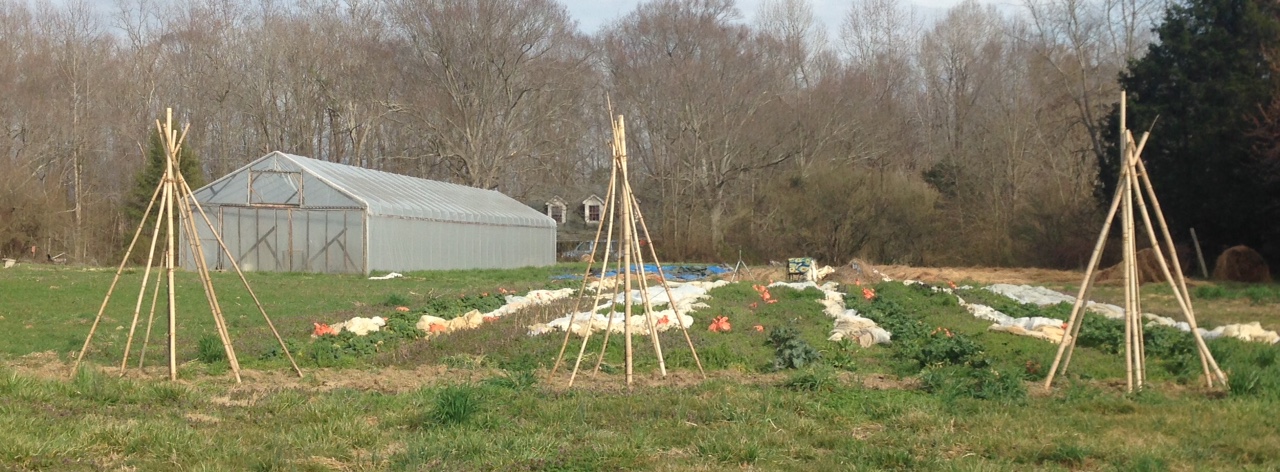
3. Cool season, slow growing crops for fall harvest. We sow the Brassicas first: Brussels sprouts in June, and then broccoli, cabbage, and cauliflower in July. By mid-July we’re sowing fall greens: collards, Swiss chard, leaf beet, and kale, plus winter radishes. We sow Chinese cabbage in late July. Sow thickly in nursery beds and keep up with your watering; we protect these young plants from summer’s insects with spun polyester row cover or the new more durable and temperature neutral “proteknet.”
For further resources on planning your summer sowings, check out: Brett Grohsgal’s article Simple Winter Gardening, our article on Summer Succession Plantings, and our Fall and Winter Planting Guide.
Successions can be overwhelming, so we have some tricks that help extend harvests with fewer plantings:
1. Plant indeterminate varieties of tomatoes and cucumbers, and pole-type beans and peas. We still find we need a late tomato planting, because our earliest plantings taper down toward the end of summer (and our Heritage Harvest Festival at Monticello needs lots of tomatoes for the Tasting Tent).
 2. Select heirlooms bred to provide extended harvests: many modern farms want concentrated harvests that can be harvested with one or two passes; but for more traditional growers an extended harvest was the ideal way to manage the bounty. Look for roots that hold well in the ground. Lutz beets are one of our favorites: they can be spring planted and will hold all summer without turning woody. However, they will be very large, so this only works if you’re happy cooking with multi-pound beets (try slicing cross-wise for beet burgers). Open-pollinated broccoli provides extended side-shoot harvests. Choose bolt-resistant greens and harvest by the leaf before before taking whole plants.
3. Choose seasonally appropriate salad greens: we want salads all year-round, but this can be tricky both when it’s hot and when it’s cold! Mustards and brassicas are more mild in cold weather, so get adventurous by adding young kale and tatsoi to winter and early spring salads. Choose cold-tolerant lettuce: red varieties tend to hold up better in frost. For hot weather, choose fast-growing summer crisphead lettuce like Sierra, or heat-ready greens like Red Malabar spinach or Golden purslane.
4. Set up a root cellar or similar storage system. Ultimately, some of your crops will ripen all at once, or you’ll be faced with a glut of produce when frosts threaten. Be prepared: have a proper storage area ready to go for your carrots, parsnips, turnips, cabbages, winter squash, and more. Be ready to finish ripening the last fresh tomatoes indoors. For fresh produce through till spring, we need good systems for storing and slowly working through the harvest. Nancy Bubel’s Root Cellaring is an invaluable resource if you’re looking to improve your winter storage system, and has lots of low-cost and little-time options, if you haven’t blocked off your whole summer to dig a cellar.