For many, gardening is not only an enjoyable activity but a great way to save some money. Unfortunately if you weren’t raised on a farm or with a large garden it can be difficult to have a successful garden withtout spending loads of money on fertilizer and soil amendments at the garden supply store. Thankfully it is possible to maintain a healthy garden without spending a dime! Try a combination of these methods to increase your soil’s nutrients and reap a better harvest.
Leaf Litter
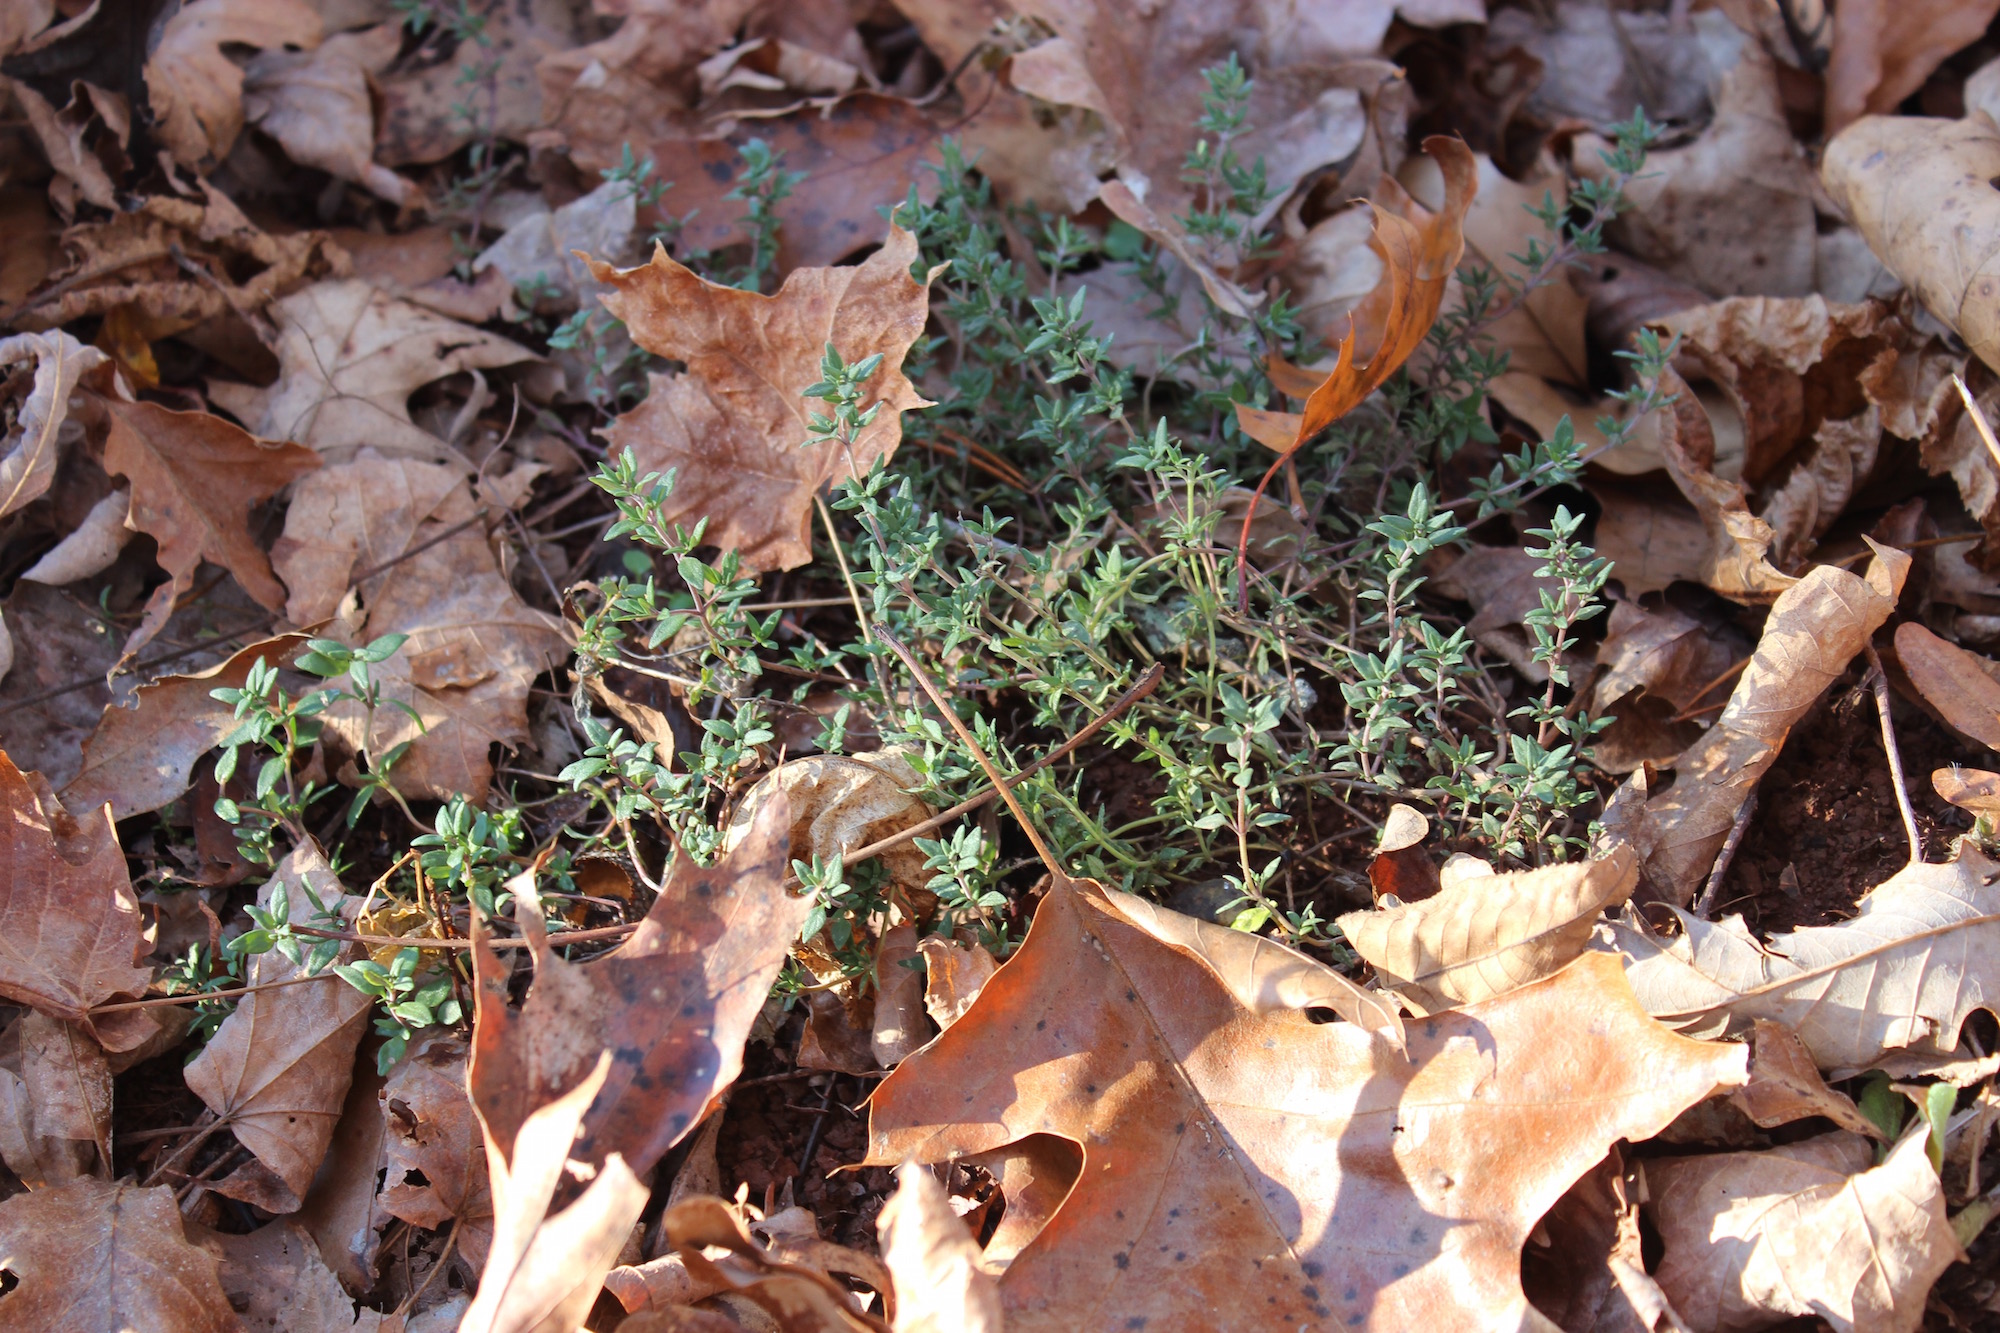
Leaf litter is great because it can be used to make compost or can be applied straight to the garden as mulch. As a mulch it provides habitat for beneficial insects, blocks weeds, holds in moisture, and slowly breaks down adding nutrients to the soil.
Leaves can be gathered from your yard or woodlands. You may find piles that have collected behind fallen logs or stones after being carried by the wind. In gathering leaves remember to leave some for the natural ecosystem. It’s tempting but don’t strip any area of all it’s leaf litter. Even if you don’t own wooded property you can probably still find free leaves. Many cities and suburbs collect them and you can get bags of them for free, just ask around.
Grass Clippings
If you mow your lawn at all grass cllippings are deifintely worth getting a bagger for. They make great mulch to block out weeds, hold in moisture, and provide a lot of nitrogen. Grass clippings can also be soaked in water to create grass clipping tea. Watering plants with grass clipping tea provides a fast acting nitrogen boost.
Like with leaf litter, some areas may bag their grass clippings for collection and can be picked up for free.
Compost
Compost is surprisingly easy to make right in your backyard. The most important thing to remember when making compost is to have a mix of of “green” or high in nitrogen material and “brown” or high in carbon material. Examples of “green” material include grass clippings, vegetable scraps, and weeds. “Brown” material includes leaf litter, wood chips, straw, etc. The compost should be turned occasionally and watered to keep it moist as needed.
Compost can also be used to make compost tea the same way grass clipping tea is made. Many people choose to add powdered egg shells to compost tea for an extra boost of calcium.
Some cities and towns now offer free compost made from local plant waste like grass clippings and leaves. If you go this route you may want to have it tested for herbicides.
For more on making compost read, How to Make Compost from Mother Earth News.
Straw

Straw is a choice mulch but can be rather pricey to purchase. Look for bales leftover from Halloween decorations or consider growing a patch of wheat for a double duty crop!
Wood Chips
Wood chips can be used as mulch or can be added to compost piles. Both in compost and as a mulch they offer similar benefits to that of leaf litter but break down more slowly.
Other Plant Material
Any plant material that doesn’t contain weed seeds can be used as fertilizer. Examples include wheat chaff, weeds, corn stalks, etc. These can be applied directly to the garden or composted. Green plant material like freshly pulled weeds can be used in place of grass clipping in grass clipping tea.
Cover Crops
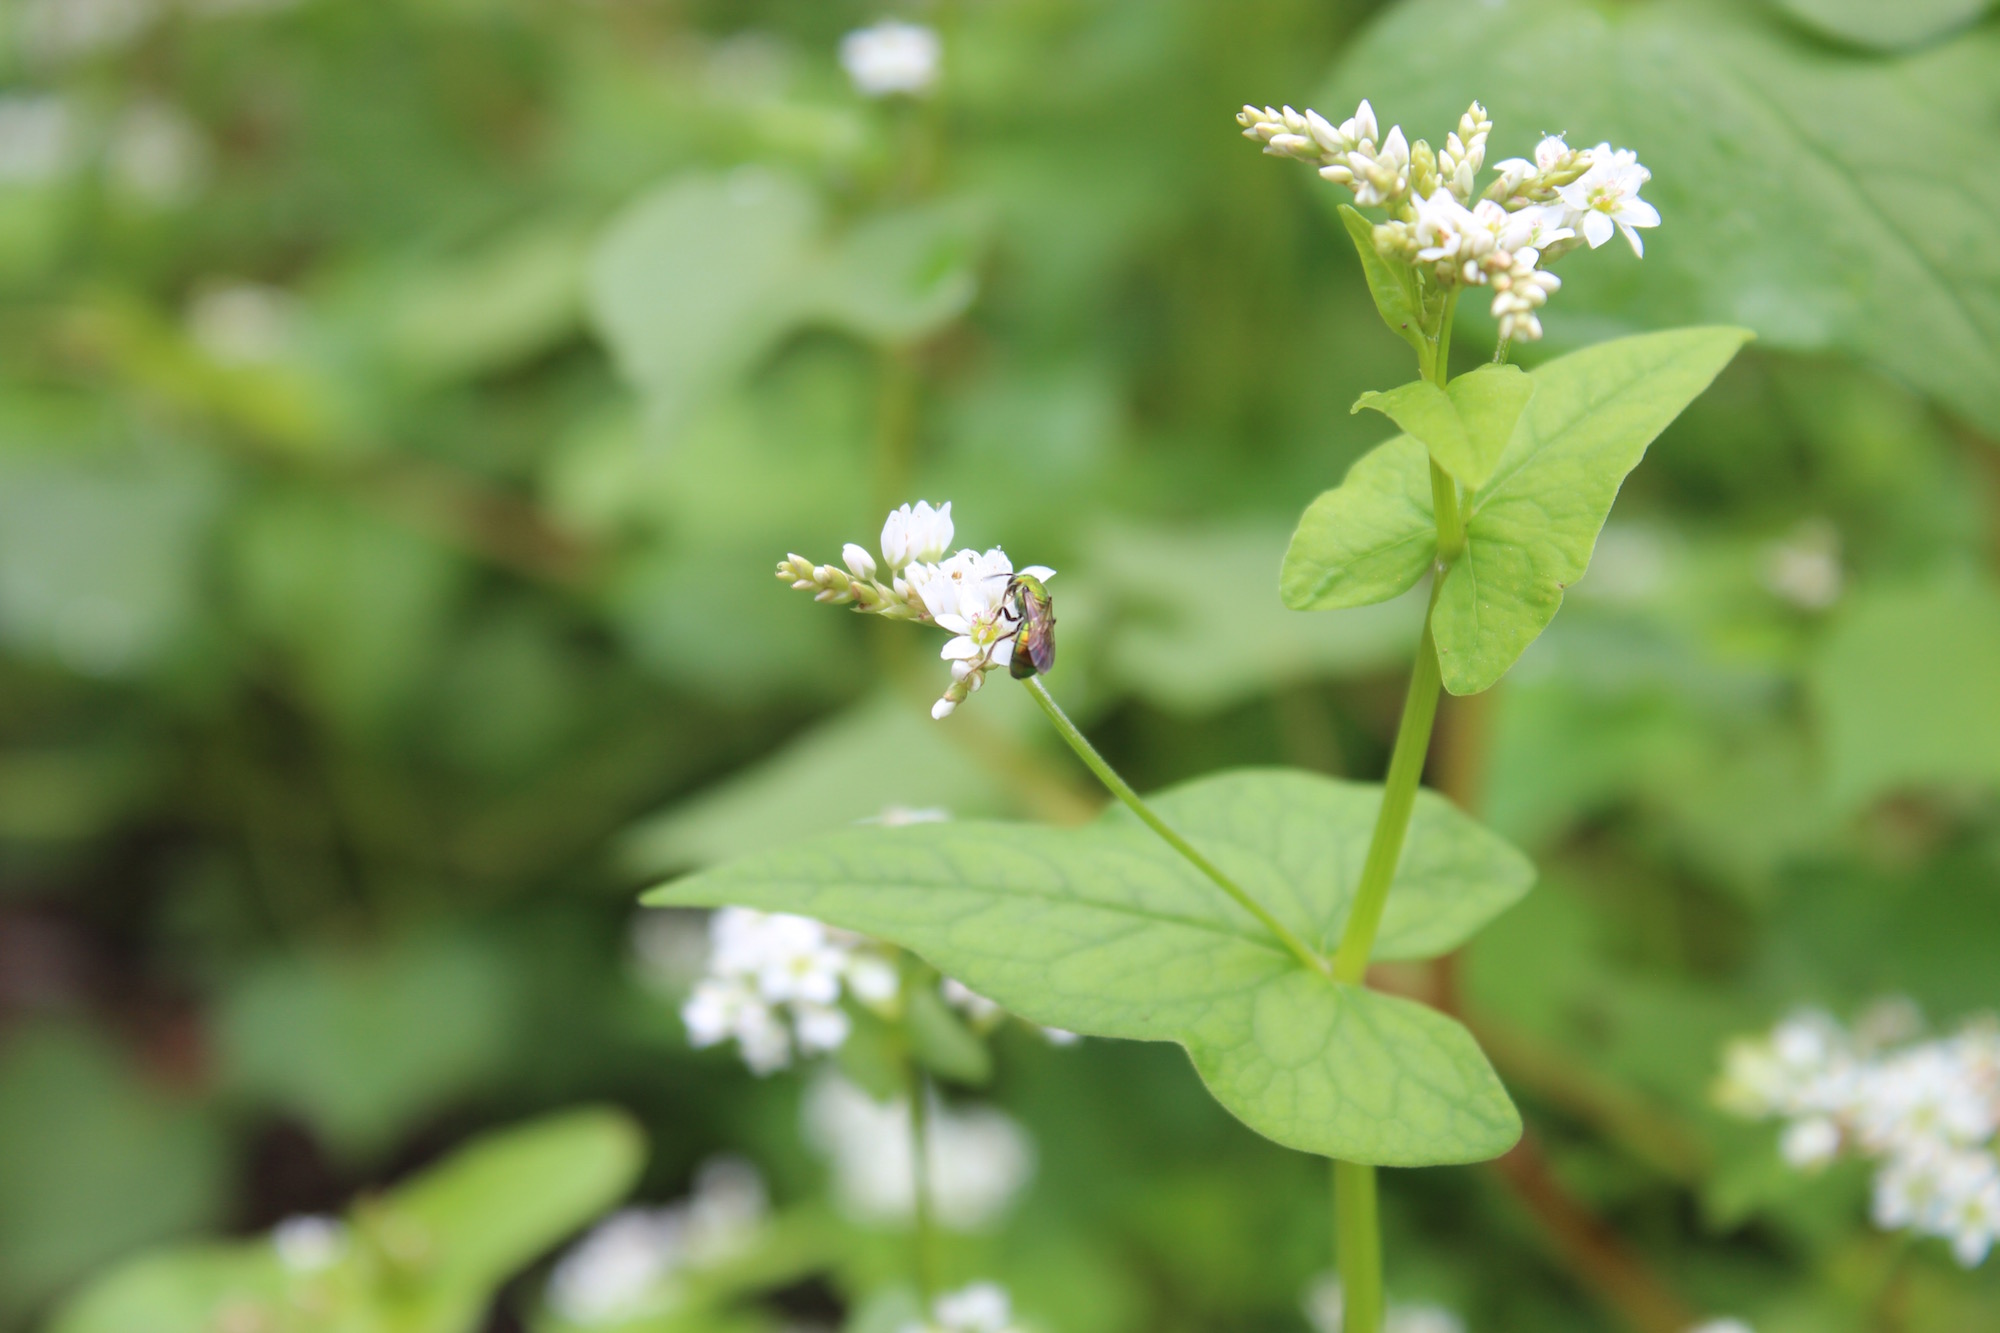
Cover croping may sound like something for a big farm but it’s actually very easy and effective to implement in a backyard garden. Some cover crops like vetch or clover are legumes and add nitrogen to the soil as they grow. Others like buckwheat add nutrients as they die and rot or are tilled under. Many cover crops come with added benefits like attracting pollinators.
Check out this post by Ira Wallace for more on Cover Crops.
Urine
It sounds wierd but urine is actually a great fertilizer if you’re not too squeamish. It can be collected and saved up then diluted (10 parts water to one part urine) and used to water plants for a nitrogen boost. Most people or more comfortable using this on fruit trees and shrubs than their annual vegetable crops.
Wood Ashes
If you have a wood stove or backyard campfires wood ashes make a great free garden amendment, addding potassium to the soil. They should be used in moderate amounts as they also act as a liming agent. They raise the soil’s pH making it less acidic. If this is helpful for your soil conditions it’s worth noting that they’re only about 1/3 as effective as commercial lime so you may need a larger amount.
Hugelkultur Beds
If you’re okay with a more involved project you may want to try building a hugelkultur bed for longtime fertility. Hugelkultur beds involve a pile of woody material which breaks down over time providing a long lasting nutrient source.
You can learn more about the benefits of hugelkultur and how to make a hugelkultur bed here
Manure
Manure can come from your own livestock or you may find it free from a local farm. Try checking with places that board horses as they typically don’t use it the way many farms do. If you’re sourcing it from anywhere besides your backyard be sure that the animals haven’t been fed plant material that was grown using herbicides as these can still be in the manure and will kill your garden.
It’s also worth noting that excessive use of manure can cause a phosphorus build-up which pollutes local water sources and can tie up other soil nutrients. This problem doesn’t occur with any plant based fertilizers so manure should be used sparingly.
If you’re unsure of where to start consider having your soil tested. Your local agriculture extension agency will be able to identify what your soil needs and advise you where to begin. Growing good, organic food shouldn’t be expensive. Experimenting with these tried and true methods can help you keep a frugal yet productive garden.

