
Spring is an exciting time in the garden. We have beds full of freshly sprouting plants, transplants hardening off, and perennials returning to life. Many of you may even be eating the year’s first salads or tender asparagus. While it’s an incredibly fun time in the garden, it’s a good time to look ahead too. They may not be a problem yet, but soon, weeds will start trying to outcompete our precious vegetables, herbs, and flowers. Learn about the different methods of organic weed management and keep up with them from the start.
Cultivate
Weeds are easiest to take care of when they’re small. When you’re direct seeding, mark your rows well so that you can conquer small weeds early, even if they’re too tiny to tell what they are. There are several ways to do this, but I have a couple of favorite tools for keeping up with small weeds.
One of my favorite tools for this is the stirrup or hoop hoe. It has a long wooden handle and a U-shaped blade that oscillates back and forth, cutting weeds off just below the surface as you move it.
For longer beds, I like to use a wheel hoe with similar stirrup hoe-type blades attached. Wheel hoes generally have single (one blade) or double configurations (two blades). If you have one of these, it’s a good idea to plant your crops so that a wheel hoe can easily be maneuvered through the rows, at least while your plants are small.
Flame Weed
Flame weeding comes at the cost of propane, but it can be a huge labor savor. When weeds are between 1 and 4 inches, it’s nearly 100% effective. A basic flame weeder consists of a propane tank, hose, and torch, which allows you to burn weeds. Typically, the propane tank is carried in a backpack-style carrier, but this may be unnecessary for small gardens.
Flame weeding has become increasingly popular among small commercial farms. Today you can find flame weeder torches that can be rolled over the bed or even carts that include multiple torch heads and spot for the propane tank for those doing large amounts of garden space.
The goal of flame weeding isn’t to burnt the plant in its entirety, just slowly pass the flame over the plants. The heat damages the plants’ cell structures, and they die over the next few hours or days. Flame weeding is a great technique to use just before planting. If you already have crops in the bed, be sure to avoid getting too close to them.
 Rotate Your Crops & Employ Cover Crops
Crop rotation helps prevent soils from becoming unbalanced and makes it more challenging for certain weeds to become established. Including some fast-growing crops in your plan is a great idea that can help outcompete weeds in trouble areas. These crops may include winter squash, cucumbers, sweet potatoes, and dent corn.
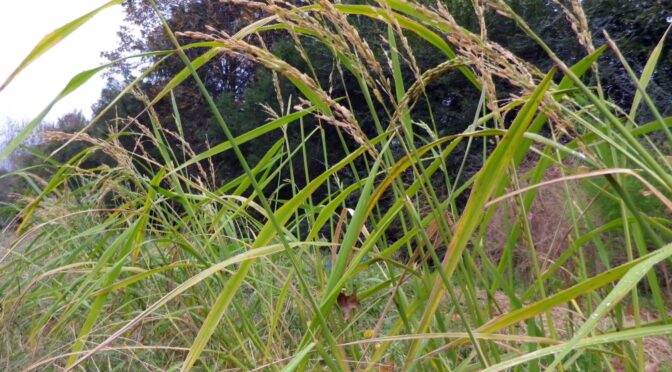
Cover crops are an essential part of any crop rotation plan. They help build soil structure, improve fertility, and suppress weeds. Some rapidly growing cover crops like buckwheat can quickly outcompete many weeds and are great for problem areas. Some cover crops like mustard, oats, rye, and Sudan grass are allelopathic, producing a chemical inhibiting weed growth. Cover crop residue also serves as a mulch in no-till systems.
Solarize Your Beds
Another method you can use to prepare a bed and kill weeds is to solarize the bed. Place a clear plastic tarp over your bed and allow it to heat the soil and any weeds that are growing. Typically, this is done for weed control, but some studies have found this heat treatment also helps kill some pathogens.
Keep the Areas Around Your Garden Cleared
Weeds can quickly spread into gardens from unmowed paths or perimeters. Weeds going to seed in your yard can be spread into your garden with just a bit of breeze. Some weeds also reproduce by stolons or creeping vines that root at the nodes to form new plants. Keeping these cut back will help reduce the weeds you need to handle.
Don’t Water Your Weeds
Another way you can lessen the weed growth in your garden is to avoid watering them. Sprinklers are a common and affordable choice for many gardeners but don’t focus water on your plants. They water all the weeds around them too! This is wasteful and encourages weed growth. If it’s an option for you, consider switching to drip tape or soaker hoses, which can direct water to the roots of your crops and not the entire garden.
Minimize Soil Disruption
Many weed species have seeds that can lay dormant in the soil for years until they are disturbed and exposed to light. In a natural setting, this helps the plants take advantage of new openings, but in our case, it makes them ready-made to colonize fresh-tilled earth quickly. Opting for no-till or minimal-till can help you see a decrease in weed germination over several years.
Mulch
Apply a layer of mulch to your garden beds as soon as you can. Mulch helps prevent some seeds from sprouting by blocking out light and is tough for young weeds to go through. You can use various materials as mulch, including grass clippings, old leaves, straw, wood chips, or hay.
What Can You Learn From Your Weeds?
Sometimes the weeds we struggle with tell us something about our gardens. While it isn’t always the case, if you have a lot of one weed species, it could indicate something about your soil. Here are a few common weeds and the types of conditions you’re most likely to find them in:
- Crabgrass (Digitaria spp.): sandy soil, compacted soil, low calcium, low nutrients
- Bindweed (Convolvulus spp.): poorly drained, compacted, crusty soil
- Dandelions (Taraxacum officinale): compacted soil
- Dock (Rumex spp.): poorly drained soil
- Henbit (Lamium amplexicaule): high nitrogen
- Lambsquarters (Chenopodium album): rich soil, high nitrogen
- Mullein (Verbascum thapsus): acidic soil, low fertility.
- Mustard (Brassica spp.): dry, sandy soil, high in phosphorous
- Plantain (Plantago spp.): compacted soil (often heavy clay), acidic soil, low fertility
- Pigweed (Amaranthus spp.): Rich soil, high levels of nitrogen
- Quackgrass (Elymus repens): compacted soil
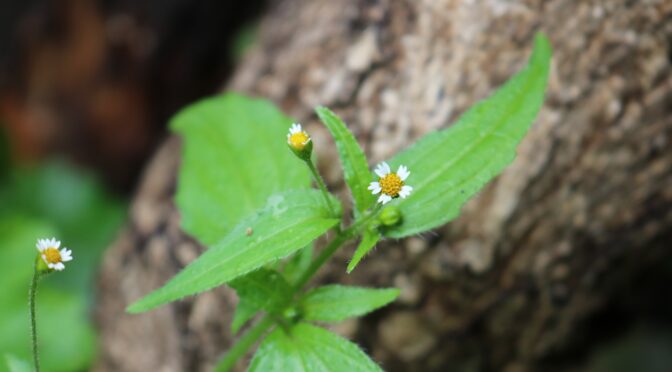
- Quickweed (Galinsoga spp.): high levels of nitrogen, phosphorous, and potassium
You can have perfect soil and still have weeds, but sometimes it’s worth exploring why a particular weed is so prevalent in your garden. If you haven’t had a soil test in a while, they’re always a good idea.
Weeds may not seem like a problem right now, but they will be if we let them get out of hand. Use these organic weed management techniques to stay on top of the weeds and have a productive, enjoyable summer garden.
") Why Did Humans Begin Saving Seed?
Why Did Humans Begin Saving Seed?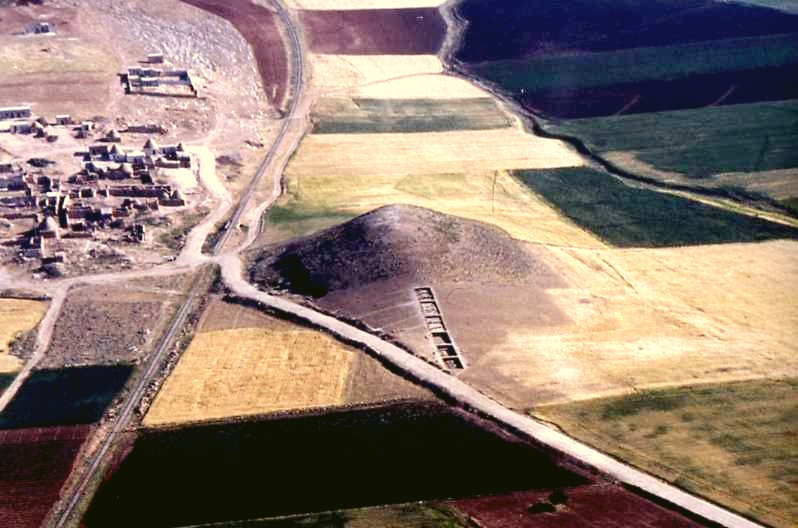


 Thin Your Crops