I can’t say enough good things about mulch. We have several blog post that mention the importance of mulch but if you want to learn more about why it’s so great check out this post, Mulch Ado… The Best Mulch for Your Garden.
If you’re on board with the importance of mulch but trying save money or make your garden as efficient as possible this is the perfect post for you.
Having a well mulched garden doesn’t have to cost a lot or require a lot of outside inputs to your garden. Don’t let those perfect Pinterest gardens with tons of beautiful, golden straw evenly spread around each plant fool you! Growing some or all of your own mulch is totally feasible and chances you already have some growing without even realizing it.
Use weeds.
As long as you don’t let them go to seed, even weeds make excellent mulch. In what some people call the “chop and drop method” you just go through your garden cutting your weeds and dropping them around plants.
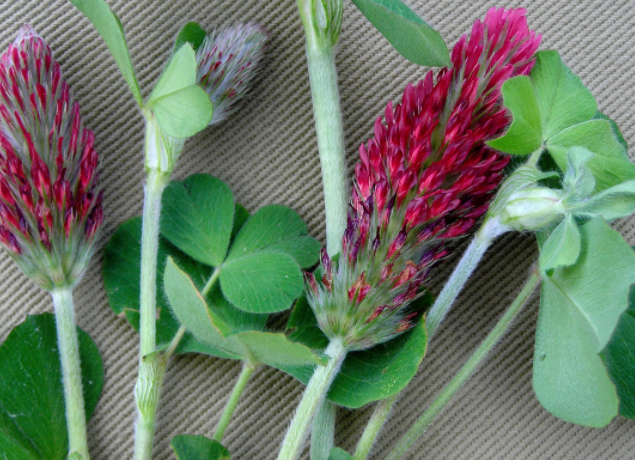
Plant your pathways in a clover.
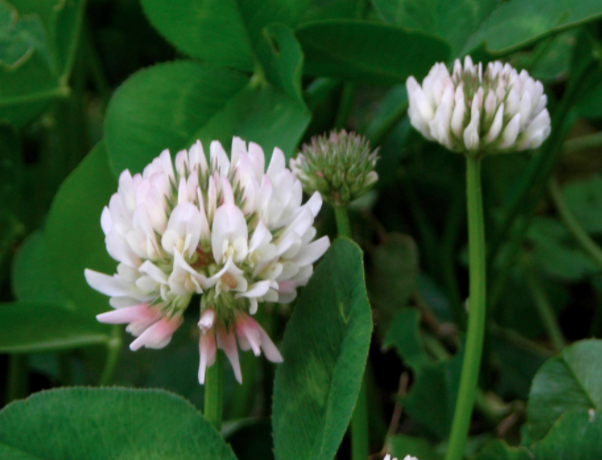
If you’re using permanent beds you can plant your pathways in a perennial cover crop like clover. Clover will add nitrogen to the soil as it grows plus your pathways can be mowed and used to mulch your beds.
Use your lawn.
You don’t need a hayfield to grow a significant amount of your own mulch. If you mow any lawn area at all you should invest in a bagger for your best push lawn mower. Grass clippings can immediately be dumped in the garden around plants and are great for adding nitrogen to the soil.
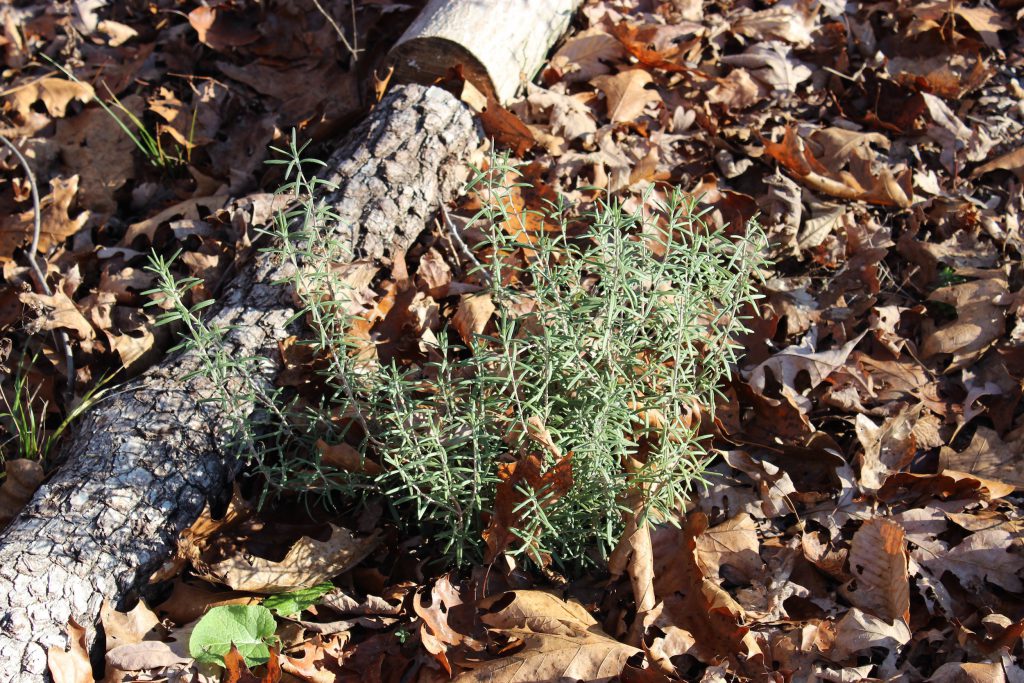
Don’t remove dead material from around perennials.
I’ve said this before but “cleaning up” your garden is not only unnecessary but harmful for your garden. By removing dead plant material you’re removing nutrients and homes for beneficial insects. The only only exception is when you need to remove plant material that you know is home to a pest like if you had a lot of asparagus beetles you’ll want to remove the dead asparagus fronds in the fall.
Plant some cover crops.
Cover crops are not just for large farms or when you’re resting a garden bed. Cover crops like alfalfa and buckwheat are perfect for sneaking in any small available garden space to grow and cut for mulch.
Check out this post for more great ideas, Cover Crops for Great Green Manure, Mulch, and More.
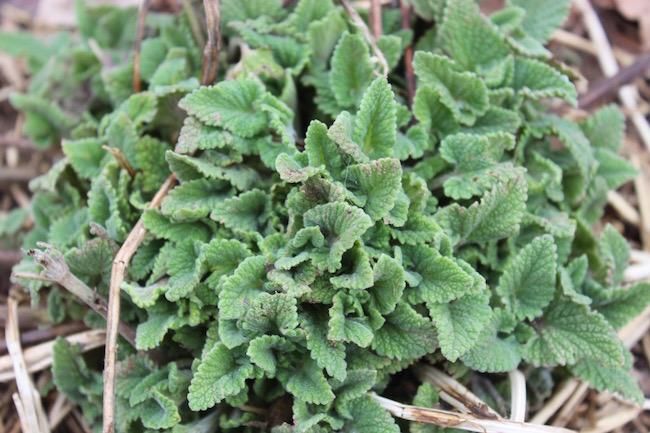
Grow comfrey.
Comfrey is an excellent choice for mulch because of its deep tap root. It brings nutrients and minerals up from deep in the soil and using its leaves as mulch will make these accessible to other plants. It’s also a hardy perennial and will easily tolerate being trimmed back for mulch.
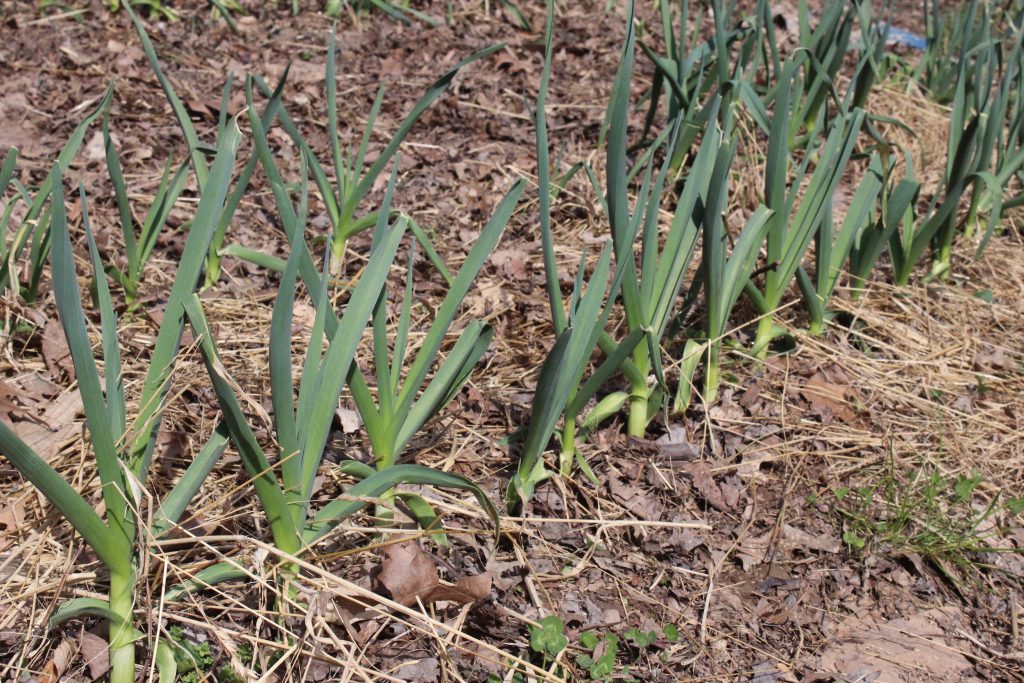
Use any extra plant material you have.
If you think about the plants you grow chances are you’re probably already growing some of your own mulch and are just composting or tilling it in instead. Try thinking of every non-edible plant material as potential mulch. When you pull pea plants off their trellises when they’re finished for the year use them to mulch around your next crop. Did you grow hardneck garlic? Lay down the stalks as mulch after you harvest the bulbs. Even peanut shells can be used for mulch.
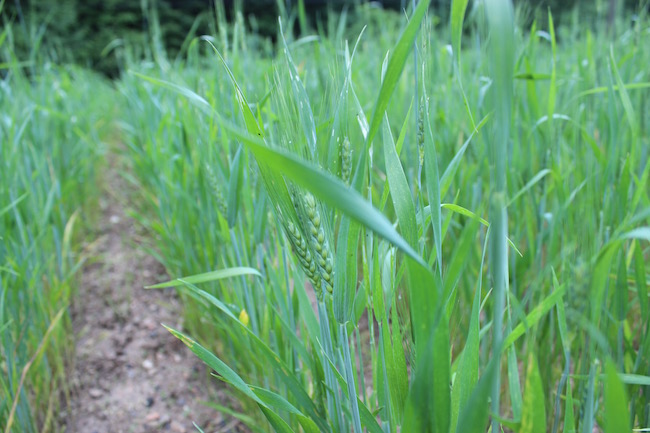
Try growing some of your own grains.
Most grains offer mulch as a secondary product. Whether you’re interested in rye, wheat, or rice once you’ve threshed the cereal off the plant you’ll be left with a lot of straw. This straw is perfect mulch. Did you know older grain varieties are much taller than modern varieties partially because straw isn’t valued in modern commercial agriculture?
The importance of mulch in your garden cannot be understated. Whether you’re trying to conserve moisture, add nutrients to the soil, create habitat for beneficials, or just cut back on weeding mulch is an integral part of maintaining a healthy garden. Using these tips you can mulch your garden without spending tons of money or relying solely on outside inputs.
Pin it for later.