Okra has long been a common crop in southern gardens. This warm-weather-loving plant originated in northeast Africa and was brought to the U.S. in the late 1660s by way of the slave trade or via Europe. Its high mucilage content makes it an excellent vegetable for thickening soups and stew, but it’s got many other uses too! Grow your own with this beginner’s guide to growing okra.
Preparing a Bed
Okra needs a location with full sun to maximize production. It thrives in fertile, loamy, well-drained soil. The ideal soil pH is between 6.5 and 7.0. Okra does best with lots of hummus, so it’s good to add a couple of inches of well-aged compost to the bed before planting.
Planting Okra
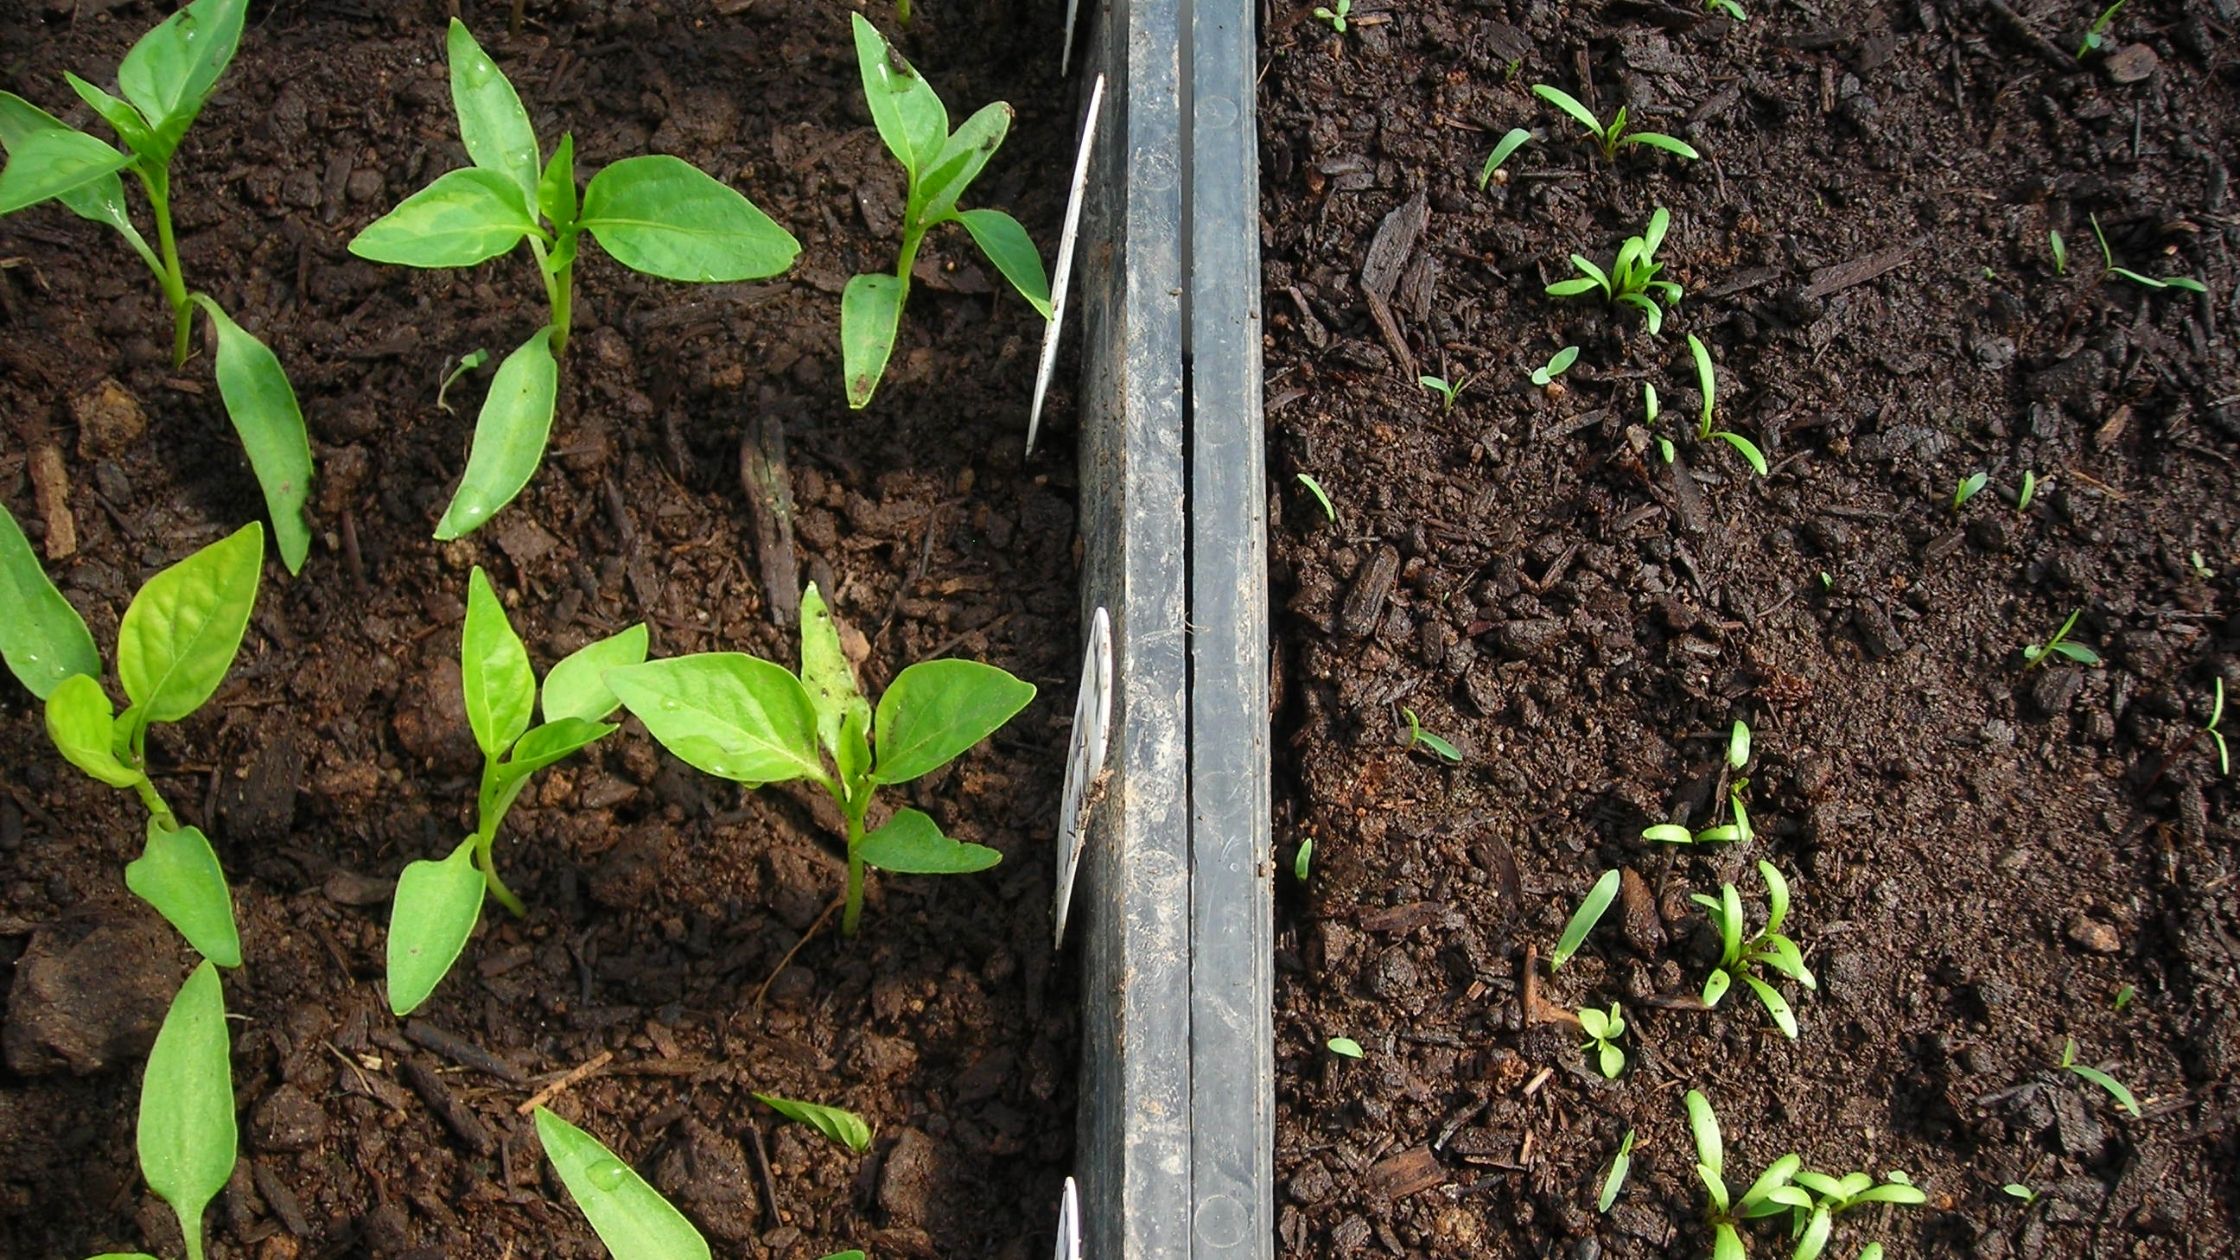
 Okra seeds have a hard seed coat and germinate slowly, especially in older varieties. To speed things up, soak your seed overnight before planting. Alternatively, you can use a technique called scarification. It sounds complicated, but it just means you use sandpaper to lightly abrade the seed coat before planting, helping it break down faster.
Okra can be started indoors or direct sown. To start indoors, sow in pots 2 to 3 weeks before planting out. To direct sow okra, wait until all danger of frost has passed and the soil temperature averages 65°F. Sow seeds 3/4 to 1 inches deep.
If you live in a northern climate, sow okra indoors 2 to 3 weeks before your last frost date. Some folks with high tunnels or other season extension methods may be able to set them out a bit earlier; just make sure they have plenty of room to grow. Okra can get up to 6 feet tall!
If you’ve started your seeds indoors, be sure to harden off your okra like other seedlings before transplanting. It’s best to transplant on an overcast day or in the evening. Water your plants in well.
Sow or transplant your okra into rows 5 to 6 feet apart. Transplant or thin your okra to 18 inches apart in the rows.
Caring for Okra
 Once plants are a few inches tall, mulch heavily around them, this keeps the soil cool and moist and helps suppress weeds.
Keep okra plants well watered through the summer. They are most productive and disease-resistant when grown in moist soil.
Some folks side-dress okra with compost of balanced fertilizer once they’re about 6 inches tall. However, you want to avoid over-fertilizing. Too much nitrogen encourages okra to put more energy into leaf production and little into flower and pod production.
Grow okra on a 4-year garden rotation plan to avoid pest and disease issues. It’s worth noting that older okra varieties are more resistant to root-knot nematodes due to their deep root systems. Grasshoppers may eat your okras’ lower leaves.
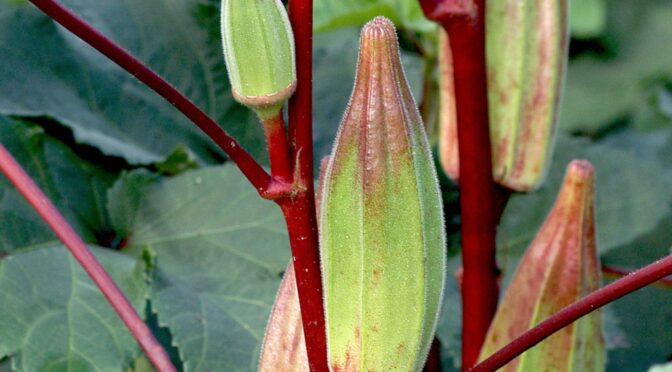
Harvesting
Most okra varieties are best when harvested between 2 and 4 inches long. Pod tenderness will vary over the season. You may be able to snap young pods off with your hands, or you can use hand pruners to cut them.
You may want to wear gloves and long sleeves when harvesting okra. Okra has hairy leaves and tiny spines on the pods, which irritate most people’s skin.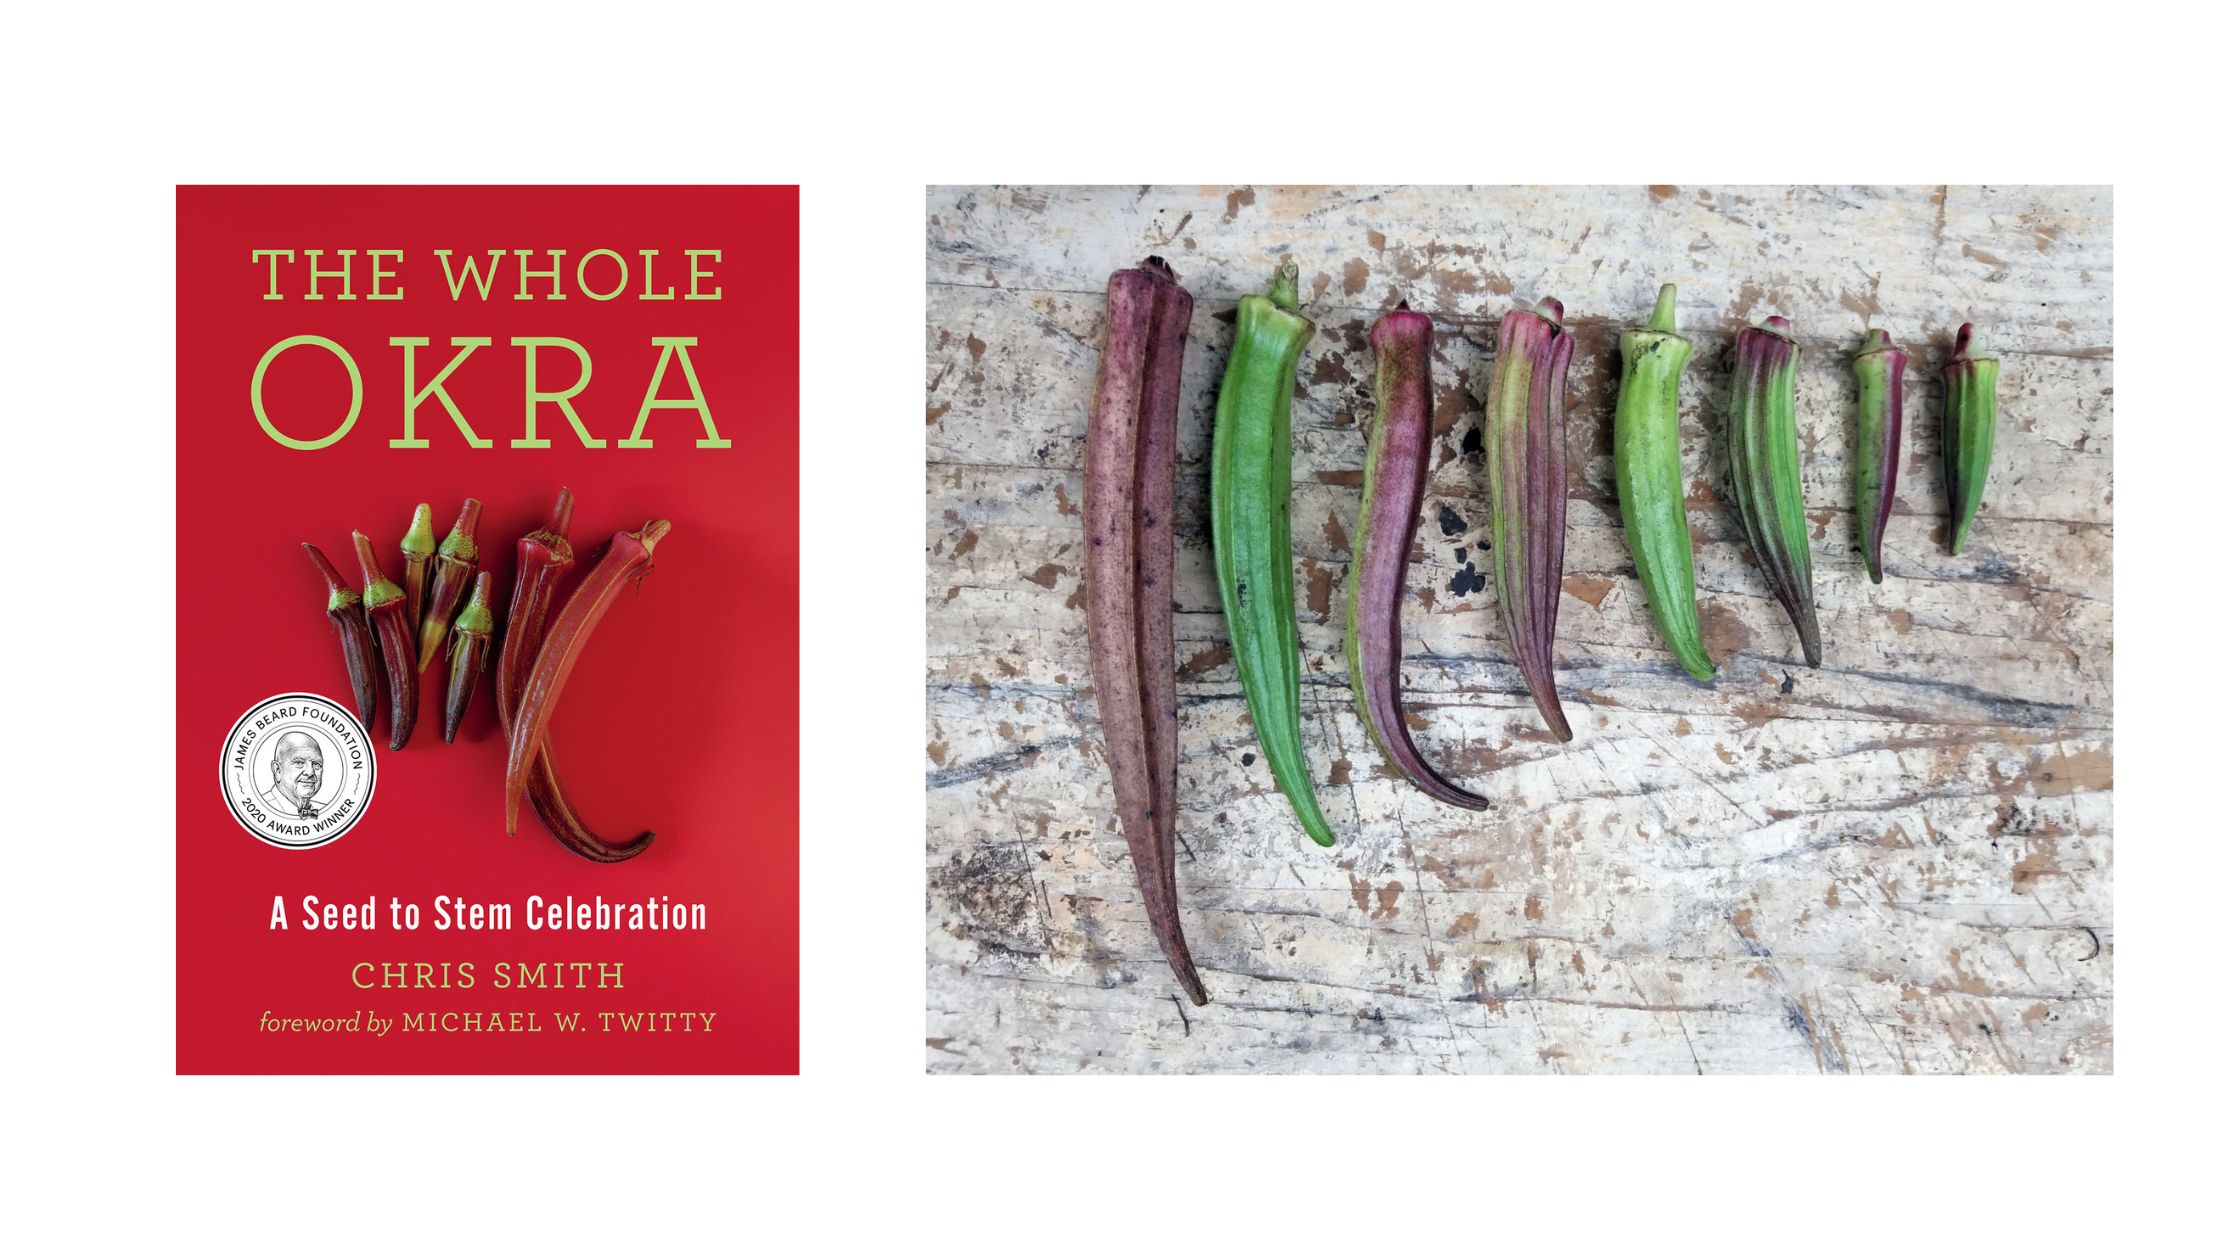
The Whole Okra & Giveaway
If you want to learn more about this amazing crop, check out The Whole Okra: A Stem to Stem Celebration by our friend Chris Smith. He provides excellent growing advice, history, recipes from chefs, and a fantastic look at the many uses for okra, including okra oil, okra coffee, okra marshmallows, okra tofu, okra vodka, okra pickles, okra pancakes.
Be sure to visit us on Instagram this week! We’re giving away a copy of The Whole Okra and a packet of one of Smith’s favorites, Puerto Rico Everblush Okra. Visit us on Instagram @southernexposureseed before Thursday, May 5th, 2022, at midnight EST to enter for your chance to win.