
Peppers are one of the best plants to learn to start from seed. Growing from seed rather than just purchasing transplants allows you to access a wide range of unique varieties that you won’t find in stores. Here are some tips for success with peppers from seed to harvest and beyond.
Selecting Pepper Varieties
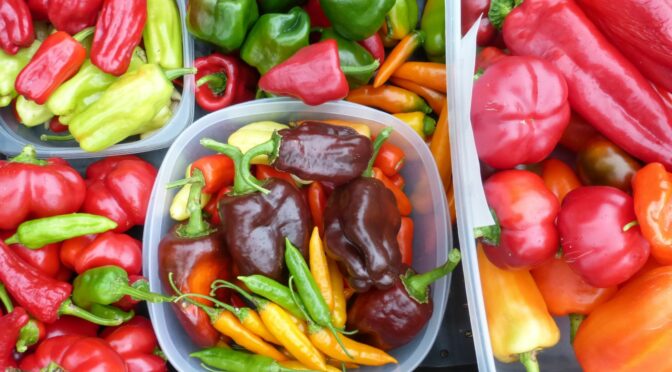
We carry many pepper varieties at Southern Exposure, which we separate into three basic categories.
- Hot Peppers
- Seasoning Peppers
- Sweet Peppers
They fall into three species: Capsicum annuum, Capsicum chinense, and Capsicum baccatum. C. annuum includes most peppers easily found in the U.S. and almost all sweet peppers.
C. baccatum and C. chinense are generally more disease-resistant than C. annuum.
C. annuum generally has thicker walls, so it adds more bulk to sauces. C. chinense has the thinnest walls, but C. baccatum tends to be the easiest to dry.
While any hot pepper has its heat mostly in its seeds and ribs, the heat of C. chinense is relatively more dispersed, and the heat of C. baccatum is especially concentrated in the seeds. C. baccatum and C. chinense generally have very fruity flavors that complement sweet as well as savory dishes.
Starting Seeds
Starting peppers seeds is easy as long as you follow some basic guidelines. Start pepper seeds indoors 8 to 10 weeks before your last frost.
Start your pepper seeds in proper potting mix. Potting mix drains better and doesn’t compact like ordinary garden soil. It’s also best to start peppers in well-draining trays or soil blocks. Sow seeds about 1/4 inch deep.
Pepper seeds require warm temperatures to germinate. They do best when kept between 75 and 80 degrees during the day and at least 65 at night. Temperature can make the difference in peppers germinating in 5 days or 20.
Placing your seed starting set up in a warm room will help you seed peppers coming up faster. You can also purchase seedling heat mats that the trays sit on. This provides steady, even warmth to your seedlings.
Your seedlings also need a good light source once they’ve germinated. Setting seedlings in a window doesn’t provide enough light. You can use grow lights or other re-purposed lights. The long ones you’d find in a shop or basement work well for doing multiple trays of seedlings.
Peppers need an uncrowded root system for maximum production. Pot your peppers up to 3-inch pots when they develop a few leaves. You may need to pot them up again if your seedlings become large. 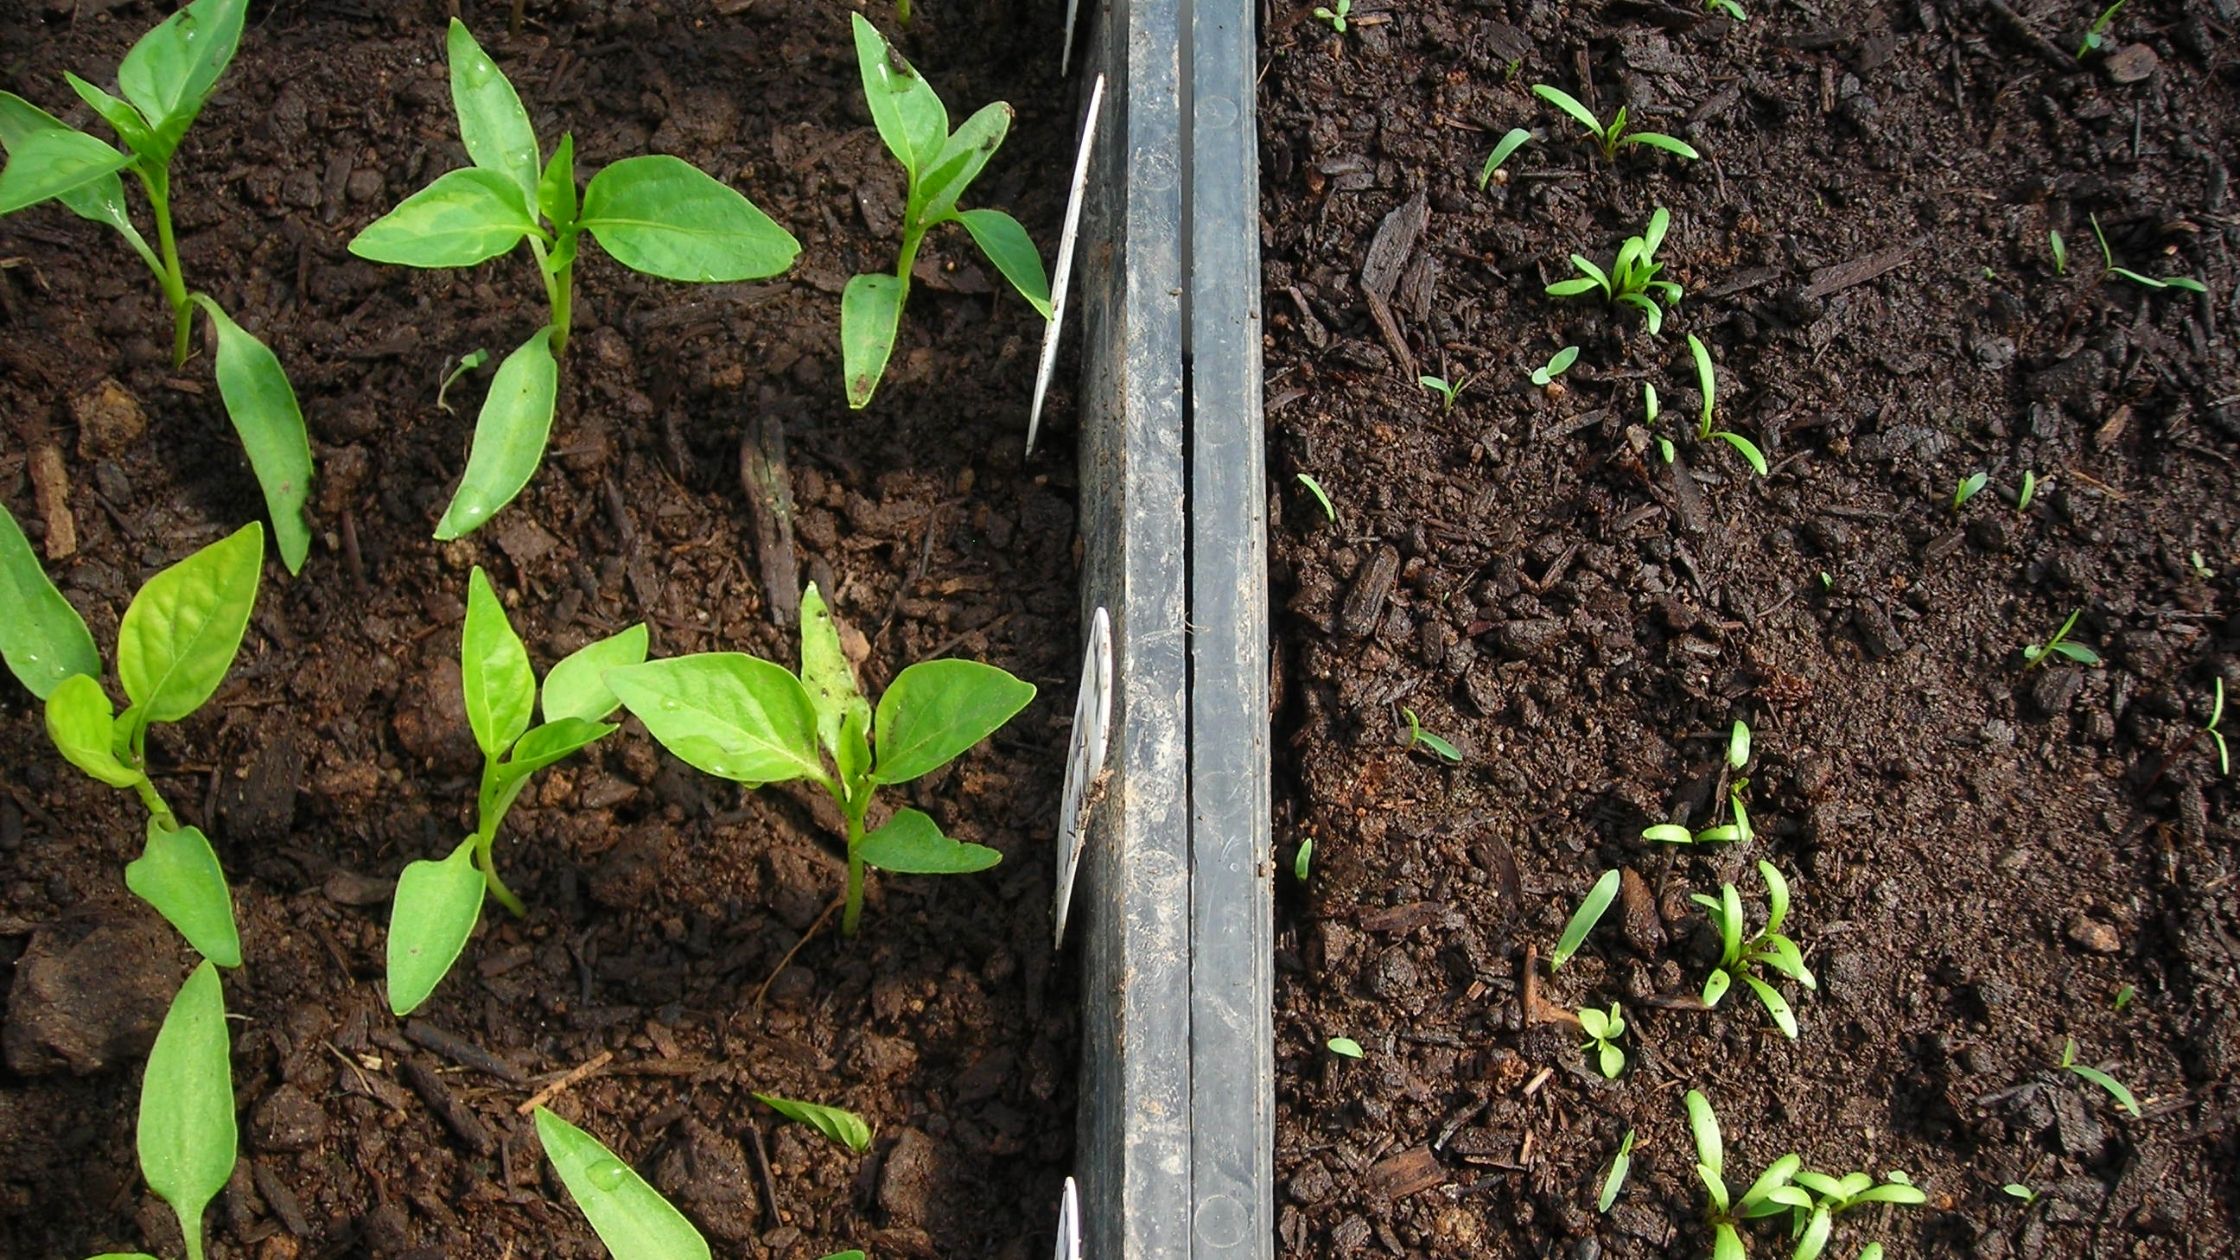
Transplanting
Harden off pepper seedlings before transplanting out. Hardening off allows plants to acclimate to field conditions like wind and sun exposure slowly. Begin by moving your pepper plants outdoors for an hour or two each day on warm days. Gradually increase the time you leave them out over a week or two before transplanting. Don’t let your seedlings wilt!
Wait until it has really warmed up to transplant your peppers. Plant them out after the dogwood blossoms have fallen or the soil temperature reaches 65°F. Ideally, transplanting should be done on an overcast day.
Space your plants in rows or blocks 18 to 24 inches apart. Especially if you have less than ideal soil, it’s a good idea to dig a larger transplant hole than necessary and add some finished compost. Then plant your peppers so that the soil is at the same level as in the container. If you used peat pots, tear off the tops, so they don’t stick up above the soil and wick moisture away from the roots. 
Pepper Care
A month after planting, it’s a good idea to mulch around your peppers. Avoid doing this earlier as it can keep soil temperatures too cool for good growth. The mulch will help keep the soil moist and suppress weeds.
Pepper plants can be side-dressed with fertilizer when they’re young. Avoid getting any on the roots, stem, or leaves as it can burn the plant. Over-fertilizing should be avoided. Read application rates carefully. Don’t fertilize after plants have flowered, as this can cause the flowers to drop and fail to set fruit. Good levels of phosphorus in the soil are essential for good yields.
Stake larger pepper plants to avoid logging, particularly if they are heavy with fruit. You can also use tomato cages.
You can extend your season by covering your plants at night for 1 to 2 weeks during mild frosts. Before the first hard frost of the season, pull plants and place the roots in a bucket of water. Store in a cool location to extend the season by up to one month.
Harvesting Peppers
Peppers can be harvested green however they aren’t fully ripe at this stage. You can eat peppers at any stage of ripeness, but fully ripe peppers have more flavor and nearly double the vitamin C content.
Hot peppers generally get hotter as they ripen. For example, a red jalapeño will be spicer than a green one. 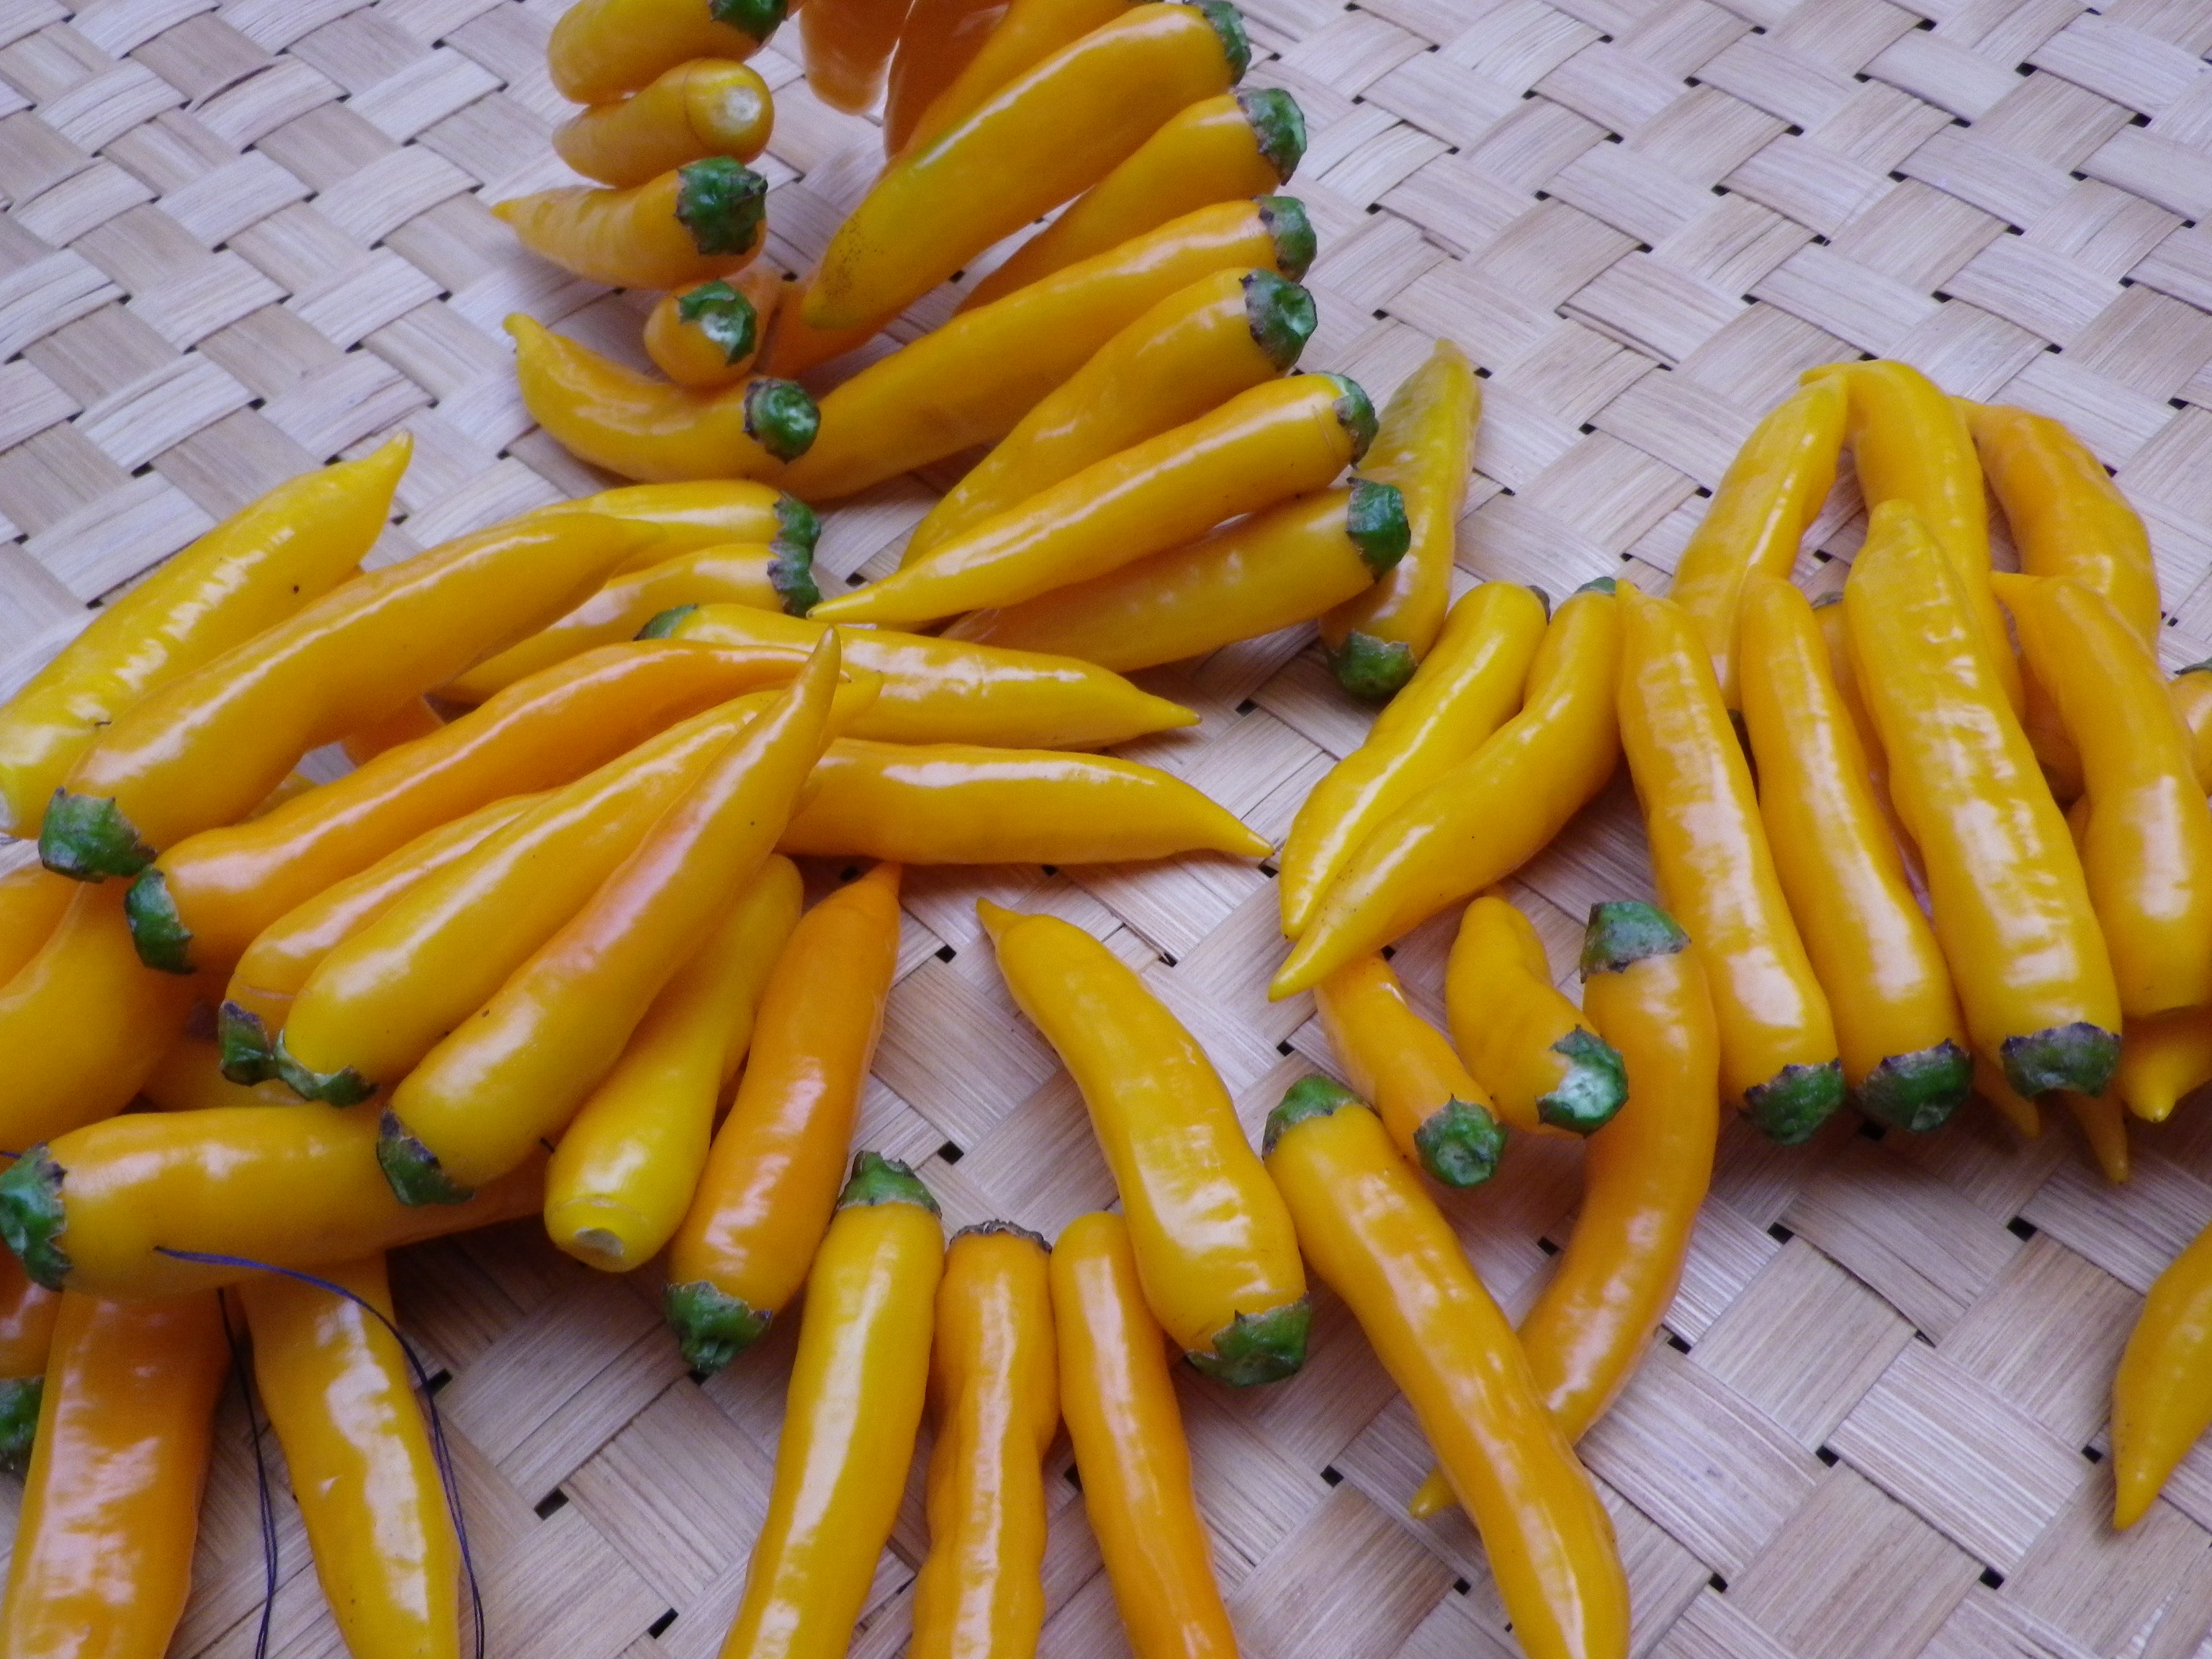
Preserving and Using Peppers
There are many ways to use and preserve peppers. Many seasoning peppers like the Hungarian Paprika Spice Pepper have thin flesh and are ideal for drying. Depending on your climate, they can be air-dried on screens, threaded and hung, or dried in a dehydrator. Then you can grind them to make an excellent seasoning.
Pickling peppers is also a simple, common way to put up a large harvest. Pickled peppers go well on pizzas, sandwiches, and salads. Sweet Banana Peppers and Jalapeños are common choices, but it also works with other varieties. You can find instructions here.
Fermenting is another common way to use peppers. Making your own hot sauce is a delicious way to spice up a variety of meals. Try this recipe from Soul Fire Farm.
You can also freeze peppers. Peppers don’t need to be blanched, so you can just chop them or cut them into strips and freeze them. Freezing them in a single layer on a cookie sheet before transferring them to a bag or container keeps them from clumping together for easier use. For a fun night and a bit of extra flavor, you can also roast peppers over an open fire before freezing.