When most people prepare a garden the first thing they do is cut any trees that might shade it. However this isn’t the an option for everyone and it doesn’t need to be the only option. Whether you’re physically or financially unable to clear land or you simply enjoy your forest there are many products that can be grown beneath the trees. They’re often referred to as non-timber forest products or NTFPs.
NTFPs are valuable for several reasons. They give woodlands economic value beyond timber and tourism. Forest gardening can help ensure protection for wild managed areas. Some NTFPs are themselves endangered or over harvested and benefit from a little care and management.
As NTFPs include any product besides timber there’s obviously a wide range to choose from. NTFPs can be plants used for food, medicine, or even fiber. There are probably specific NTFPs that are better suited to your land and goals. A few examples are listed below.
Fiddleheads
This tasty vegetable is actually a type of fern. The fiddlehead is actually just the young fern before it unfurls. Check out this publication to learn more about sustainably harvesting fiddleheads.
Ginseng
American ginseng is an important plant in herbal medicine and for this reason often commands high prices. Sadly this has led to over harvesting and the depletion of native populations.
It does take quite awhile to get established but if you’d like to invest in your future and help stabilize ginseng populations it’s an excellent choice. Find ginseng here.
Ramps
Also called wild leeks, ramps are known for being an Appalachian favorite however they can be found throughout Eastern United States. Sadly like ginseng in many places they’ve been extremely over harvested.
Adding a patch to your woodland can help keep ramps and the culture surrounding them alive while potentially providing you with an additional source of income. They are often well received at farmer’s markets.
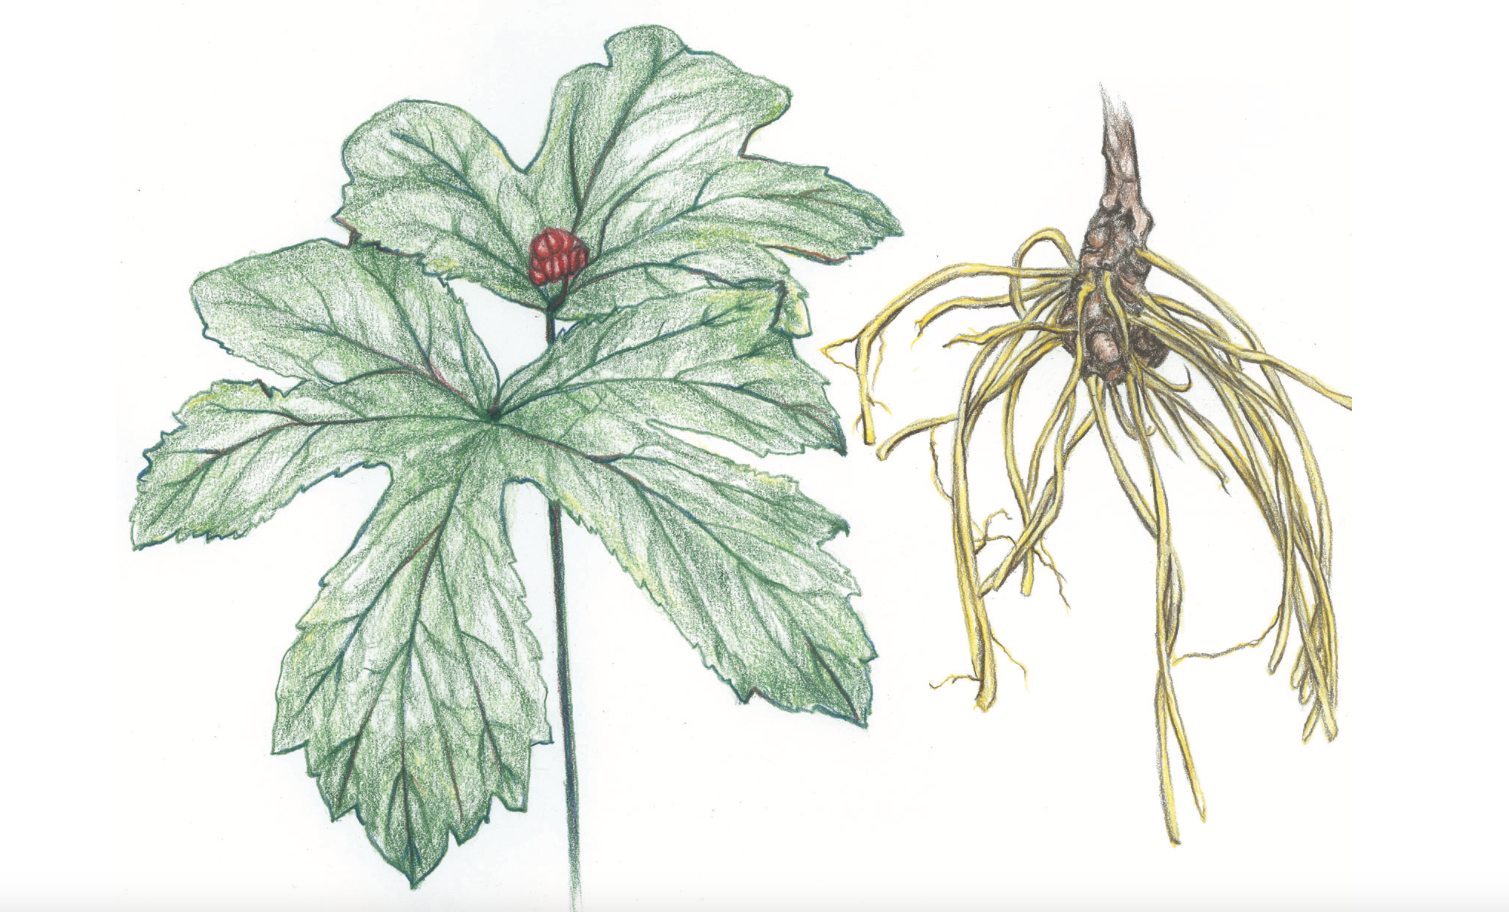
Goldenseal
Another endangered species, goldenseal populations have been on the decline. The plant is valued in herbalism for its antibacterial properties.
You can find out more about SESE’s goldenseal rhizomes and find our growing guide here.
Mushrooms
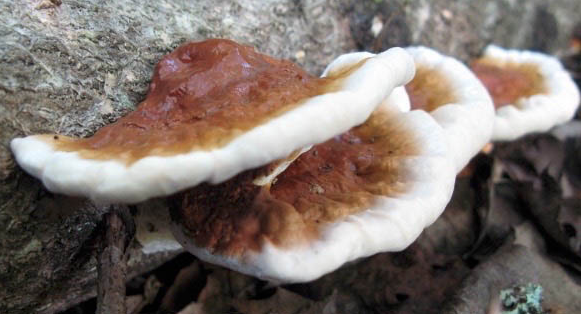
Mushrooms are easier to cultivate than most people imagine and are an excellent crop for shady areas. There’s a wide variety of both medicinal and edible mushrooms to suit your needs.
You can purchase four varieties from Sharondale Farm though SESE here.
Paw Paws
These trees are one of the few fruits native to North America. Though they’re not available in grocery stores there are domesticated varieties available or you can work to encourage wild stands. Paw paws make for a tasty autumn treat for the backyard grower or might be interesting to sell at a local market. It should be noted that they’re not used commercially because they don’t ripen well off the tree and are too fragile to ship when ripe.
Willow
Prior to industrialization “farming” willow was actually very common. Willow was once used for medicine, it contains the chemical found in aspirin today, and to make baskets. Today it’s still sometimes used by artisans to create baskets. You may also see it used by herbalists and in toys for some pets like rabbits and guinea pigs.
Most willow species do well in wet low-lying land. If they grow on your property they can be easy to manage. Many willow species can be coppiced, meaning you can cut the main shoot and it will sprout additional shoots. They are also easily propagated, a cutting shoved into the soil will sprout roots and take hold. It is also purported that they grow so fast that in 5 years from planting it, there are high chances you might need the help of a tree removal service like www.treeserviceremoval.com.
Nuts
There are many wild nut trees in the United States producing food each year that few people utilize. Hickory nuts, black walnuts, pecans, and acorns can all be harvested in the eastern U.S. and eaten or sold. You can utilize and encourage existing trees or plant some in your forest which can also help wildlife populations thrive.
Some nuts like the acorn require much more processing and know-how than others. Despite this they may still be worth while. They’re extremely nutritious if processed correctly and you may even find a market for products like acorn flour.
Whatever you decide on it’s important to learn as much as possible about your NTFP. Research its preferred habitat to (especially if there’s not already some growing on your property) and learn how you can encourage it. As many NTFPs are endangered you want to be sure your management is sustainable. Like with traditional gardening you can’t take without giving.
Pin it for later.

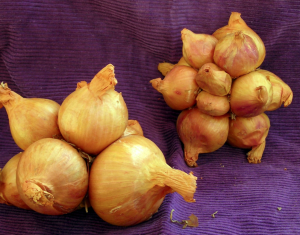
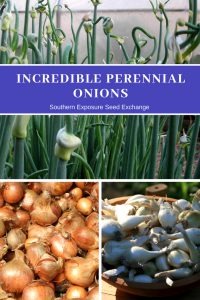
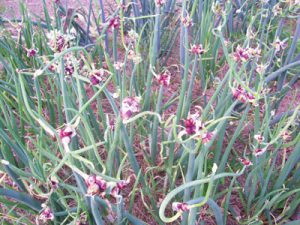 Though many people know that allium family is quite large and diverse perennial onions are still frequently overlooked. Today’s gardeners plant a diverse array of ornamental allium flowers, chives, garlic, and onion varieties but the perennial onion is largely neglected and underrated. These amazing crops have a lot of benefits and deserve a spot in your garden.