Of course growing your own food is in itself environmentally friendly. Food from a backyard garden uses significantly less fossil fuels than produce from the grocery store. It’s not kept refrigerated for days or shipped halfway around the world. Garden gravel has been used for several years, but today is becoming even more popular.
It has many colors starting from grey, black, white, and even red. Larger stones are often incorporated into the landscape almost like statues. If designed properly, it can add much beauty to a yard or pathway.
There are many benefits of getting gravel during a garden. Gravel features a low maintenance. a touch raking or leveling bent make it even again is basically all it needs. the fabric may be a wonderful thanks to conserve water because it can act as a mulch. it’s a natural beauty which may depart the sweetness of the plants. Gravel is additionally an efficient thanks to cover irregularly shaped areas. Cost is inexpensive in comparison to paving or a lawn.
Gravel are often purchased in an array of shapes and colours from any nearby garden centre. It also has various types like pea-gravel, true gravel which is crushed stone, and stone clippings. the sort of gravel you opt to use will depend upon your location. Since it’s such a weighty material, most garden stores only get gravel that’s more locally available. You can also check here garden centres near me.
The plants which will grow well in gravel are many. You can know more about such plants and get more gardening tips on www.unclutterer.com. It’s usually recommended that you simply plant species that don’t shed leaves, as this may help to stay maintenance easy. It also looks quite pretty once you use plants that are a contrast to the stones used. you furthermore may must decide whether you would like the garden during a shady or sunny spot. However, these aren’t steadfast rules. many of us plant differing types of plants including vegetables.
You need to make a decision if the planning are going to be formal or informal. it’s usually best, especially if you’re just starting to incorporate gravel into your garden, to stay it simple. confirm you opt what you would like to be your focal points before you start . you furthermore may must decide what proportion gravel you would like within the landscape. the planning could be as small as having gravel during a potted plant, to having the entire garden covered with gravel. you furthermore may might plan to have a pathway made up of gravel.
Backyard gardens still have there own impact though. Through growing food humans are impacting the environment. It doesn’t have to be a bad impact though. You can make your garden a benefit for the environment and species around you.
Install a rain barrel.
If you live somewhere that they’re legal a rain barrel can be a great addition to your garden. You can use water that would otherwise run into the ground.
Grow a pollinator garden.
Pollinator’s numbers are dwindling. They’re losing habitat and being killed by pesticides. You can help make life a little easier on them and encourage them to pollinate your plants by planting a pollinator garden with our handy guide.
Make compost.
Composting is easy and not as smelly as you’d think. You also don’t have to purchase a fancy bin. You can do something simple like a bin made of pallets or even no bin at all. Mother Earth News has a great article on composting here.
Use natural garden amendments.
Even certified organic chemical fertilizers and amendments are far from perfect. Using them can lead to excessive nutrient run-off causing algae blooms in nearby creeks. Natural fertilizers like compost, plant materials, and wood ash are better alternatives. Check out more options here.
Use grey water.
Grey water is water thats been used in your sink or shower. In some places it’s legal to route this water to your garden rather than your septic tank and use this water to water fruit trees and bushes.
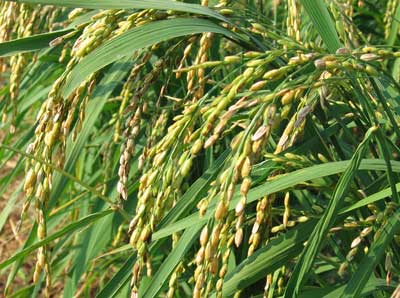
Grow cover crops.

Cover crops add nutrients to the soil without the risk of over fertilizing. They also add habitat for beneficial insects and microbes and prevent soil erosion.
Make your garden water efficient.
There’s a variety of methods to do this including adding swales, berms, and terraces to hold water. It’s also good to use drip irrigation rather than overhead which can evaporate. If you are in Salem area, then get some help from lawn care services salem oregon guys and they will guide you to make your garden water efficient.
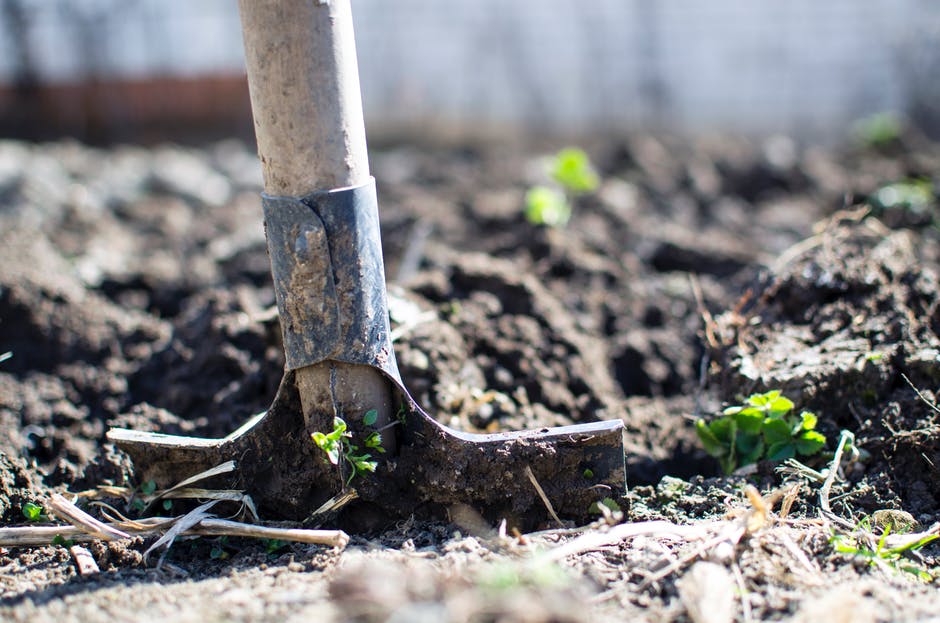
Go no-till.
Gardens don’t actually need to be tilled if they’re managed properly. No-till gardening is actually better for soil health and uses no fuel like running a rototiller would!
Add mulch.
I talk about mulch all the time but it’s super important. As far as keeping your garden as eco-friendly as possible, mulch helps to hold in moisture, lessening the need for watering and helps prevent soil erosion. It also adds habitat for beneficial insects.
Add habitats for pollinators and beneficial insects.
The addition of pollinator and beneficial insect habitats can be great for your garden and them. You can find a lot of free plans on the internet for houses for beneficial creatures like birds, bats, toads, and insects. Many birds also appreciate a variety of different height plants to land on in the garden while birds and beneficial insects will utilize plant material left standing through the winter.
Utilize permaculture principles.
An entire book would be needed to explain permaculture but many of its principles can be used to help design a garden that works with nature to produce harvests without the need for large water or nutrient inputs. If you want an eco-friendly garden researching permaculture can help get you there.
All of our actions impact the world around us. Backyard gardens minimize some of the negative impacts that are found in our current food system but as growers we can choose to take that a step further and make our gardens as eco-friendly as possible.