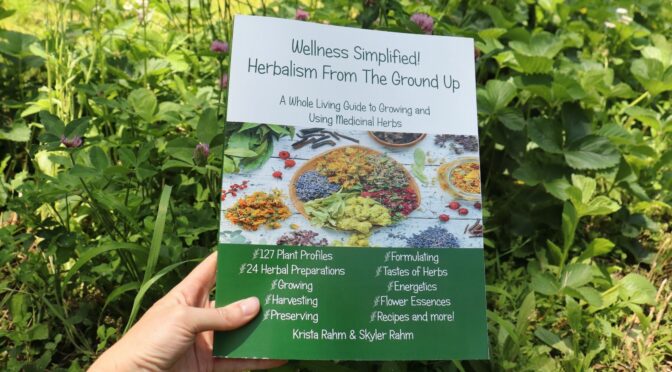
We’re so excited to be able to carry one of our neighbor’s books! Krista and Skyler Rahm of Forrest Green Farm in Louisa County, Virginia, have just published Wellness Simplified! Herbalism From the Ground Up. Krista and Skyler designed this straightforward guide to help you connect with nature and learn to grow and use herbs in your everyday life.
For context, I’m one of SESE’s writers and social media managers, and I had the pleasure of perusing a copy over the last week. Digging into herbalism can be tough and intimidating. I’ve dabbled in herbalism for several years and have read my fair share of herb books. Krista and Skyler have done and an incredible job of pulling together usable information in an easy-to-understand format for Wellness Simplified!.
Gardening Basics
If you’ve read this blog often, you’ll know I believe that a productive garden starts with the soil. Krista and Skyler share my sentiments stating, “success in your garden relies on a healthy soil diet!” They’ve followed this up with crucial information about soil amendments, nutrients, and composting without sounding like a science textbook.
This first section provides several other essential gardening basics that we’re big fans of here on the SESE blog. Krista and Skyler cover the fundamentals of seed starting, transplanting, beneficial insects, companion planting, pest management, and even vermicomposting!
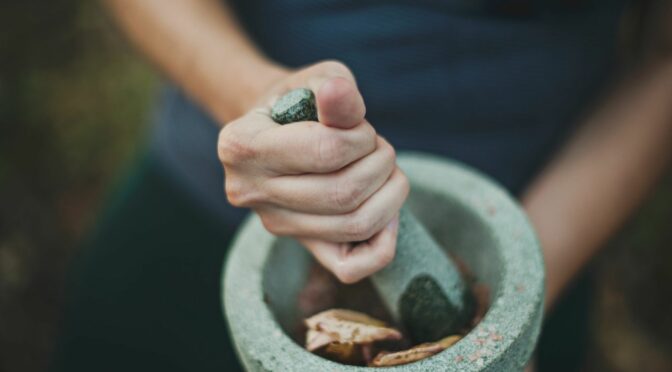
Herbal Preparations
From there, they delve right into harvesting and preserving herbs and recipes for herbal preparations. When you’re new to herbalism, understanding when to use different herbal preparations and even what they are can be challenging. I found this section especially helpful.
The internet is full of herbal recipes. Bloggers will provide you with recipes for tinctures, elixirs, glycerites, and infusions, but unless you’ve taken an herbalism course, how do you know what those are, let alone how to use them appropriately. While a course may be great for those who can make the financial and time commitment, having a go-to guide on hand makes herbalism more accessible.
Krista and Skyler also provide an informative section on formulating, guiding you to go further than following others’ recipes on your herbalism journey. They’ve included a list of things to consider, like family history, dieting and eating habits, emotional feelings, and more, plus a step-by-step guide to creating a formula.
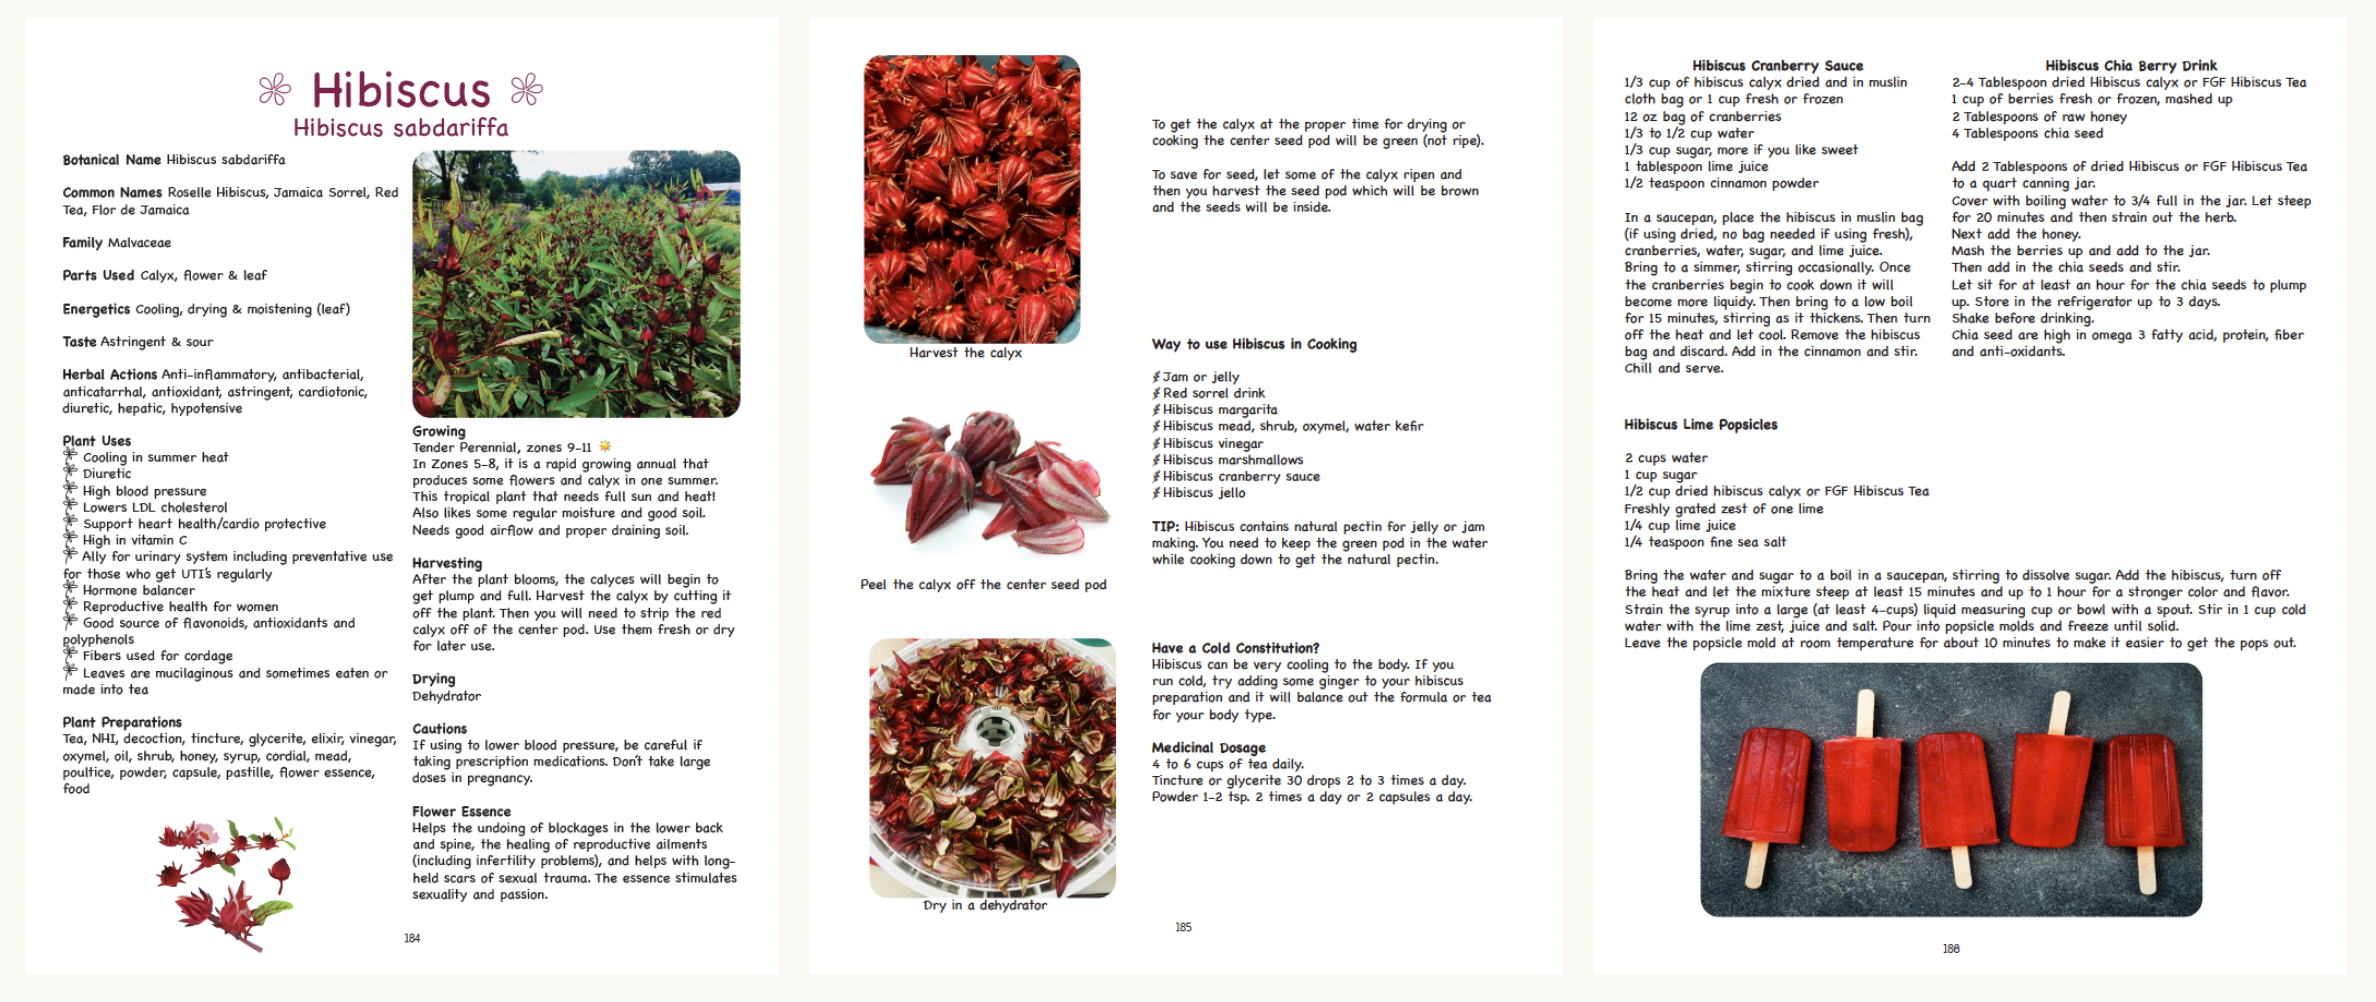
Plant Profiles
Many herbal books offer “plant profiles,” a quick overview and historical use of herbs with no practical information. History is fun and sometimes contains valuable lessons, but it isn’t what I’m looking for in a modern herbal. Knowing that folks used fennel to ward off evil spirits in the past is great, but I want to know what I can use it for today.
The profiles in Wellness Simplified! offer the information you need to incorporate each herb into your practice. Learn how to identify, grow, harvest, and use 127 herbs from the humble lemon balm to the tropical moringa. The index in the back of the book will even help you locate plants by the problem they can treat. For example, search the index for dandruff and be taken to the page for Oregon grape!
Wellness Simplified! will be a great reference on my shelf for years to come. It’s packed with clear-cut, step-by-step information that you need to grow and use herbs. Grab the book here on the SESE shop, and check out Forrest Green Farm.
")