Tag Archives: garden planning

How to Prepare Garden Beds

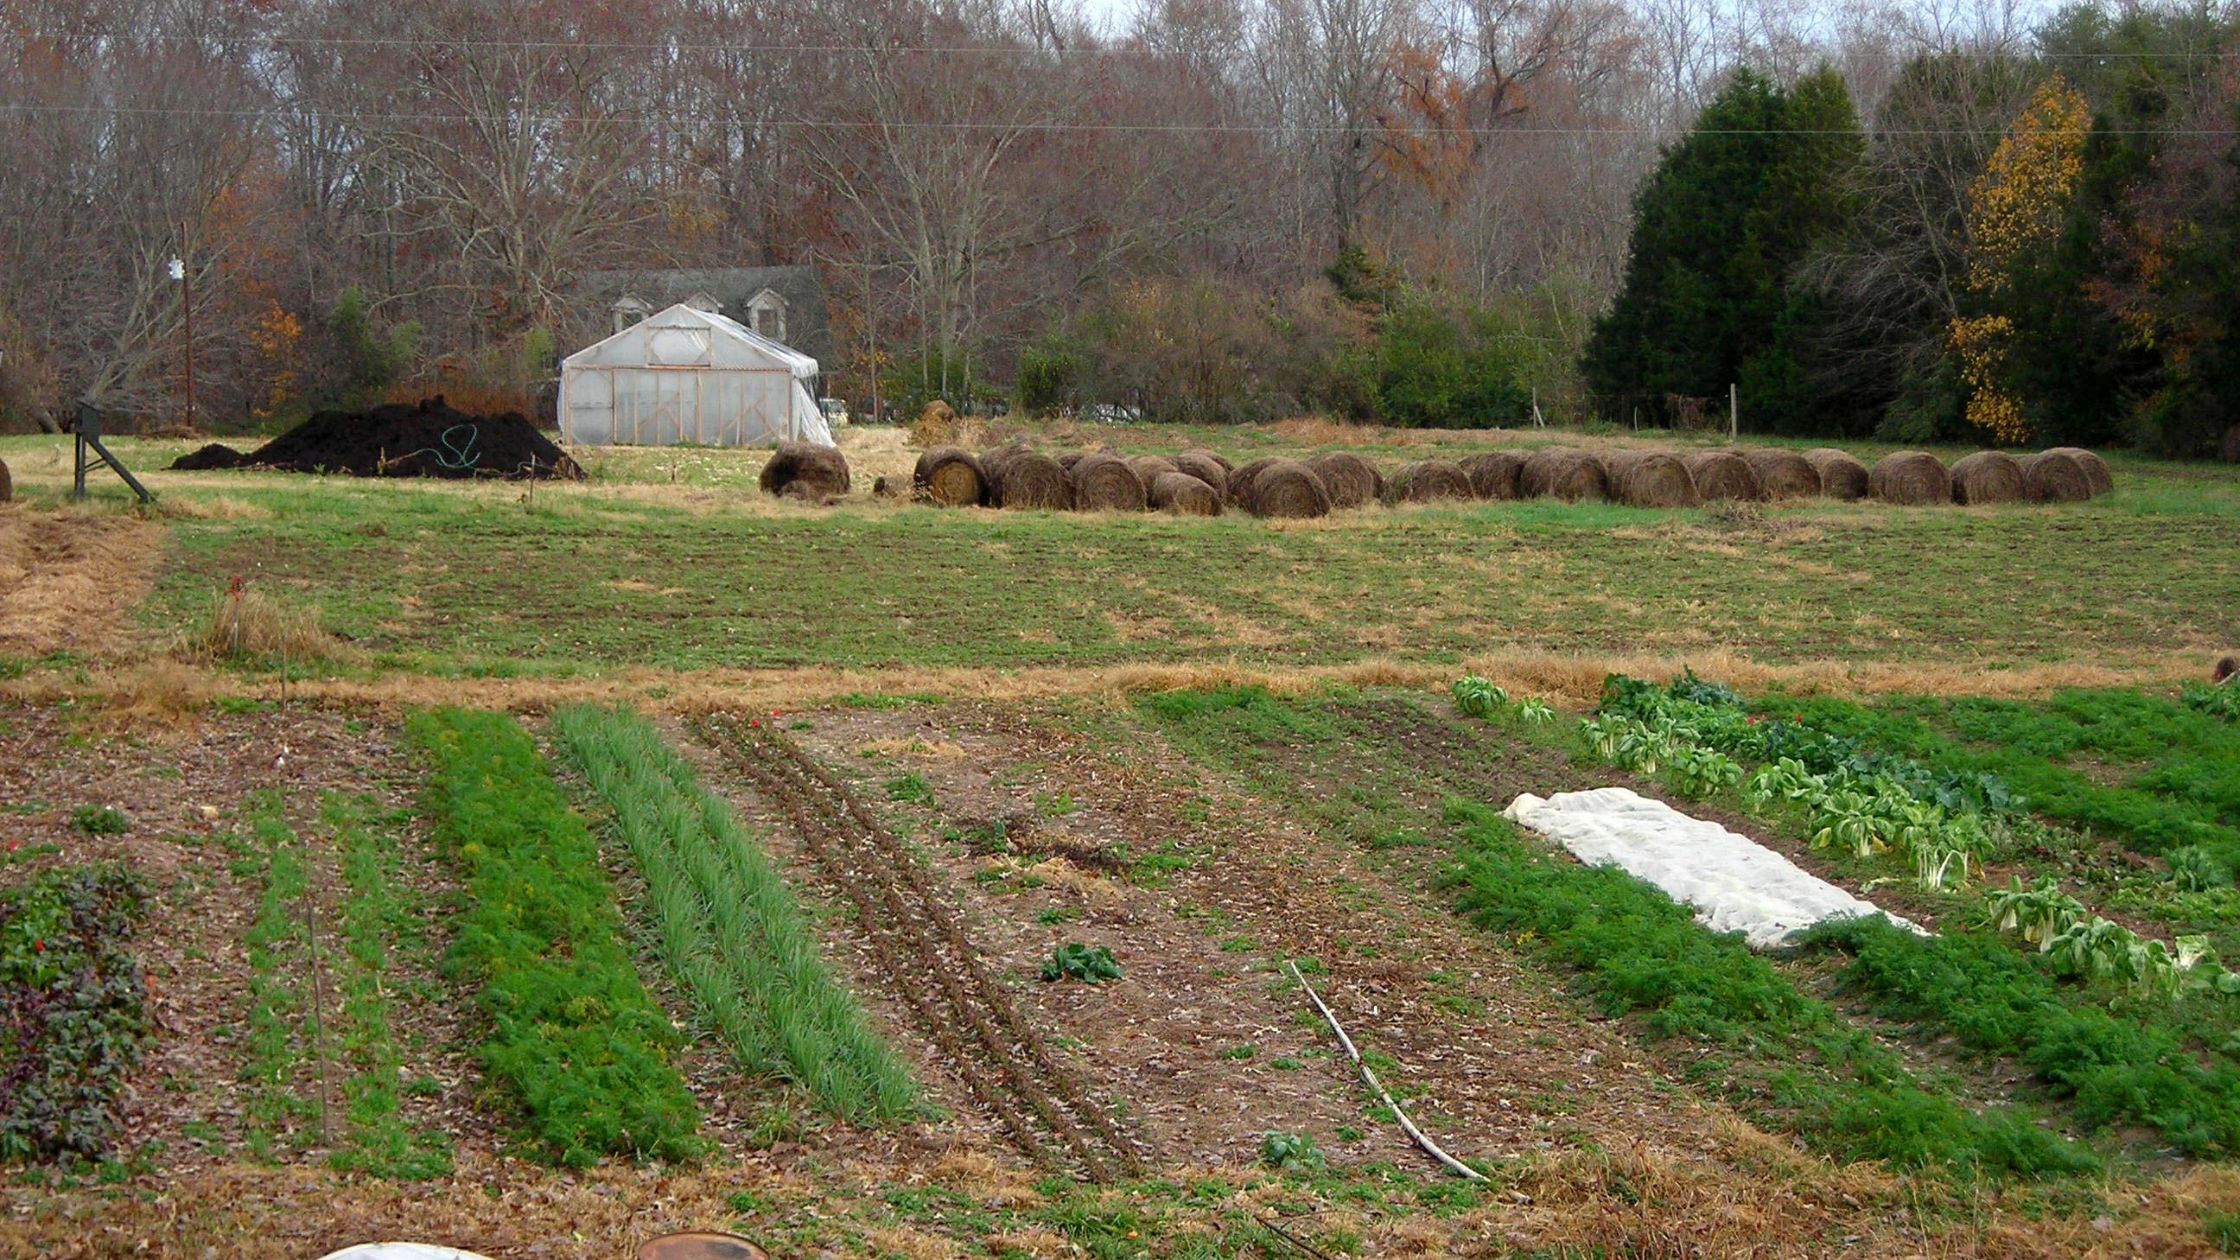
The weather is starting to feel like spring! While we’re not quite there yet, it is an excellent time to start preparing beds. Before long, we’ll be transplanting cold hardy crops like onions, broccoli, cabbages, and cauliflower and direct sowing peas, parsnips, spring greens, and more. Whether starting from scratch or taking care of an existing garden, follow this guide to prepare garden beds for planting season.

Plan and Mark Out the Bed

New Beds

If you’re starting a new bed, it’s a good idea to start with a plan. You’ll need to consider the dimensions before gathering materials for raised beds. For beds in the ground, I like to use wood or old tent stakes and string to create a layout. This can be especially to ensure you leave enough room for pathways between beds.

Existing Beds

When preparing existing beds, it’s a good time to think about what was planted there last year and what will work well there this year. Proper crop rotation is vital to a healthy garden.

Remove the Vegetation

This is the first step major step in preparing a bed for planting. It’s best to remove the vegetation and complete the following steps when the bed is moist but not wet. Working with soggy soil is more difficult and can lead to compaction. 

New Beds

If you have access to a rototiller, simply tilling in the sod is a common choice. You’ll probably want to till early and then again as new growth comes up. This will help with weed issues down the road. 

If you don’t have a rototiller or don’t want to use one, a common choice for larger beds is to solarize the soil. Stretch clear plastic, like the kind for hoop houses, over the garden bed as tightly as possible and weigh it down. After a few weeks, depending on the weather, this will kill the vegetation. It’s tough, but you can also remove sod by hand with a shovel if necessary.

If you’re building a raised bed, hugelkultur mound, or lasagna garden, you can put down a layer of cardboard that will kill the grass.

Existing Beds

This process should be easier in existing beds. If you’ve planted cover crops into your beds, you can use a scythe or mower to kill them or till them into the soil, depending on the cover crop variety. Many gardens use their cover crop residue as mulch and plant directly into it.

If your beds are weedy, you have different options depending on the size of the beds and weed growth. For smaller beds or those with minimal weed growth, you may want to grow through with a stirrup hoe or similar tool and kill the weeds by hand.  You can also solarize the bed like I mentioned for new beds above or lay down cardboard or newspaper to smother the weeds.

Loosen the Soil

If you’ve just tilled your garden, this step may be unnecessary. However, loosening the soil in no-till gardens or existing beds is a good idea. I like to use a broad fork. Broad forking the soil essentially lifts it without turning it over. It doesn’t destroy beneficial bacteria or fungi like tilling, but it creates space for water and air in the soil and a softer bed for roots to grow into. 

Another option is double digging. This process is hard work, but many gardeners swear by it. To double dig, you remove the layer of topsoil and set it aside. Then break up the layer of subsoil and mix it with organic matter. Finally, you replace the layer of topsoil. Though it’s hard work, all you need is a spade, and it creates great fertile, well-draining soil. Fine Gardening has a more in-depth piece on double-digging available here

Amend the Soil

Before planting, you’ll also want to amend your soil as needed. I recommend adding 2 to 3 inches of finished compost to new and existing beds before planting. It adds fertility and improves drainage. 

Ideally, you’ll also have had a soil test done and will know whether your soil needs other amendments. If your soil is too acidic, you may need to add lime or amend for specific nutrients.

Set Up Your Watering System

It’s also important to consider how you will keep your garden watered before planting. Drip irrigation is an increasingly popular choice, even for home gardeners, because it’s highly efficient and less labor intensive. If you’re going to set up a watering system, it’s often easiest to do so before planting. Lay out your drip irrigation or sprinklers and set up timers for a low-maintenance watering plan.

Mulching and Keeping Beds Weed Free

It may seem odd to mulch before planting, but it can save you from weeding later. Add 3 to 4 inches of mulch to your beds to prevent weeds from germinating. Transplants can easily be planted through the mulch, or you can rake it aside to direct seed rows and pull it back once plants get established.

Spring will be here soon! Follow this guide to prepare your garden beds for planting. Stay tuned and follow us on social media for a future post on transplanting or check out our older posts covering the basics of when and how to start seedlings indoors. 

Great Varieties for Canning

Last week on the blog, we discussed ten tips for canning stress-free canning. Food preservation is an essential part of gardening, and canning is a popular way to put up extra food without needing to keep a large freezer running. When I’m not busy preserving food, I also like to take some time each fall to think about how different varieties performed and what I can do differently next year. This fall, I’m considering great varieties for canning.

While you can pressure can many vegetables, including green beans, peas, corn, squash, and potatoes. You can only water bath can certain vegetables and fruits that are highly acidic or are tasty when pickled or otherwise made highly acidic using vinegar. Water bath canning is easy and great for beginners because it requires little start-up cost. Below we’ll discuss some great varieties you can grow for water bath canning tomatoes, spaghetti sauce, cucumber pickles, salsa, and pickled peppers

Tomatoes

Canned tomatoes or sauce is one of the most versatile products in the pantry. I make pizza, pasta dishes, soups, chili, burritos, and more using home canned tomatoes. While any variety can be preserved, certain varieties produce less juice and more flesh making them more suited to cooking.

Indeterminate vs. Determinate

Tomatoes are divided into two categories, determinate and indeterminate. Determinate tomatoes reach their mature size and yield a large quantity of tomatoes in a relatively short time. Determinate tomatoes can be convenient for preserving.

Indeterminate tomatoes are more vining and continue to grow upward and produce throughout the season. These can be a better option if you want tomatoes for fresh eating over a longer period, but you can also preserve them.

Here are five great options for canning tomatoes:

Amish Paste (Indeterminate)

You’ve probably run across Amish paste if you’ve looked into canning tomatoes. These tall plants produce heavy yields of large, coreless tomatoes with excellent flavor. Despite the name ‘Amish Paste,’ the juicy fruits are best suited to making sauce.

San Marzano (Indeterminate)

This Italian heirloom is famous for its use in Neapolitan pizza and other Italian dishes. San Marzano tomatoes are very productive, 6-foot-tall plants with good disease resistance. The long Roma-type tomatoes have thick, dry, low acid flesh and few seeds. They are ideal for canning in recipes with enough acidity. 

Heinz 1350 VF Processing Tomato (Determinate)

Developed in 1963 by the H. J. Heinz Company, Heinz 1350 is an excellent processing tomato for canning and cooking. It’s widely adapted, has a concentrated fruit set, and produces round 4-6 oz fruits with good crack resistance.

Yellow Bell Paste Tomato (Indeterminate)

Southern Exposure introduced this Tennessee family heirloom in 1986. These heavy-yielding plants produce 5-12 fruits per cluster. They survive better in cool, wet conditions than other sauce tomatoes and bear heavily until frost. Yellow bells are great for salads or making lovely tomato paste, juice, preserves, salsa, and yellow catsup!

Roma VF, Virginia Select Paste Tomato (Determinate)

Our neighboring farmer and Growing for Market writer Pam Dawling has been saving this locally adapted strain since 2001, selecting for high, early yields and tolerance to Septoria Leaf Spot. It was introduced in 2009 by Southern Exposure and produces 4-5 ounce fruits.

Cucumbers

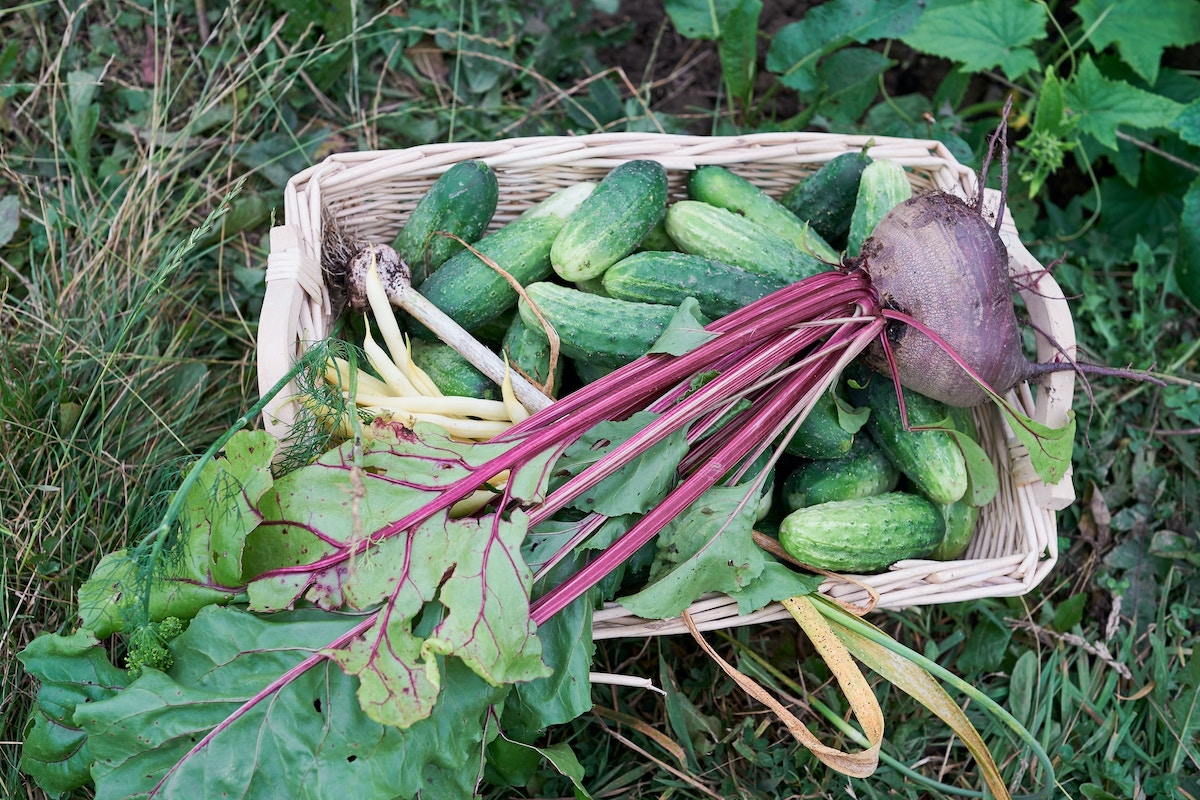
One of the first recipes I learned to can was basic dill pickles. Cucumber pickles are easy to make and a great way to enjoy your garden produce even in the winter.

Arkansas Little Leaf Pickling Cucumber

The University of Arkansas developed this popular, reliable variety in 1991. It produces compact vines with multiple branch points that will climb a fence or trellis easily and are resistant to multiple diseases. Arkansas Little Leaf has small leaves that make finding fruit easier and parthenocarpic flowers which produce fruit under stress and without pollinators. It produces 5-inch long fruits that are good for slicing and pickling. 

Boston Pickling Cucumber 

A classic old pickler, this variety dates back to 1880. While not as rampant as some, it’s still productive, and the blunt-shaped fruits are crisp and mild, ideally sized for pickling.

Roseland Small White Pickling CucumberRoseland Small White Pickling Cucumber

In the early ’70s, Gordon Shronce’s sister Evelyn Allran received seed from a neighbor in the Roseland community near Lincolnton, North Carolina. Southern Exposure introduced Roseland Small White Pickling Cucumbers in 2016. It produces loads of early, blocky white cukes that are excellent sliced or pickled. Gordon likes to pick them at 3 inches or less, but they’re still mild and tender to 7 inches long.

Homemade Pickles Pickling Cucumber

Homemade Pickles produces medium green fruits with small white spines that are solid and crisp. These vigorous plants were specifically developed for home gardeners and have good disease resistance, including Downy Mildew resistance. They make delicious, robust bite-sized pickles, slices, or large spears.

Mexican Sour Gherkin (Mouse Melon, Sandita) 

These tenacious vines bear many 5⁄8 in. x 7⁄8 in. fruits with skin like tiny watermelons. They bear until frost and can be pickled whole for a fund snack or conversation-starting garnish! Immature, they taste like cucumbers; when fully mature, they taste like pickled cucumbers.

Peppers

When growing a lot of your food, peppers are essential. They preserve well and add great flavor to many dishes. I love pickling peppers and adding them to salsa. My father-in-law also taught me to add hot pepper to some of my jars of pickles and spaghetti sauce.

Hungarian Hot Wax Banana Pepper

This very productive variety produces banana-shaped peppers with medium heat. They adapt well to the deep south and cool north and can be used fresh, canned, or pickled. 

Red Cherry (Cherry Sweet) Sweet Pepper

This pre-1860 variety is excellent for pickling, canning, stuffing, or snacking! The little bonbon-shaped fruits are thick-walled, sweet, and flavorful. Red cherries bear heavily and are disease resistant. 

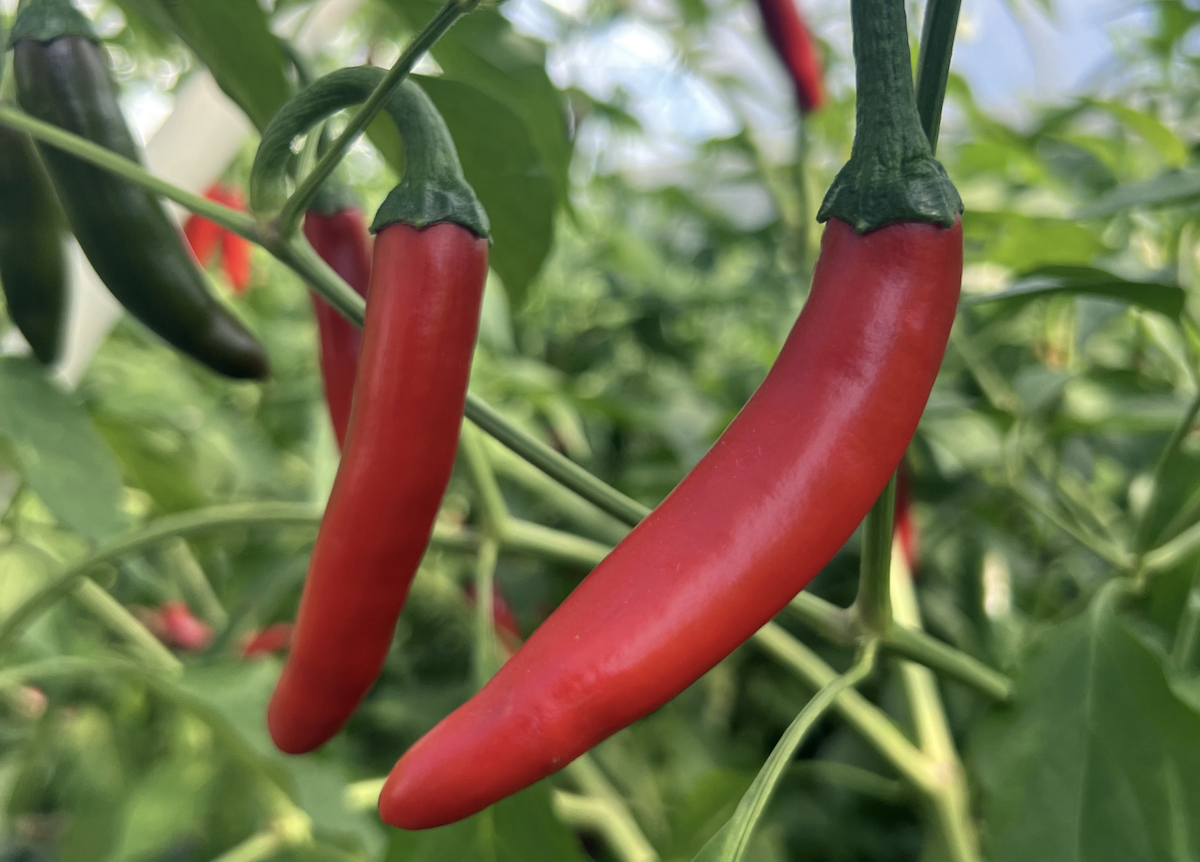
Serrano Tampiqueño Hot Pepper

If you like your food a bit spicy, Serrano Tampiqueño is a great multi-purpose pepper. Plants reach about 4 feet tall and produce pendant-shaped, thin-walled fruit. They’re very hot, whether picked green or red, and are excellent for drying, salsa, pickling, hot pepper vinegar, and flavoring spicy dishes like chili. 

Sweet Banana (Long Sweet Hungarian) Sweet Pepper

Sweet bananas are excellent for fresh eating, frying, freezing, and pickling. I love using pickled sweet banana peppers on salads, sandwiches, pizzas, and nachos. This variety produces heavy yields and is a great choice for the Mid-Atlantic region.

Jalapeño Hot Pepper

These classic salsa chiles had to make the list. These thick-walled peppers are great for pickling, adding excellent flavor to salsa, smoked, or making Jalapeño vinegar. Jalapeños filled with cream cheese and fried are a Southern specialty. They’re often harvested green but can be harvested red or left to mature to red off the plant.

As you’re planning next season’s garden, it’s a good idea to consider how and if you want to put up excess produce. Planting a few canning varieties is a great way to stock your pantry beyond the summer months.

Late June Garden Checklist

Here in the Southeast, June is an exciting time in the garden. Depending on your zone, you’ll be harvesting various crops like the last of the spring snap peas and broccoli and the first tomatoes, cucumbers, and squash of the year. It’s also a time where staying on top of the garden chores is critical for continued production into the late summer and fall. This late June garden checklist will help you stay on track and keep your garden healthy and productive. 

June Maintenance

The late June garden to-do list includes some general maintenance tasks to keep your garden growing strong.

Weed, Weed, Weed.

No one loves to spend time weeding, but this time of year is critical. Keep the weeds knocked back to ensure they don’t steal precious water and nutrients from your rapidly growing crops. 

Harvest Regularly

Staying on top of harvesting is essential. You want to pick and use or preserve produce at its peak and encourage continued production. Many crops like cucumbers, summer squash, and green beans will produce more if picked regularly. Allowing the fruit of these crops to fully mature, like you would to save seed, will tell the plant it’s time to die back and stop producing. Check out our previous post, Food Preservation Resources, for information on putting up your harvest.

Add Compost

Heavy feeding crops like corn, tomatoes, and peppers benefit from extra nutrients this year. Sidedressing these crops with good, finished compost can give them a boost to ensure good production. Sidedressing with compost when the plants are flowering is ideal.  

You should also add an inch or two of finished compost to a bed before sowing new successions. This will ensure your soil has enough nutrients to maintain good production.

Stay on Top of Watering

In the Southeast, the temperatures really begin to climb in June. This time of year and further into the summer keeping the soil cool and moist will improve production. A wilting plant is not the only sign of water stress. Deformed cucumbers are often a sign of too little water. Blossom end rot in tomatoes, eggplants, and peppers may also indicate water deficiency, as insufficient water can prevent the plant from taking up enough calcium. 

Remove Old Plants

Remove any plants that are no longer producing, like peas or plants past their prime. You can replace these plants with successions or cover crops, which we’ll discuss below.June garden checklist

Starting the Fall Garden

One of my mistakes as a new gardener was waiting too long to start a fall garden. If you live anywhere with a late first frost date, it can be easy to assume that you have plenty of time to grow crops in the fall. 

Unfortunately, it’s not just the temperature that affects how your garden grows. Dwindling hours of daylight slows crop growth in the late summer and fall.

To know when to sow summer successions and fall crops in your garden, take your first frost date and count backward by the days to maturity for a chosen variety plus an additional 14 days for cool-weather crops and 21 days for frost-tender crops (this accounts for slowed growth). 

For example, if your first frost date is November 15th and you want to grow another succession of Anne Arundel Muskmelons, you should plant your last succession by August 7th at the latest. To get that date, I started on November 15th and counted back 80 days (Anne Arundel’s days to maturity) and then counted back another 21 days to account for decreased daylight.

Late Summer & Fall Crops

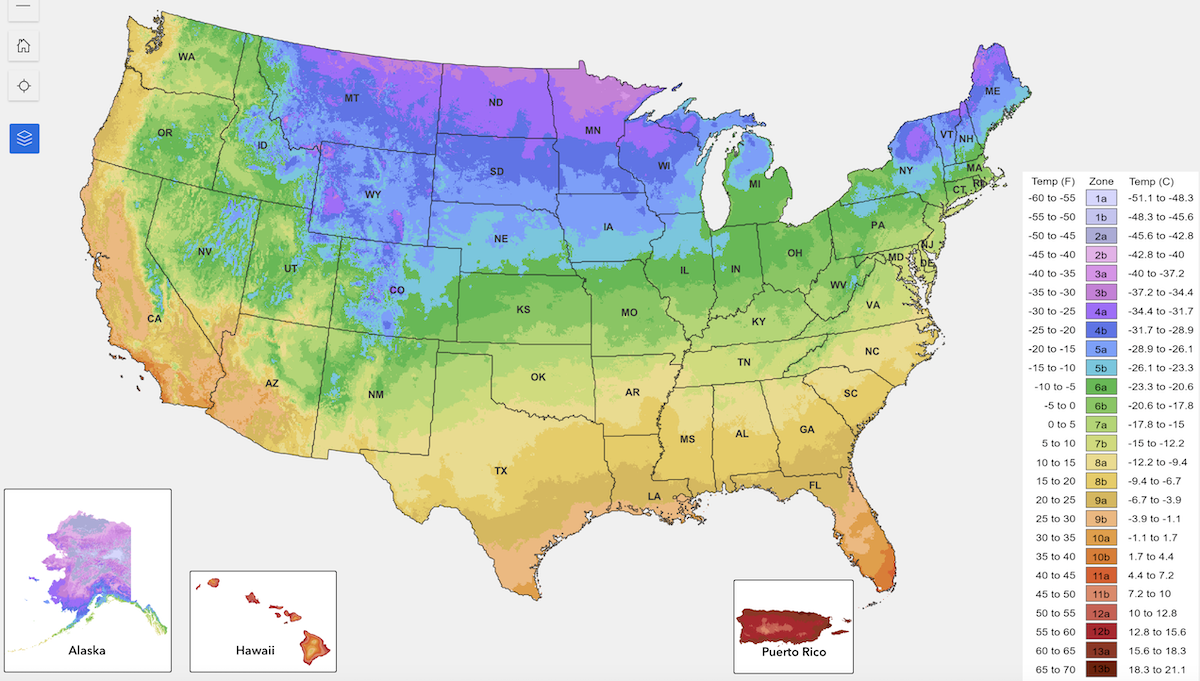
Many crops can be planted in June, July, or even later, depending on your USDA zone. Some great options for late summer successions and fall crops include:

  • Snap Beans
  • Summer Squash & Zucchini
  • Cucumbers
  • Cabbages
  • Cauliflower
  • Broccoli
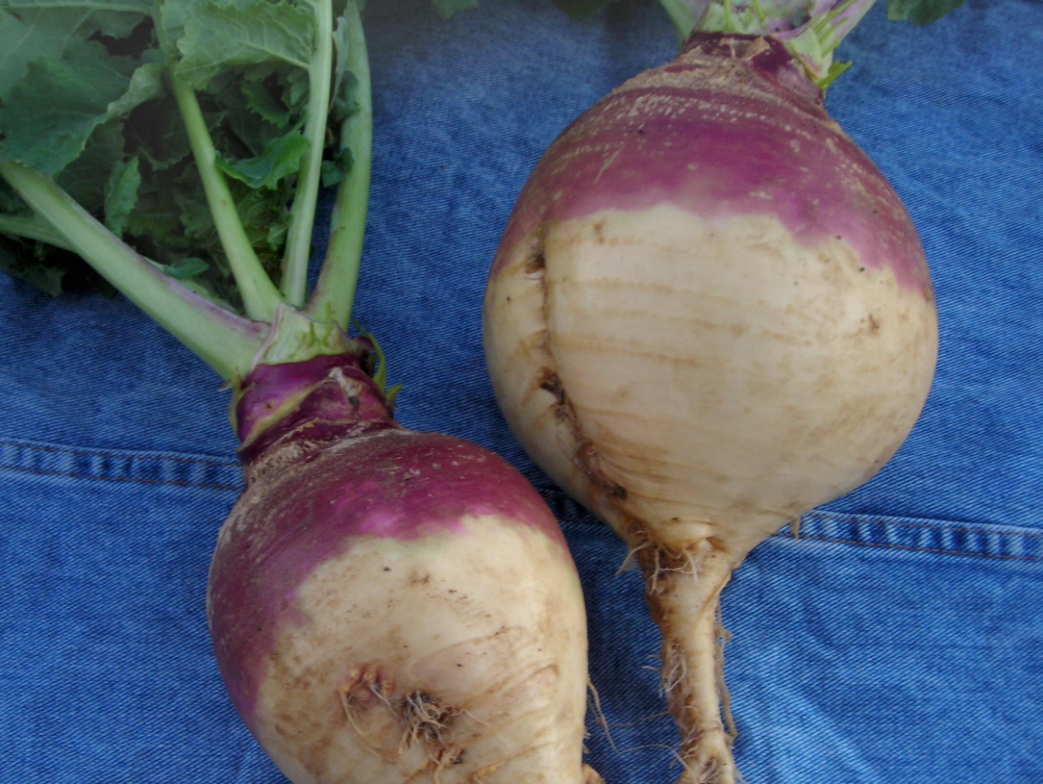
  • Turnips
  • Rutabagas
  • Beets
  • Carrots
  • Greens

When sowing and transplanting this time of year, you’ll want to take extra care to keep plants and seeds cool and moist. Transplant in the evening or on overcast days. Water often and use shade cloth or other plants to keep some afternoon sun off of cool-season crops like lettuce. Place seed trays in a root cellar or fridge to help seeds like cabbage and broccoli germinate in hot weather.

Heat-Tolerant Greens

As spring turns to summer, the last of the cool season greens are being harvested. Any leftover will soon bolt and turn bitter (pollinators love the flowers, though). Thankfully, there are a few ways to continue green production in the hotter parts of the year. 

Here are some great heat-tolerant greens to try:

Using row cover and keeping the soil moist can be especially helpful for lettuce.

Cover Crops

If you have empty beds that you aren’t going to fill with crop successions, it’s an excellent time to start some cover crops. Cover crops suppress weeds, keep the soil moist, and add nutrients and organic matter. Some cover crops you can sow in June include:

  • Buckwheat
  • Sorghum Sudan
  • Cowpeas
  • Soy
  • Millet

Check out these other Summer articles and tips:

Keeping up with summer garden chores is a demanding but rewarding process. Following this June garden checklist and completing these essential maintenance tasks, plus succession and fall planting, will allow you to keep fresh food on your family’s table through late summer and fall.