Growing Rhubarb from Seed

by Ira Wallace

Many gardeners are familiar with growing rhubarb from divisions or crowns, but if you want to start a large rhubarb patch quickly, without spending a lot, growing rhubarb from seed is the answer. The stems of rhubarb grown from seed will not all have that intense red color you might be used to. Some stems will be red, some green, and some in between. But they will all taste the same, perfect for your home-cooked pie. If you want all red stalks, get divisions from a friend or neighbor or buy crowns from your local nursery.

When starting your seeds, remember that rhubarb is a cool-weather crop.

  • In climate zones 6 and cooler, it’s an easy-to-grow perennial (traditionally planted where there used to be an outdoor privy). The stalks and leaves die back with first frost in the fall, but the plants will come right back in early spring.
  • In zones 7 to 8, growing rhubarb is tricky. but it can be grown as a short lived perennial. You will need to be careful to shelter your rhubarb plants from extreme summer heat. Choose a location with afternoon shade in the summer. The north side of a grape arbor, raspberry patch, or asparagus ferns would work well.
  • In areas with very hot summers, where winters are mild (zones 9 to 10), rhubarb can be grown from seed as a winter annual. ECHO ("Educational Concerns for Hunger Organization") in Florida has had good luck with planting rhubarb seed in August and harvesting in March-May. The variety Victoria is noted as a productive late summer/early fall started annual from almost subtropical Florida to semi-arid northeast Texas. Read how to do this in “Growing Rhubarb from Seed as an Annual” below.

Starting Rhubarb Seeds

Rhubarb seeds are encased in a large paper-like shell. To speed germination, soak your seeds in water for 1-2 hours before planting. If you’re starting indoors, plant the seeds in screened compost or other suitable organic planting mixture, 2 seeds per 2 to 3 inch pot. Using peat pots or cow pots makes transplanting easier. For spring plantings a heating cable or mat will speed the germination if the room temperature is below 70°F. Rhubarb seeds germinate quickly when planted in the warmth of late August or early September. Keep your seedlings evenly moist but don’t over-water (the seedlings can die from root rot if the ground is too wet).

Growing Rhubarb from Seed as a Perennial

To start rhubarb in the spring (zones 8 and lower), sow seed in pots or flats under cover 8-10 weeks before your average last frost. Transplant the young plants out into the garden about two weeks before your average last frost, into an area amended with compost or well rotted manure and plenty of organic matter. The plants should be about 4 inches tall. Mulch your seedlings to maintain even soil moisture and keep the roots cool. Harden plants off before transplanting or protect the new transplants with row cover until danger of frost has passed.

Choose a location protected from the heat. The warmer your climate, the more important it is to provide afternoon shade (on the west and south) during the hottest months. A row of tall annual plants (your late summer tomatoes or pole lima beans), shade cloth, or a temporary structure can provide adequate shade that you can remove when the weather cools. Always remember to maintain even moisture. Letting your young rhubarb plants dry out in hot weather is the kiss of death.

Growing Rhubarb from Seed as an Annual

To grow rhubarb as an annual in the fall and winter (zones 9 and higher), start the seeds in a cool location (a bright indoor spot or a shady outdoor place) from late August to early October. Transplant into the garden when the seedlings reach about 4 inches tall. The plants will be ready for harvest in March through early May. Intense summer heat will kill the plants, so harvest all the leaves in late spring. This technique only works where winters are very mild, or if you can protect the plants from damaging frost with a cold frame or row cover.

Harvesting Rhubarb

Harvest rhubarb either by cutting or pulling off the leaf stalks at soil level. When your plants have 10 stalks you can harvest 3 or 4 stems at a time per plant.  If you are growing your rhubarb as an annual harvest the entire plant. Harvest stalks only! DO NOT eat the rhubarb leaves as they contain high levels of toxic oxalic acid.

For perennial plantings let some leaves remain on the plants during summer to generate energy and reserves for the following year. We recommend harvesting a few stems at a time, in spring and fall only. It’s best not to stress the plants during the summer, so avoid harvesting at this time. Frost will kill all the leaves, so harvest all the leaves when frost threatens in the fall.

Break off and discard any flowering stalks at ground level. (The flowering stalks don’t make good eating, and breaking them off prevents the plant from putting energy into flowers and seeds.)

It’s best not to harvest during the first year if you are establishing a perennial bed. For annual beds, harvest all remaining stalks when the weather begins to get too hot in the summer.

Ira Wallace lives and gardens at Acorn Community Farm, home of Southern Exposure Seed Exchange, where she coordinates variety selection and seed growers. Southern Exposure offers 700+ varieties of non-GMO, open-pollinated, and organic seeds. Ira is a co-organizer of the Heritage Harvest Festival at Monticello. She serves on the board of the Organic Seed Alliance and is a frequent presenter at the Mother Earth News Fairs and many other events throughout the Southeast. Her first book, “The Timber Press Guide to Vegetable Gardening in the Southeast,” is available online and at booksellers everywhere.

Black-Eyed Peas, Greens and Cornbread for New Years’ Good Luck


Happy New Year! My family always had some traditional black-eyed peas, collard greens and cornbread on New Years’ Day for good luck! Smelling any kind of southern (black-eyed, crowder or cream) pea cooking takes me back to my grandma’s Florida kitchen. She would have a big pot of “peas” simmering with onions, garlic and a little smoked pork. Our New Years meal was always rounded out with fresh ground cornbread or muffins and baked sweet potatoes. Everything except the garlic was grown in our backyard garden and then either put up for later use or fresh cut like the collard greens. Every year since I started growing my own garden, I include these easy-to-grow southern staples in my garden plans, and you can, too.

Many people trace the tradition of eating black-eyed peas for luck on New Year’s Day to Sherman’s destructive march through the South. These peas were formerly considered only fit for animal fodder, and so they were spared and then they sustained both black and white southerners through the hard months that followed. That may be a reason the tradition spread — but a Jewish friend of mine says the tradition of eating black-eyed peas for luck on New Year’s goes much further back to the Talmud. According to her relatives, whose Sephardic Jewish ancestors settled around Savannah, Georgia in the early 1800s, the practice was already common long before the Civil War.

Whether you know them as southern peas, cowpeas, field peas or black-eyed peas, they are delicious and easy to grow wherever there are 60-90 days of warm weather both day and night. Vining varieties like Big Red Ripper are extremely drought tolerant but need more room to spread out. The ability of southern peas to grow in poor soil is so good that some varieties like Iron and Clay are best known as a soil building cover crop. Early varieties like Queen Anne Blackeye Pea can be grown in more northern states.

Greens are the traditional companion dish to southern peas. My grandmother loved collard greens, the old timey varieties that turned blue-purple in the winter when the leaves are sweetest. We also sometimes had Southern Giant mustards or Seven Top turnips or just mixed greens from the large patch she would sow in late summer or early fall as the summer heat began to ease. This year Southern Exposure is are offering an old timey variety called Alabama Blue that looks and tastes a lot like the greens I enjoyed as a child.

The corn bread we had in my youth was always either yellow or white and baked in a cast iron skillet so it was crusty on the outside and tender on the inside slathered with fresh butter. Here at Southern Exposure we not only offer yellow varieties like Leaming dent or Reid’s yellow dent and white like Texas Gourseed corn but also beautiful red corns like Floriani Red Flint and Bloody Butcher. We even offer varieties with blue or mixed colored kernels for an amazing array of colors and flavors.

Aside from our website, another good source of information on all these crops and how to grow them is my book The Timber Press Guide to Vegetable Gardening in the Southeast.

Growing Great Garlic by Ron Engeland – Book Review

     Our new seed office is ripe with the wonderful smell of garlic!  Allium planting season is here and we’re busy shipping garlic and perennial onions.  All our garlic shipments come with a copy of our garlic and perennial onions growing guide, but if you’re looking to get more extensive know-how along with your shipment, consider picking up a copy of Growing Great Garlic by Ron Engeland. His conversational style makes this book accessible to the layperson while his wealth of experience makes it useful to even the experienced gardener.  Despite having been written over 20 years ago, Growing Great Garlic remains the standard gardening guide for anyone interested in the organic cultivation of garlic.

The Cover of Growing Great Garlic by Ron Engeland

     The recent explosion of knowledge and interest in heritage vegetable varieties finally seems to be making its way to the onion’s much loved but poorly understood cousin, garlic.  Garlic has found a place for itself in culinary traditions around the world as a seasoning, a foodstuff in its own right and even a confection.  If the produce section at the local supermarket is anything to go by, garlic is a forgettable, small and either gray or gray.  Its flavor is identifiable, but consistent.  It seems any head is as good as the next.

        In this 226-page garlic growing guide, Ron Engeland sets out to introduce the small farmer and home gardener to the many faces of this amazing plant.  The author introduces the main types (Rocambole, Continental, Artichoke and Silverskin) as well as his strategies for cultivation and harvest.  He even helps diagnose garlic diseases, pests and pathogens (from nematodes and thrips to botrytis and yellow dwarf virus).  When your garlic is ready, Engeland walks you through processing and storage, to ensure that your harvest lasts long into the winter months.

        Give Engeland a chance and he will show you that organic garlic can be an exciting crop of diverse shapes, colors and flavors.

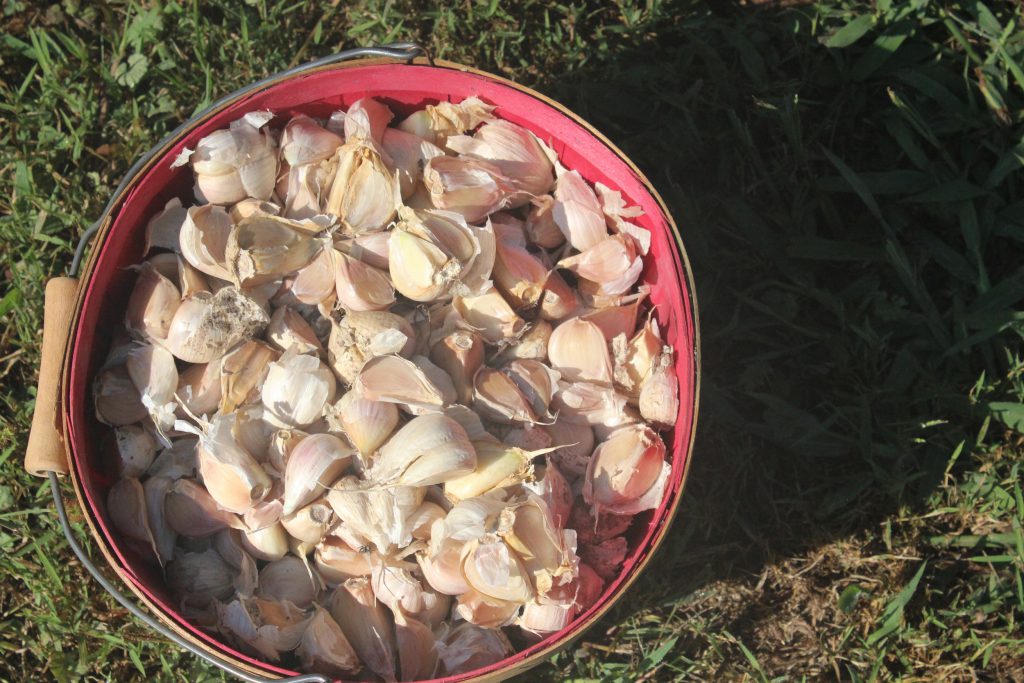
Garlic Drying in the Barn after Harvest

Saving the Past for the Future