Like many long cultivated plants, okra’s origins cannot be pinpointed but many historians believe it was first cultivated in Ethiopia. Records of its cultivation in ancient Egypt date to over 3000 years ago! In the following centuries was spread throughout Africa, the Middle East, and Asia. Okra was first brought to the Carribean and Southern United States by the slave trade sometime in the 1600s.
It’s a member of the mallow family, related to plans like hibiscus, cotton, and hollyhock. Though it does well in hot climates and will tolerate drought, okra performs best in rich, moist soil.
A resurgence of interest in local food and regional recipes has led to a renewed interest in okra. It certainly is a plant worthy of the attention.
Why Plant Okra?
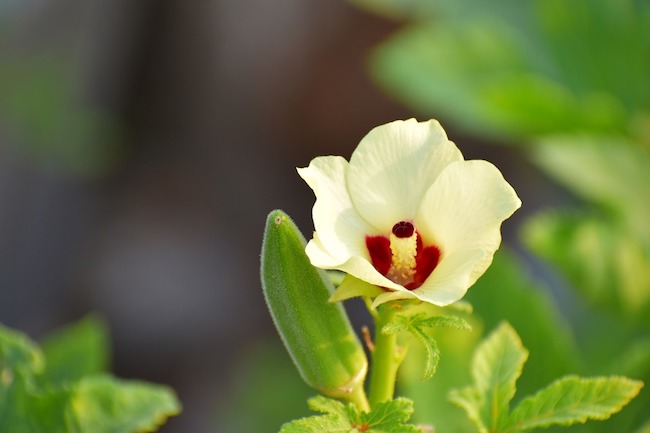
- The flowers are simply gorgeous.
- Okra can easily be preserved for winter by making pickled okra.
- The leaves are also edible and are often likened to beet or dandelion greens.
- Okra seeds can be pressed and make a wonderful oil for cooking.
- The seeds can also be roasted and ground and used as a caffeine free, coffee substitute. In the U.S. this practice was used in the south during the Civil War.
- The plant’s stem is fibrous and can be used to make cordage or paper.
- Okra has a rich history and important culture.
- The pods make an excellent thickener for soups and stews, like gumbo.
- The dried pods can be used in flower arrangements.
- Okra can be used to make a hedge.
Growing Okra
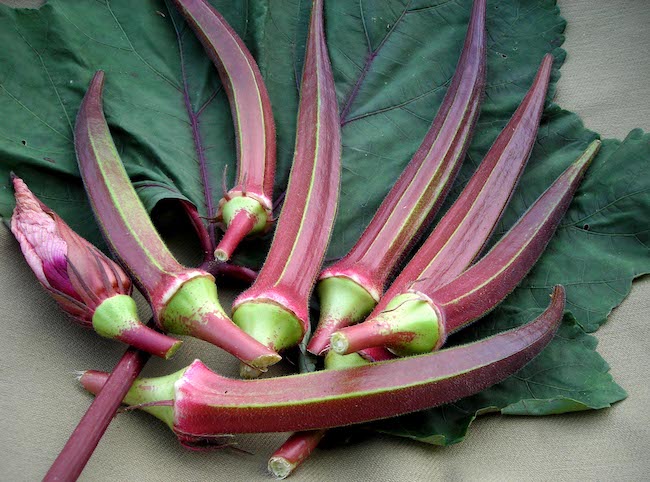
If you’re considering growing okra do realize that it isn’t a small plant. Okra can grow up to 6 feet tall and should be grown 18 inches apart in rows 5-6 feet apart.
If you live in colder climate okra should be started indoors 2-3 weeks before your last frost date. Okra prefers rich soil but soil that’s too high in nitrogen can lead to a lot of leaf growth and little pod development.
Pods often need to be harvested frequently when they’re about 2-4 inches long before they grow too large. The pods can be picked by hand or you can use a small set of pruning shears.
For best results check out our Okra Growing Guide. You can find all of our okra varieties here.
Recipes to Try
From the greens to the seeds, pickled to fried there are a number of ways to enjoy okra. Here are a few recipes to get you started.
Pin it for later.