
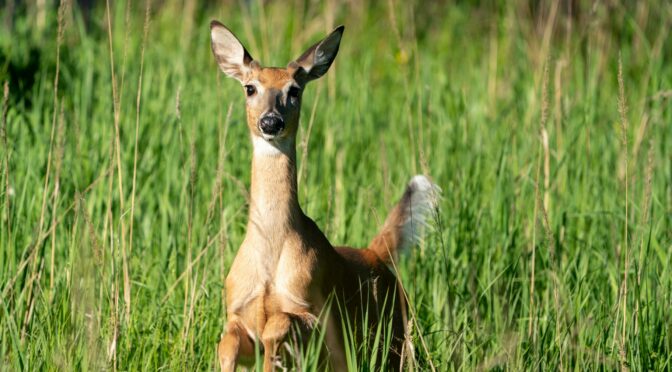
Wildlife is often a significant issue for gardeners in the eastern United States. You can have a beautiful-looking garden only to find a row of broccoli mowed down by white-tailed deer, all your strawberries finished off by a possum, or stunning red tomatoes with groundhog bites out of them in a single night. What can we do to protect our gardens from these attacks?
Selecting Wildlife Fencing
Fencing is one of the most effective ways to keep wildlife from destroying your garden. What that fencing looks like for you depends on the animals you have around. Obviously, fencing that keeps out cottontails looks a bit different than fencing that keeps out white-tailed deer. Here are some of the basic considerations when selecting and installing fencing.
Deer-Proof Fencing
Unfortunately, white-tailed deer can jump high, and experts often recommend an 8-foot fence for those with serious deer problems. However, many folks find that shorter heights work effectively in certain situations.
Adding a visual barrier, like string lines or flags above a shorter fence, can deter deer. Some folks also find that shorter electric fences are a good enough deterrent for deer. Smaller spaces are also less susceptible because deer don’t like to jump into enclosed spaces. For this reason, two rows of shorter fencing, with one a few feet inside the other, are usually adequate.
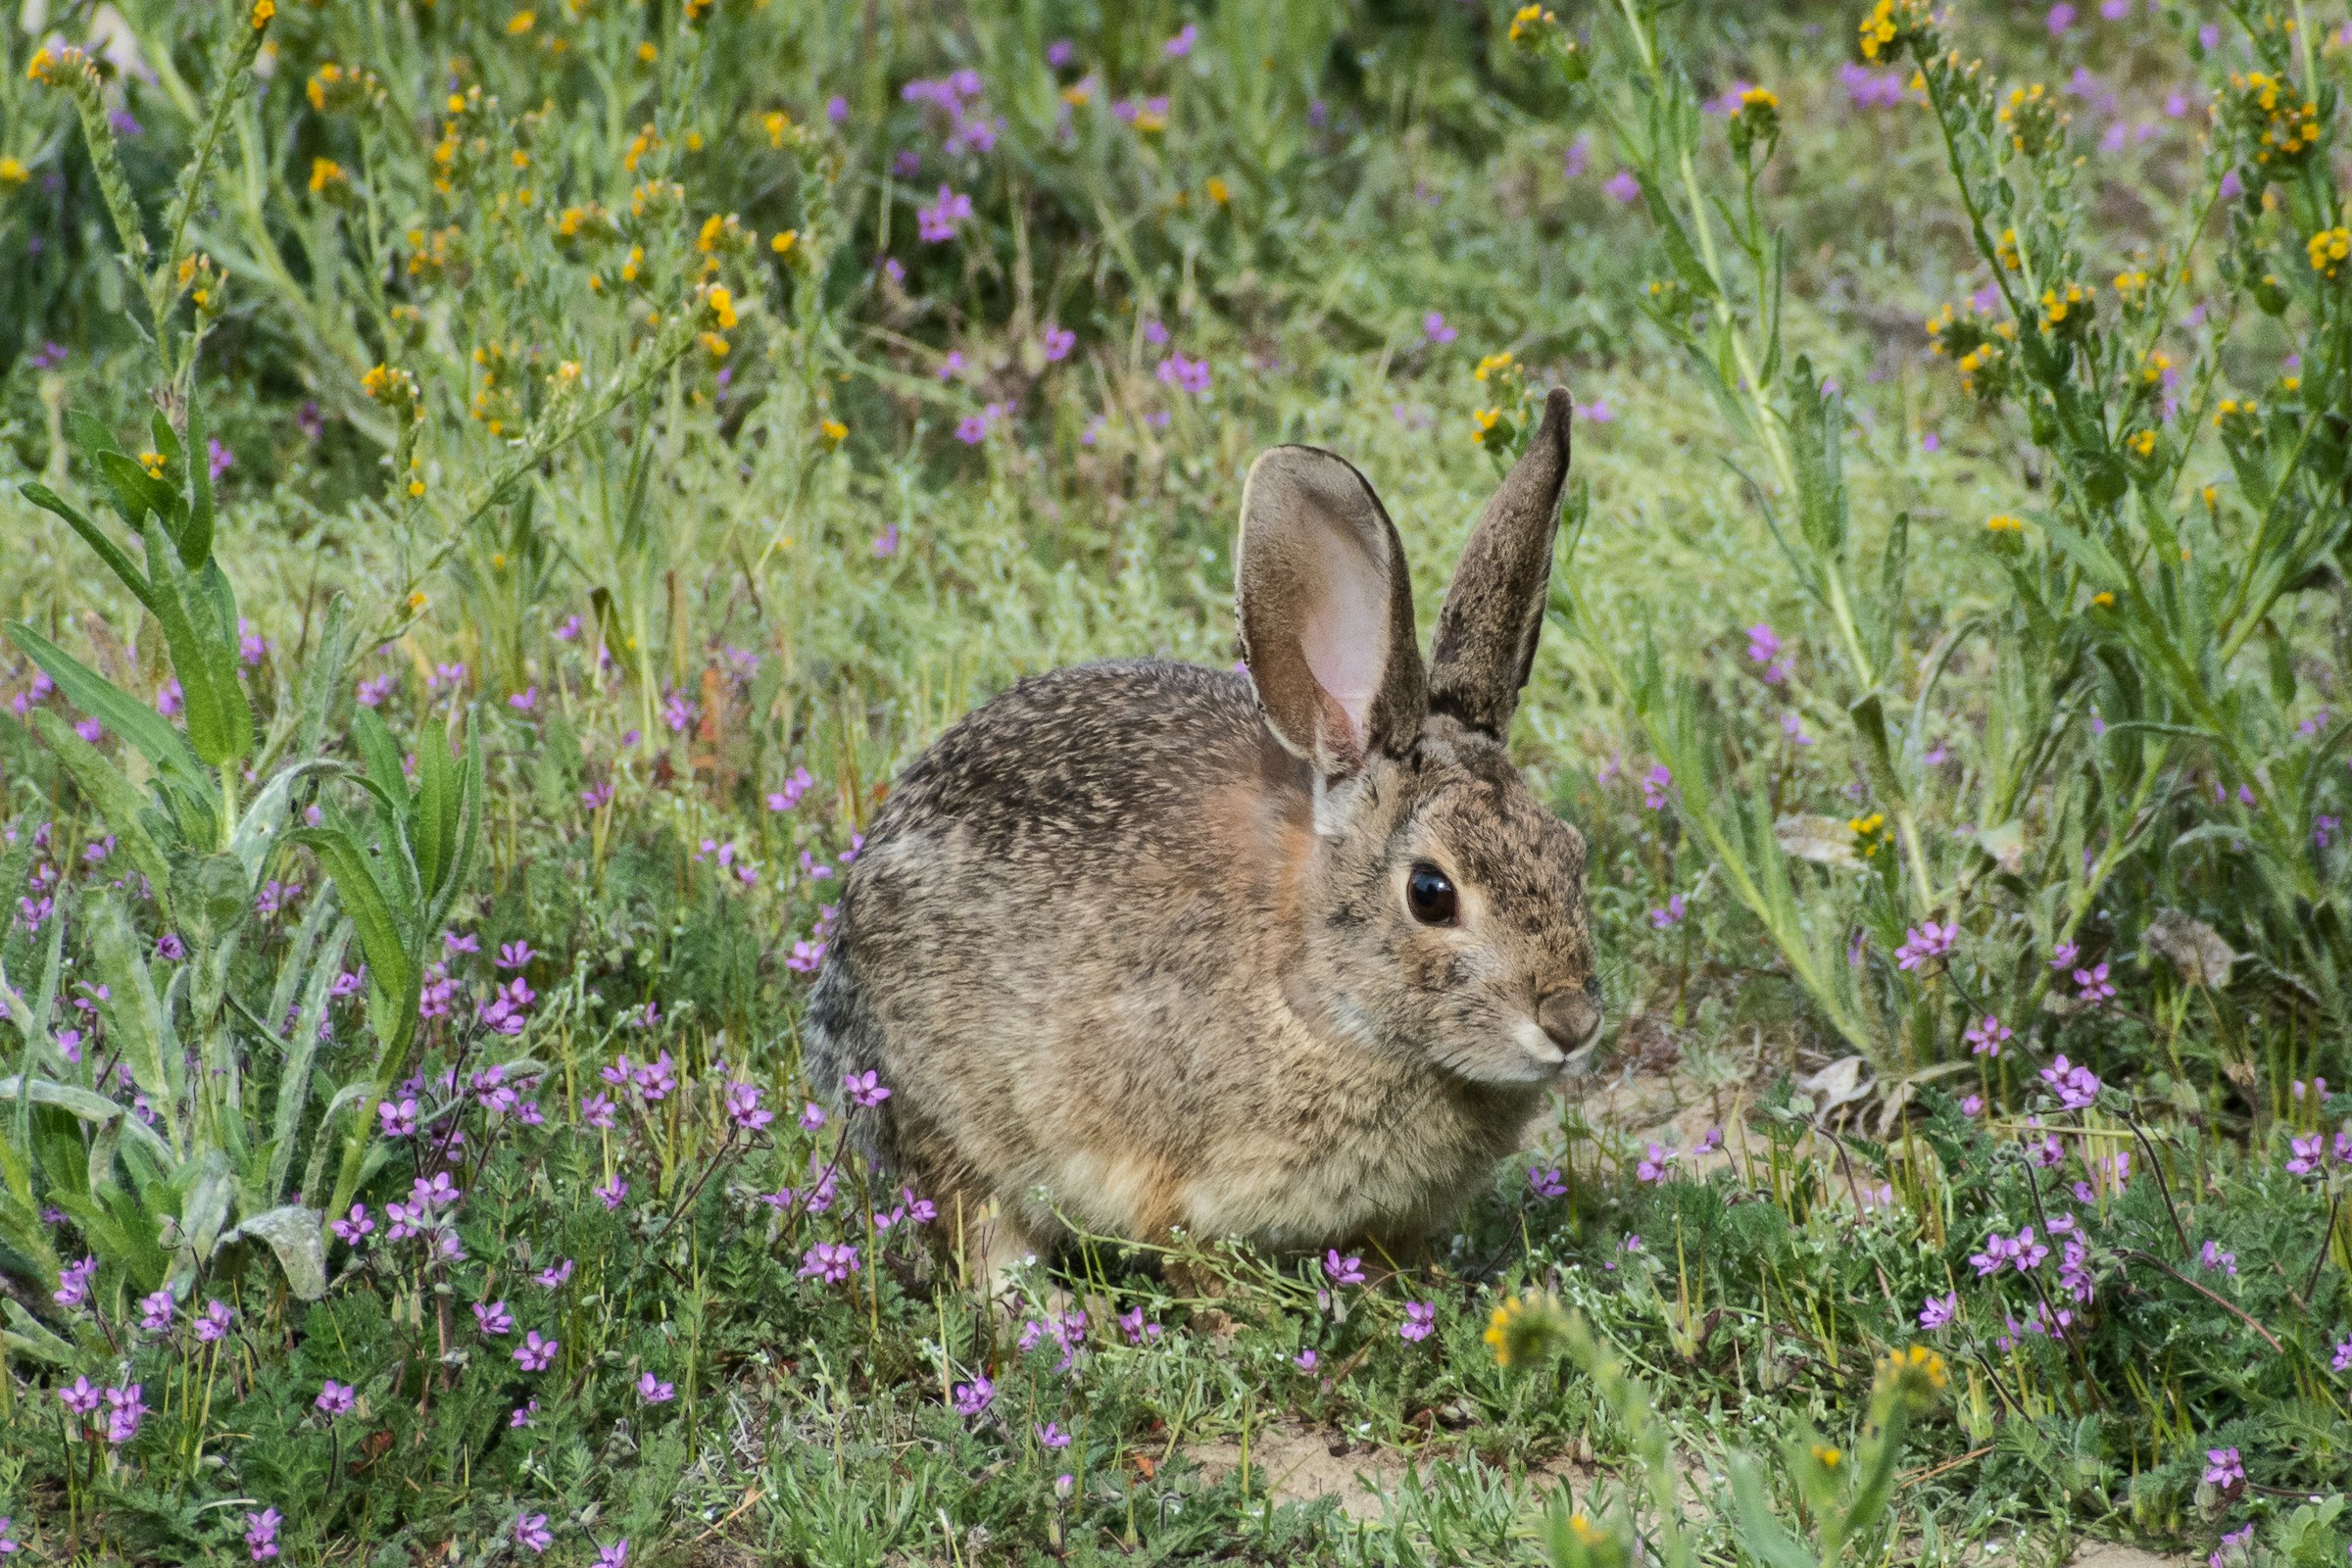 Small Mammal Fencing
Small mammal fencing doesn’t need to be as tall as deer fencing but generally needs to be tighter. A simple row of chicken wire or hardware cloth can work for some animals. However, Groundhogs can be especially tricky due to their knack for digging under fencing. They make some fencing panels with long spikes that go into the ground, which may be effective. Some folks also find electric fencing effective. You may get away with a single strand low to the ground or electro-net fencing.
What if I Can’t Put Up Fencing?
Fencing isn’t an option for everyone. Renters and those with strict HOAs may not be allowed to use appropriate fencing for wildlife. Additionally, fencing can be costly, and those on a tight budget may not be able to afford to install wildlife fencing. Thankfully, there are a few other options.
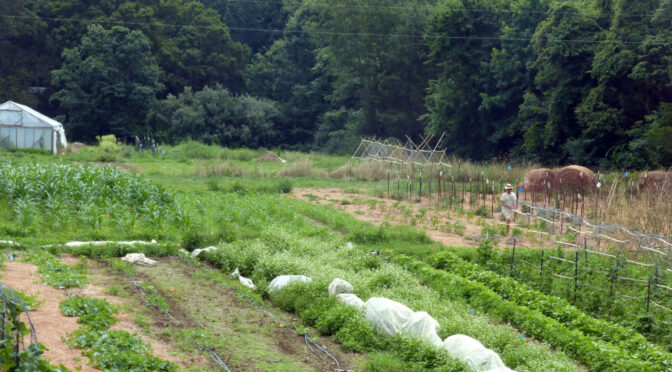
Choose Wildlife-Resistant Plants
Certain plants are more wildlife-resistant than others. Generally, these plants are unpalatable to wildlife for a specific reason, like flavor, scent, or irritating leaves. Unfortunately, no plant is 100% wildlife-proof for all animals, so you may need to select plants based on your specific struggle. Here are a few wildlife-resistant options:
Vegetables
- Onions
- Garlic
- Cucumbers (deer-resistant)
- Squash (deer-resistant)
- Potatoes
Herbs
- Fennel
- Lemon Balm
- Mint
- Thyme
- Chives
- Wormwood
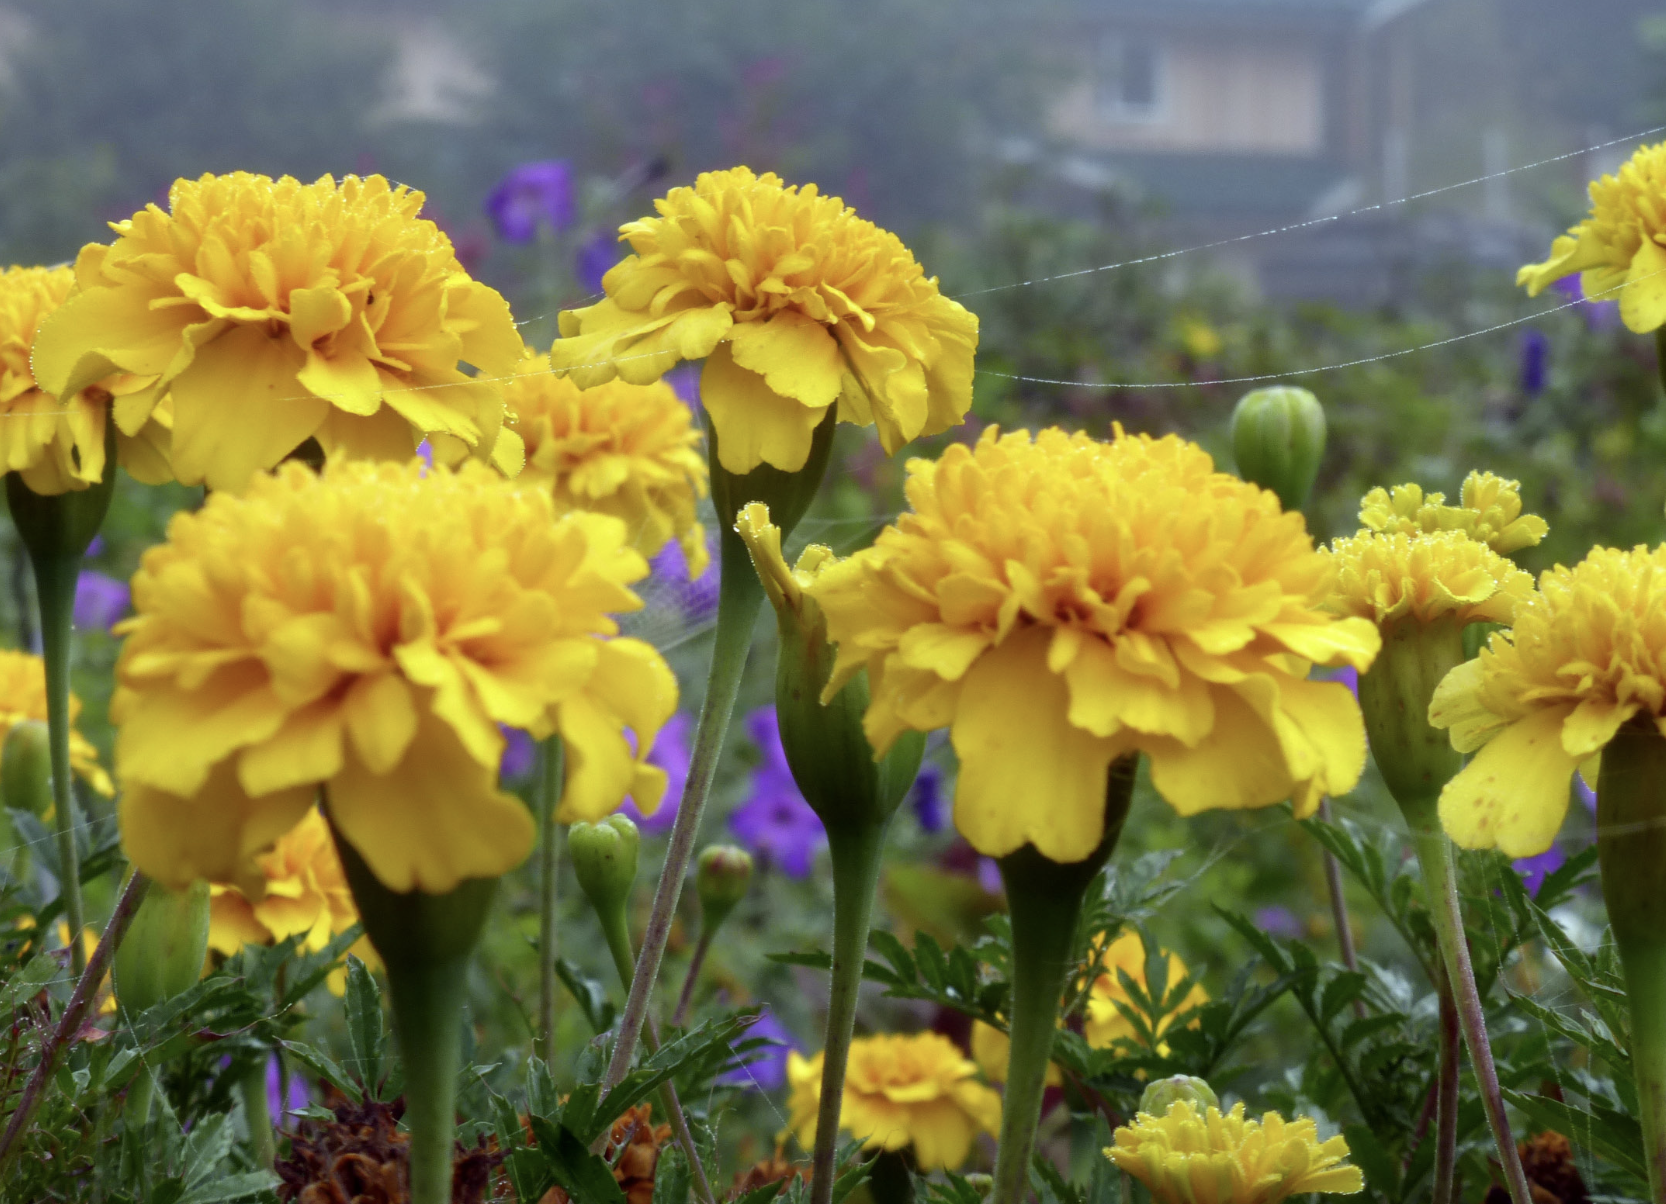
Flowers
- Lavender
- Feverfew
- Echinacea
- Yarrow
- Daylily
- Soapwort
- Butterflyweed
- Coreopsis

Container Garden
You can also try container gardening if you have a more protected porch, patio, or balcony. Additionally, if you keep the containers limited, you can always move them inside at night.
Here are a few of our favorite favorite crops for container gardens:
- Nasturtiums
- Chinese Five-Color Hot Pepper
- Glacier Tomato
- Sugar Cherry Tomato
- Spicy Bush Basil
- Misato Rose Radish
- Swiss Chard
- Chives
- Table Queen Bush (Acorn) Squash
Container gardening works well, but you need to tend the plants carefully. Use large, well-draining containers, water often, harvest often, and fertilize as needed. Check out our other container gardening tips.
Use Wildlife Repellent
Wildlife repellent isn’t a perfect option, but some gardeners have made it work for them. A few organic options are available in the form of pellets and sprays you use to treat your plants and gardens. Most of these products must be reapplied fairly often or at least every time it rains. To find organic options, look for the OMRI (Organic Materials Review Institute) label or visit their website to see their product list.
There are many gardening challenges, and wildlife can be a big one. Hopefully, some of these strategies will help you wildlife-proof a few of your crops this season!

 Natural Trellises & Shade

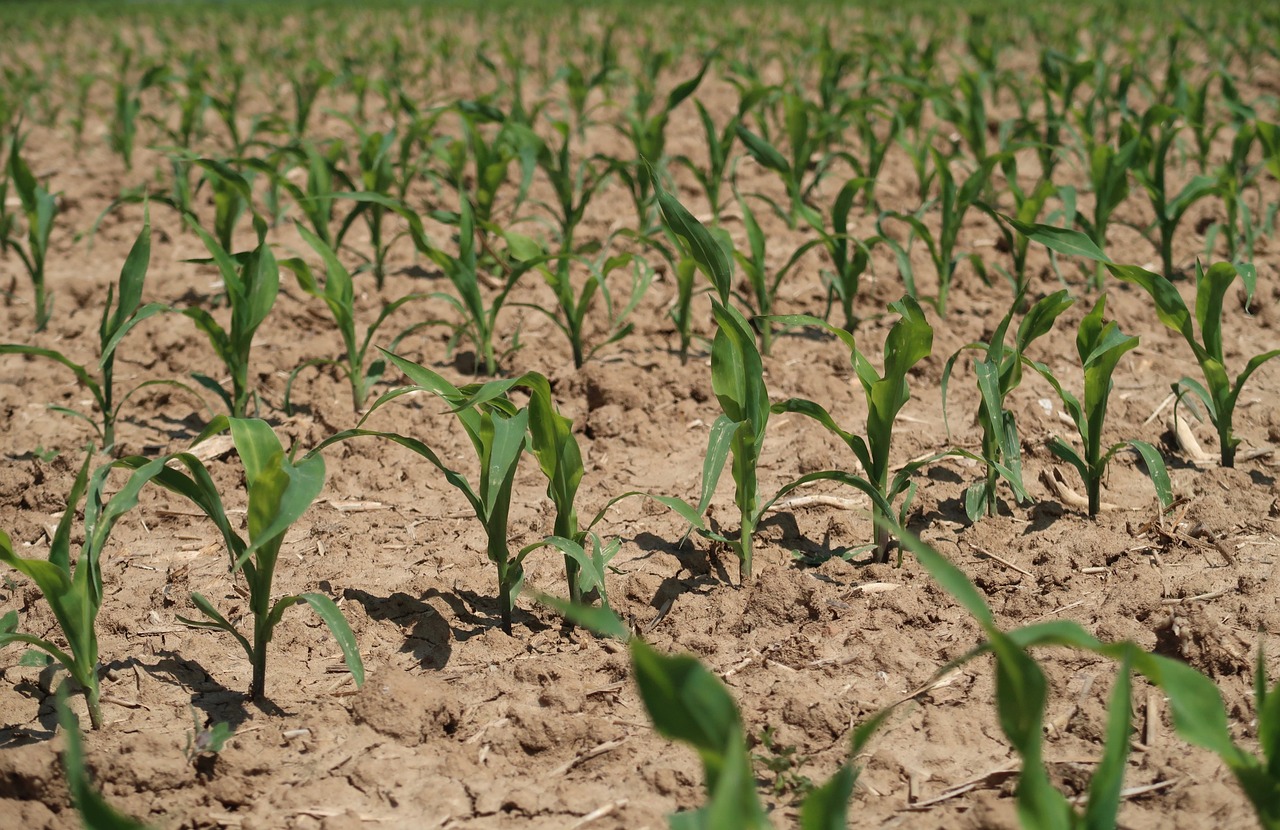 Plant a Couple More Rows When Crops Reach a Couple Inches High