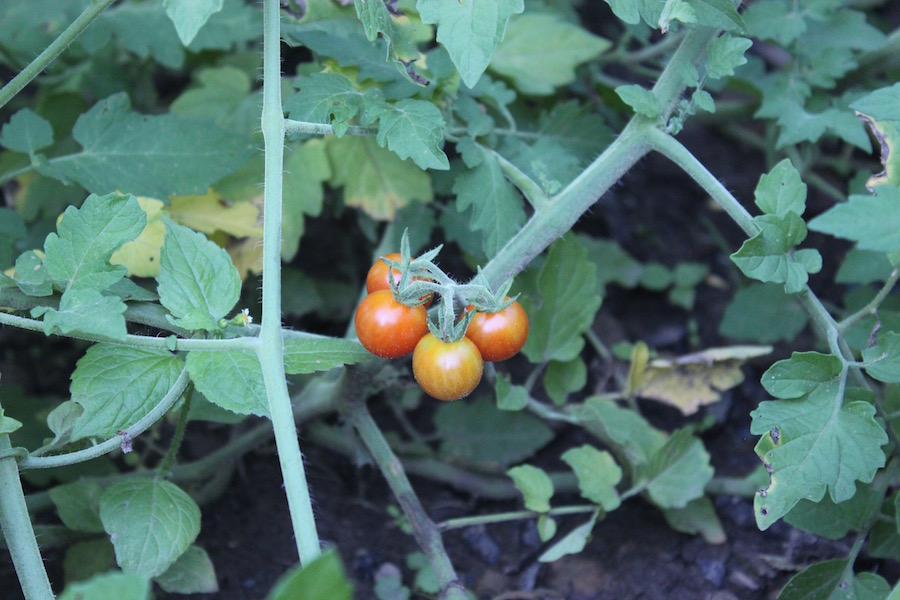
When planning our gardens we often think of annual food crops. Plants like peppers, tomatoes, cabbages, and sweet corn come to mind first and are the powerhouses of most backyard gardens. However perennials are an excellent addition to any garden. There’s a lot more to perennials than just their longer lifespan.
Why Grow Perennials
You can increase your food production.
Perennials can increase the amount of food you produce and therefore decrease your environmental impact. They’re often some of the first foods up in the garden and sometimes the longest producing. Plants like rhubarb, chives, and salad burnet will help fill your plates with local food when most of your annuals are still just tender seedlings.
They require less work.
Growing more perennials means less time spent starting plants each year. Just keep the weeds back, provide basic care, and enjoy your harvest.
Many perennials require less water.
As they grow for more than just one season they are generally able to develop deeper, more extensive root systems than annuals so they’ll need less careful watering.
They’re better at gathering nutrients.
Another advantage of their well developed root systems, perennials are often able to access nutrients from deep in the soil that annuals cannot. Perennials help bring these to the surface for them and the plants around them.
They improve soil structure.
Their root systems even help improve soil structure which helps not only them but any annuals that you grow near them. The soil health also improves because it’s not being disturbed each year. Nutrients are added through a top down system as parts of the plant die back or you add mulch around them. This process is just like what happens in a natural ecosystem.
How to Get Perennials
Perennials don’t have to be expensive! Browsing catalogs and visiting your local garden store can lead you to the impression that a garden full of perennials is going to be an expensive one. It’s doesn’t have to be though. Many perennial plants are easy to start from seed or divisions from existing plants which can sometimes be acquired for free or cheaply from friends, neighbors, or your local garden club. Ask around!
Southern Exposure Seed Exchange offers many perennial plants and seeds that can get you started without a big investment. Below are just a few of the perennials SESE offers that are easy to add to your garden.
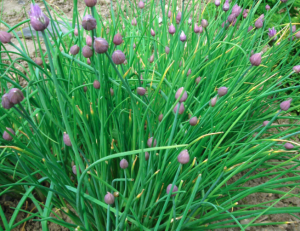
Chives
Adding a lot of flavor with little effort, chives are super hardy, beautiful, and easy to grow. Plus once yours get established it’s easy to divide your plants and they make a great gift.
Rhubarb
Though not a true fruit, rhubarb is the first fruit like food you’ll be able to get locally each spring. While many garden centers only sell rhubarb plants they’re actually quite easy to grow from seed. You can find a great post on growing rhubarb here.
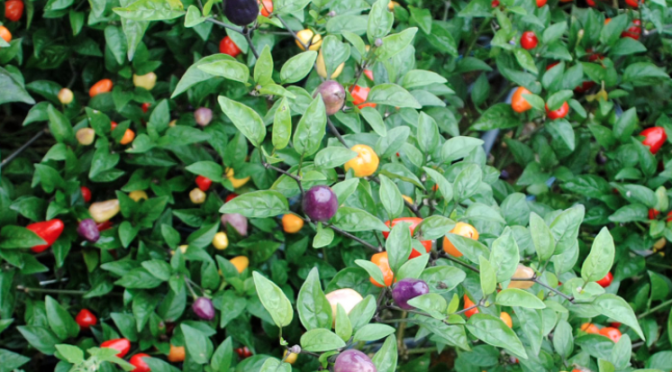
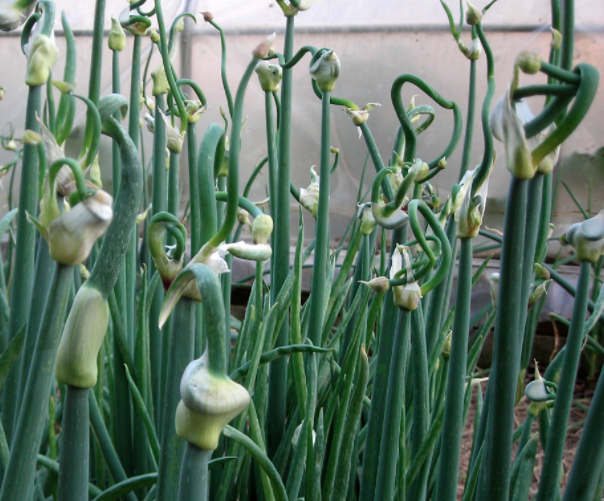
Perennial Onions
For some, growing a patch of perennial onions is enough to supply all their onion needs without having to start tons of onions from seed each year.
Thyme
Thyme makes and excellent perennial ground cover with the added benefit of smelling nice and being edible.
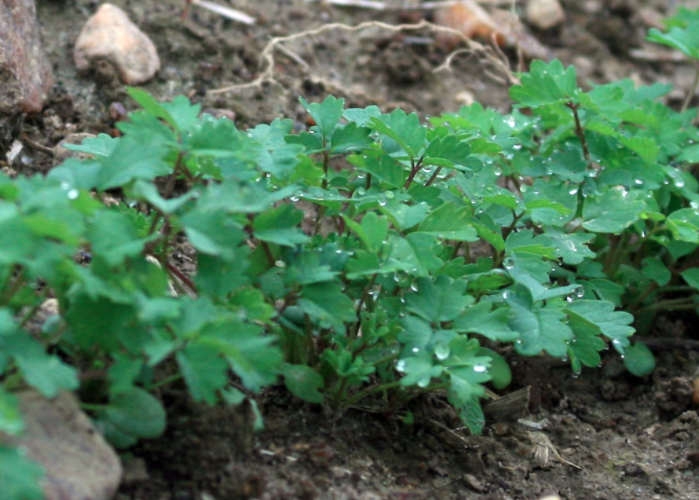
Salad Burnet
Often said to taste like cucumber, salad burnet will come up early and feed you long before any actual cucumbers will be available.
Ginseng
A highly sought after medicinal, ginseng takes awhile to grow but is well worth the wait!
Sage
Sage is both edible and medicinal and simple to grow from seed.
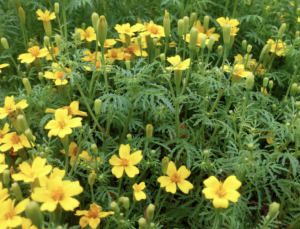
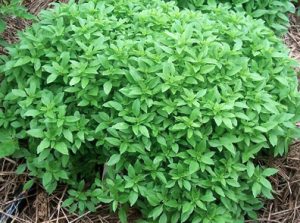
Oregano
On top of being a commonly used culinary herb, oregano’s small white flowers also do a great job of attracting pollinators.
Garden Huckleberry
These dark blue berries are one of the few berries that are easy to grow from seed and they make excellent jam. You can read more about them here.
Echinacea
This flower has a lot going for it. Echinacea is not only beautiful but a great species for attracting pollinators and it’s highly medicinal.
Lemon Balm
As a member of the mint family, lemon balm gets established and spreads so easily you may actually want to make an effort to keep it contained.
Don’t be afraid to add a few perennials to your garden this year. They’re quite affordable and have many benefits. Even if you decide you need to change your garden layout most can be transplanted without harm later on.
Pin it for later.