Tag Archives: transplanting

Basics: Transplanting

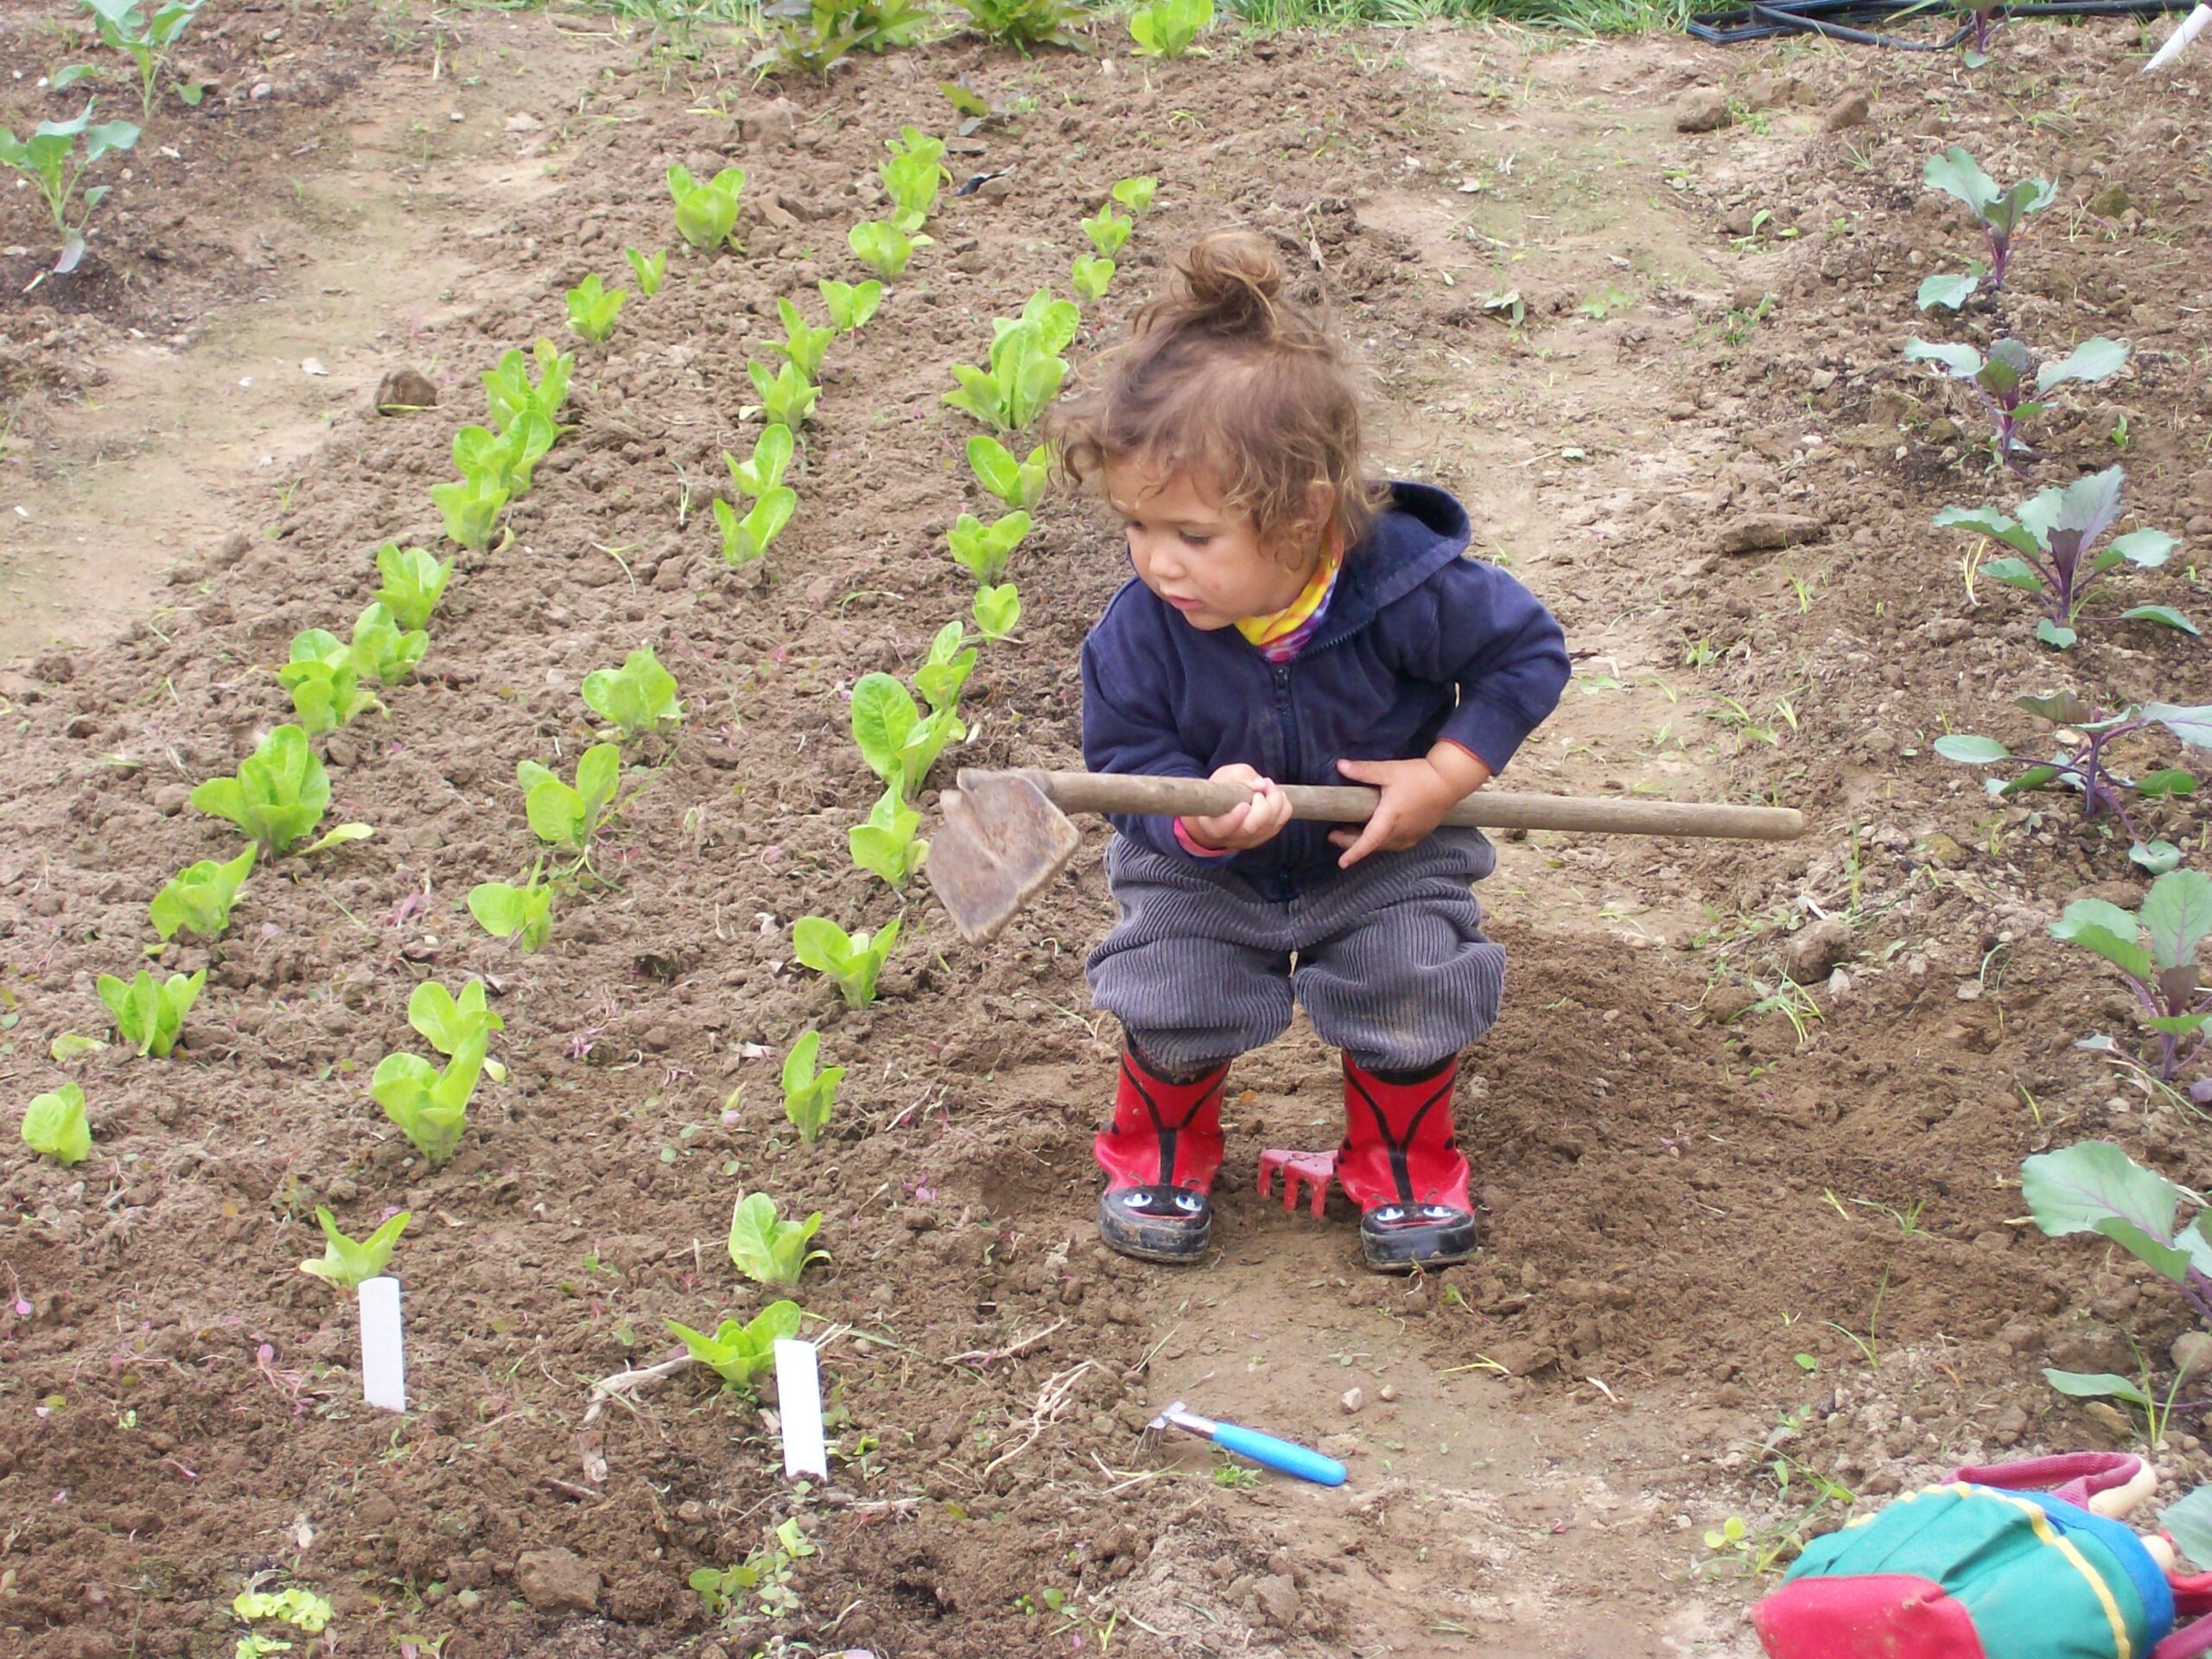
The weather is getting warmer! In zone 7a, we’re transplanting out bulb onions, and we’ll soon begin to transplant out cold hardy crops like brassicas. After you’ve grown healthy seedlings, how well your crops transplant will determine how quickly they adapt to the field, how healthy they are, and how soon they produce. Here’s how to transplant seedlings for a bountiful season. 

Hardening Off

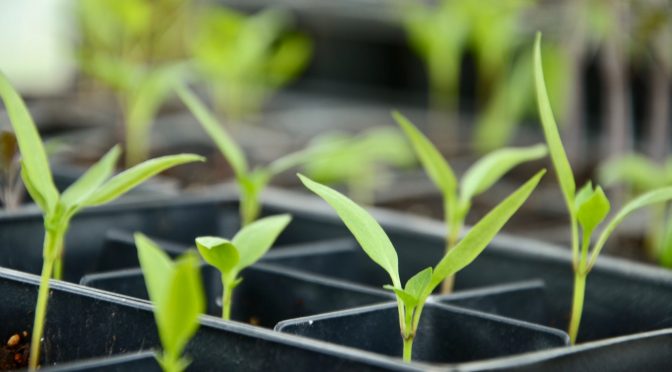
When we start seedlings indoors, we carefully control the conditions. Seedlings are grown under artificial lights and kept warm and moist. These conditions are ideal for starting seeds but are very different from the conditions seedlings will face in the field. As we get close to transplanting, we need to prepare our seedlings for field conditions in a process called hardening off.

Hardening off seedlings means slowly adjusting them to the light, moisture, temperature, and wind they’ll be exposed to. Generally, the longer you allow plants to harden off, the better. 

Hardening off seedlings means slowly adjusting them to the light, moisture, temperature, and wind they’ll be exposed to. Generally, the longer you allow plants to harden off, the better. At least a couple weeks before transplanting, we begin hardening plants off by moving them outdoors for a couple of hours per day, starting in a sheltered, shady location. We carry them back indoors at night. Gradually, we increase this time over the two weeks, exposing them to more wind, sun, and varying temperatures. If you do this too quickly, the sun and wind can burn the tender seedlings.

If it’s cold in your area, you can also use cold frames, greenhouses, and hoop houses to begin hardening off your seedlings earlier. While they’re still protected from wind and buffered from the temperature extremes, they will get more light exposure.

It’s also a good idea to adjust seedlings to the watering they will experience in the field. Rather than keeping the seedlings constantly moist, it’s a good idea to let them dry out some before watering. 

Choose Your Day Carefully

Even after adequately hardening off, transplanting is difficult on tender seedlings. We pull them from their pots, disturb their roots, and plunk them into the soil outdoors, where they’re exposed to natural conditions. You can minimize their stress by choosing an appropriate day to transplant. 

Ideal transplanting days are cool and overcast. Not having to cope with strong sun can help avoid wilt and encourage seedlings to adapt quickly and begin growing. If your schedule doesn’t allow for a perfect day, try to transplant in the evening. 

Child with a hoe in between rows of lettuce and cabbage seedlingsLoosen & Improve the Soils

We already covered preparing your beds in another basics post. Even with a previously prepared bed, I like to dig a slightly larger transplant hole than needed and loosen the soil. I also like to add a bit of fertility to the soil. Mixing a bit of compost or fertilizer into the bottom of the transplant hole can help give plants a boost. Stir it into the soil well to avoid burning the plant’s roots.

Transplanting Tips

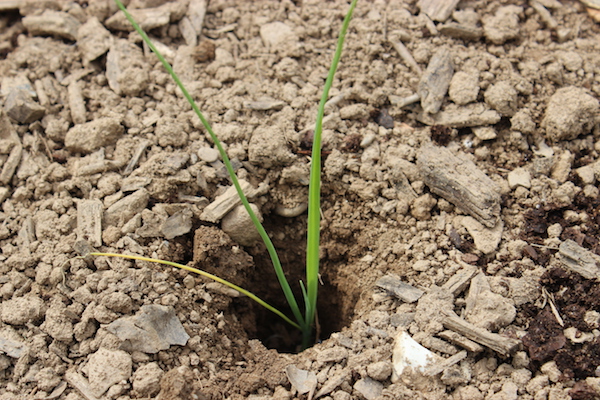
Once you’ve hardened off your seedlings, prepared your soil, and have a good day, it’s time to plant! You want to plant most plants at about the same level as they were in the pot, meaning that the soil is at the same level on the stem. 

However, you should plant some plants like tomatoes and leeks should deeper. Tomatoes can be buried up to their first leaves, and they will produce roots along the buried portion of their stem. Planting leeks deeply allows you to produce leeks with thick, blanched stems. If a crop is new to you, it’s a good idea to do some research to see what your plants like.

If your plants are root bound, gently loosen the roots a bit to encourage them to spread into the surrounding soil. If you’re using peat pots or a similar compostable pot, you may want to tear them a bit to help allow the roots through. If any part of the peat pot sticks above the planting 

Water Seedlings Well

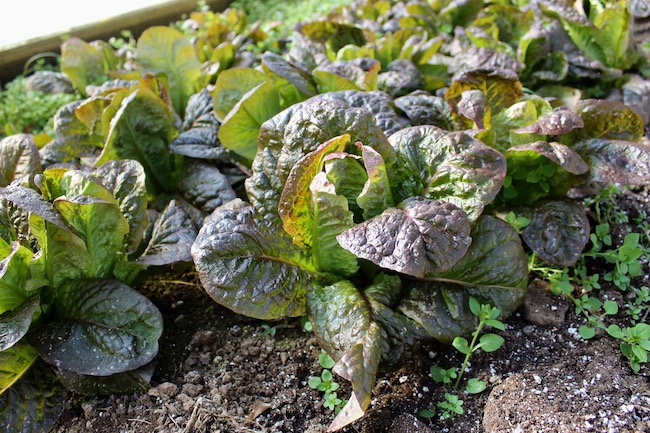
Thoroughly soak your seedlings after transplanting, particularly if the soil is dry. Keep up with watering consistently, especially while the seedlings adapt. If you’re watering by hand, try to avoid splashing soil onto the plants, particularly tomatoes and other crops susceptible to blight. Drip irrigation is ideal.

Mulch

Mulching around your seedlings can improve productivity and minimize labor. Mulching with old leaves, wood chips, straw, or other materials can help prevent weeds, retain moisture, and add organic matter. It also can help keep soil from splashing up onto the leaves. Soil splashing onto leaves is one of the ways soil-borne fungal diseases will infect plants.  

As we head into March in Virginia, it’s time to start transplanting. You can ensure healthy crops and a bountiful harvest when you take the proper steps when transplanting seedlings. 

Transplanting: 9 Tips for Success

This time of year is all about planting. We’re transplanting cabbages and broccoli this week in our zone, but soon it’ll be time to start setting out tomatoes, peppers, and other warm-weather crops. While transplanting is relatively straightforward, there are a few things you can do to ensure your seedlings grow successfully.

Hardening Off

The first thing you need to do is harden your seedlings off. Seedlings accustomed to the relatively stable conditions in your home just aren’t up to coping with the outdoors just yet. For best results, move your plants outside for a few hours each day, gradually increasing the time over a week or two. This process allows your seedlings to become accustomed to the sunlight, wind, outdoor air temperature.

Prepare Your Soil

Transplants do best when they have fertile, soft soil to grow in. You can prepare your bed by incorporating a couple of inches of finished compost and loosening the soil with a garden or broad fork. It’s also a good idea to dig a larger hole than your transplant needs and fill in around your plant with compost.

Choose an Overcast Day

Even though you’ve hardened off your seedlings, it’s best to plant them on an overcast day. Transplanting is a bit stressful for plants, and a lot of heat and sun can make it harder for them to recover quickly. If you have to transplant on a sunny day, you can use shade cloth or similar material to create a bit of temporary shade.

Water Before Planting

Ensure that your seedlings are watered well before planting, preferably paying extra close attention starting a day or two ahead of time. Dry seedlings will have a more difficult time recovering from transplant shock.

Newly transplanted leek.

Gently Break Up Roots

If you notice that your transplants are root bound, meaning the roots have formed around the container’s inside, it’s a good idea to break them up a bit gently. Gently pinch apart the bottom and sides of the roots in a few places. These breaks will encourage the roots to grow outward.

Proper Planting

For most crops, you should plant your seedlings so that the soil is at the same level as it was in the pot. However, tomatoes will grow roots from farther up their stem, so it’s helpful to buy them deeply. You can plant tomatoes so that their first set of leaves is just above the soil (if the first set is yellow or dying, remove it and plant up to the next set). Another exception is leeks which you should plant in a hole to create the nice white, blanched stems.

You can also give your plants a bit of extra help by creating a small basin around your transplant. The basin will help catch and hold water while the plant is young.

If you’re using peat pots or other pots that you plant into the ground, it’s essential to avoid leaving any sticking up. You may need to tear a bit of the top off the pot. Leaving any material such as peat pot or newspaper sticking out into the air can wick moisture away from the plant’s roots.

Press the Soil in Gently but Firmly

Once your plant is in the hole, you should gently but firmly press the soil around it. If you don’t press the soil in, you may leave air pockets around the plant, preventing root growth.

Give Your Plants a Boost

After you’ve got your transplants in, you’ll want to water them. If you can, it’s best to provide extra nutrients with the water. Liquid kelp or seaweed liquid fertilizer is excellent for this. You should follow package instructions, but you typically only add a tablespoon or two to every gallon of water. Alternatively, you can use mild compost tea. Water at the base of the plant and avoid pouring all over the leaves.

It Will Take Plants a Little While to Take Off

Don’t be worried if you don’t see a lot of new growth quickly. When you first plant your seedlings, they’ll be working hard to establish healthy root systems. This will happen before you get to see any foliar growth. However, once their roots are established, you should see good growth.

Spring planting is a fun time of year for many gardeners. It’s good to be out in the garden finally and starting to see plants on their way. Make sure that your seedlings transplant well this year by using these simple tips. Getting your plants off to a good start can help ensure a good harvest.

3 Reasons to Transplant Lettuce

Lettuce is a perfect crop for cool season gardening. The incredible array of varieties brings a colorful assortment to fall, winter, and spring meals. As you’re planting your fall crops there are a number of lettuces to choose from. You can sow loose leaf mixes, romaine, bibb, or crisphead lettuce. If you’re growing a heading variety you may want to consider starting your lettuce indoors and transplanting seedlings out.

  1. Better germination.

    Starting a fall garden often means seeding cool weather crops in hot weather. Starting seeds indoors, in a cool place typically means better germination rates. Lettuce doesn’t need light to germinate so you can set them in a basement or root cellar even if it’s dark until they germinate. Alternatively you can set them in the refrigerator for the first night.

  2. No wasted space.

    Having reliable, healthy seedlings means you waste less space in your garden. When you’re planting a fall garden you’re often dealing with restricted space, only planting what you have a cold frames, row cover, or a hoop house to protect. You also have a relatively small window to get crops started. Setting out transplants means that you can make the most of every square in of your garden. You won’t have patches where seed failed to germinate as we discussed above.

  3. More time.

    Having transplants started also means that that you have a little more leeway for when you plant. It’s essential to get fall crops started on time so that they get established before the temperatures drop.


Growing Transplants

Start your lettuce in flats or soil blocks of moist, quality potting mix. Keep them somewhere cool at least until they germinate. Once germinated your lettuce should be placed under lights or somewhere they get direct sunlight. Lettuce should be transplanted when the plants are between 2-3 inches tall.

Transplanting

You should harden off your lettuce plants 7-10 days before transplanting. Bring them outdoors for a few hours, increasing the length of time each day. Prepare your bed by loosening the soil and adding compost if available.

Plant your lettuce at the same depth as they were in the pot. Even if they’re leggy, don’t bury the stem. Lettuce stems won’t grow roots like tomatoes and some other plants. Water them in after planting and keep the soil moist especially as they get established. Be sure to have your season extenders ready to go in case of frost.