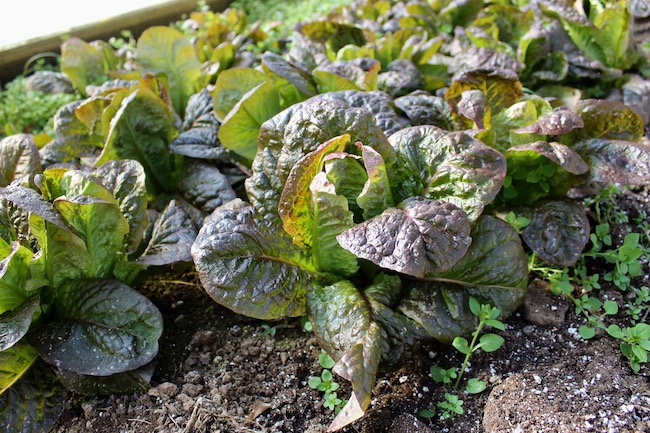
Lettuce is a perfect crop for cool season gardening. The incredible array of varieties brings a colorful assortment to fall, winter, and spring meals. As you’re planting your fall crops there are a number of lettuces to choose from. You can sow loose leaf mixes, romaine, bibb, or crisphead lettuce. If you’re growing a heading variety you may want to consider starting your lettuce indoors and transplanting seedlings out.
Better germination.
Starting a fall garden often means seeding cool weather crops in hot weather. Starting seeds indoors, in a cool place typically means better germination rates. Lettuce doesn’t need light to germinate so you can set them in a basement or root cellar even if it’s dark until they germinate. Alternatively you can set them in the refrigerator for the first night.
No wasted space.
Having reliable, healthy seedlings means you waste less space in your garden. When you’re planting a fall garden you’re often dealing with restricted space, only planting what you have a cold frames, row cover, or a hoop house to protect. You also have a relatively small window to get crops started. Setting out transplants means that you can make the most of every square in of your garden. You won’t have patches where seed failed to germinate as we discussed above.
More time.
Having transplants started also means that that you have a little more leeway for when you plant. It’s essential to get fall crops started on time so that they get established before the temperatures drop.
Growing Transplants
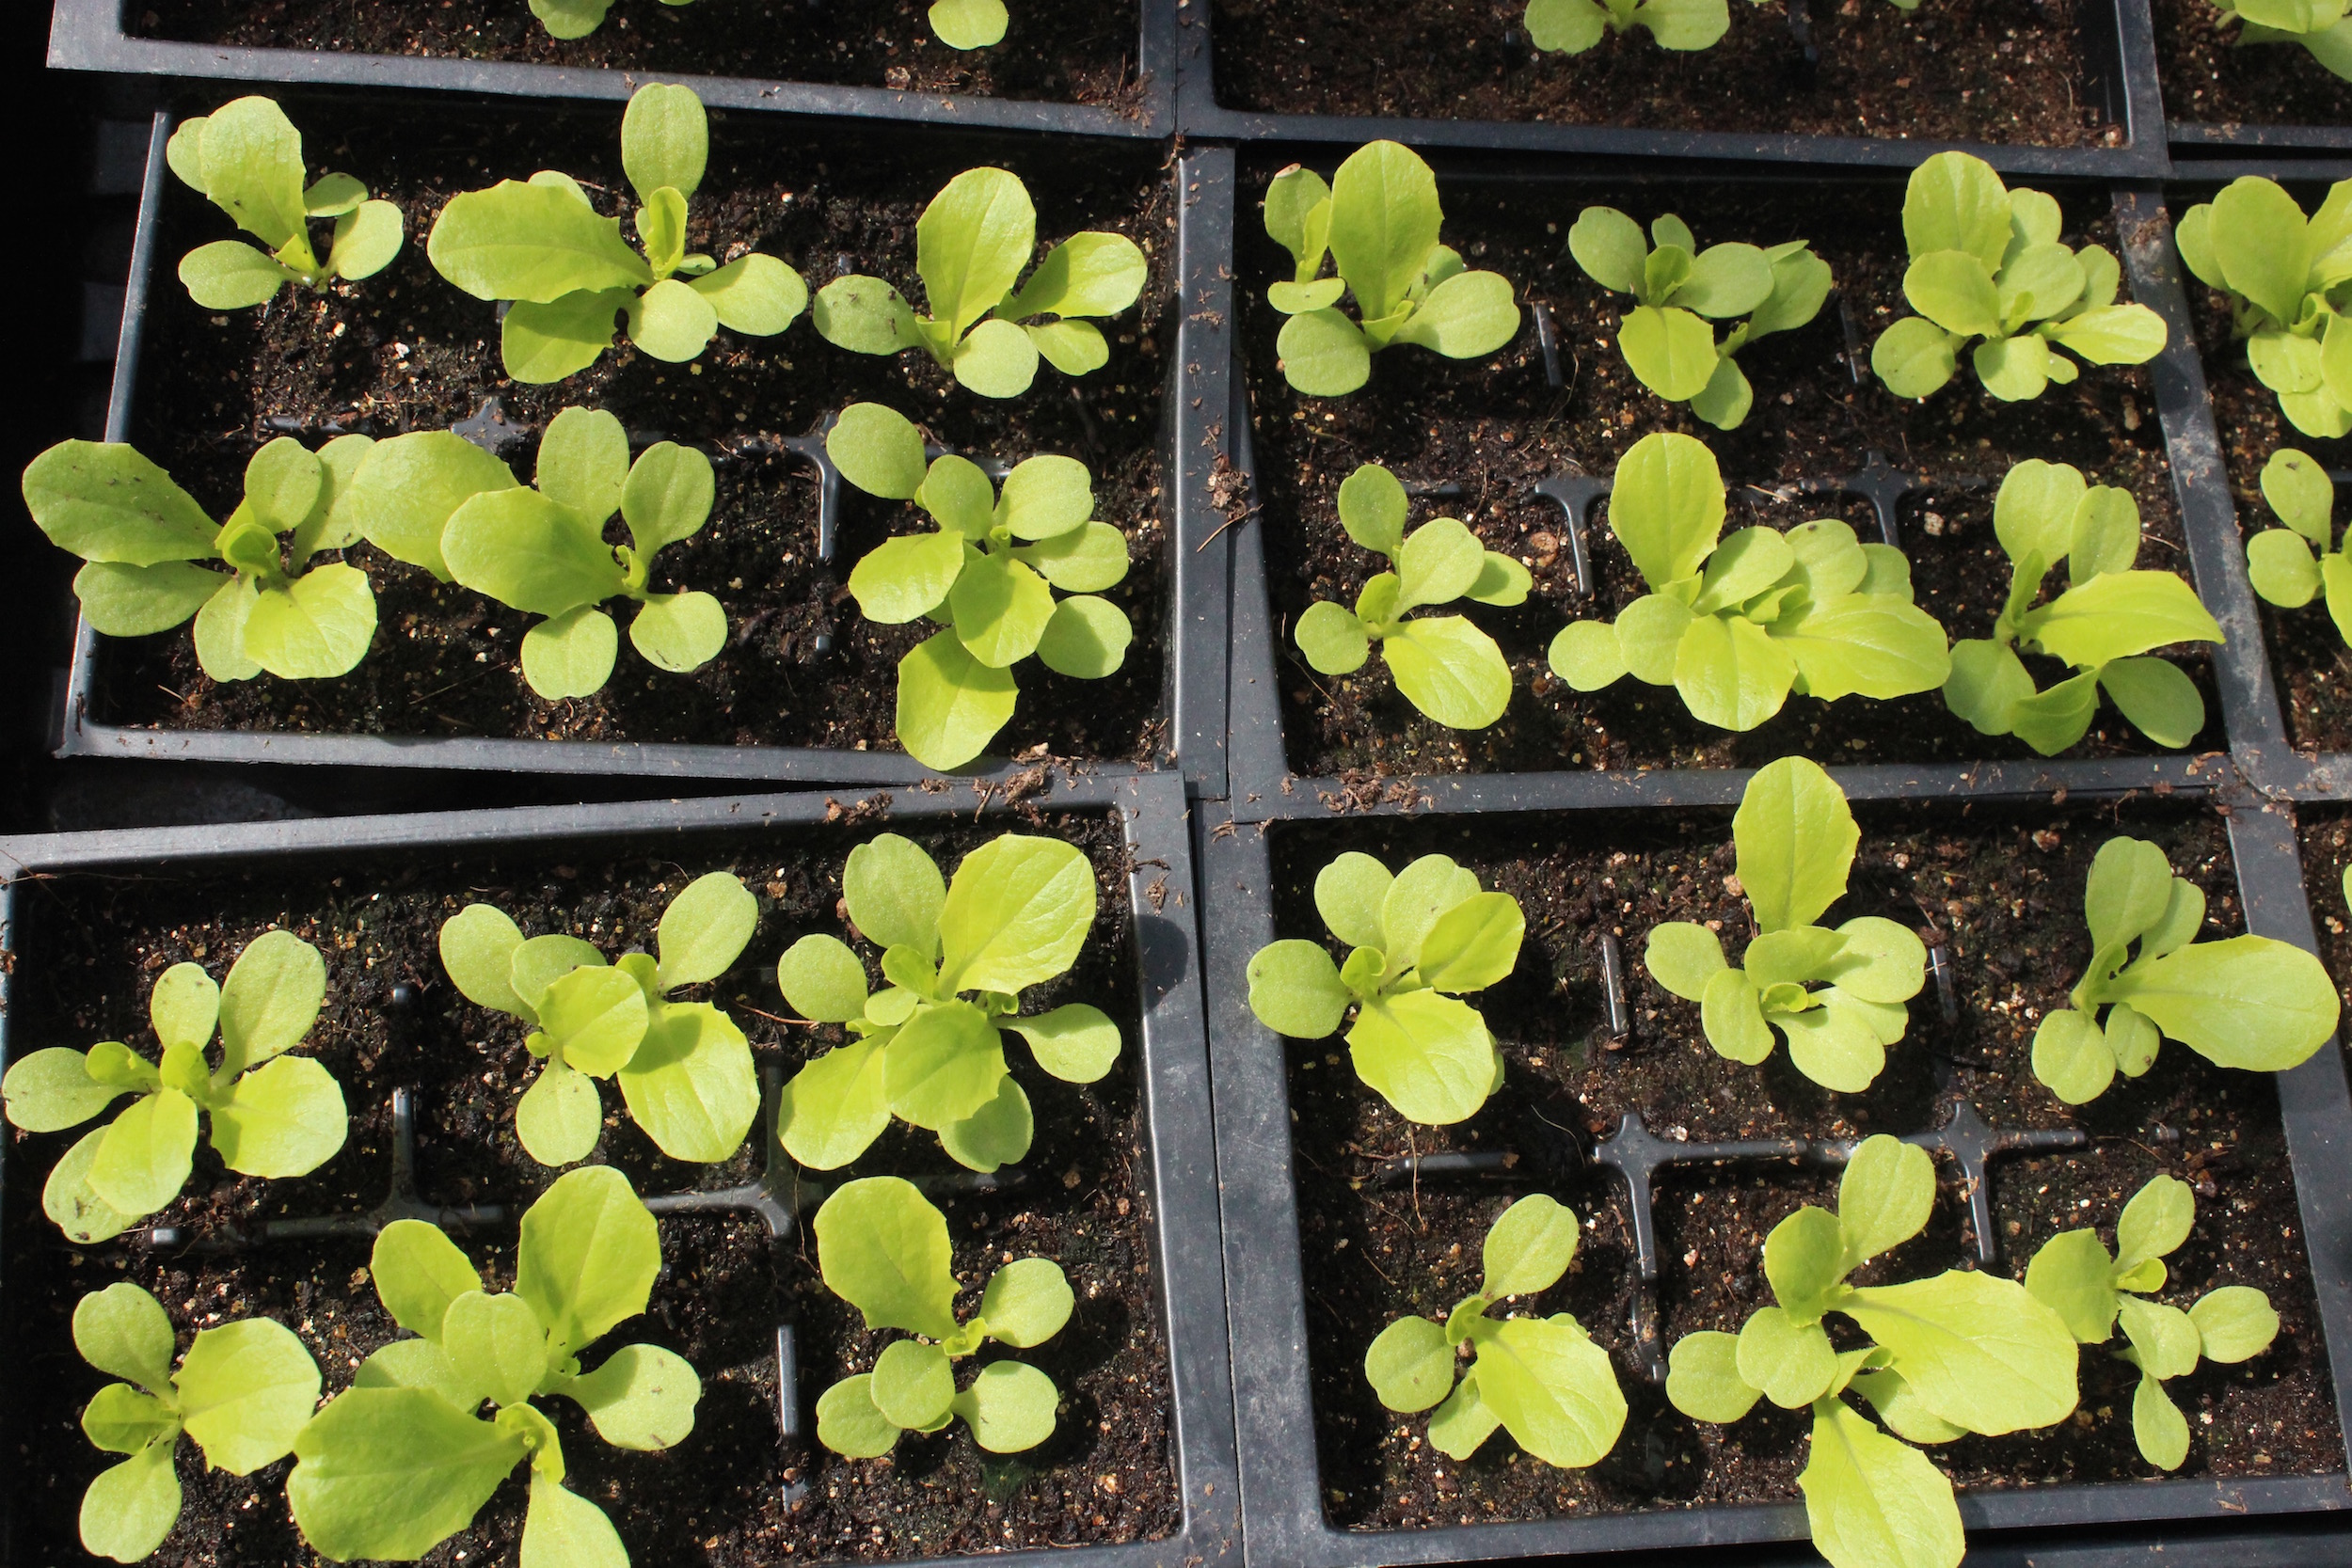
Start your lettuce in flats or soil blocks of moist, quality potting mix. Keep them somewhere cool at least until they germinate. Once germinated your lettuce should be placed under lights or somewhere they get direct sunlight. Lettuce should be transplanted when the plants are between 2-3 inches tall.
Transplanting
You should harden off your lettuce plants 7-10 days before transplanting. Bring them outdoors for a few hours, increasing the length of time each day. Prepare your bed by loosening the soil and adding compost if available.
Plant your lettuce at the same depth as they were in the pot. Even if they’re leggy, don’t bury the stem. Lettuce stems won’t grow roots like tomatoes and some other plants. Water them in after planting and keep the soil moist especially as they get established. Be sure to have your season extenders ready to go in case of frost.
So far this summer is promising to be a hot one. With the temperatures climbing and much of the east coast worrying about droughts like the ones they faced last summer a productive garden may seem like a mere dream. However there’s several easy tricks that can keep your plants cool, productive, and even lessen your water usage.
Install windbreaks.
Wind tearing through your garden can not only damage plants but also causes soil moisture to evaporate. The easy solution to this is to install or grow windbreaks in your garden. Windbreaks don’t need to be solid and stop all the wind. They can be quickly made from snow or pallet fencing. If you’d like living wind breaks consider tall annual crops, shorter perrenials that won’t shade your garden too much like berry bushes or dwarf fruit trees depending on your space, or hedge species. These should be placed perpendicular to the direction of the wind.
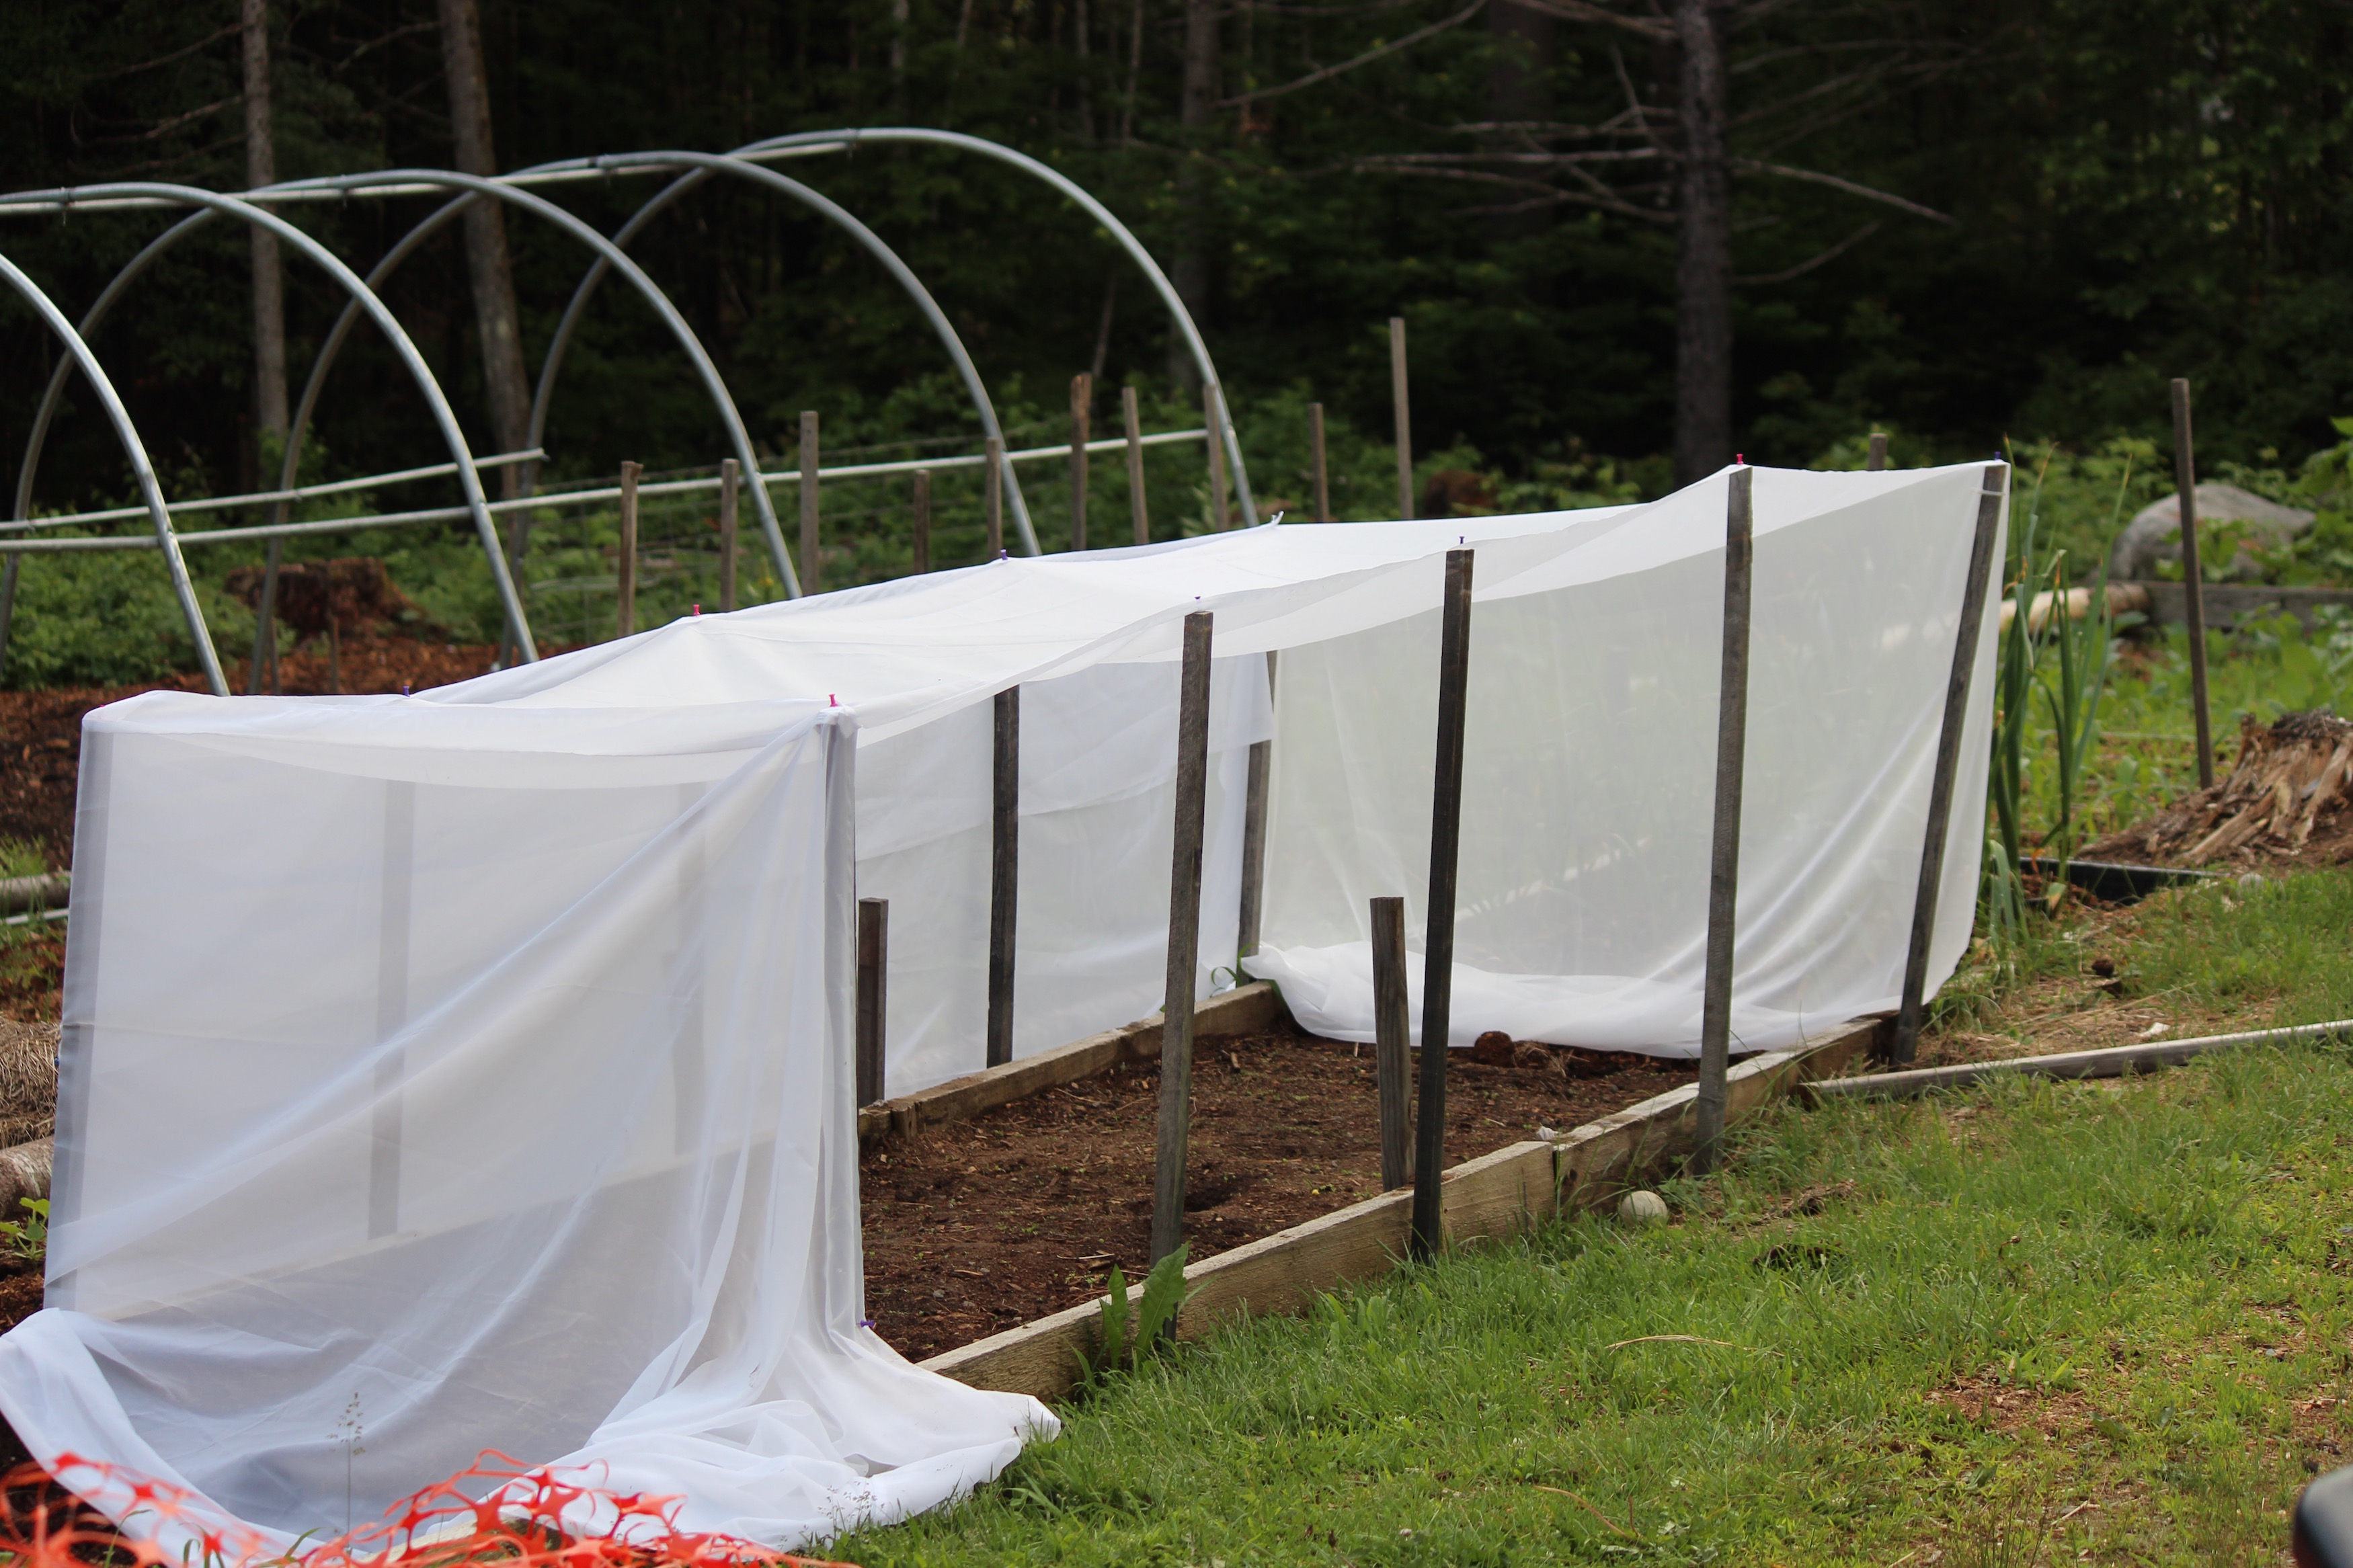
Invest in or diy some shade cloth.
Shade cloth can be super helpful for keeping those cools seaosn plants like peas and spinach producing longer. It can also be used over new new transplants that are adjusting to field conditions or seeds like lettuce that prefer cool soils to germinate.
Use a lot of mulch.
Mulch is one of the easiest ways to keep soil temperatures cooler and moisture levels up. Plus mulch cuts down on the weeding. Great mulch options include grass clippings, straw, hay, or old leaves all of which can be combined with cardboard or newspaper.
Water your garden consistently.
Your watering schedule will obviously be unique to your garden but you sould work hard to maintain moist soil conditions. Waiting for plants to start wilting before you realize it’s time to water harms your plants’ health and reduces your harvest.
Water at the right times.
Watering consistently is half the battle but you should also try to water at the best times of day. The early morning and evening are the best times to water. Less water is wasted waisted to evaporation because it has a chance to soak into the soil before it’s exposed to the mid-day sun and heat.
Practice interplanting.
Growing vining plants like watermelons, cucumbers, gourds, squashes, sweet potatoes, and nasturiums under taller plants like corn, sorghum, and sunflowers can help you make the most of your space and keep the soil cool. The vining plants will shade the soil, block weeds, and hold moisture once they’re mature enough.
Create a trellis for climbling plants like cucumbers or runner beans and then plant a cool weather loving crop in the shade they create. These trellises are often set up so they’re slanted to provide maximum shade.
Intensive planting is a principle of biointensive gardening. Plants are grown in beds, not rows and are often planted hexagonally. This style of planting maximizes space. Mature plants may touch leaves but still have plenty of room for their roots. They shade the soil reducing moisture loss and blocking weeds.
Note: planting intensively will work best with healthy soils as you’ll be growing more plants on less space.
Transplant at the right times.
If you’re transplanting crops into your garden it’s best to avoid the heat and sun as much as possible, for your sake and the plant’s! Transplant in the early morning, late evening, or on a cloudy day for best results. The plants will suffer less transplant shock that way.
Catch rainwater around your plants.
For transplants dig your hole a little extra deep and create a basin around each plant that extends outwards a little beyond the edges of the plant’s crown to funnel rainwater towards the roots.
For planting seeds dig your trench slightly deeper than necessary so that rainwater stills runs down into it even after you’ve covered your seeds.
If you’re feeling really productive go ahead and install some rain barrels on your gutters too!
Choose crops wisely.
Early Moonbeam Watermelon
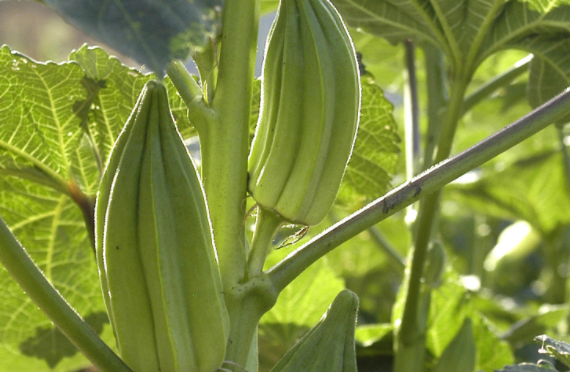
If you live in an area with hot summer temperatures it’s a good time to start direct seeding crops that can handle the heat. These include plants like watermelon, okra, roselle, lima beans, and southern peas.
Whenever gardening you should be thinking about keeping your soil and therefore your plants healthy. Doing maintanence work like crop rotation, cover cropping, and applying compost will keep your soil and plants healthy. Well nourished, disease free plants will tolerate the stress of hot weather much better than those already struggling.
Gardening is never easy but hot weather can be especially tough on you and your plants. Follow these tips for a healthy and productive garden even in hot, dry weather.
Ever wonder how your favorite local farm stand manages to have so much variety for such a long period of time? Farmers use succession planting to maximize their harvests and provide a wide variety of vegetables for a long season.
Succession planting is when you stagger plantings or plant multiple crops in the same area throughout the season. Each time a crop is finished you pull it and plant a new one. This allows commercial growers to reap large, continued harvests.
It’s not just for farmers though! Succession planting is super easy and great for backyard gardeners too. With a little extra planning you can get more production for your existing garden space.
Getting Started
Choosing Varieties
Almost any crop can be succession planted but different crops are succession planted for different reasons and offer different results.
Plants like corn, broccoli, and cabbage are often planted in successions to achieve more than just a single harvest. Many people also choose to plant successions of summer squash and cucumbers as just a few plants can produce a massive amount at their height of production.
Radishes, swiss chard, green onions, and carrots are great for planting multiple successions or sneaking in between plantings of other crops. They’re quick to grow and favored by urban gardeners and farmers.
Cool season crops are also good choices as they can be planted in the early spring or fall when hot weather crops won’t be taking up space in your garden.
Additionally you can select multiple varieties of crops with different harvest times. For example Golden Acre Cabbage takes just 62 days to harvest while Premium Late Flat Dutch is 100 days to harvest. Plant a little of both at the same time for different harvests.
Check out this post by Ira Wallace for more awesome ideas!
Planning
Succession planting is most successful when you have a good solid plan. To start you’ll need to know which crops you want to grow, their days to harvest, and the length of your growing season. Here at Southern Exposure we’re in zone 7 and have roughly 180 frost free days, plenty of time to get multiple successions of many crops.
Once you have these details you can start organizing your plantings. You’ll want your garden layout and a calendar or datebook. Alternatively you can try out the Southern Exposure Garden Planner.
Using your knowledge and tools you can judge the general times specific crops will be harvested and which one can be grown next in their place. To help avoid disease, pest, and nutrient issues avoid replanting the same crop in the same space.
If you’re not interested in a written plan just remember each time crop is harvested a new crop is planted. On the Facebook page we’ll continue to have what to plant this week guides which can help you decide which crops you should replant throughout the summer.
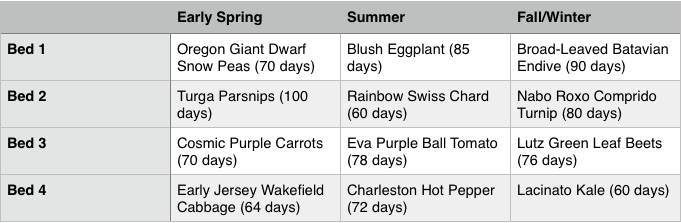
Example Combinations for Zone 7A
Staggered Planting
Succession planting can be tough especially if you’re someone who has huge springtime garden dreams but gets so busy by midsummer you barely remember where you planted the what let alone find time to harvest. Surprisingly succession planting can also help you keep your garden manageable.
One of the easiest ways to start succession planting is simply to not plant an entire crop all at once. For example if you want to have a bunch of sweetcorn throughout the summer rather than a single harvest simply plant a few rows every two weeks. This method is great for people who want to enjoy fresh produce but don’t necessarily have time to put up a large harvest. Of course you’ll need to be aware of your days to harvest and first frost date ensuring you give all your crops enough time to fully mature.
Cool Season Crops
Cool season crops are another great option especially for those with hot summers. Many plants like turnips, pak choi, arugula, and lettuce that prefer cool whether can be sown early in the spring and again in the late summer or early fall in order to reap a second harvest. In the summer, heat loving crops can take their place in the garden.
It sounds awesome but sowing crops late in the season in order to get a fall harvest can be tricky. For fall crops it’s important to keep the soil as cool and moist as possible if your planting in the heat of summer. Check out Tips for Sowing in Hot Weather by Lisa Dermer & Ira Wallace for more information.
You can also extend these crops’ season even further through the use of cold frames , hoop houses, and row covers.
Fertility
It’s important to note that growing more crops in the same space throughtout the season will use more nutrients. You’ll need to be careful not o over-tax your garden. Consider the use of crop rotation, cover crops, compost amendments, and homemade liquid fertilizers to meet your plants nutrient requirements.
All of these are fairly easy to achieve at home and can make your garden more productive while saving you money on pricey store bought garden amendments.
No matter why you got into gardening succession planting can help you turn things up a notch. You can use it to have less overwhelming harvests, enjoy more of your family’s favorite vegetables, grow more food, and even extend your growing season.
What’s your favorite crop for succession planting? Tell us in the comments!