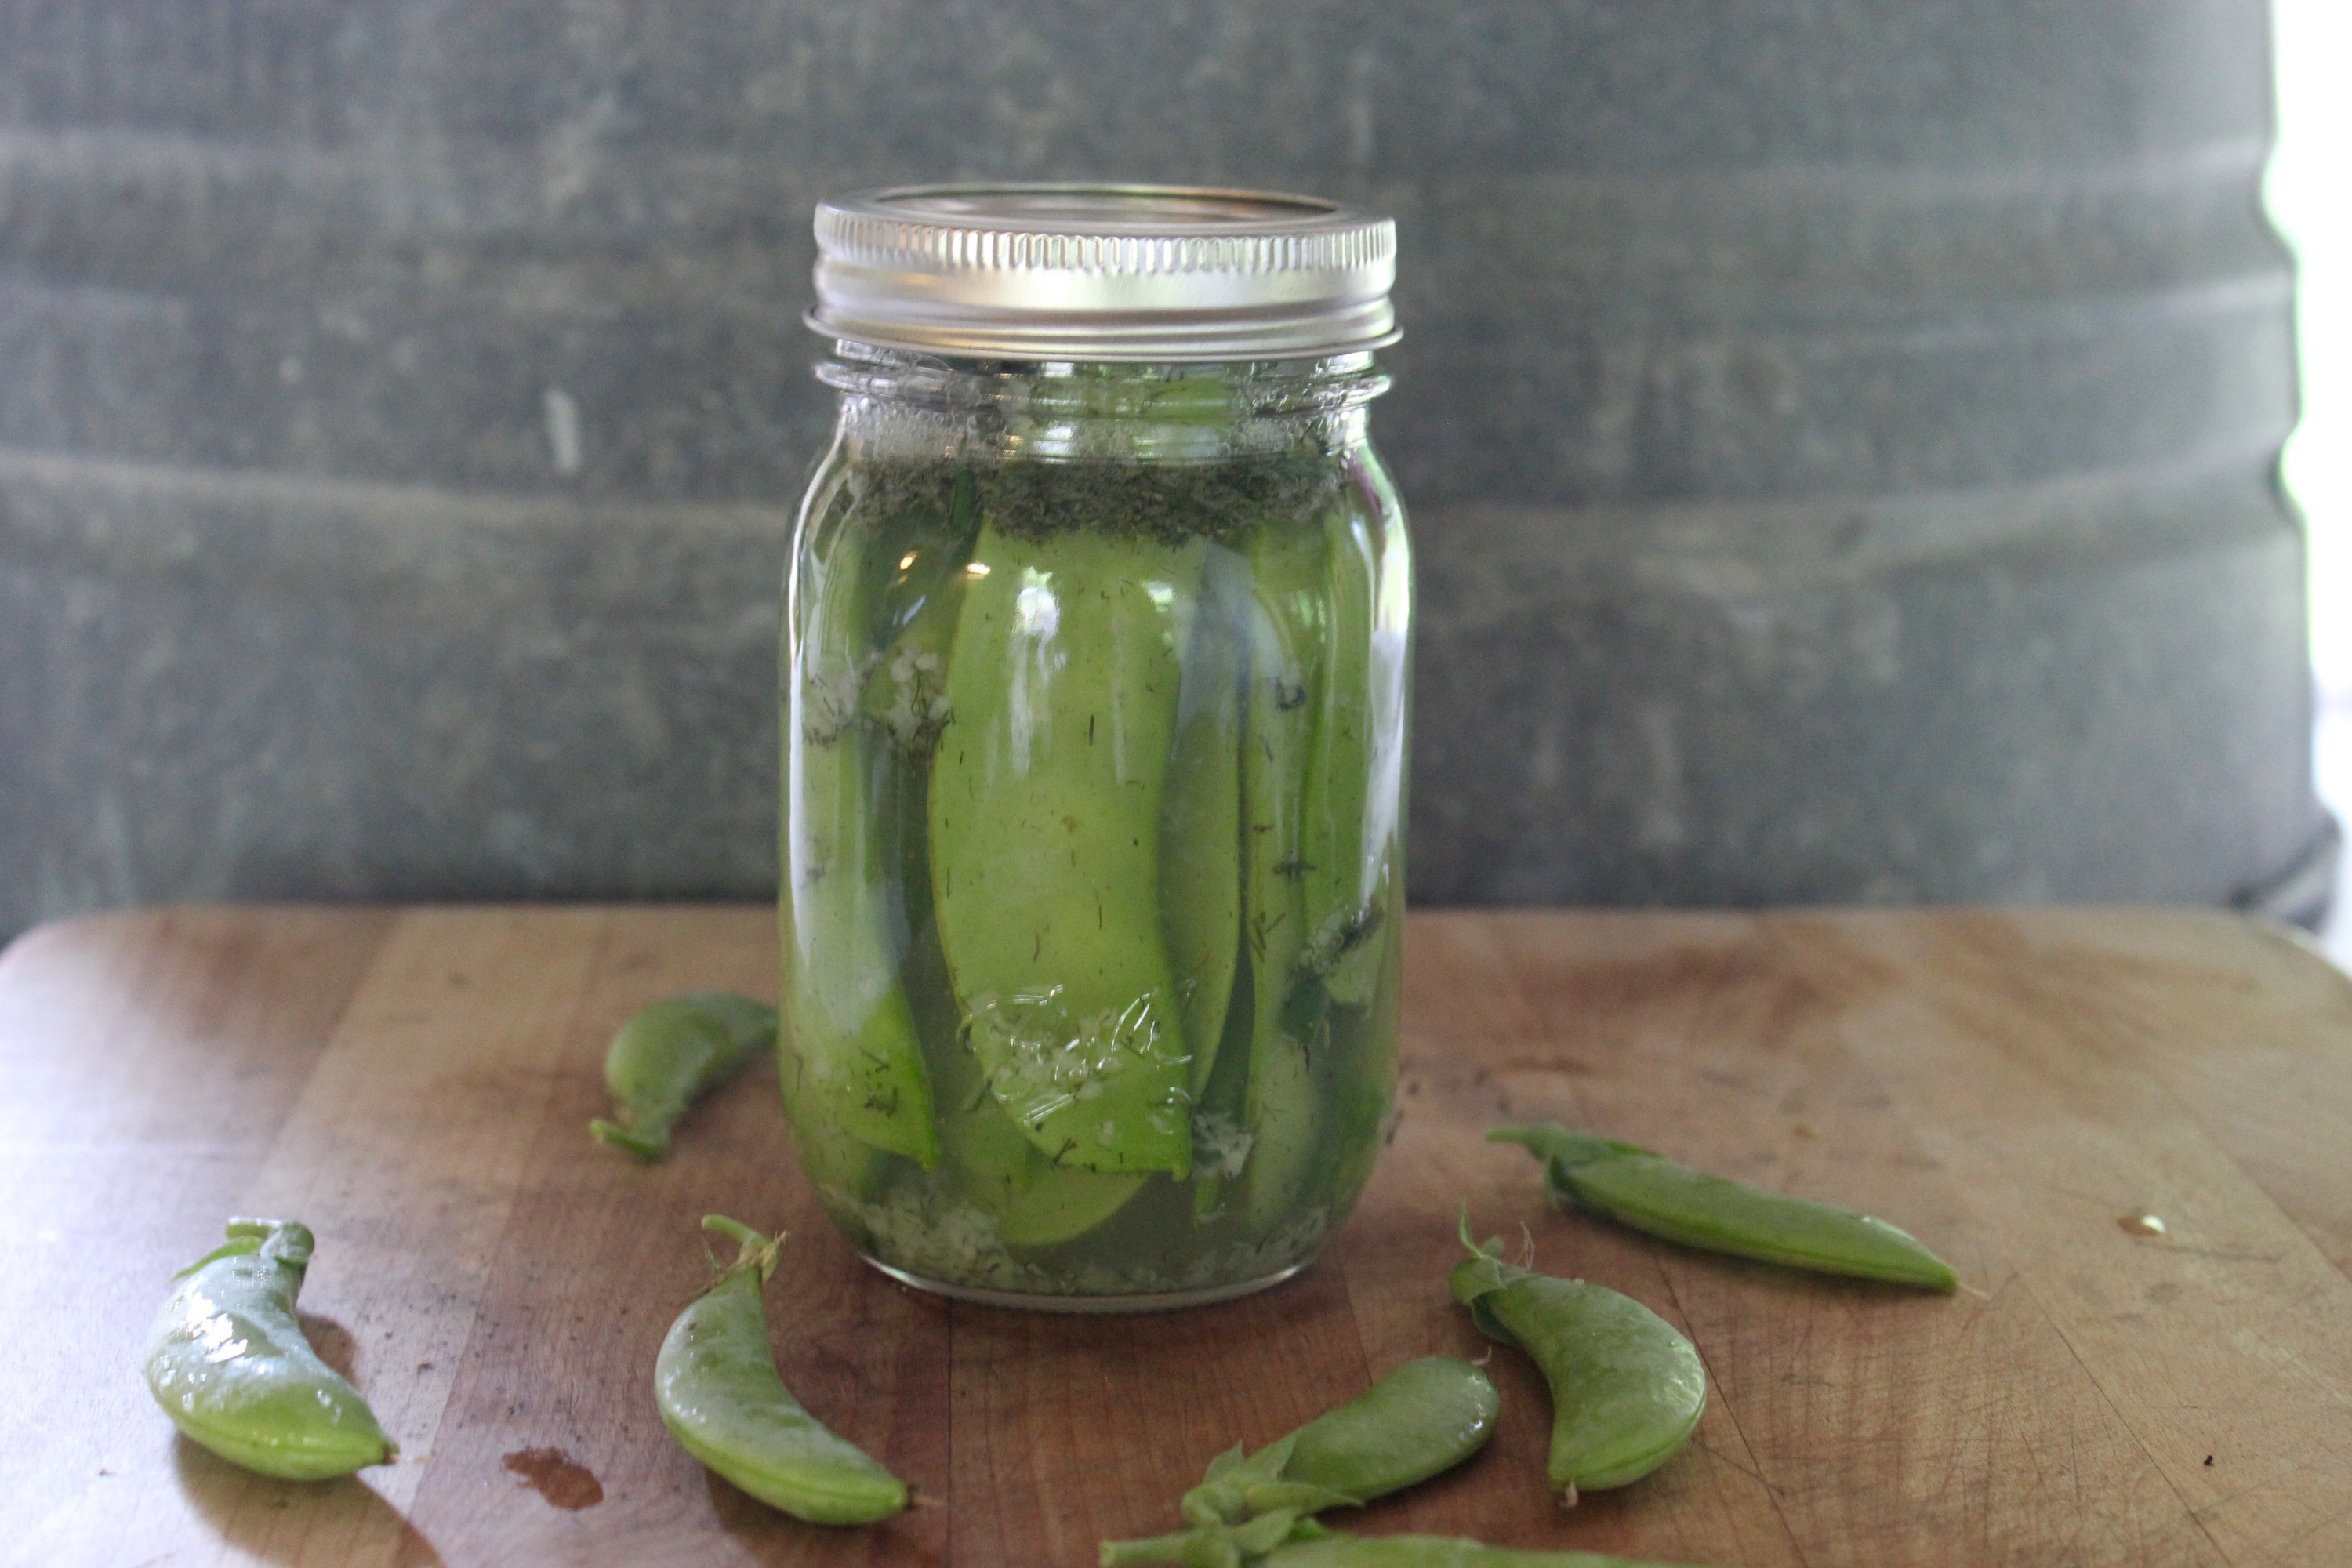
For those of you who don’t know, “quick pickling” is making refrigerator pickles instead of canning them. Refrigerator pickles don’t take as long to make and they’re quite tasty and extra crunchy!
Even though they aren’t canned refrigerator pickles can still last for months. Think about how long you’ve left an open jar of pickles in the fridge. The cool temperature combined with vinegar’s acidity is pretty great at keeping the bacteria at bay.
We’ve got a lot of snap peas coming in and while I freeze some I thought pickled snap peas would be a great idea. The savory dilly flavor mixed with the sweetness of the peas is actually pretty perfect. I didn’t want to can them though because I’m afraid they’d lose their crunch.
Supplies
1 1/2 cup white vinegar
1 1/2 cup cold water
1 TBS pickling or kosher salt
1 TBS white sugar
2 good sized garlic cloves
2 sprigs of fresh dill (or 2 tsp dried dill)
other seasonings *optional*
non-reactive pot
1 quart or two pint jars
canning funnel *optional*
First harvest and wash your snap peas. It’s best to use peas that are as fresh as possible and if you’re harvesting to do so in the morning or evening, not under the afternoon sun.
In a non-reactive pot heat the vinegar, salt, and sugar until dissolved. Remove from heat and add cold water. Let it sit until it’s about room temperature or cooler (I stuck mine in the freezer for a couple minutes).
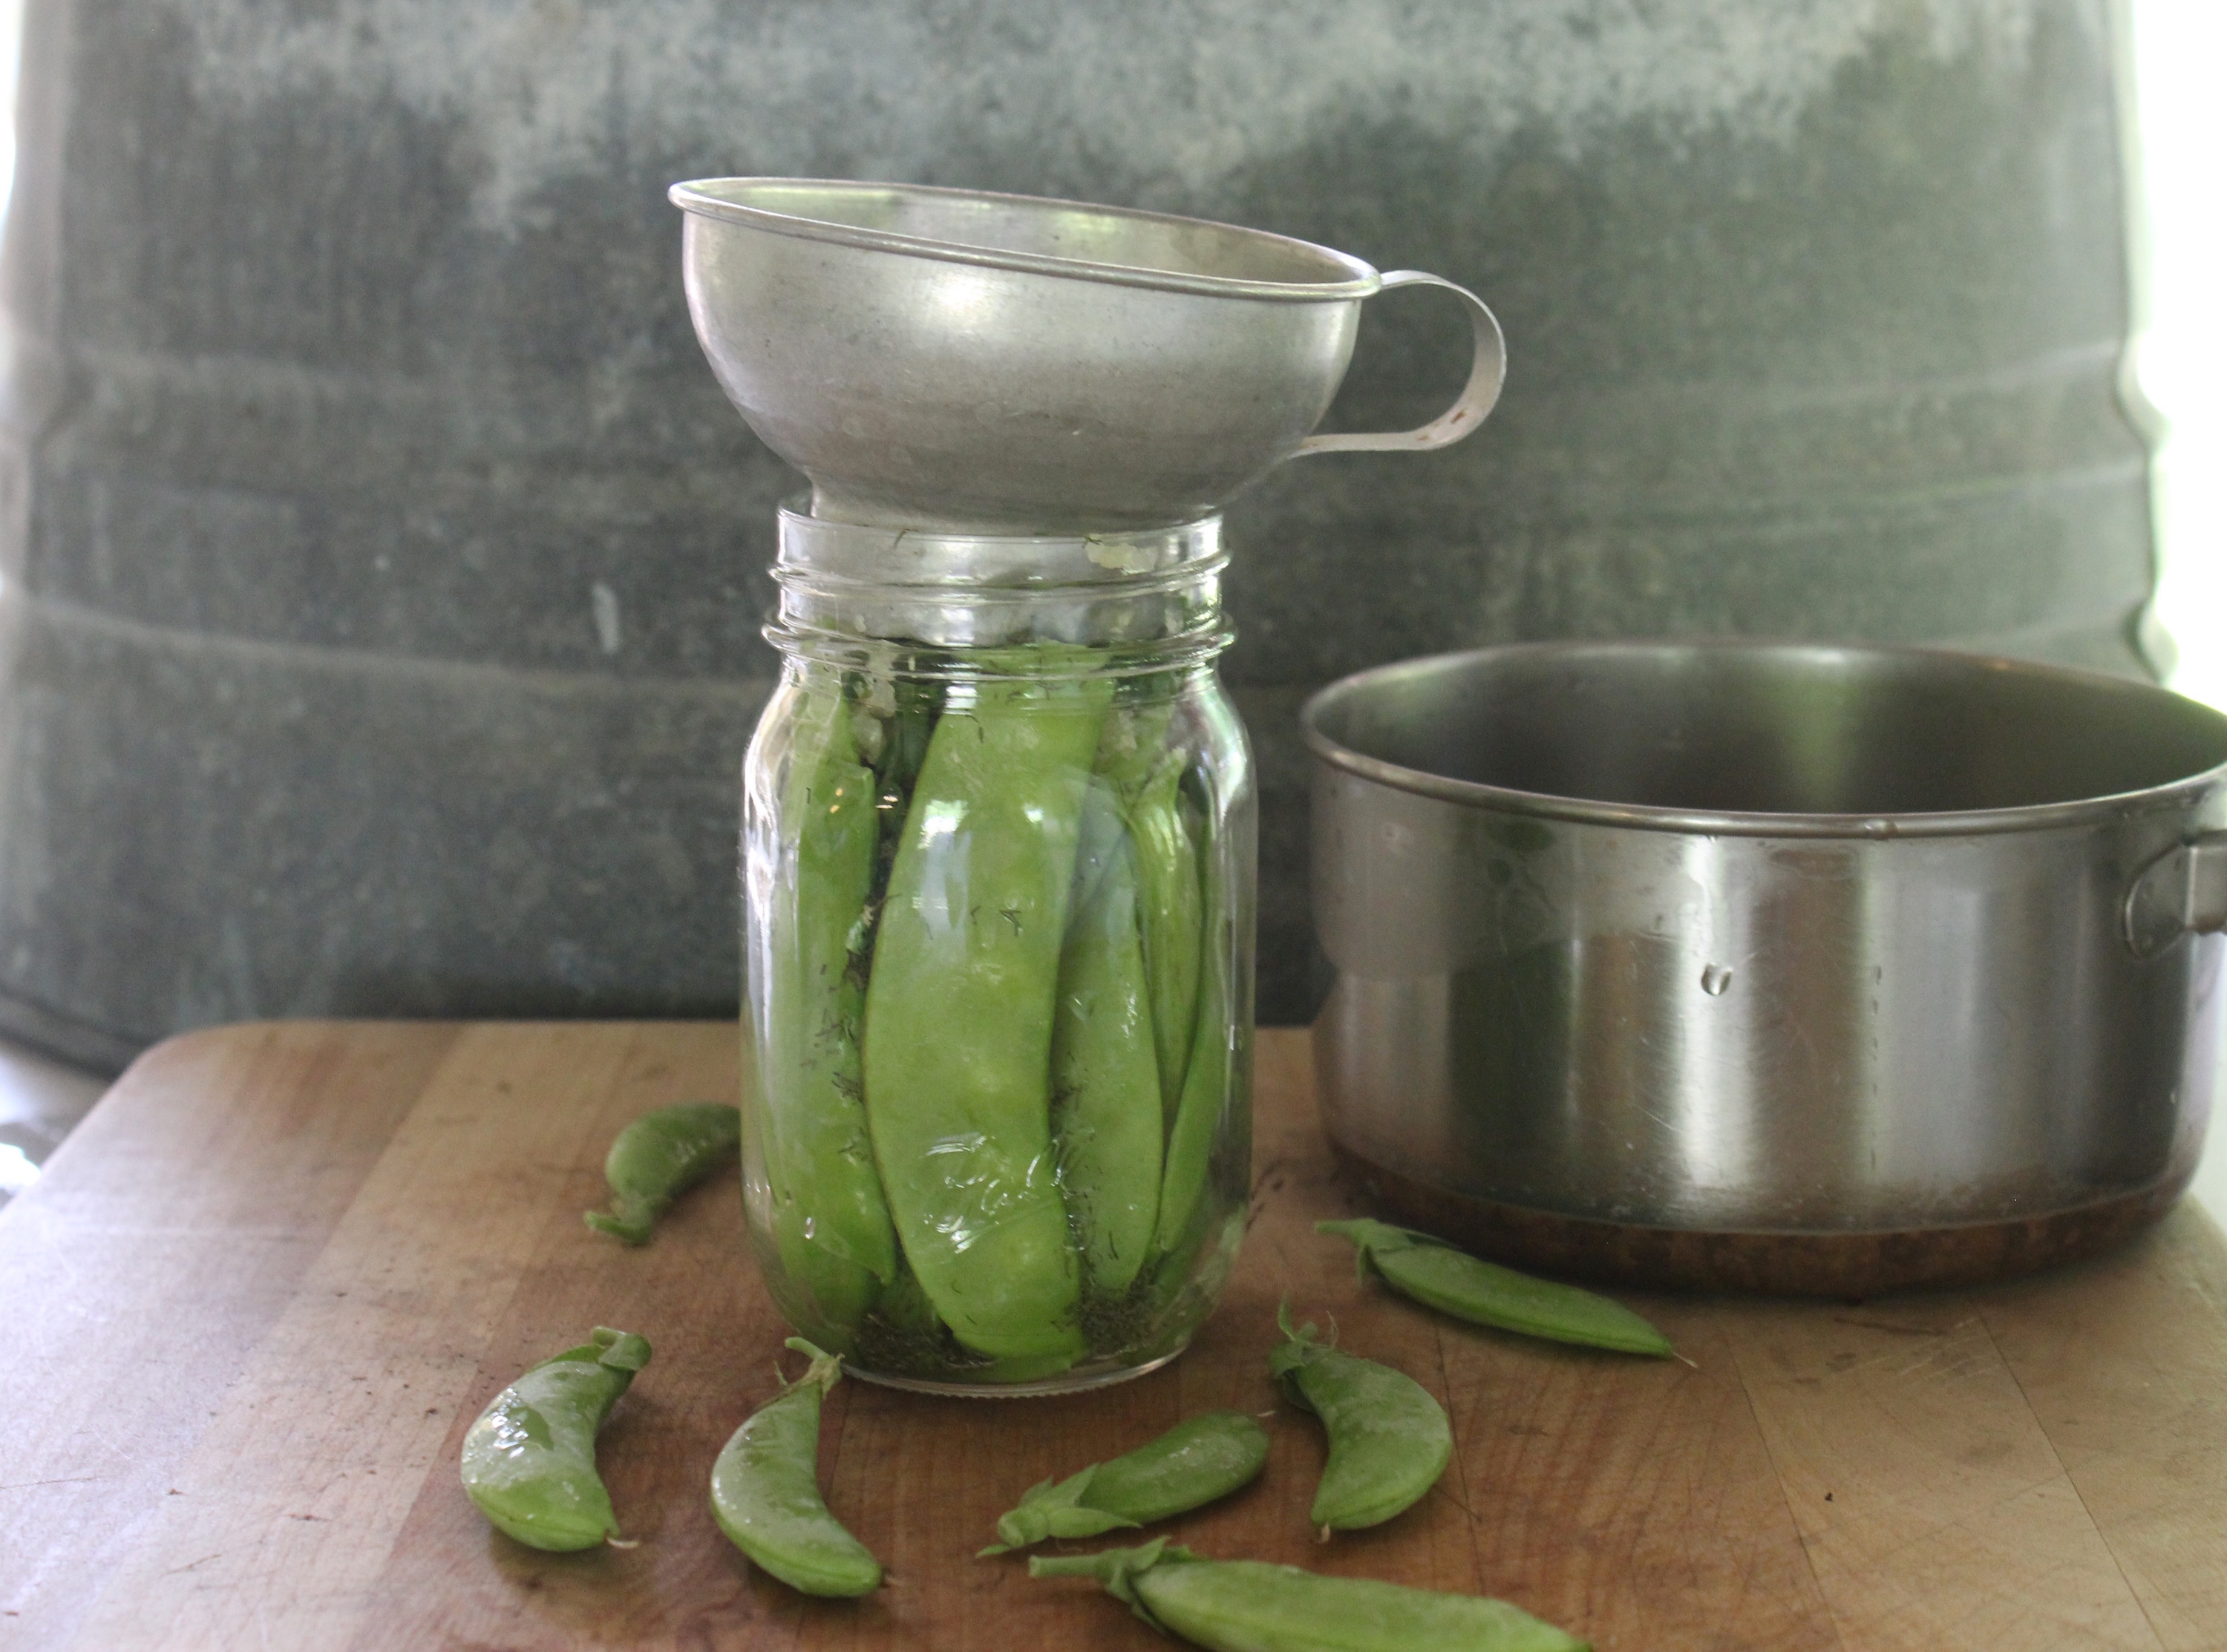
While it’s cooling pack your jar(s) with the peas and your preferred seasonings. Then pour your mixture into the jar(s) to cover the peas, add a lid, give a good shake and toss in the fridge.
Let your pickles sit in the refrigerater to marinate for at least 3 days. This will ensure they soak in all that delicious brine.
A few notes:
Non-reactive cookware is made from stainless steel, glass, or enamel coated metal. It’s prefered for pickling because other types of cookware like aluminum or copper might react the acidic vinegar and give your pickles and off flavor.
The seasonings for this recipe can safely be played with. You could try adding some spice with a hot pepper or red pepper flakes or go for some bread and butter type pickles. I added some chives to mine. Feel free to play around.
If you have extra brine or just want to try something else this works with many vegetables like cucumbers, sliced radishes, or onions.


