Tag Archives: nitrogen fixation

Red Clover: A Cover Crop & Herb

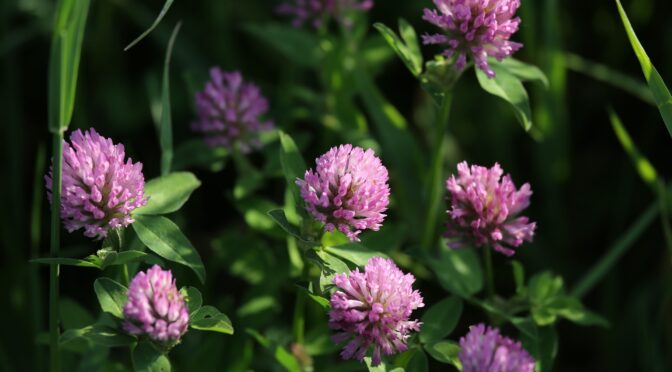
Red clover (Trifolium pratense) is an herbaceous biennial plant native to Europe that has naturalized throughout North America. While some consider red clover a weed, herbalists, and gardeners recognize its value. This beautiful plant is excellent for soil and human health. Here are some of the reasons we’re big fans of red clover and how we use it. 

Red Clover as a Cover Crop

Red clover is a nitrogen-fixing cover crop. It’s an excellent choice for adding green manure to build up soils and a good nectar source for some pollinators. You can sow it in fallow fields, pathways, and small openings to help suppress weeds. 

You can sow red clover in early spring, late summer, or fall as a winter cover crop. It can be a little slow to establish, so sow clovers at least 40 days before your average first frost.

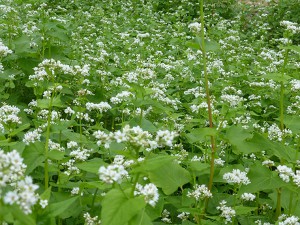
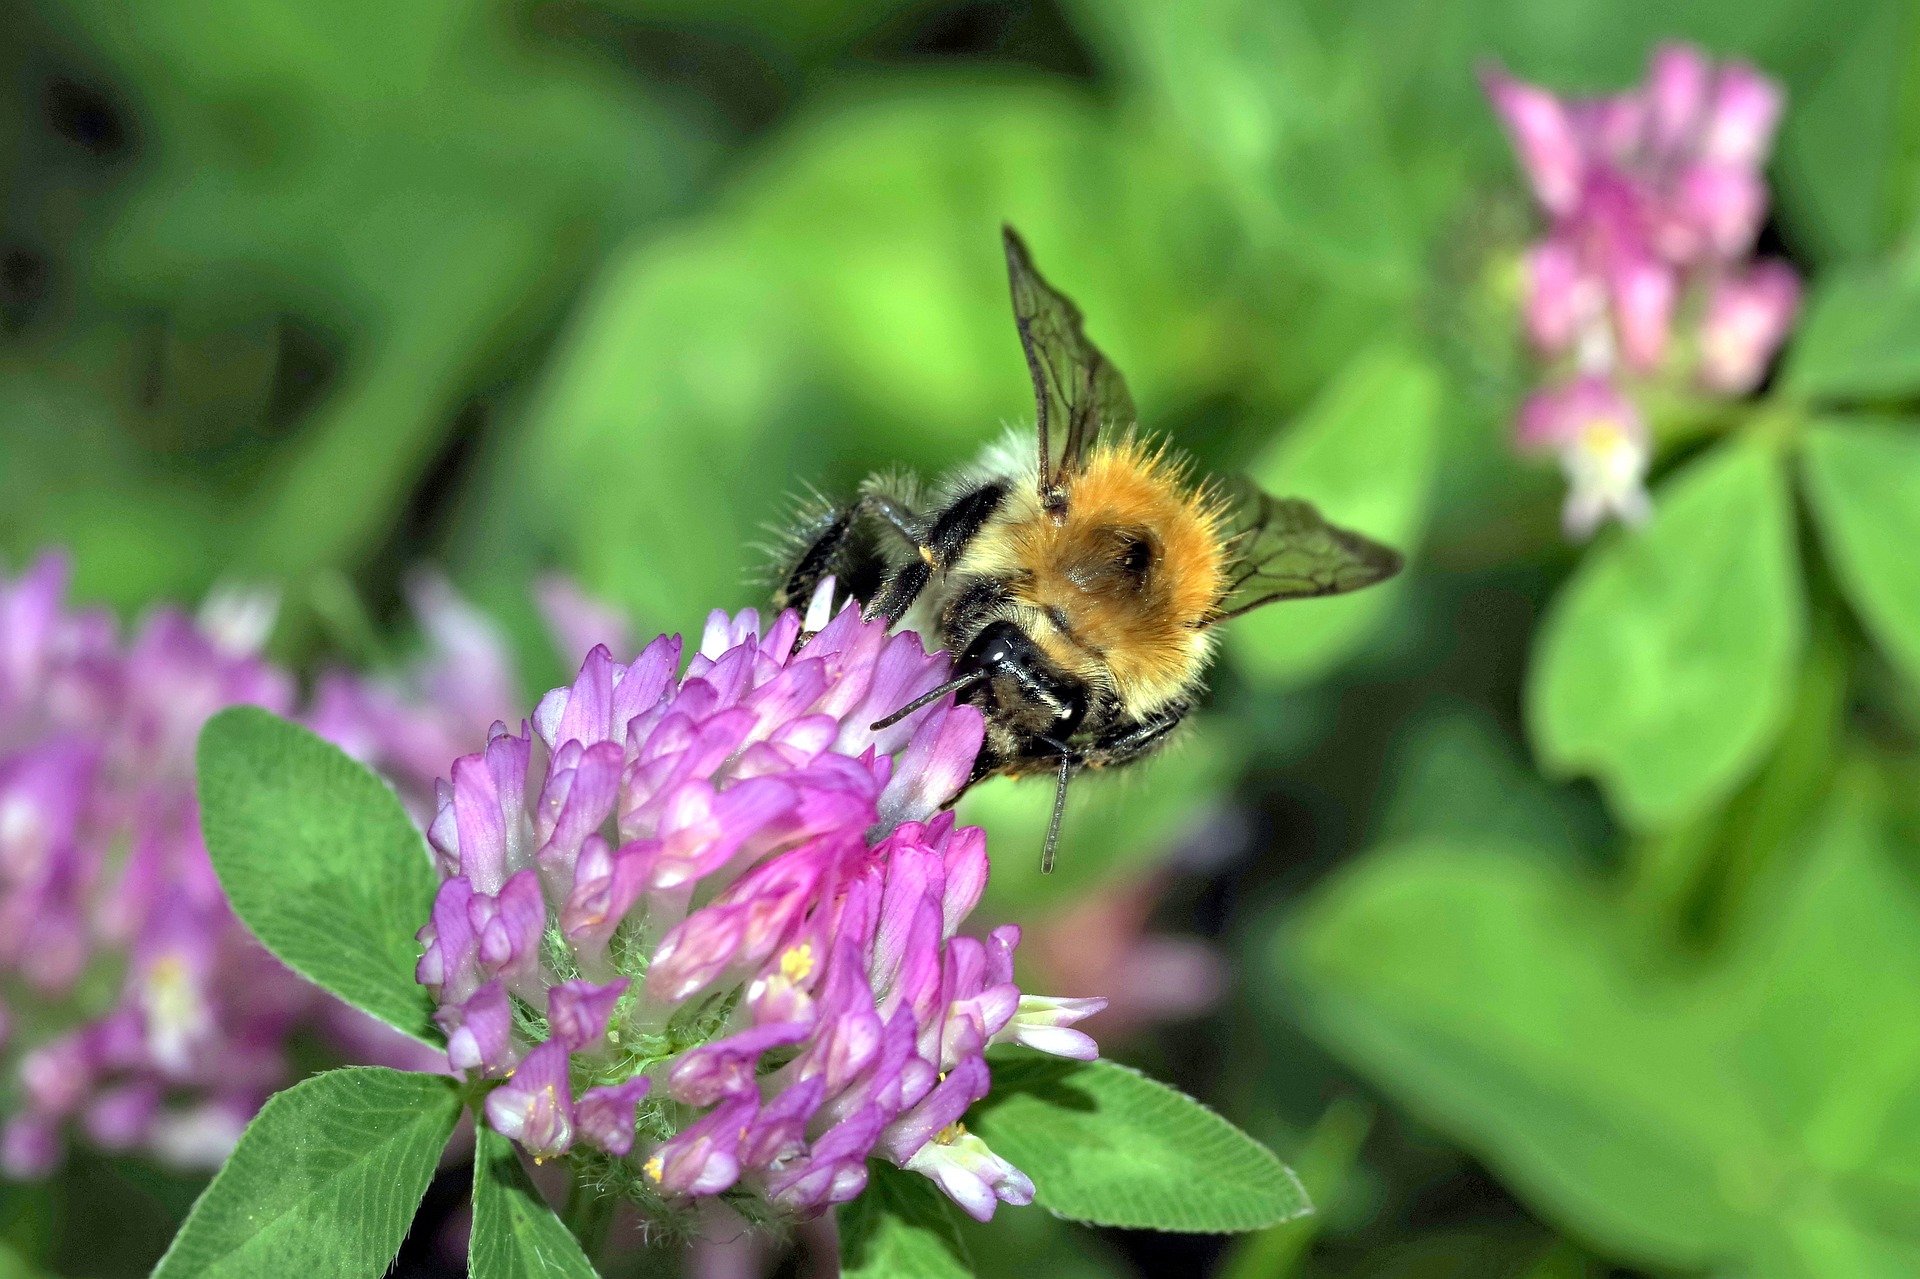
Consider using buckwheat as a nurse crop if you’re sowing red clover during the hotter months. The clover will grow slowly under the buckwheat until fall frost kills the buckwheat, allowing the clover to establish quickly without the need for fall tilling.Bumblebee on a red clover blossom
Red Clover in Herbal Medicine

I’m not a doctor. This article is for informational purposes only. Consult a physician or clinical herbalist before using herbal remedies to treat any condition. 

Herbalists have used red clover for centuries to treat a wide range of conditions, from menopause to whooping cough. Many of its uses revolved around female health. Modern science is beginning to explore the properties of plants, including red clover. While further research is needed, red clover tea and tincture may have a few potential benefits.

Benefits of Red Clover

  • Red clover contains phytoestrogens, which can mimic estrogen in the body.
  • Red clover may reduce osteoarthritis symptoms related to menopause. A 2015 study of 60 women found that taking red clover extract over 12 weeks reduced bone mineral density loss in the spine.
  • In another study of 109 postmenopausal women, participants reported skin and hair texture improvements after taking red clover extract for 90 days.

Further research is needed in all of these cases. Don’t use red clover if you have a hormone-sensitive condition like breast cancer. 

Harvesting and Using Red Clover

Beyond its health benefits, red clover is also just an enjoyable herb to use. Both the leaves and the flowers are edible. Some of you may remember pulling the pink blossoms from the flowerhead and eating them as a kid. 

The leaves, which have a mild bean-like flavor, can be added to salads. The blossoms, which are sweet, can be used in tea, baked goods, or salads. It’s best to break them up or pull the tubular flowers from the flowerhead, as whole flowerheads can be dry and tough to chew.

Harvest leaves and flowers that look fresh and are free from dried, brown spots. Remember to leave some blooms for the pollinators, especially if you’re harvesting from wild patches.

Three glasses of summertime herbal iced tea with red cloverRed Clover Tea

Making red clover tea is simple: Pour about 2 cups of boiling water over about 1/4 to 1/2 cup of fresh or dried red clover blossoms and let it steep for 10 to 15 minutes. You can also let it cool and pour it over ice to make a fun summertime herbal iced tea. 

Red clover mixes well with other flavors. Feel free to experiment with adding lemon balm, mint, white clover, chamomile, or orange slices to the mix and sweeten with honey or maple syrup to taste.

Red Clover Tincture

Using the folk method, you can make a basic red clover tincture with fresh or dried red clover blossoms. All you need is a few simple ingredients and some patience. 

You simply place the blossoms in a glass jar and cover them with 80-proof alcohol. Then, keep the tincture somewhere dark for 2 to 6 weeks, shaking it once a day. After this period, you can strain it and begin using it.

Be sure to check out our complete instructions for Folk Method Tinctures.

Red clover is a fun herb to grow and use. Try growing it as a cover crop in your garden this season and enjoy its many soil health, culinary, and herbal benefits. 

Cover Crops for Great Green Manure, Mulch, and More

By Ira Wallace

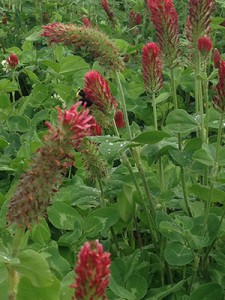
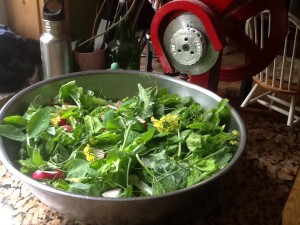
Warm weather and late April rains have our fall-planted crimson clover, winter rye, and Austrian winter peas growing like weeds and just starting to bloom.  As an edible bonus, the winter peas gave an abundance of sweet pea shoots to add to salads all winter and spring. The bright red flowers of crimson clover provide much-needed pollen and nectar for pollinators and other beneficial insects in spring.

To select the best cover crops for your garden, consider which functions are your priorities, the time of year, and how long the cover crop will be in the ground. Cover crops are important tools all year for filling in gaps between crops while also preventing soil erosion, suppressing weeds, providing habitat for pollinators, and improving fertility. Some even provide an edible bonus, for you and for pollinators. Here are some cover crop favorites in the Southeast.

Winter Nitrogen Fixers – soil fertility out of thin air.

  • red-Clover-2-GryphonClover (crimson, white, and red Sow clover six to eight weeks before your average first frost date. Clovers fix nitrogen in the soil and thus boost nitrogen for next spring’s garden. Mow one or two times when about half of the crop is flowering. Allow the residue to decompose for at least two weeks before planting vegetables.
  • Hairy Vetch– Sow hairy vetch six to eight weeks before the average first frost date. This vine-like, vigorously-growing, cold-tolerant, winter-hardy, annual legume adds nitrogen and builds soil organic matter. Hairy vetch grows well in cereal grain mixtures and is an excellent spring weed suppressor.
  • Pea shoot and Brassica Flower xaladWinter Peas (Austrian)– Sow winter peas four to six weeks before the average first frost date. Sometimes called “black pea” and “field pea”, this is a cool-season, annual legume with good nitrogen-fixing capabilities. Usually planted with rye, oats, or barley to reduce the chance of winter kill. Cut and turn under at full bloom for maximum nitrogen.

Winter Soil Builders and Subsoil Looseners – for the surface or deeper down.

  • Winter Rye (Cereal Rye)
    Sow winter rye six weeks before the average first frost date and up to two weeks after. A cold-hardy crop, winter rye will grow well into the spring. Winter Rye increases soil organic matter as it decomposes. Mow one to two times when at least 12 inches tall, or when half of the crop has immature seed heads. Allow residue to decompose for at least two weeks before planting vegetables.
  • Oats – Sow oats eight to ten weeks before the average first frost date. Oats are killed by the hard frosts. They form a winter surface mulch, preventing erosion and increasing soil organic matter as they decay.

Edible Cover Crops

Traditional gardeners in the Southeast plant a big bed of winter greens (turnips,  mustards, kale, and collards) to keep the garden covered and provide fresh eating until spring.  Plant this beautiful edible greens cover crop in August or September to build organic matter and provide healthy meals all winter long. Try a mixture of the old Southern favorites and contemporary choices like Seven Top turnip, Lacinato kale, Red Russian kale, Southern Giant Curled mustard greens, and Tatsoi.

If you are in the upper South or in the mountains, cover your winter greens with row cover or plant in a cold frame for winter harvests. Left uncovered in cold winters, the leaves will be too damaged for good eating, but you’ll have fresh new growth in early spring if winter lows aren’t too bad.

For more reason to plant cover crops read our Cover Cropping for Unpredictable Weather


Warm Season cover crops and filling in the summer gaps

  • Sorghum-Sudan Grass hybrid Plant in spring and summer, beginning after the soil has warmed and up until six weeks before first frost. This hybrid is unrivaled for adding organic matter to worn-out soils. These tall, fast-growing, heat-loving summer annual grasses can smother weeds, suppress some nematode species, and penetrate compacted subsoil.


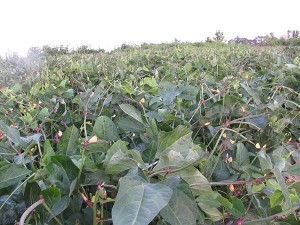
  • pink-eye-purple-hull-webSoybeans (Edamame) and Southern Peas (Cowpeas)
    Plant in early summer through mid-summer, between spring and fall crops. Mow before pods have formed or when pods are still green and have not matured. These legume family plants can fix nitrogen for an added bonus.
  • buckwheat-webBuckwheat
    Plant from spring through early fall when the ground will be open 5 weeks or more. Buckwheat establishes quickly, suppresses weeds and attracts pollinators. Mow one to two times when half the crop is in flower and before hard seeds have formed. Will be killed by frost.

Although fall through winter is the most common time when gardeners grow cover crops, savvy gardeners include summer cover crops in their garden plans. No matter which cover crops you choose or when you fit it in your garden rotation, cover crops allow you to grow your own nitrogen and organic matter in place.

When to Mow or Turn Under Cover Crops

A lot of factors go into determining the best time to turn under or at least cut down your winter cover crop. To get the most biomass, wait until half of the cover crop is in flower but make sure to get it cut down and incorporated before it goes to seed. Some freshly cut cover crops like winter rye inhibit seed germination for the following crop. If you are planning to direct seed allow 2 to 4 weeks for your cover crop to decompose before planting. This same property can be an advantage in weed suppression if the cover crop is just crimped or rolled and left as a mulch for transplanted tomatoes.

Another factor to consider is when you want to plant the next crop. For early spring plantings you may need to cut and turn in your cover crops well before flowering and allow a longer time (maybe 3 to 6 weeks) for the organic matter to decompose before planting. You can speed up decomposition of the cover crop 1 or 2 weeks by sprinkling in some mature compost or applying compost tea to add beneficial soil organisms before turning it under.

For most home gardens you can cut your cover crop with a hand sickle or scythe and add it to your compost. This leaves the considerable roots to add organic matter and aerate the soil. You can also weed-eat it or mow it and just let it lay there on the ground as mulch or till it in.  For the home gardener, Roto-tilling  is the fastest and easiest way to incorporate your cover crops, but you can also spade in your crop residues the old fashioned way. Digging in your covers crops aids in faster decomposition and less nitrogen loss into the atmosphere.