Tag Archives: garden planning

Crops for Succession Planting

There’s nothing like meals with homegrown ingredients straight from your garden. Grocery store produce can’t compare in flavor or price. If your goal is to eat as much fresh food from your garden as possible this season, you’ll need to use succession planting. 

Succession planting means that you don’t plant all at once. For example, you can sow a patch of lettuce or salad greens every couple of weeks so that when some bolts, another batch will be ready to harvest. This method also works great with crops like sweet corn that mature all at once. Sow a block every two weeks to have sweet corn over a more extended period. 

Here in the Southeast, you can get several successions of many crops. Just check your estimated first frost date. Then look at a crop’s days to maturity and count backward. Note, when daylight hours are dwindling during the fall, you need to add on some extra days. 

Here are some of the crops that are ideal for succession planting:

Collards

Especially in the Southeast, collards can be grown for quite a long season. Here in zone 7a, we begin sowing collards on March 10th and continue until September 1st.

Sweet Corn

As I mentioned above, sweet corn planted simultaneously will all be ready to harvest at the same time. This method of planting is excellent if you want to freeze or can a bunch, but not ideal for fresh eating. In zone 7a, we plant can plant successions of corn from about April 21st through July 15th.Zinnias (succession planting crop)

Zinnias

Flowers can be succession planted too! Zinnias are one of the easiest cut flowers to grow, and sowing several successions can keep you in beautiful bouquets all summer long.

Beans

Succession planting may not be necessary for dry beans, but planting a few successions can be a good idea if you’re growing beans for fresh eating. Planting beans at different times can also help figure out a good planting time to avoid bean beetles. In zone 7a, we begin planting beans around April 15th. We sow pole beans until July 15th and bush beans until August 1st.

Summer Squash & Zucchini

If you’ve been gardening for a few years, you’re probably familiar with the gluttony of squash just a few plants can provide. To help mitigate this, plant just a couple of hills at a time and spread that harvest out! In zone 7a, we plant summer squash and zucchini from April 21st through July 21st.

Cucumbers

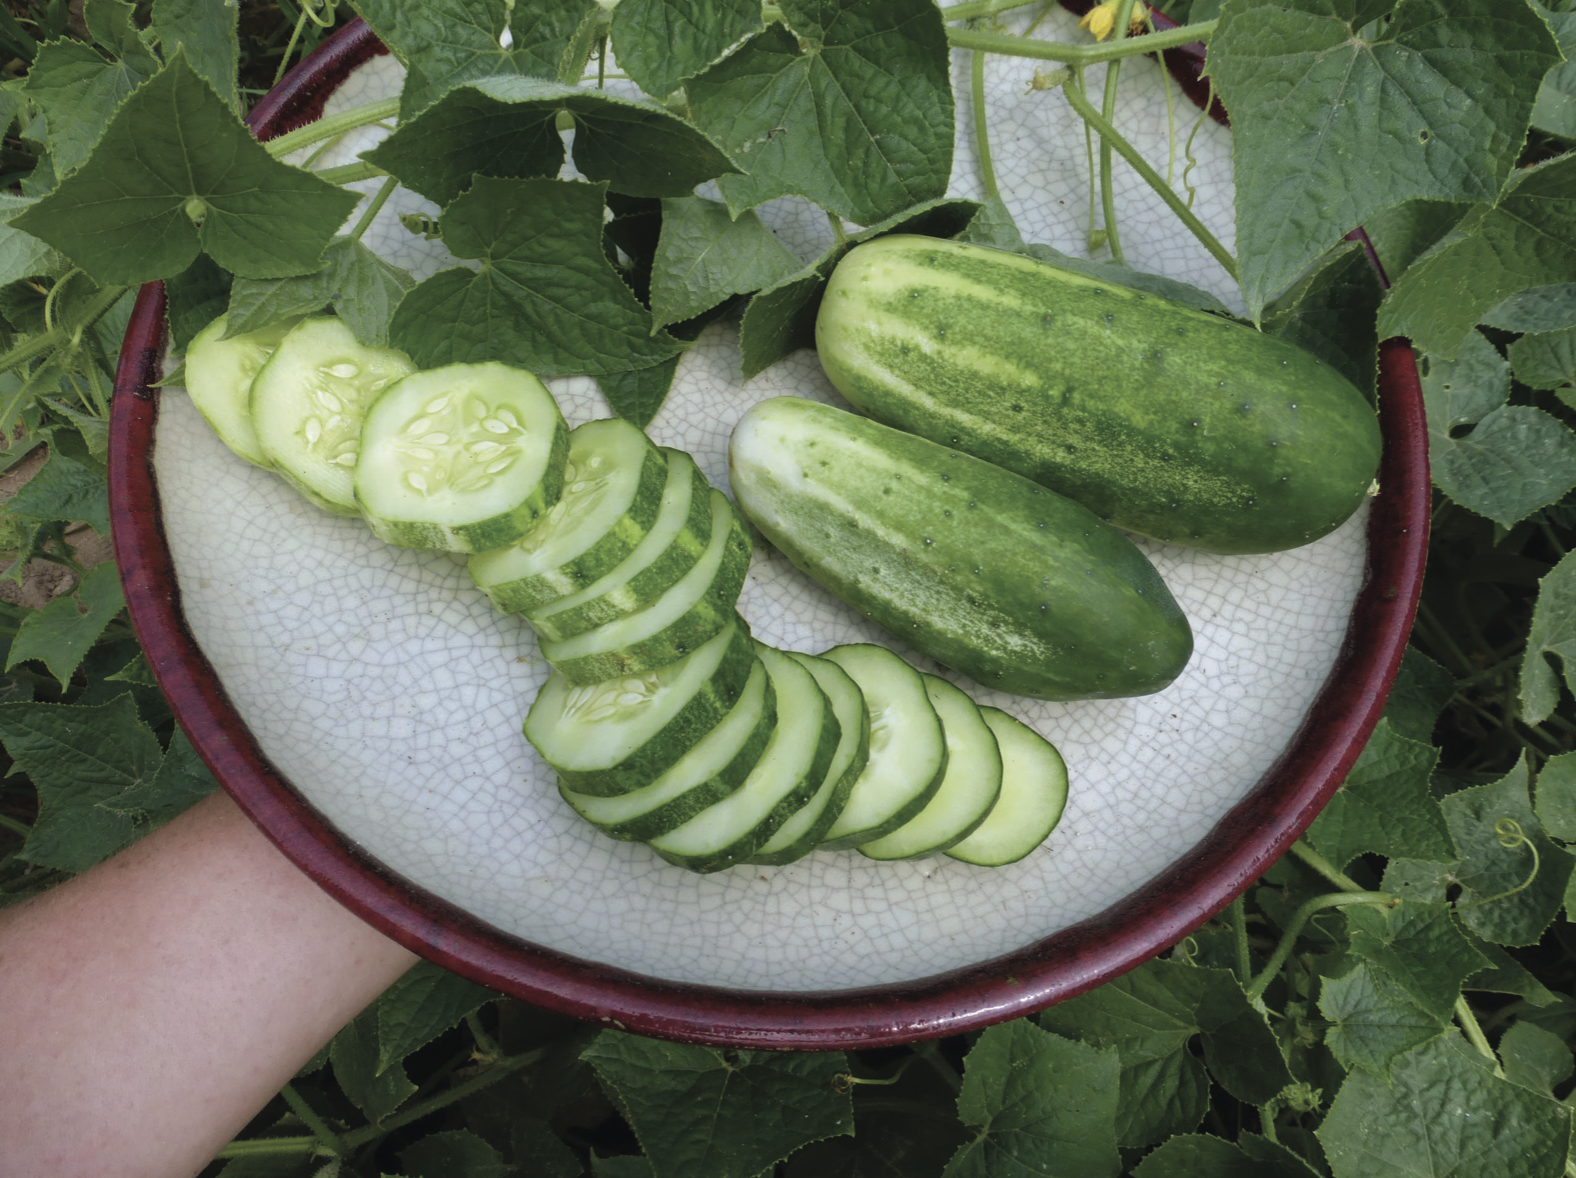
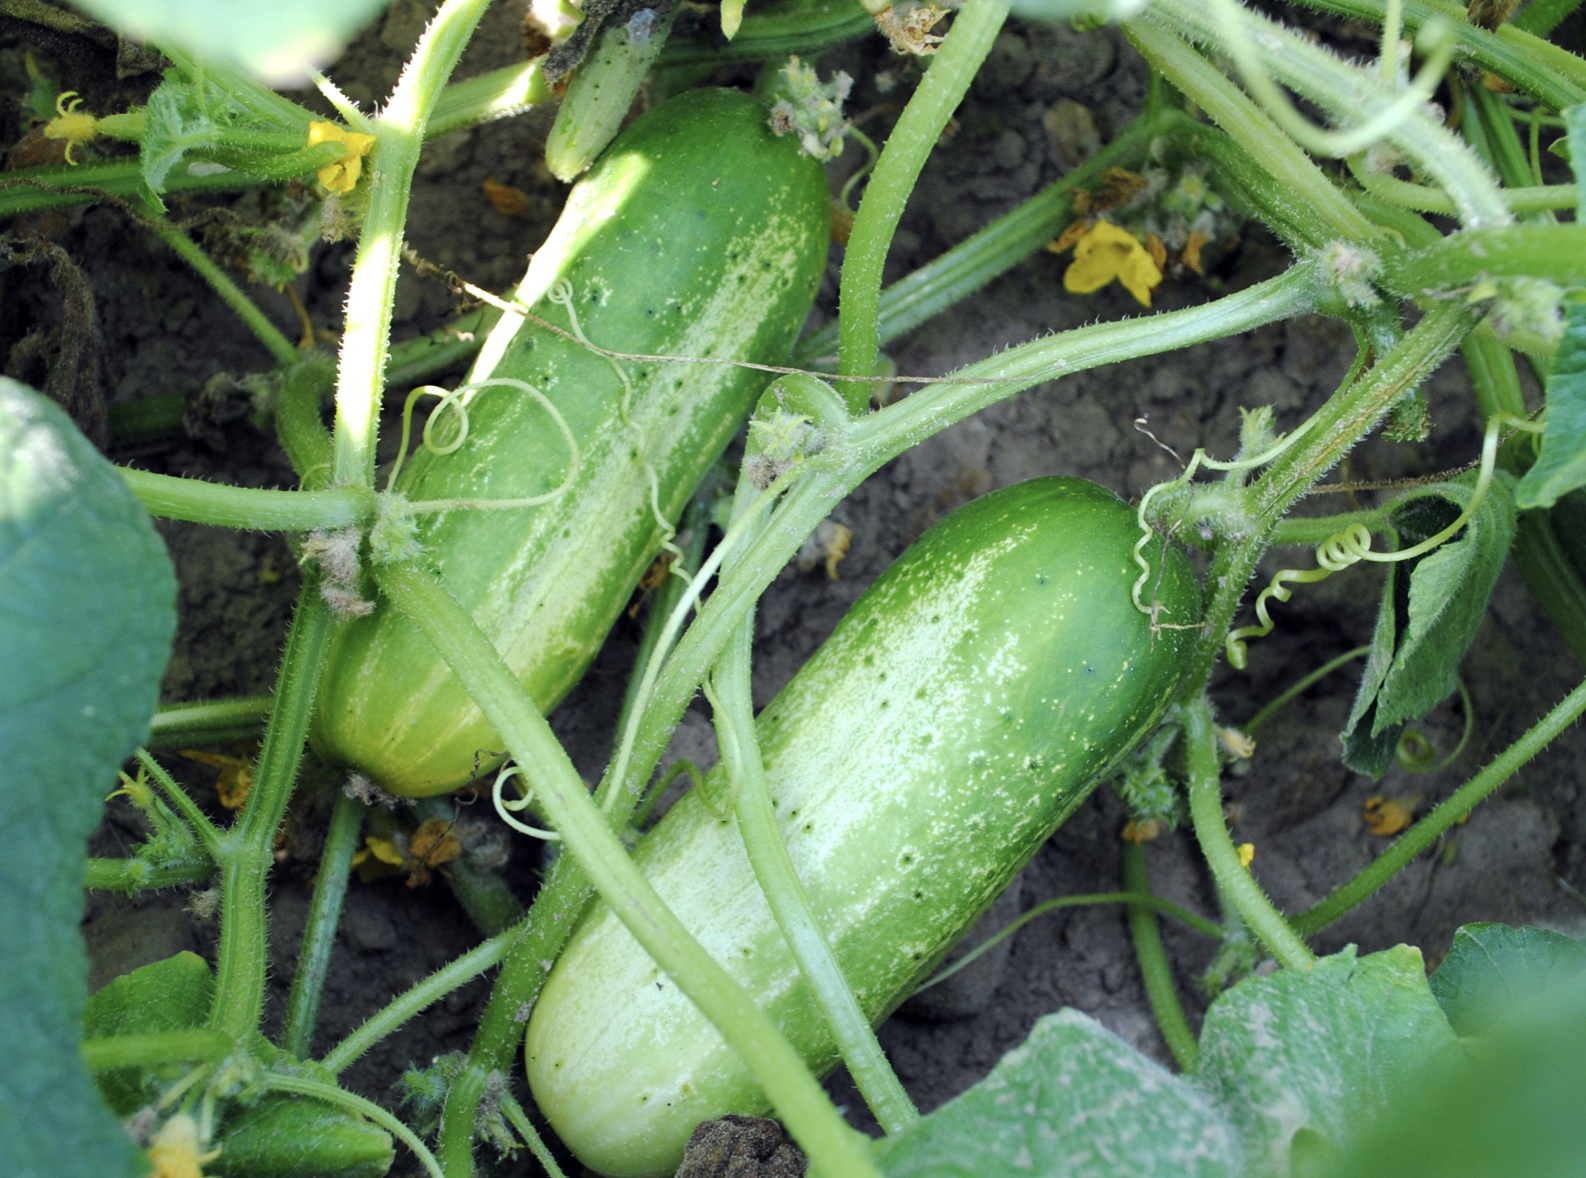
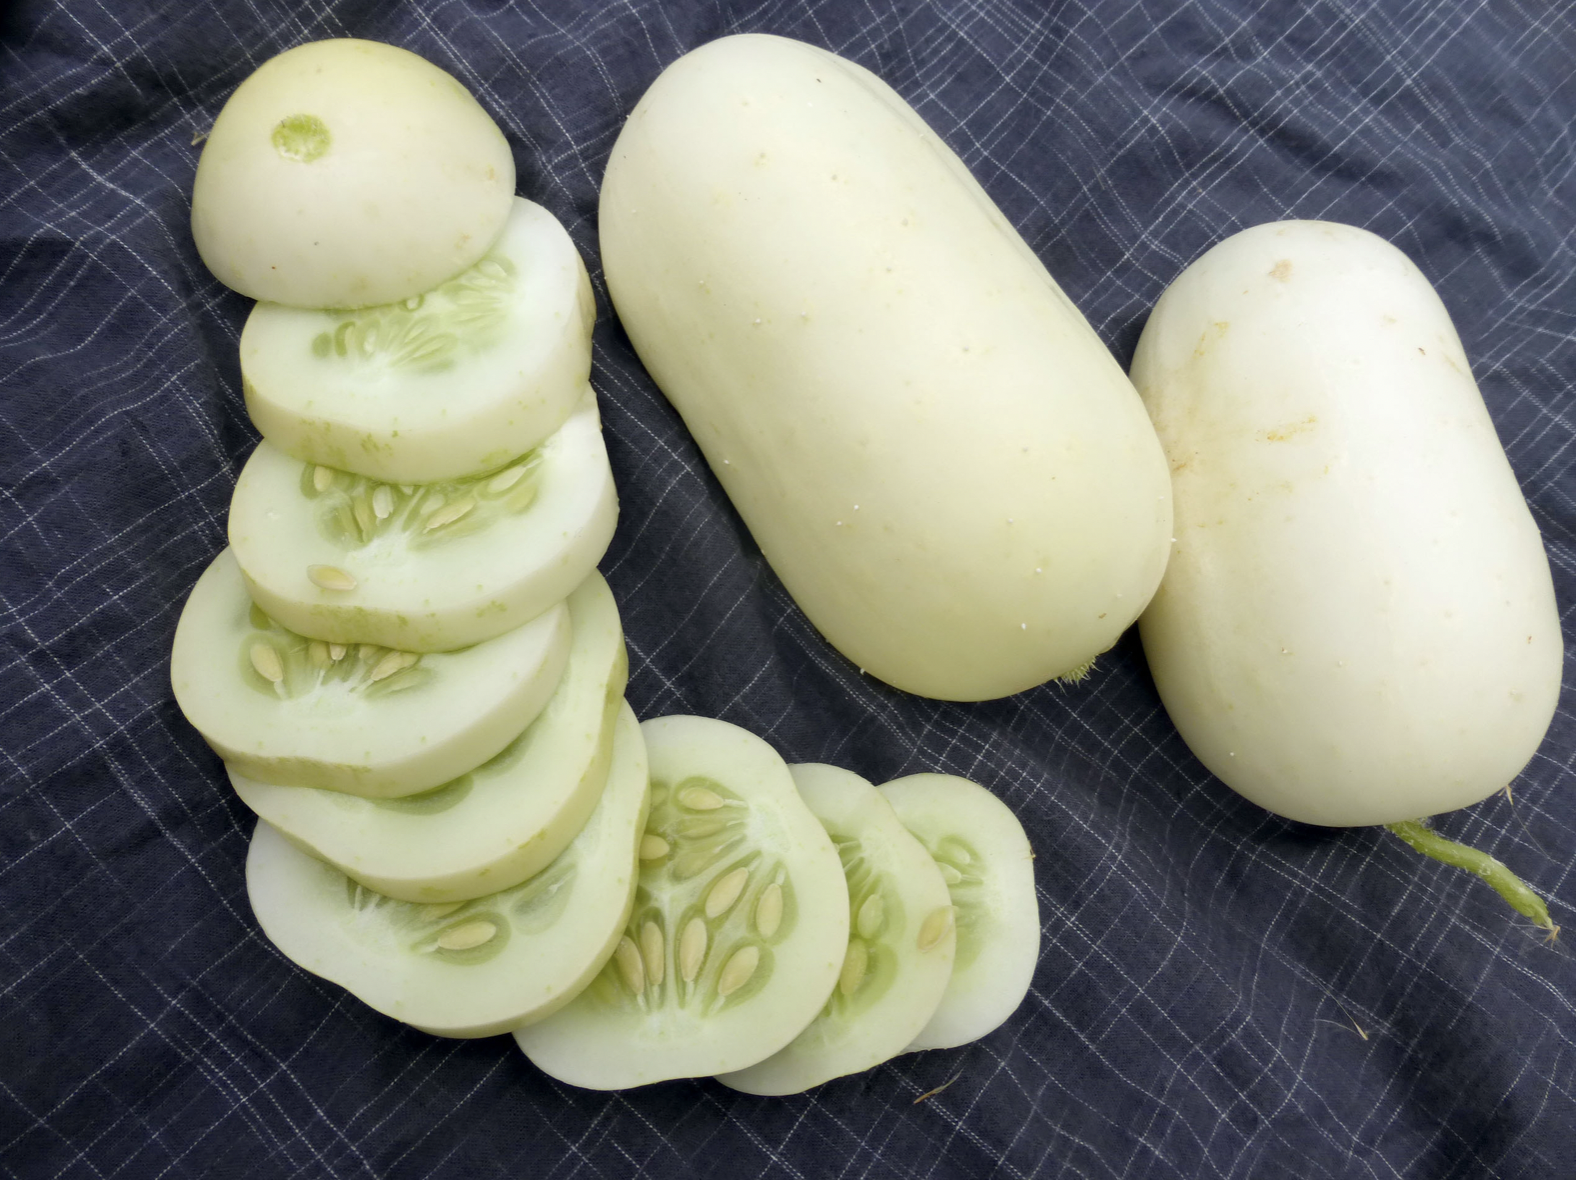
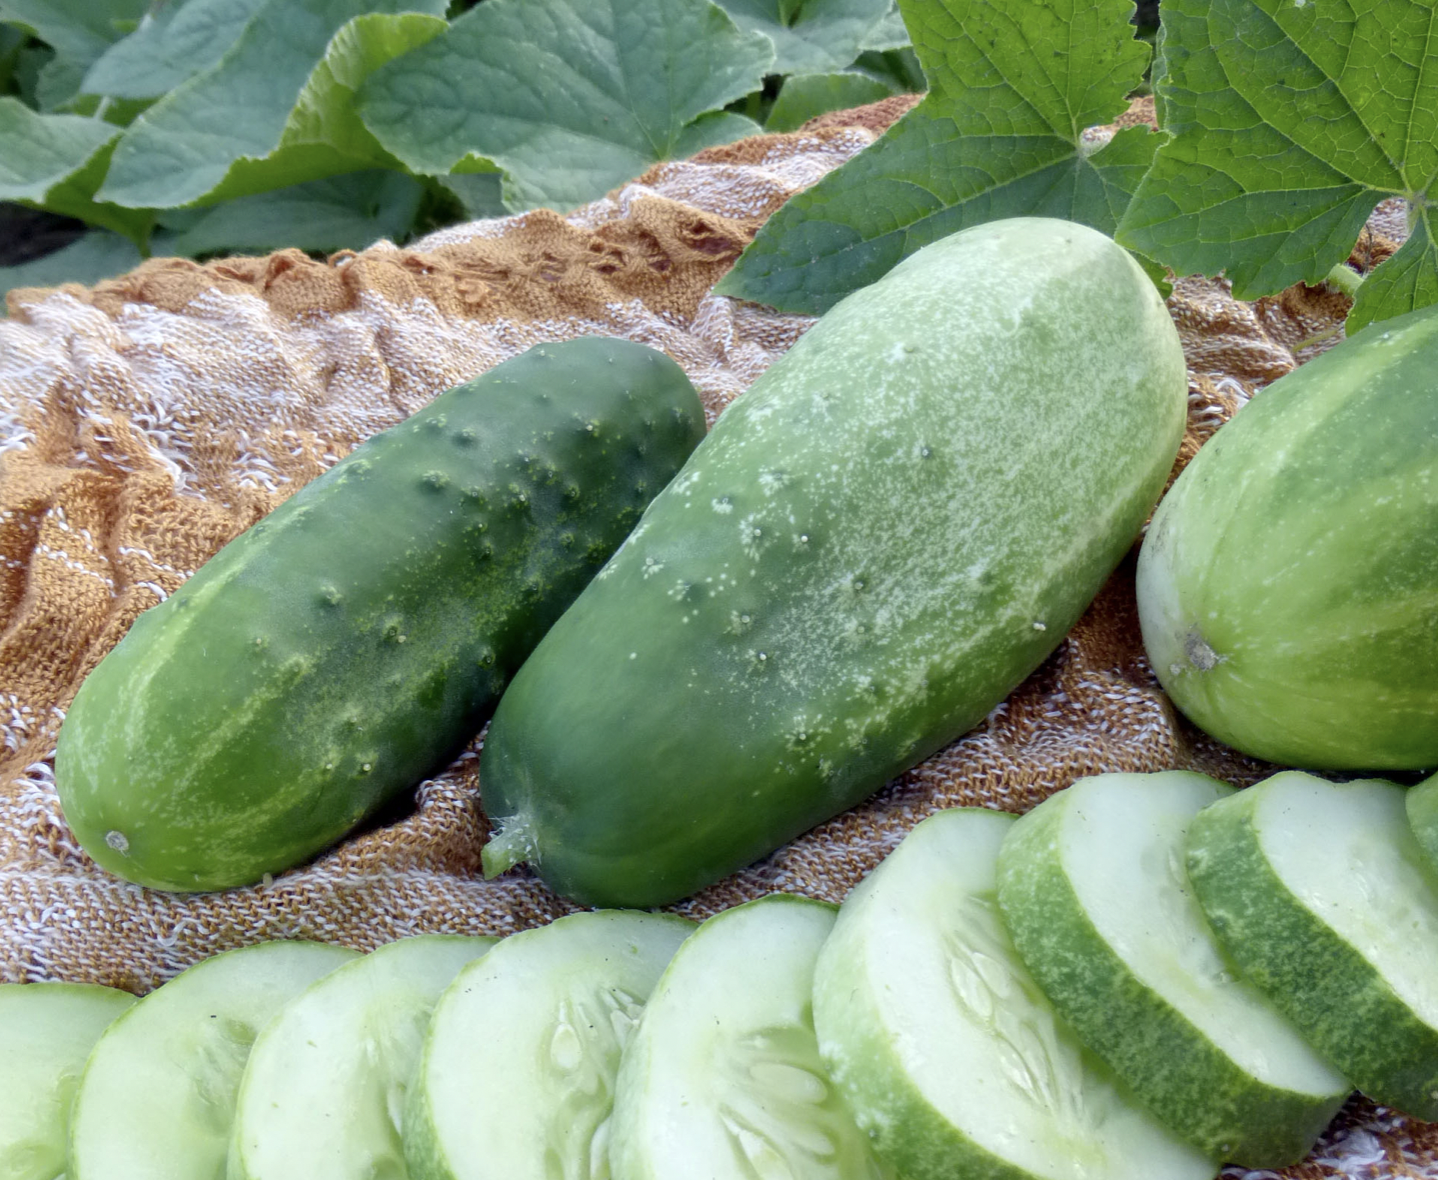
Like summer squash, cucumbers can provide an overwhelming abundance if you plant a large patch. If you’re canning pickles, this is a great thing! However, if you want to enjoy the crunch of fresh cucumbers over a longer season, you’ll need to plant multiple successions. Succession planting can also help you get a larger crop even if you struggle with losing plants to Downey mildew and other diseases. Here in zone 7a, we’ll sow cucumbers from around May 1st to July 21st.

Beets

Beets thrive in cool weather, but you can still get several successions in. We recommend doing a few in the spring and a few in the fall. Fall beets are ideal for storage. In zone 7a, we sow beets during the spring from March 15th to June 15th and then again in late summer from August 15th through September 15th.Broccoli (succession planting crop)

Broccoli

Many gardeners think of broccoli just as an early spring crop, but with a little work, you can get multiple broccoli harvests throughout the season. Here in zone 7a, we can do a combination of direct sowing and transplanting. We begin sowing indoors on January 31st and continue until May 31st. We start transplanting out on March 15th and continue to July 15th. We also direct sow from March 10th through July 1st. Check out our post, Tips for Direct Sowing in Hot Weather for advice on sowing cool-season crops like broccoli during the summer.

Turnips

Like beets, we sow turnips in the spring and again for our fall garden. In the spring, we sow them from March 10th through April 15th. In the fall garden, we sow them from August 7th through October 1st.

These are just a few of the crops well-suited to succession planting. You may also want to try carrots, radishes, spinach, Swiss chard, and other vegetables. We even do tomatoes to ensure we have enough late tomatoes for our fall taste testings! Use succession planting in your garden to have smaller quantities of fresh produce over a longer season. 

Seed to Storage: Success With Peppers

Peppers are one of the best plants to learn to start from seed. Growing from seed rather than just purchasing transplants allows you to access a wide range of unique varieties that you won’t find in stores. Here are some tips for success with peppers from seed to harvest and beyond. 

Selecting Pepper Varieties

We carry many pepper varieties at Southern Exposure, which we separate into three basic categories.

  • Hot Peppers
  • Seasoning Peppers
  • Sweet Peppers

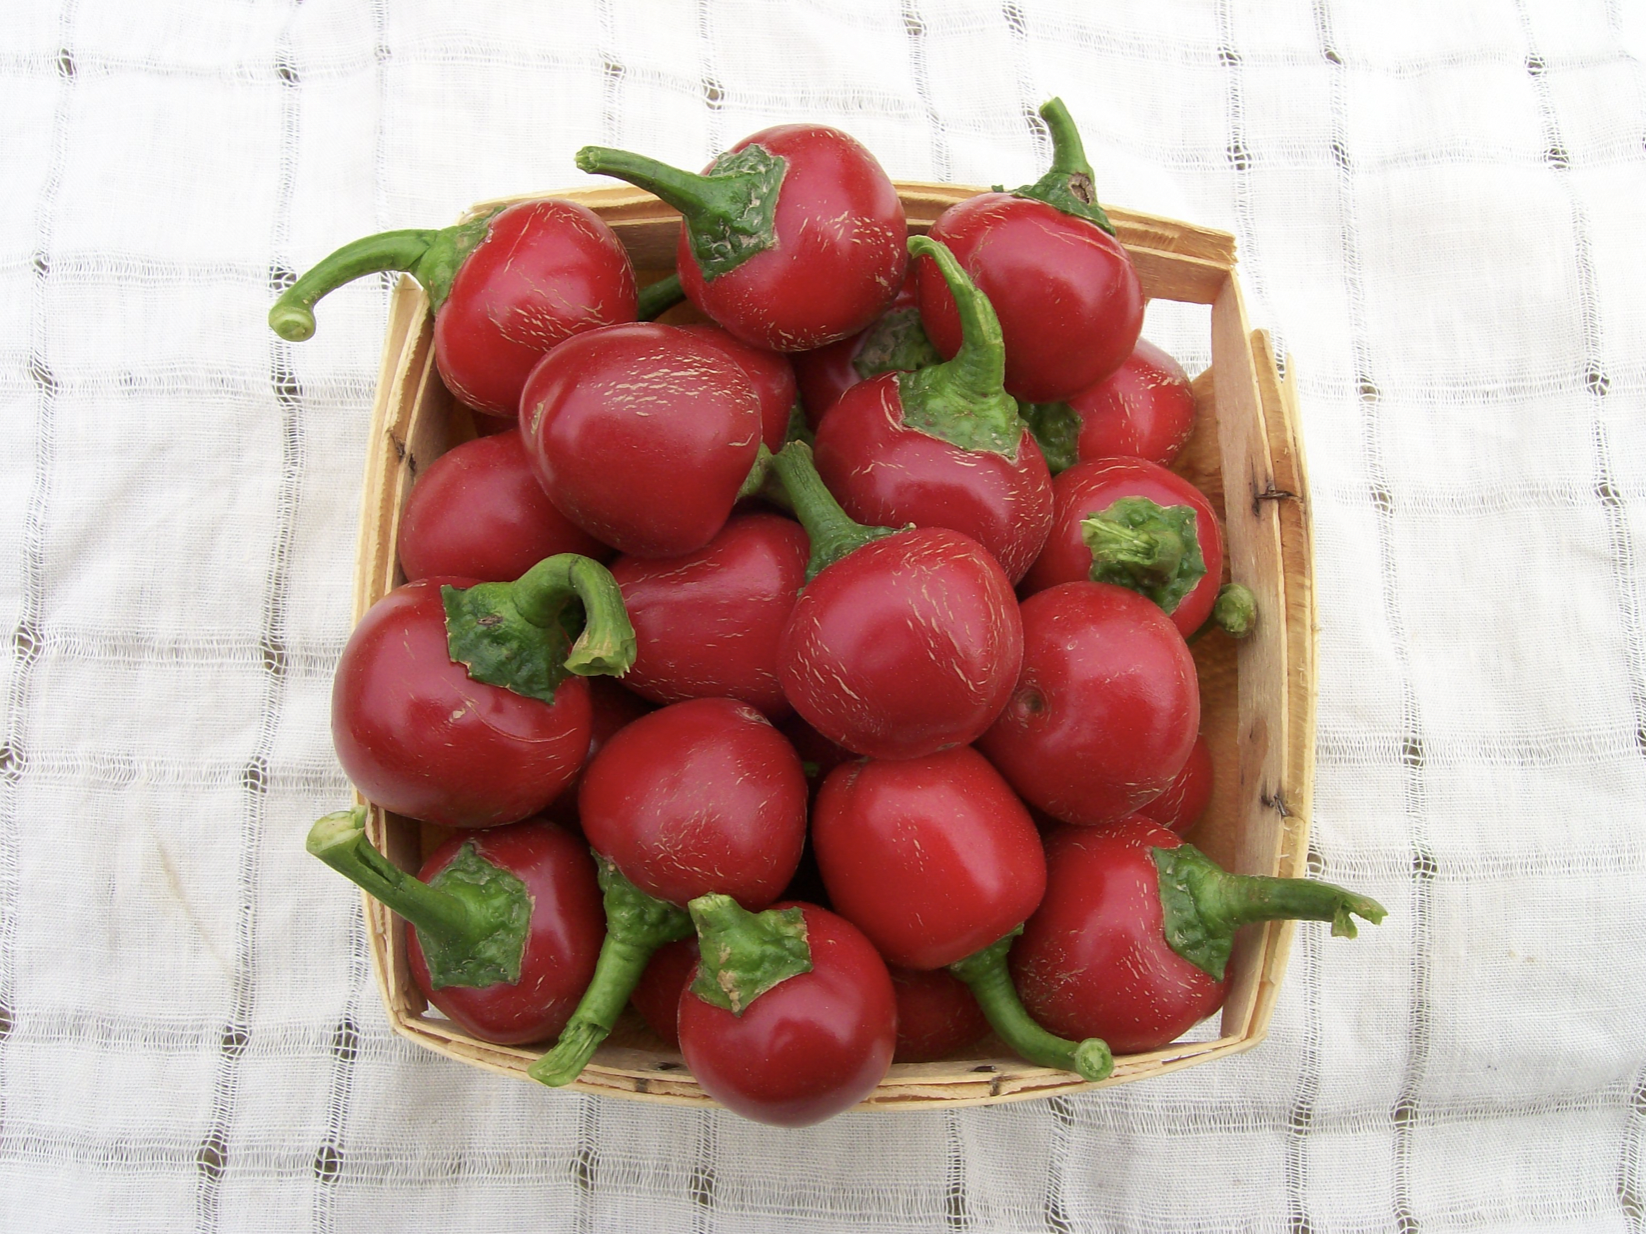
They fall into three species: Capsicum annuum, Capsicum chinense, and Capsicum baccatumC. annuum includes most peppers easily found in the U.S. and almost all sweet peppers. 

C. baccatum and C. chinense are generally more disease-resistant than C. annuum

C. annuum generally has thicker walls, so it adds more bulk to sauces. C. chinense has the thinnest walls, but C. baccatum tends to be the easiest to dry. 

While any hot pepper has its heat mostly in its seeds and ribs, the heat of C. chinense is relatively more dispersed, and the heat of C. baccatum is especially concentrated in the seeds. C. baccatum and C. chinense generally have very fruity flavors that complement sweet as well as savory dishes.pepper seedlings

Starting Seeds

Starting peppers seeds is easy as long as you follow some basic guidelines. Start pepper seeds indoors 8 to 10 weeks before your last frost. 

Start your pepper seeds in proper potting mix. Potting mix drains better and doesn’t compact like ordinary garden soil. It’s also best to start peppers in well-draining trays or soil blocks. Sow seeds about 1/4 inch deep.

Pepper seeds require warm temperatures to germinate. They do best when kept between 75 and 80 degrees during the day and at least 65 at night. Temperature can make the difference in peppers germinating in 5 days or 20.

Placing your seed starting set up in a warm room will help you seed peppers coming up faster. You can also purchase seedling heat mats that the trays sit on. This provides steady, even warmth to your seedlings.

Your seedlings also need a good light source once they’ve germinated. Setting seedlings in a window doesn’t provide enough light. You can use grow lights or other re-purposed lights. The long ones you’d find in a shop or basement work well for doing multiple trays of seedlings. 

Peppers need an uncrowded root system for maximum production. Pot your peppers up to 3-inch pots when they develop a few leaves. You may need to pot them up again if your seedlings become large.

Transplanting

Harden off pepper seedlings before transplanting out. Hardening off allows plants to acclimate to field conditions like wind and sun exposure slowly. Begin by moving your pepper plants outdoors for an hour or two each day on warm days. Gradually increase the time you leave them out over a week or two before transplanting. Don’t let your seedlings wilt!

Wait until it has really warmed up to transplant your peppers. Plant them out after the dogwood blossoms have fallen or the soil temperature reaches 65°F. Ideally, transplanting should be done on an overcast day. 

Space your plants in rows or blocks 18 to 24 inches apart. Especially if you have less than ideal soil, it’s a good idea to dig a larger transplant hole than necessary and add some finished compost. Then plant your peppers so that the soil is at the same level as in the container. If you used peat pots, tear off the tops, so they don’t stick up above the soil and wick moisture away from the roots. harvesting banana peppers

Pepper Care

A month after planting, it’s a good idea to mulch around your peppers. Avoid doing this earlier as it can keep soil temperatures too cool for good growth. The mulch will help keep the soil moist and suppress weeds.

Pepper plants can be side-dressed with fertilizer when they’re young. Avoid getting any on the roots, stem, or leaves as it can burn the plant. Over-fertilizing should be avoided. Read application rates carefully. Don’t fertilize after plants have flowered, as this can cause the flowers to drop and fail to set fruit. Good levels of phosphorus in the soil are essential for good yields. 

Stake larger pepper plants to avoid logging, particularly if they are heavy with fruit. You can also use tomato cages.

You can extend your season by covering your plants at night for 1 to 2 weeks during mild frosts. Before the first hard frost of the season, pull plants and place the roots in a bucket of water. Store in a cool location to extend the season by up to one month. 

Harvesting Peppers

Peppers can be harvested green however they aren’t fully ripe at this stage. You can eat peppers at any stage of ripeness, but fully ripe peppers have more flavor and nearly double the vitamin C content.

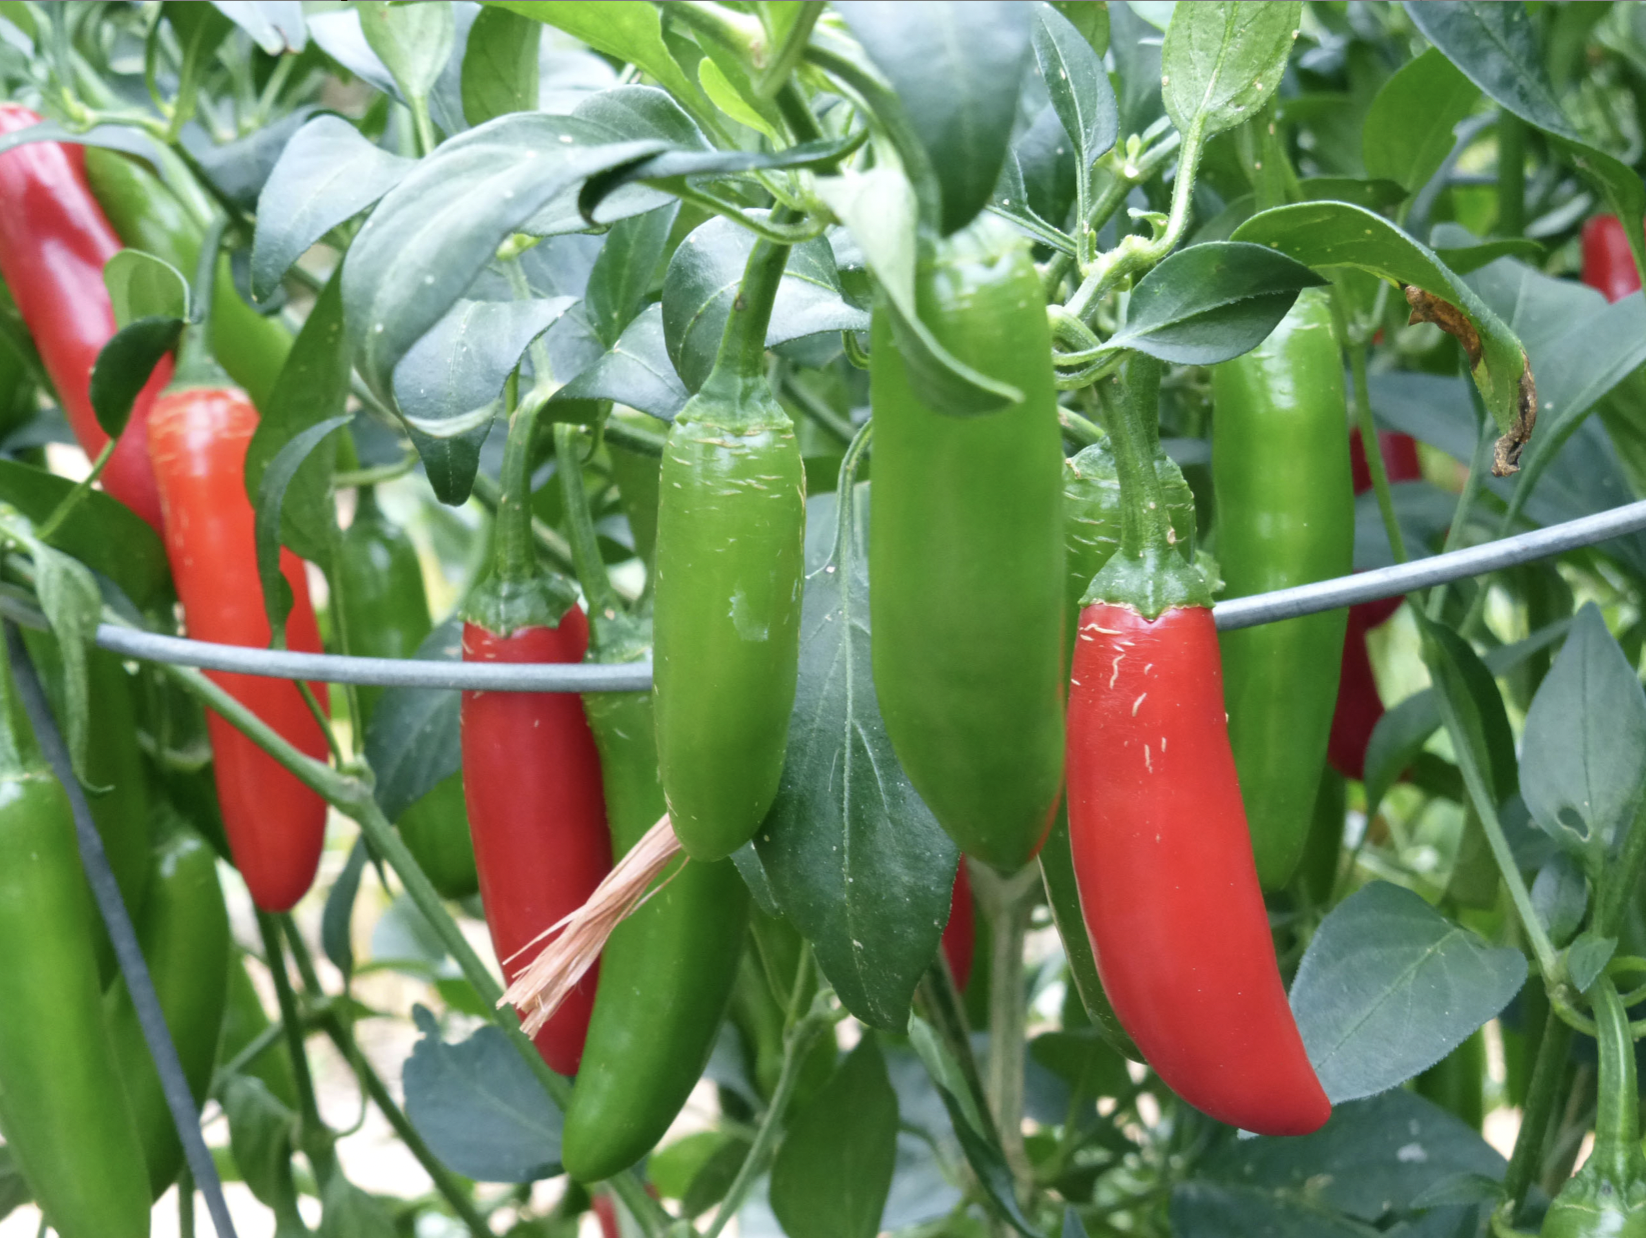
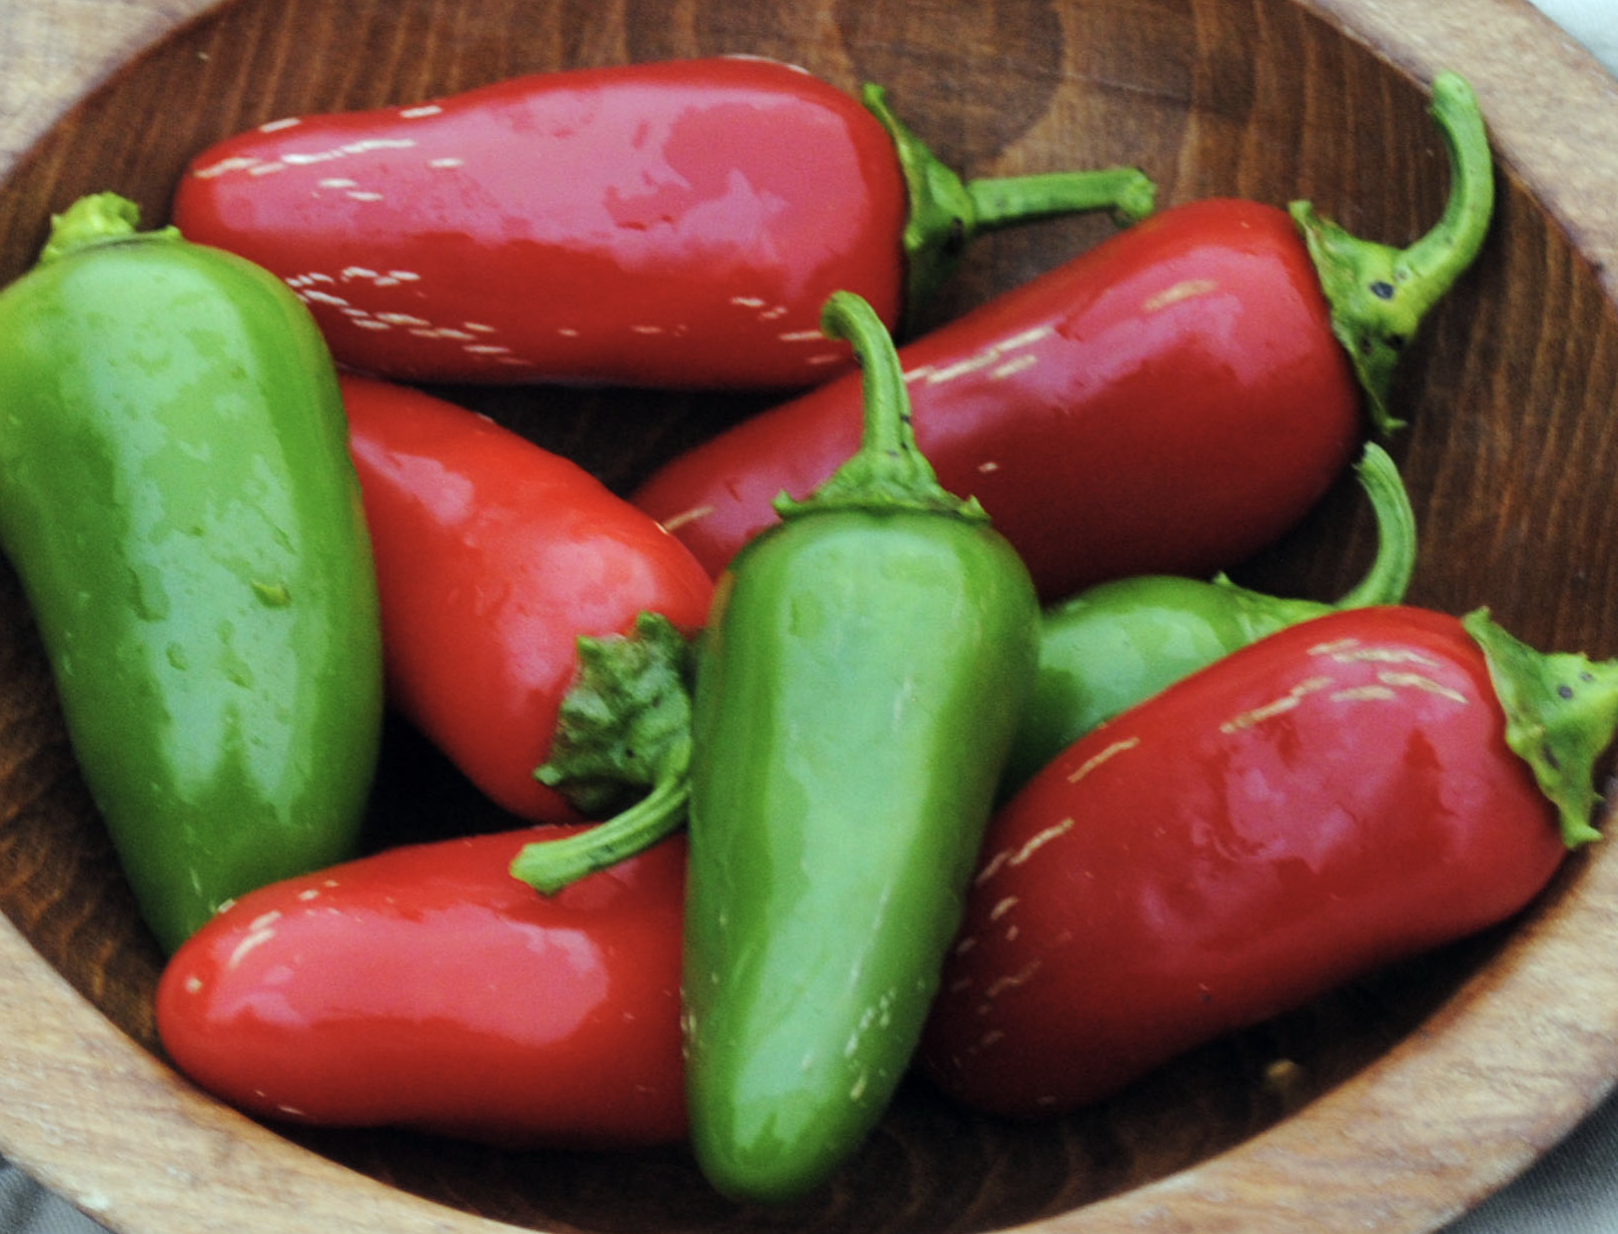
Hot peppers generally get hotter as they ripen. For example, a red jalapeño will be spicer than a green one.

Preserving and Using Peppers

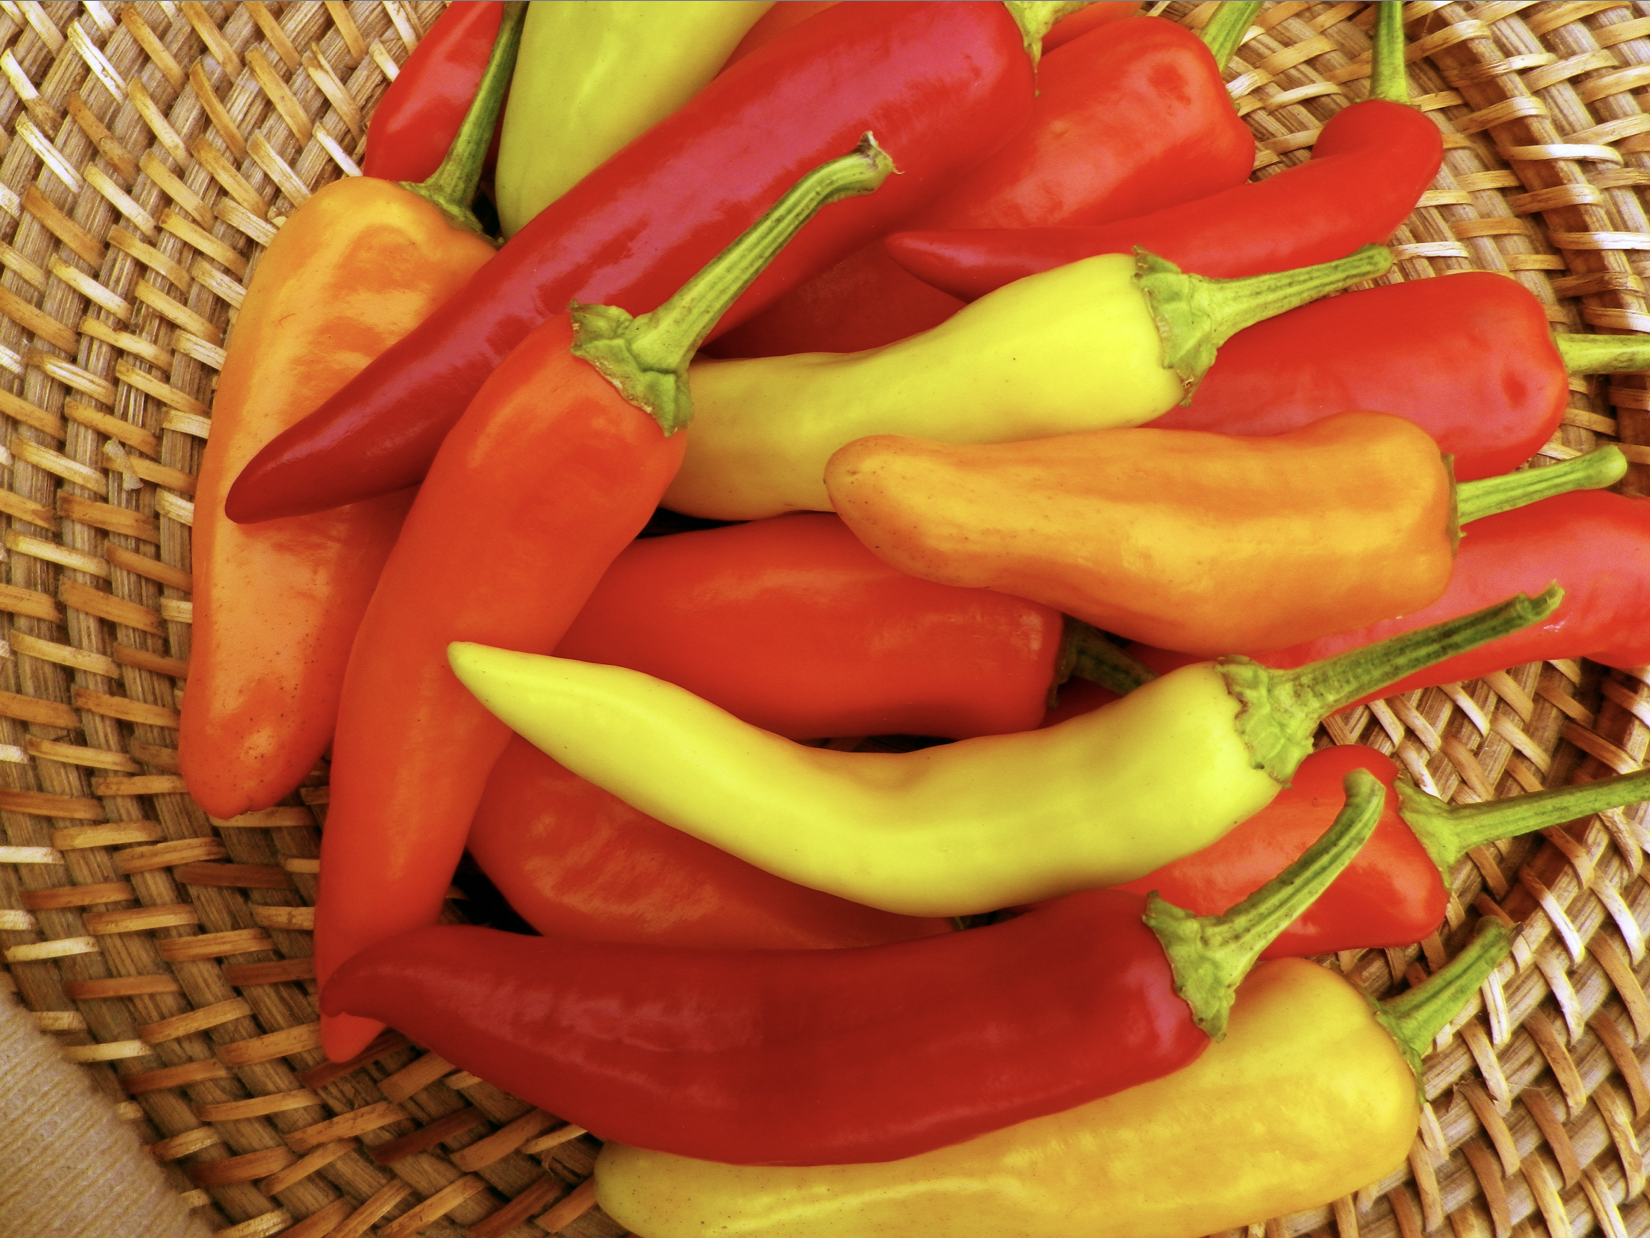
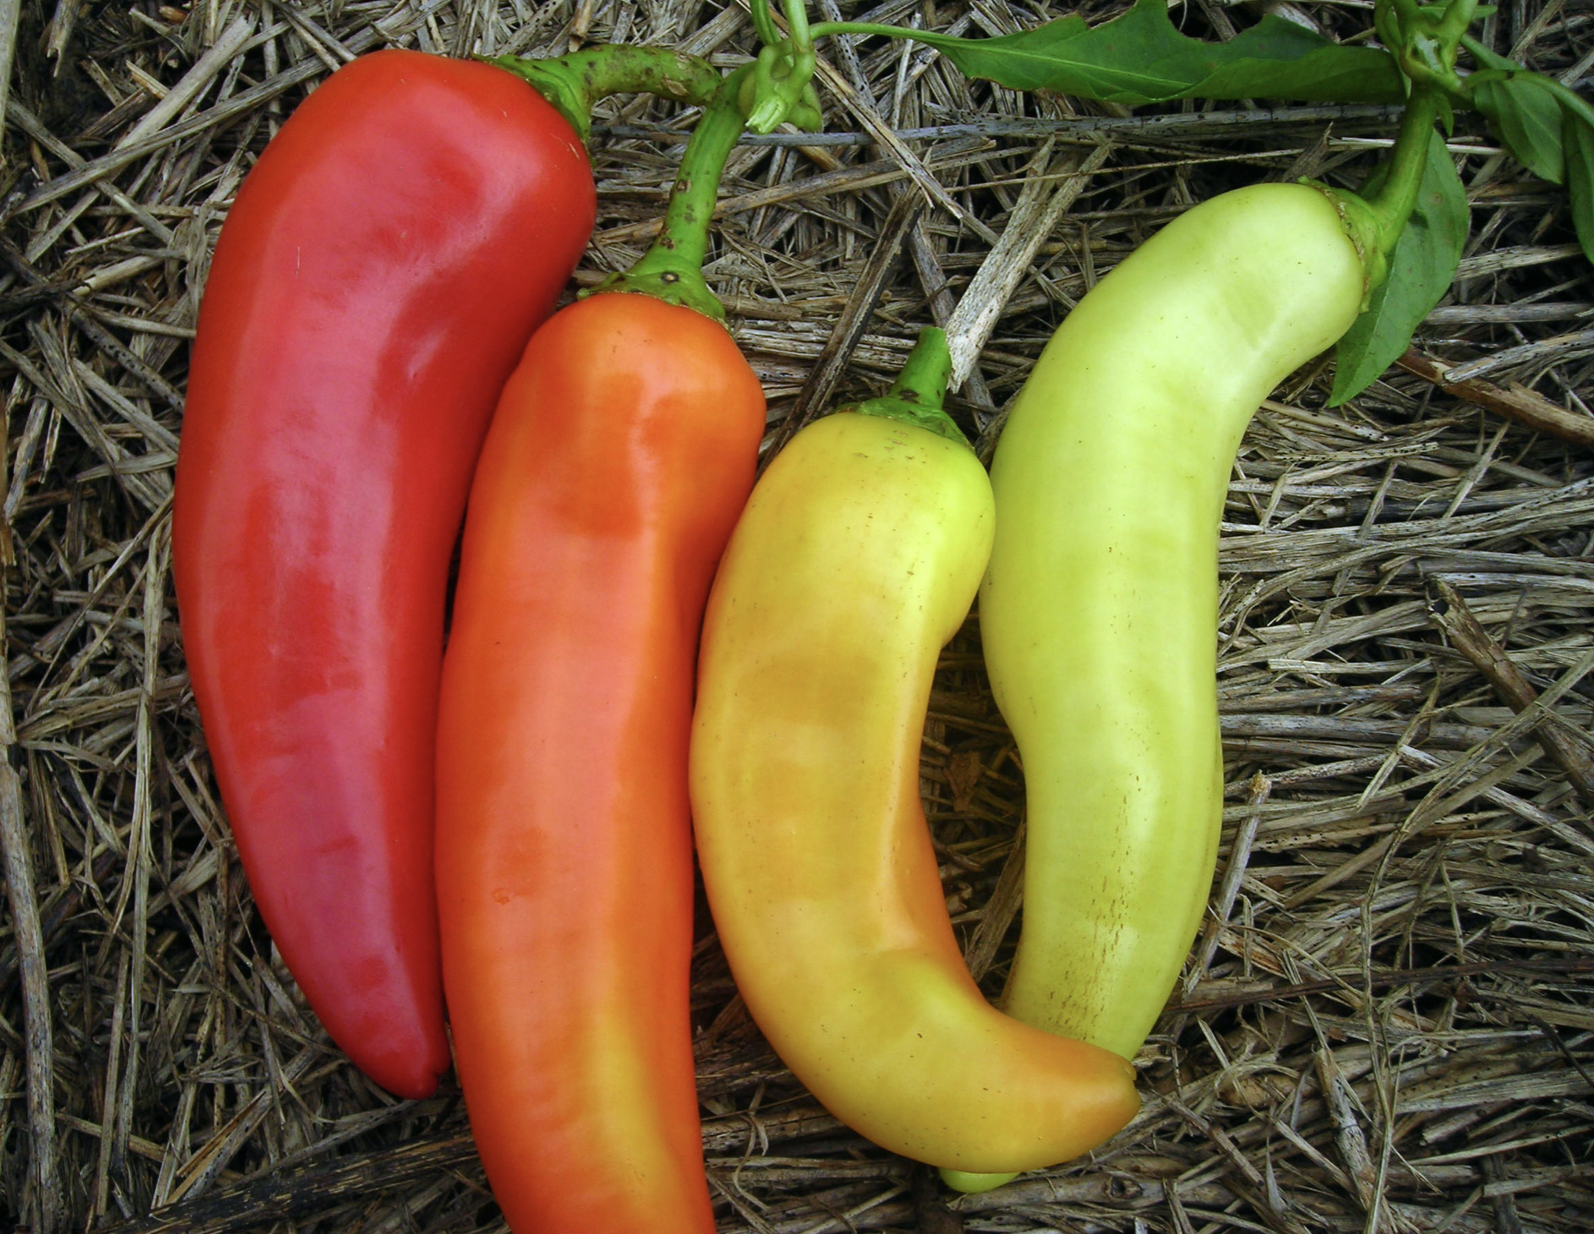
There are many ways to use and preserve peppers. Many seasoning peppers like the Hungarian Paprika Spice Pepper have thin flesh and are ideal for drying. Depending on your climate, they can be air-dried on screens, threaded and hung, or dried in a dehydrator. Then you can grind them to make an excellent seasoning.

Pickling peppers is also a simple, common way to put up a large harvest. Pickled peppers go well on pizzas, sandwiches, and salads. Sweet Banana Peppers and Jalapeños are common choices, but it also works with other varieties. You can find instructions here.

Fermenting is another common way to use peppers. Making your own hot sauce is a delicious way to spice up a variety of meals. Try this recipe from Soul Fire Farm.

You can also freeze peppers. Peppers don’t need to be blanched, so you can just chop them or cut them into strips and freeze them. Freezing them in a single layer on a cookie sheet before transferring them to a bag or container keeps them from clumping together for easier use. For a fun night and a bit of extra flavor, you can also roast peppers over an open fire before freezing.

Halfway to Spring: Imbolc

Also called Candlemas, Oimelc, or St. Brigid’s Day, Imbolc was a Celtic celebration that took place on February 1st or 2nd each year. This celebration symbolizes the halfway point between the winter solstice and the spring equinox.

The Romans and ancient Brits also celebrated this important time of year. The Romans called it Lupercalia, and the Brits called it Sul-Minerva. There’s evidence that this celebration dates back to the Neolithic, when megalithic chambers marked the light of the rising sun on this day.

Imbolc was believed to have originally meant “in the belly of the Mother” or just “in the belly.” It was a time when many herd animals were pregnant, and winter food stores were getting low. It was a time to look forward to the season to come. 

For the Celts, this festival celebrated Brigid a maiden sun goddess who brought spring to the land. She’s associated with light and warmth; candles and fires were often part of the celebration. Brigid was later added to Christian celebrations as St. Brigid.

According to the Boston Public Library, a modern celebration can include a chant to send away winter:

“Old man winter, it’s time to go!

Take with you these piles of snow!

Melt, snow, melt!

Spring will soon return!

A flame, a fire, all the warmth it brings,

melt the snow, cold be gone, welcome back the spring!

Agricultural Calendar

History aside, this time of year is an important date in the agricultural calendar, and it’s time we start looking ahead to spring too! In zone 7a, we begin sowing seeds indoors this time of year. Here’s what we’re planting: 

  • Broccoli (Sow indoors Jan 31-May 31)
  • Cabbage (Sow indoors Jan 31-Jul 1)
  • Cauliflower (Sow indoors Jan 31-Mar 7)
  • Celery & Celeriac (Jan 21-Feb 15)

Coastal gardeners, you’ll have mild winters that will allow your planting dates to be 2 to 4 weeks earlier than ours. Mountain gardeners have harsher winters and will be 2 to 4 weeks behind us.

Find the complete list of our recommended planting dates in the back of our catalog or click here.

Seed Starting

It’s also an excellent time to learn about or review good seed starting practices. Good practices like consistent watering, using a proper potting mix, potting seedlings up as needed, and hardening off transplants lead to a more healthy and prosperous garden throughout the season.

Garden Planning

If you haven’t already done so, it’s also time to plan your garden. You’ll want to consider crop rotations and successions, new varieties, and isolation distances.

Here are some of our resources to plan your garden:

Are you getting ready for spring yet?