We’ve discussed what to plant this fall quite a bit on this blog. You may have seen one of our last posts about great heirlooms for the fall garden and currently be sowing or transplanting radishes, carrots, beets, cabbages, and other crops into your plot. These traditional crops often make up the backbone of the fall garden and are a good part of any food storage you put up for winter. At SESE, we also ship out some perennial plants each fall. Similar to many flower bulbs, these plants do best when planted in the autumn before your first frost.
All of these plants ship in the fall and include planting instructions. None of this information is meant to diagnose or treat any condition.
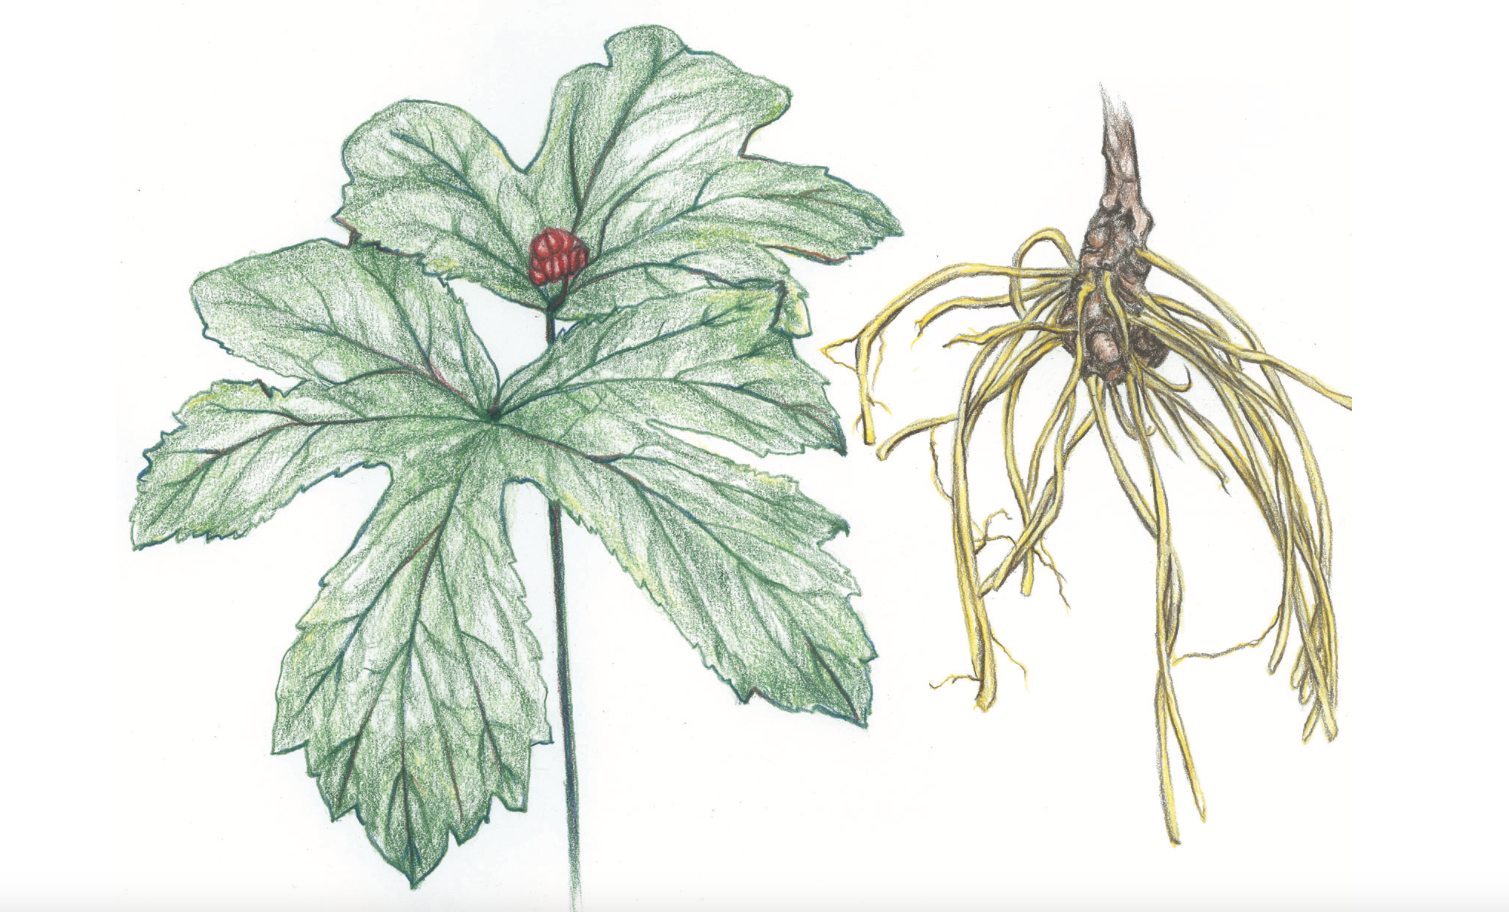
Goldenseal
Once common throughout eastern woodlands, goldenseal is now believed to be one of the most at-risk medicinal plants in the United States and is believed to be at high risk of extinction in many parts of its range.
Goldenseal’s decline is largely caused by over-harvesting and habitat destruction and is on the Appendix 2 list of the CITES (Convention on International Trade in Endangered Species). When you plant goldenseal in your woodlands, you’re helping to ensure this specie’s long-term survival.
Historically, herbalists have used goldenseal to treat various ailments especially inflamed mucous membranes. It was used in gargles for sore throats, topically to treat skin irritations and infections, as an eyewash, and internally to treat UTIs, ulcers, and digestive issues.
There’s also some evidence to suggest that goldenseal has a high resistance to fungal pathogens and may help reduce disease spread in forest settings. Ginseng growers will often include it in their plantings for this reason.
In the wild, goldenseal grows on forest slopes, open woodlands, and along streams. Plant goldenseal rhizomes in the fall in a spot that receives about 75% shade. A mature plant may be divided three to five times.
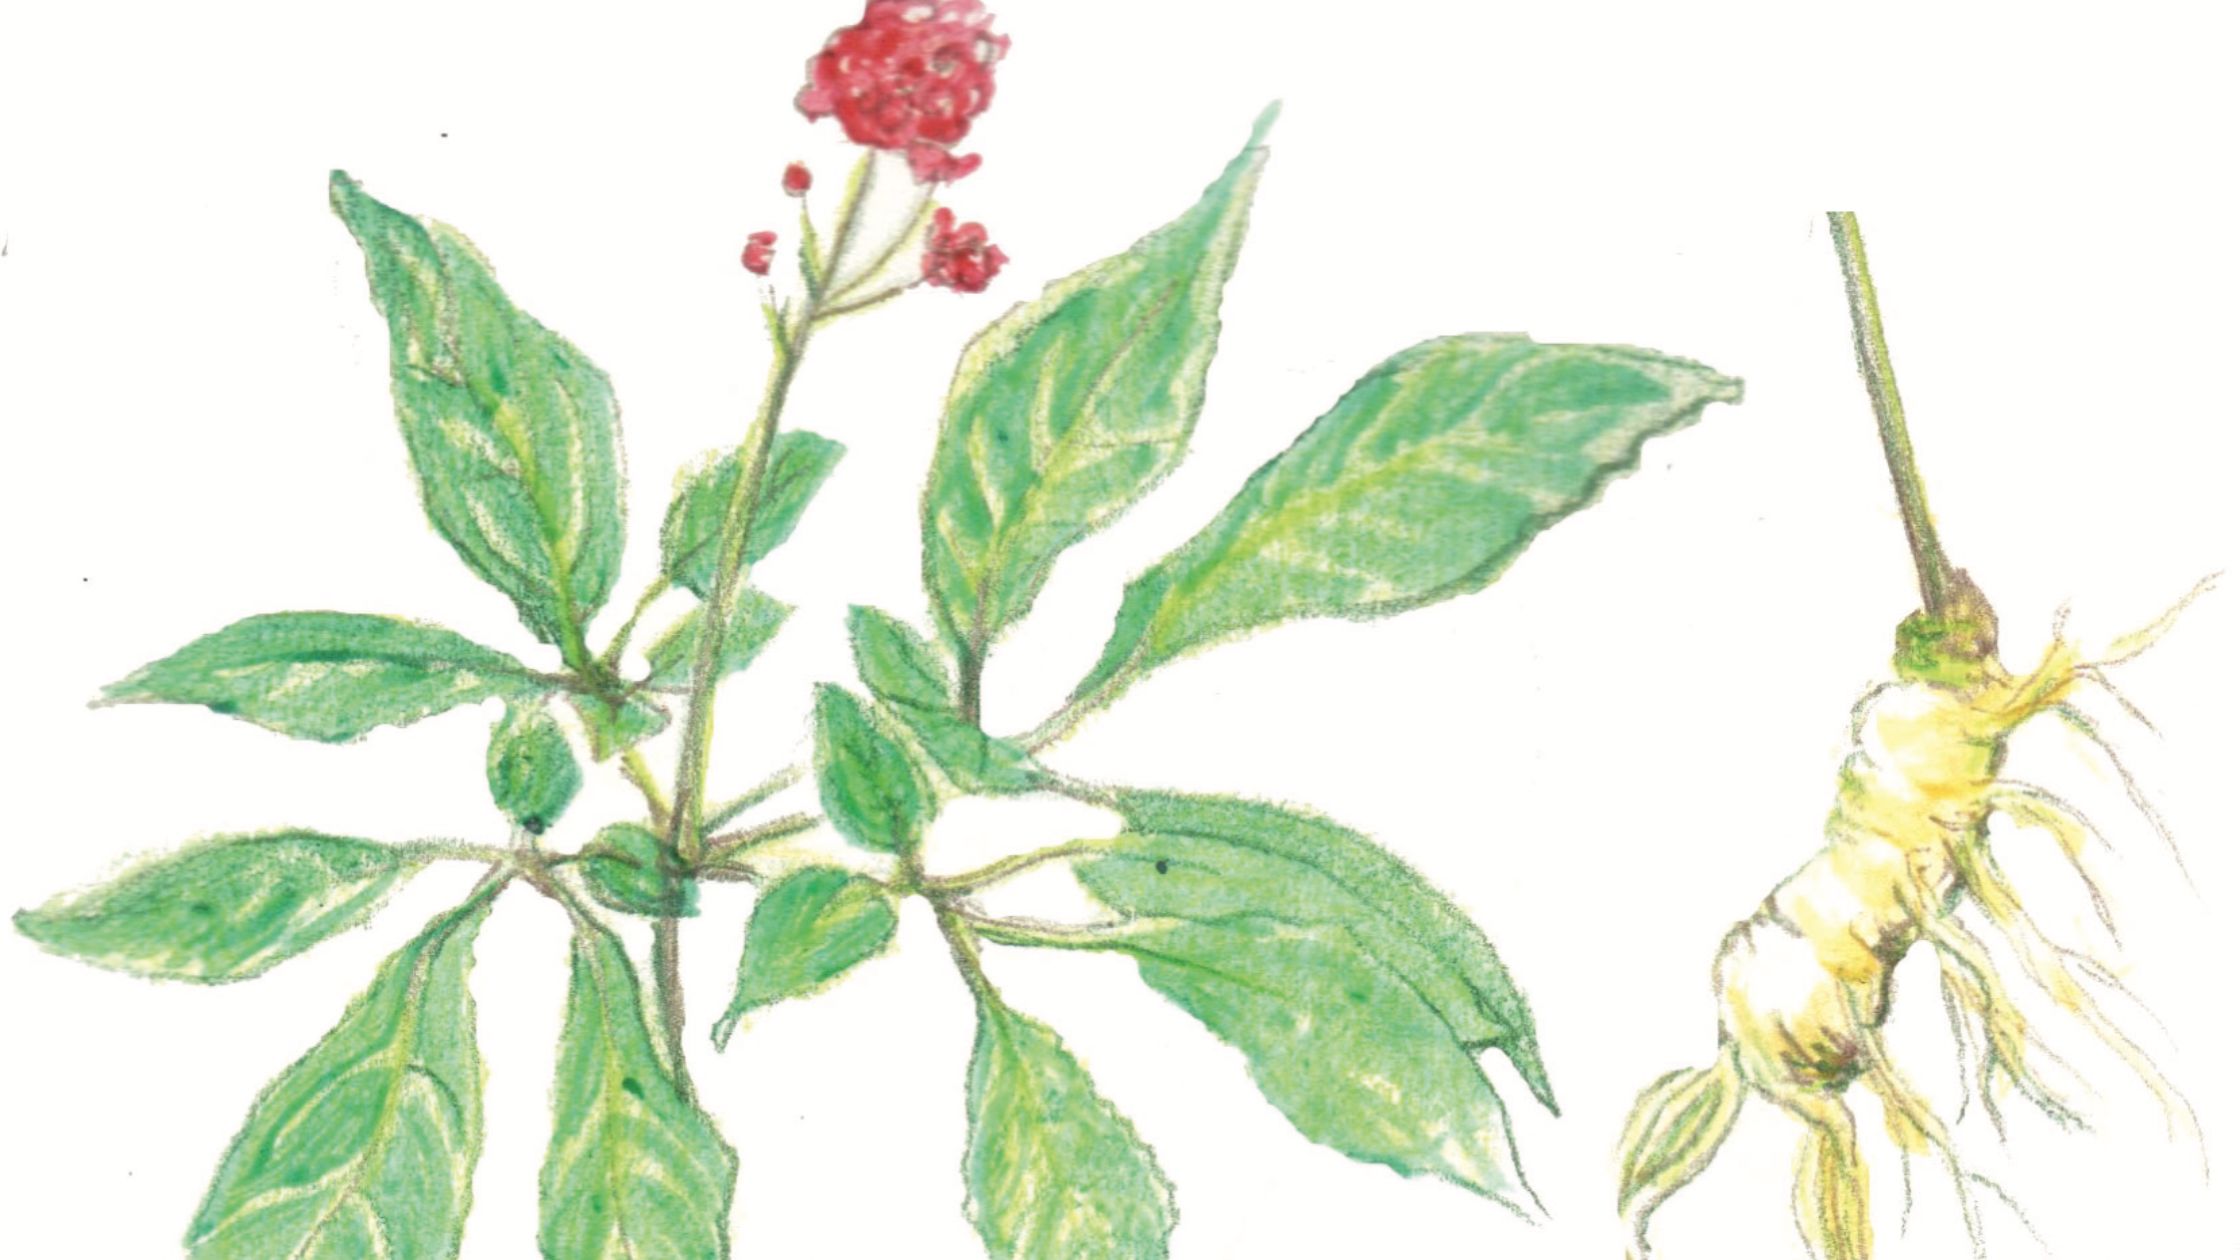 Ginseng
Like goldenseal, ginseng is disappearing from the woodlands of North America. For almost 300 years, it has been harvested and exported to Asia, often in significant quantities. One of America’s first millionaires, John Jacob Astor, made part of his fortune exporting ginseng.
Herbalists highly favor wild ginseng over cultivated ginseng. Interestingly, wild ginseng shows exponentially higher levels of the compound ginsenoside, which is believed to have numerous medicinal benefits.
Traditionally, herbalists often used this plant as a “cure-all,” believing it helps the body adapt to stress. Many thought ginseng could treat various conditions, including depression, nausea, tumors, fatigue, diabetes, ulcers, and more. Read more about this herb before using it on your own.
Today, ginseng is on the Appendix 2 list of the CITES (Convention on International Trade in Endangered Species), threatened by over-harvesting and habitat destruction. You can help ensure its survival by planting it in your woodlands.
Plant ginseng in the fall from seeds or roots. It thrives on northern-facing slopes in dense deciduous forest. You can harvest roots can after four to seven years. Growing in conjunction with goldenseal may help prevent disease issues.
 Shallots
These perennial alliums add a bit of gourmet flair to any garden. Griselle or grey shallots are highly sought after by chefs, home cooks, and foodies. They have a distinctive rich, earthy smell and a mild, umami flavor.
Plant shallots in the fall, like garlic. They’re easy to grow, low maintenance, and typically offer excellent yields. They produce best when you keep them weeded and watered during the spring and summer. Harvest when the tops fall over.
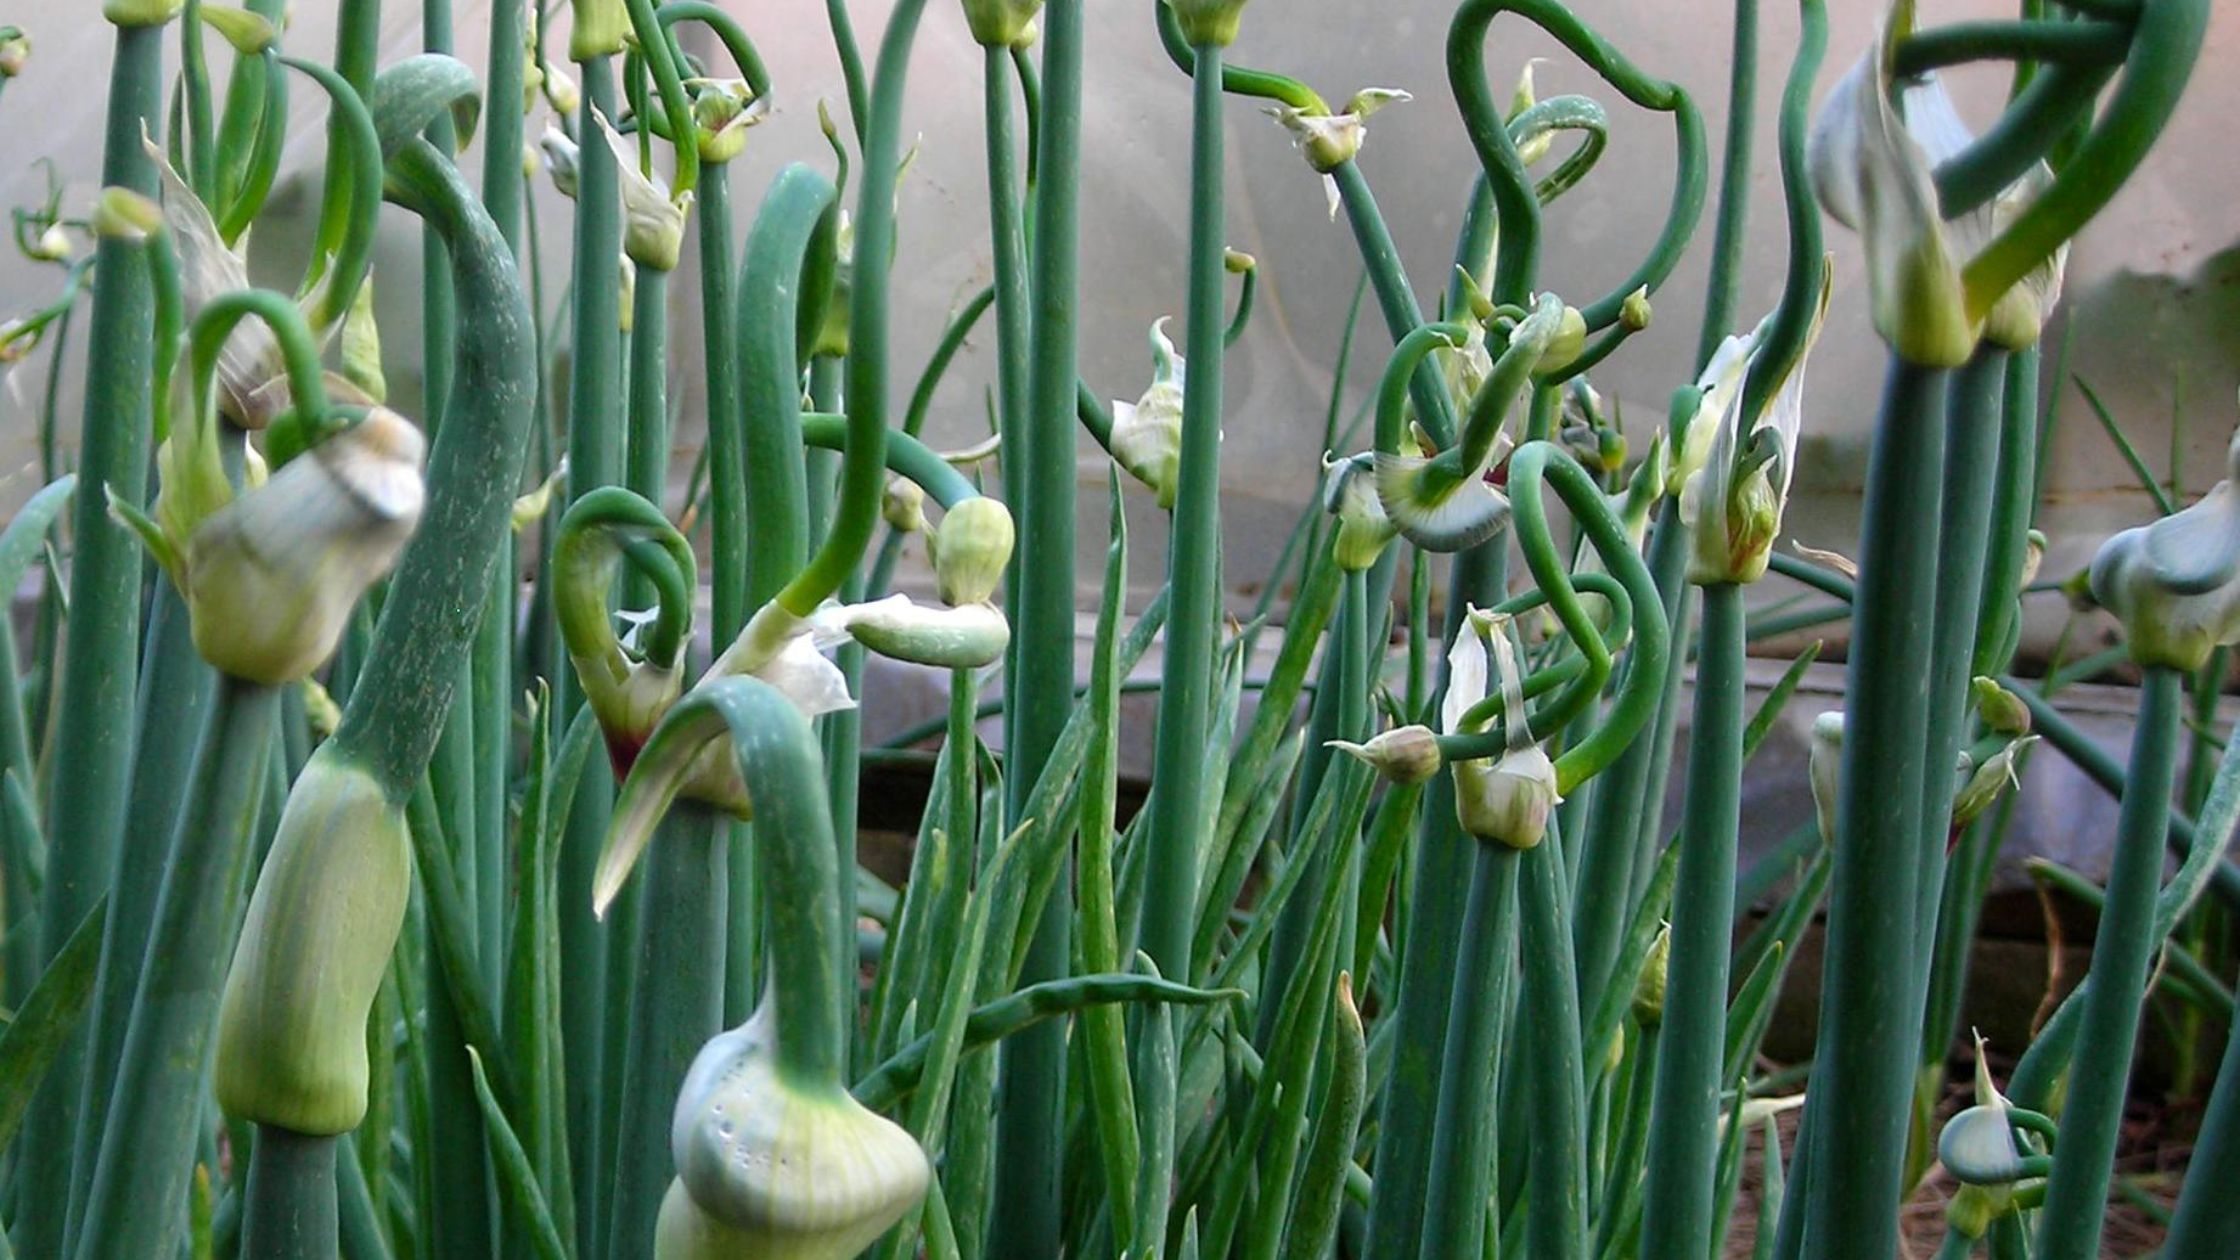 Egyptian Walking Onions
Egyptian walking onions get their name from the unique way they reproduce. These onions develop bulblets on top of their stalk, which produce new, small stalks. Eventually, the bulblets and new stalks become so heavy that the onion top tips over, placing the sets against the ground and replanting themselves! The way they plant themselves gives them the appearance of walking across your garden.
These incredible onions can be grown throughout North America, thriving in USDA zones 3 through 9. Not only are they fun to grow, but walking onions are also the ones you want if you always want to have onions. They tend not to produce much their first year, but after that will keep you in a steady supply.
Harvest bulbs in the fall and winter and harvest green onions selectively during their growing period. Plant them in an area you intend to keep them for a long time.
As gardeners, many enjoy adding another heirloom bean to our list of favorites or trying a different variety of tomatoes each year. As we try new crops, we learn and grow alongside our garden. These four unusual perennials are a great way to expand your skills as gardeners, seed savers, home cooks, and herbalists.