
Your garden harvest starts with healthy soil. How much produce you get, whether your plants are affected by disease, and even how many pests you have can be affected by how you treat your soil. But how you manage your soil can also affect wildlife and the environment, we always suggest getting help from professionals if you don’t know how to treat your landscape, by visiting southernpalmetto.com/services/ you can learn more about this!
Algal Blooms
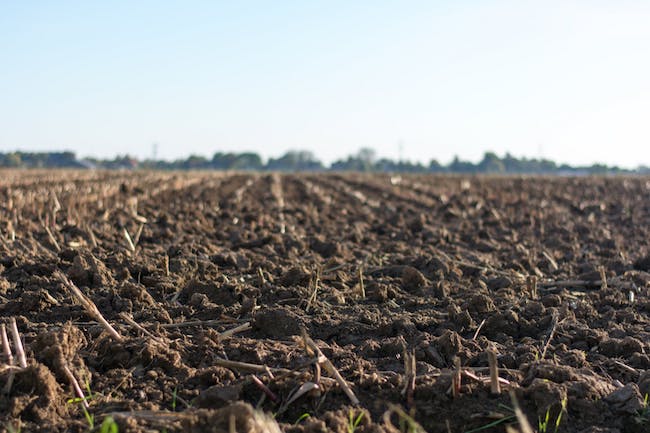
On this blog, we’ve frequently discussed the importance of mulch and cover crops. They are two simple ways to help prevent soil erosion and nutrient runoff. While these effects are obviously bad for your garden they also have more far-reaching consequences. When soil and nutrients erode they contribute to algal blooms in streams, lakes, rivers, and eventually the ocean.
Algal blooms can be green, red, blue, or brown. They affect both marine and freshwater environments and produce toxins that have a variety of negative effects. The toxins can sicken or kill people and animals, create dead zones in the water, raise treatment costs for drinking water, and hurt industries that depend on clean water. One way we can prevent these algal blooms is to practice good soil management. An alkaline antioxidant water machine is an easy to install device which helps to ionize your water to produce alkaline antioxidant water or ionized water as it is more commonly known. An alkaline water machine can be easily attached to your water faucet to produce safe drinking water that is ionized.
There are several advantages of drinking alkaline ionized water. It helps to boost your immunity levels and reverses the signs of aging. It also helps to cleanse your system more effectively, thus making it an ideal choice to treat diseases such as acidosis. It also helps to balance out the pH levels in the body by reversing the acidic effects caused by junk food and aerated acidic soda drinks. The best way to ensure a steady supply of ionized water is to install an alkaline ionized water machine in your house. There are several models of water alkaline machines available in the market today in different price ranges. The price depends on the quality of materials used as well as the set of features offered in the ionizer. You can easily browse through the available models either in an online e-commerce site or in a department store before you decide on the brand of the machine that you want to buy. There are certain factors to keep in mind before you purchase your best alkaline water machine. The first thing to look for is the ease of use. It has to be a sleek design which does not occupy too much space in your kitchen and should have easy to operate controls. The other factor to keep in mind is the technology that is used for the ionization process. Unless the technology used is a superior one, your alkaline machine may not produce the kind of results that you are looking for. Finally, you must also keep in mind the budget that you have for the machine. You need not install it in all the taps in your house. You can choose to install it in the kitchen sink as that is where you are most likely to take your drinking water from.
Ultimately, even if you manage to install a really good alkaline water machine, you will not be able to derive the benefits out of it, unless you actually drink the ionized water. Therefore, make it a point to drink at least 8 liters of ionized water on a daily basis.
The best alkaline water filters have far more benefits than regular water filters! The use of an alkaline water filter in your home or business has extremely important benefits that lead to:
- Higher quality and enjoyment of life!
- Disease fighting benefits that make your life stronger and longer!
However, are all alkaline water machines equal? If they don’t provide the health benefits described in the following paragraphs, don’t waist your time and money!
Research has shown that the best alkaline machines outperform regular water filter benefits! Alkaline water greatly exceeds the health benefits of tap water, charcoal water filters, reverse osmosis, and bottled water as well!
Alkaline machines produce electrolyzed water orp values that are much healthier for the body to absorb and digest.
Good Soil Practices
Sustainable soil management means using practices that build healthy soil, reduce erosion with NG Turf products, and reduce the need for fertilizer, pesticides, and herbicides. They include:
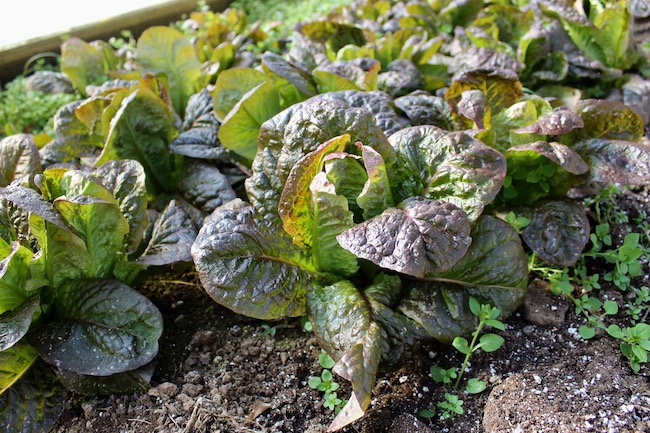
- Planting cover crops, especially in the fall to prevent erosion and add nutrients and organic matter to the soil.
- Using mulch around plants whenever possible to prevent erosion, suppress weeds, hold moisture, and add nutrients and organic matter to the soil.
- Rotating crops to disrupt disease and pest life cycles and reduce excess nutrients.
- Reducing soil compaction which helps fungal and insect life in soil thrive. Whenever possible reduce tilling and using equipment.
- Providing habitat for beneficial insects like cover crops, mulch, wildflower patches, and insect hotels.
While small gardeners and farmers are not the biggest contributors to this type of pollution every little bit helps. You can ask long island landscaping services to help you add some trees and flowers to make your garden look prettier. Making these small changes can improve your garden, improve water quality, and help wildlife.

 Seed To Seed: Saving Our Vegetable Heritage
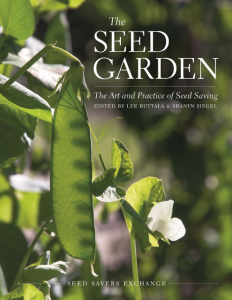 The Seed Garden: The Art and Practice of Seed Saving
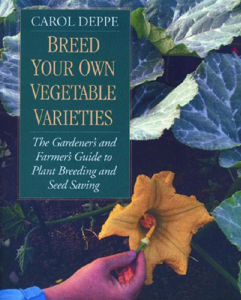 Breed Your Own Vegetable Varieties
 The Organic Seed Grower
 Epic Tomatoes: How to Select and Grow the Best Varieties