
Spring will come sooner than you think, and it’s a beautiful but challenging time! We’re busy in the garden in the spring, prepping beds, sowing, transplanting, amending, and weeding. However, it will still be weeks before most crops begin to produce. Traditionally, many folks would’ve foraged wild greens this time of year to help fill the “hungry months,” when last year’s stores are running out and this season’s crops have yet to mature. This spring, if you can’t wait to start harvesting, keep these five edible spring weeds in mind!
A Safety Note
None of this information is intended as medical advice. Always consult with a doctor. Avoid consuming any of these plants if you’re taking medications, pregnant, or breastfeeding until you’ve consulted with a medical practitioner.
Foraging Tips
Harvest sustainably. Don’t take a whole patch or more than you need; try to leave root systems intact. This advice isn’t applicable if you’re pulling weeds from your garden.
Avoid harvesting any wild edible from areas that may be contaminated, such as roadsides or lawns that have been sprayed with pesticides or other chemicals.
Follow local rules or guidelines if harvesting in public areas.
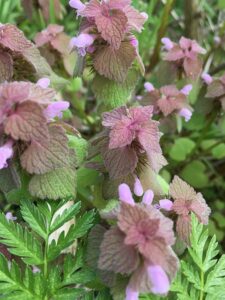 Purple Dead Nettle (Lamium purpureum)
_in_Ohio,_United_States.jpg)
You’ve likely seen purple dead nettle before, even if you didn’t know what it’s called. Purple Dead Nettle is a common herbaceous plant that has naturalized throughout much of North America.
Once you know what you’re looking for, Purple Dead Nettle is easy to recognize. It has fuzzy heart or arrow-shaped leaves attached directly to a square stem. The leaves transition from green near the base to purple or pink near the top of the stem. The flowers are tiny, tubular purple flowers near the tip.
Purple Dead Nettle can be consumed raw or cooked. You can use the young leaves and the tops of the flower spikes in soups, salads, pestos, and stir-fries. You can also dry it for later use as you would other herbs.
Herbalists also employ purple dead nettle for various reasons. It’s believed to have anti-inflammatory, anti-fungal, diuretic, and antibacterial properties. Traditionally, herbalists use purple dead nettle in teas, tinctures, salves, and poultices to boost the immune system, treat minor wounds and irritations, alleviate joint pain, and help ease colds.
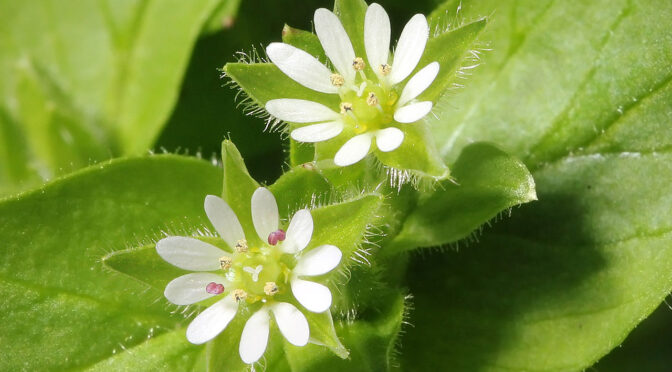
 Chickweed (Stellaria media)

Native to Eurasia, chickweed has naturalized throughout the world and is a common sight in spring gardens, lawns, and waste places. It’s an annual in most areas but may be perennial in warm climates.
Chickweed is sparsely hairy with oval, opposite leaves. The lower leaves have stalks or petioles, while the upper leaves are attached directly to the stem. It has dainty white flowers, and if you look closely, you’ll notice that they’re composed of five deeply lobed petals. Chickweed has green seed capsules that may appear hairy or fuzzy.
As the name suggests, it’s often grown for poultry, but it’s pretty tasty and nutritious for humans too! Unlike many wild greens, I’ve found chickweed to be mild and tender. It makes a wonderful addition to salads and pesto.
Chickweed is also sometimes used in folk medicine. It’s rich in iron and is a popular choice among herbalists for treating anemia. Historically, herbalists also employed chickweed to treat mild skin irritations like bug bites, sunburn, bronchitis, arthritis, and period pain.
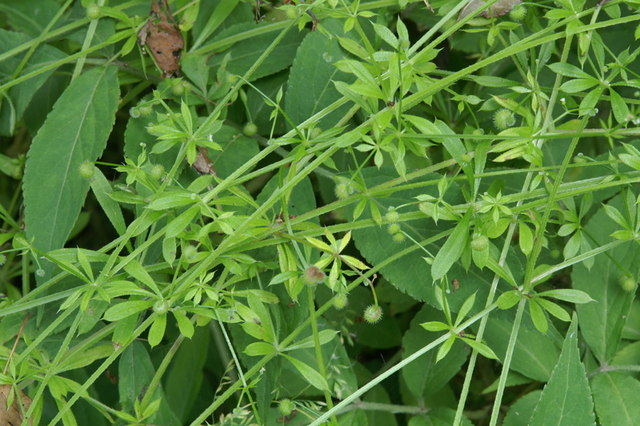 Cleavers (Galium aparine)
,_Loch_Clunie_-_geograph.org.uk_-_1505032.jpg)
Cleavers is known by many common names such as velcro plant, catchword, bedstraw, stickyweed, and hitchhikers, with most referencing the seeds’ ability to cling to people and animals. It’s native to North Africa, Europe, and Asia but has naturalized worldwide.
Cleavers is a low-growing annual with stems that creep along the ground and may become three feet or longer. The stems are angular or square-shaped and have hooked hairs that allow them to climb over other plants. It has simple narrow lance-shaped leaves borne in whorls of six to eight.
In early bring or summer, cleavers produces tiny white or greenish, star-shaped flowers. The flowers are followed by spherical burrs forming clusters of two or three. The burrs are covered in hooked hairs that allow them to stick to fur and clothing, aiding in dispersal.
Despite the hooked hairs, cleavers is edible. The stems, leaves, and flowers can be eaten before the seeds form. They’re best when cooked in dishes like soups and stews. Interestingly, cleavers are in the same family as coffee. The seeds can be roasted and used as a coffee substitute.
In herbal medicine, folks have used cleavers as a diuretic tea and salve or poultice to treat minor wounds, burns, and rashes. As the common name bedstraw indicates, dried cleavers were once commonly used to stuff mattresses. Cleaver roots were once commonly used to make a permanent red dye.
Some people experience a skin rash when coming in contact with the hairs of cleavers.
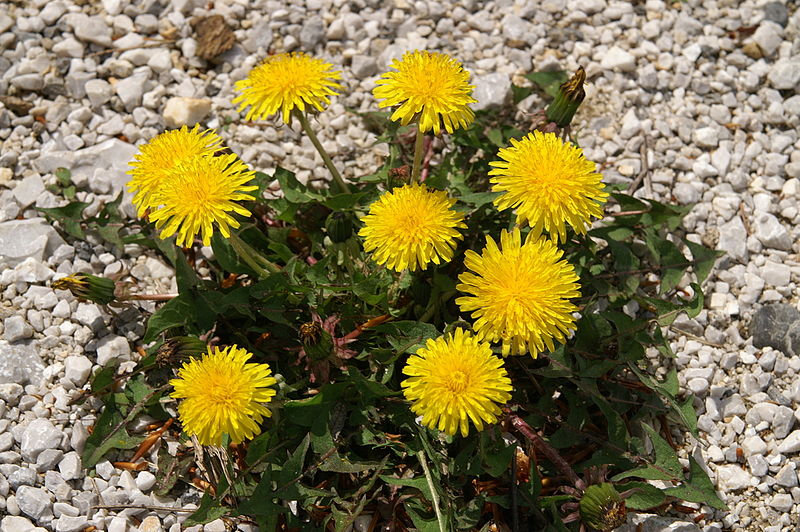 Dandelion (Taraxacum officinale)

Taraxacum is a large genus of plants commonly known as dandelions. While this includes many species, for this post, we’ll focus on one of the most common species worldwide, Taraxacum officinale often referred to as common dandelion or dandelion.
It’s likely that you already know how to identify the common dandelion. The leaves form from the base and are oblanceolate, oblong, or obovate and narrower near the tip. They are usually shallowly or deeply lobed and have sharp or rounded teeth. Dandelions form yellow flowers, followed by seeds attached to silky pappi, which create parachutes allowing for wind dispersal. Dandelions have large taproots.
The leaves, roots, and flowers of dandelions are all edible. The young leaves and buds are often eaten raw in salads. Older leaves get more bitter and are better for use in cooked dishes. The roots can be eaten like other root vegetables or dried and ground into a coffee substitute.
Dandelion flowers are often used to make dandelion wine or are sometimes added to baked goods. Recently, there has been some concern about using so many flowers and how this may harm bees. In reality, dandelions are not bees’ earliest or preferred food source. Many other species provide good early nutrition for bees, like willow blossoms and violets. Additionally, pruning dandelions encourages growth.
Herbalists use dandelions internally and externally to help treat various ailments. They are believed to help with indigestion, support a healthy liver, treat inflammation, heal mild skin irritations, and more.
 Lambsquarters (Chenopodium album)

Native to Europe, lambsquarters is now naturalized worldwide and is known by many names, including goosefoot, white goosefoot, fat-hen, wild spinach, and meld. Although it’s a cultivated plant in some areas, it’s considered a noxious weed in many others and can significantly impact crop yields.
Lambsquarters leaves are widely varied in appearance but are generally more or less diamond-shaped and toothed. They grow in an alternate arrangement on the stem and often have a mealy white coating, especially on the underside. The stems have conspicuous grooves and are hairless and branched. The flowers form in clusters at the stem ends and are green and unassuming. They give way to shiny, black to brown seeds encased in star-shaped papery coverings.
The leaves, young shoots, flowers, and buds of lambsquarters are all edible and make an excellent cooked green. However, lambsquarters are high in oxalic acid and should be eaten in moderation. The seeds can also be eaten like a grain. Archeologists have found them mixed with other grains at Roman, Viking age, and Iron Age sites. It is also used as animal feed.
Herbalists often use lambsquarters to create a poultice for insect bites, sunburn, rashes, and minor wounds. Historically it has also been made into a tea to treat or prevent scurvy, diarrhea, gout, and rheumatic pains.
Recipes
- Check out our Spring Greens Ravioli to use any of these weeds.
- Learn to make Dead Nettle and Chickweed Fritters from The Herbal Academy.
- Make Cleaver pasta with Elevated Wild.
- Try this delicious lambsquarters soup from Hunter Angler Gardener Cook.
- Make dandelion cupcakes with this fun recipe from Grow Forage Cook Ferment.
- Ferment a batch of your own dandelion wine with The Spruce Eats.
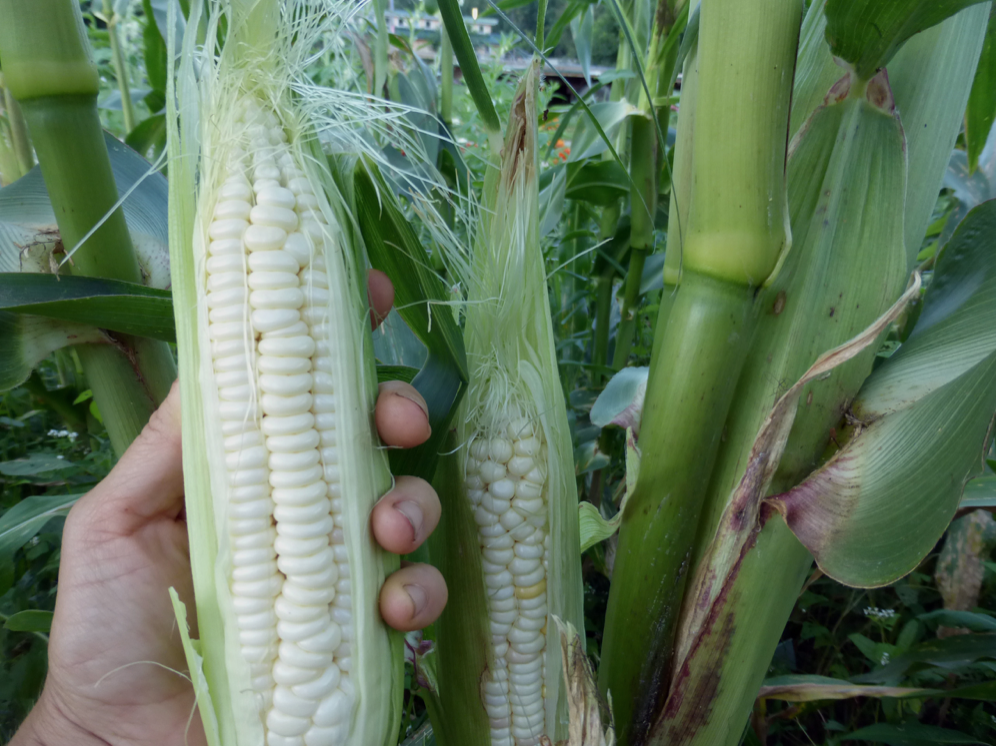 Hybrid Sweet Corn
 Open-Pollinated Sweet Corn
 Popcorn
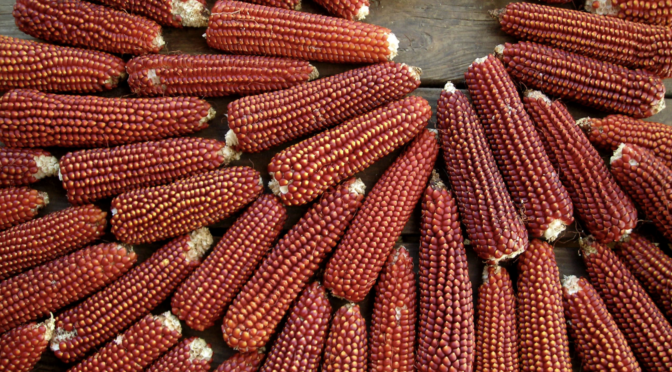
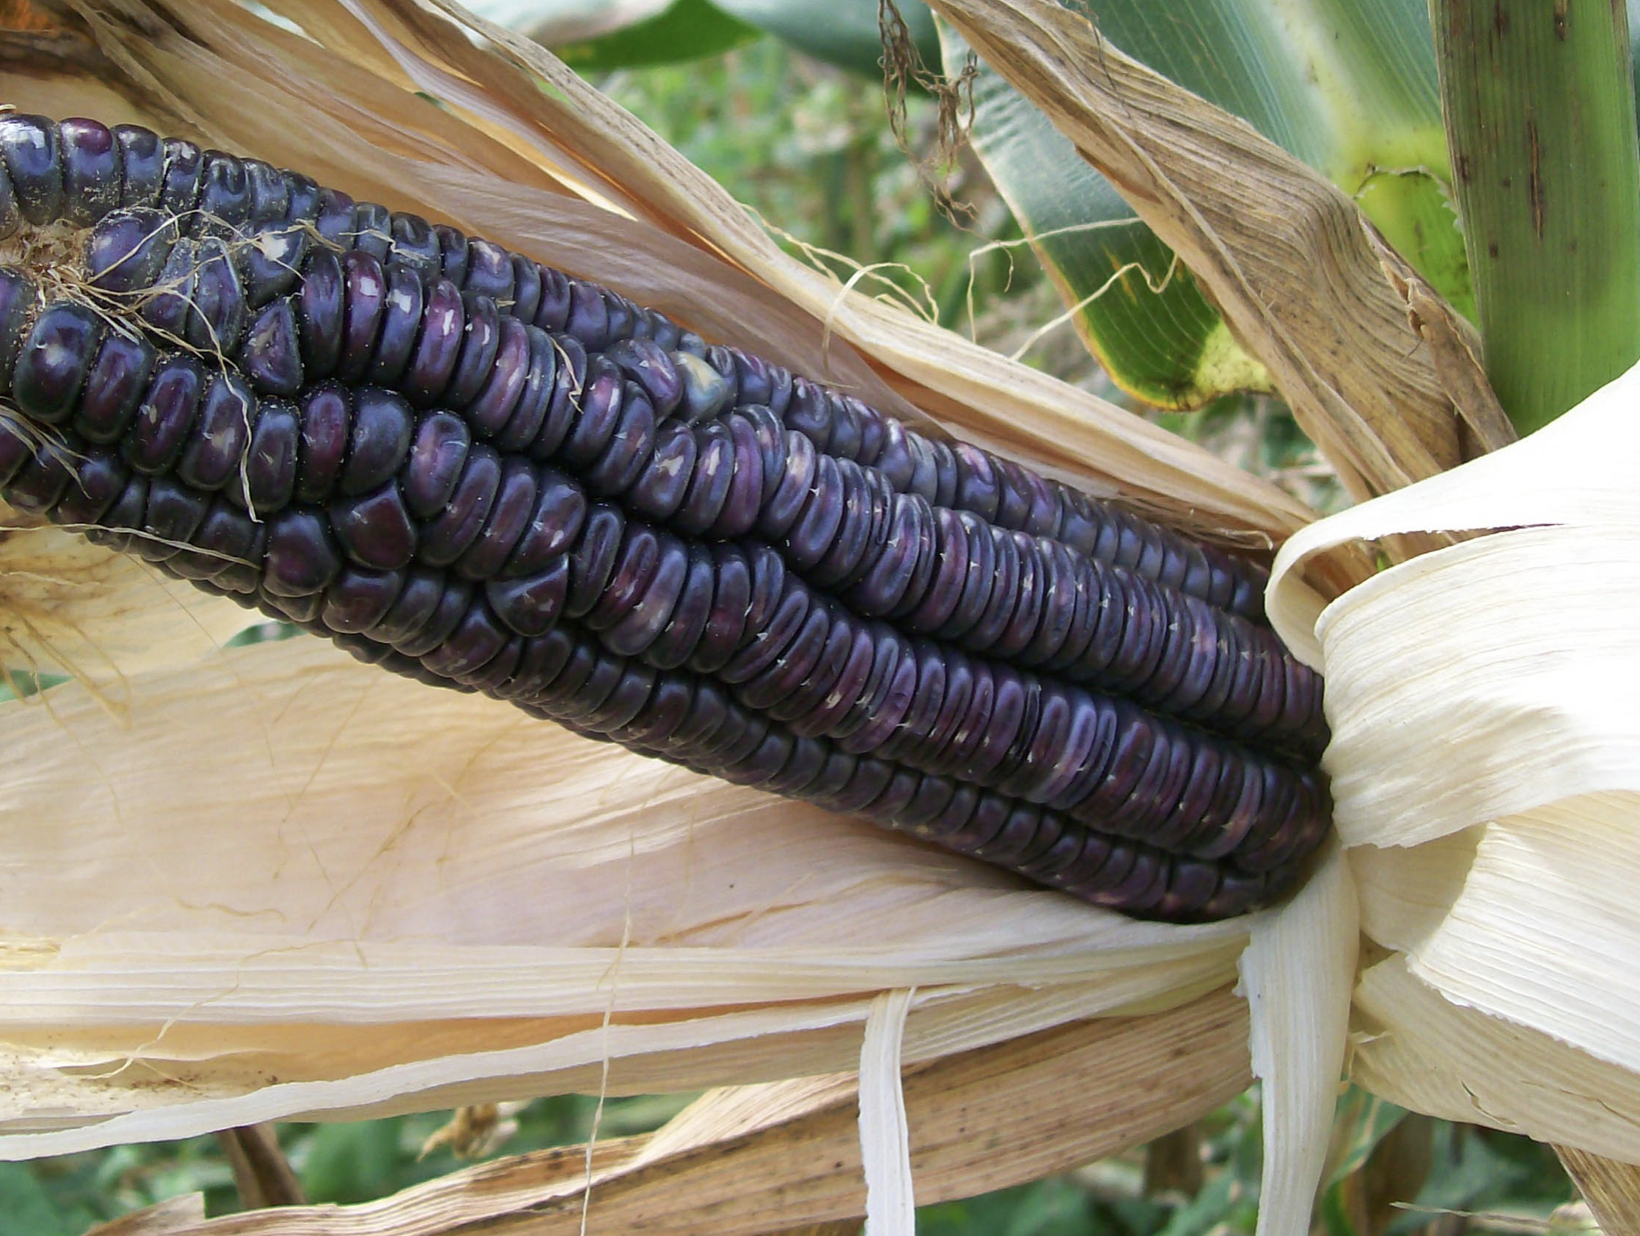 Flint, Dent, & Flour Corn
 Gourdseed Corn
 Adjust Lighting