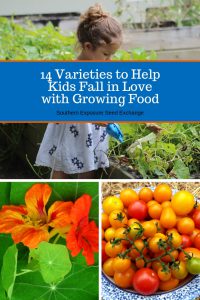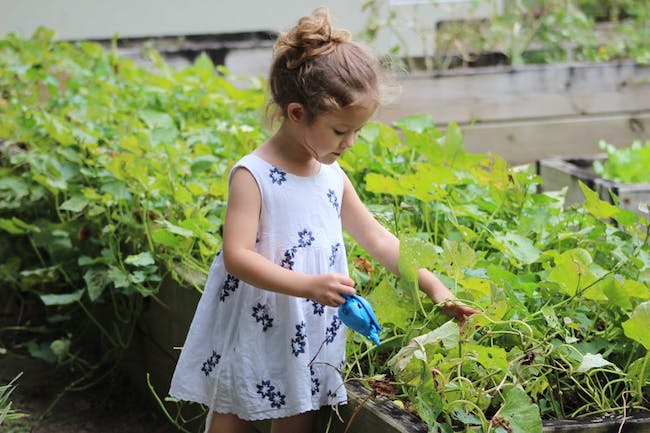
In today’s modern, busy life getting kids in touch with the natural world can be tough. Finding time to get outside with family and grow something can be incredibly helpful for children. It helps them connect with nature, learn about where their food comes from (no it doesn’t just appear in the store), and develop healthy eating habits. Even with the best-laid plans gardening with kids may not be the happy idyllic family moment we picture in our minds. Gardening really is hard work! One way to help kids get excited about gardening is to grow fun and exciting varieties.
Green Pod Red Seed Asparagus (Yardlong) Bean
Kid’s will marvel at these enormous beans the first time you add them to your garden. They’re also a super reliable, trouble-free variety and if properly trellised their towering vines can make excellent tunnels or forts for kid’s to play in.
Chioggia (Dolce Di Chioggia) Beets
Slicing one of these beets reveals a gorgeous bullseye pattern. Beets are also a great choice for kids because their sweet, mild flavor makes them easy to slip into other food like berry smoothies or even chocolate cake!
Purple Dragon Carrots
Carrots seem to have become typical little kid food and these purple carrots pulled fresh from the garden are sure to impress more than their whittled down grocery store counterparts.
Strawberry (Two Inch Strawberry) Popcorn
This variety is absolutely adorable and makes an amazingly easy to store snack for winter. Being able to pull out a jar of red popcorn to pop together on a winter afternoon provides double the fun!
White Wonder Cucumber
These little slicing cucumbers are a wonderful size for children to pick and eat. They have great flavor and are very productive.
Rainbow (Five Color Silverbeet) Swiss Chard
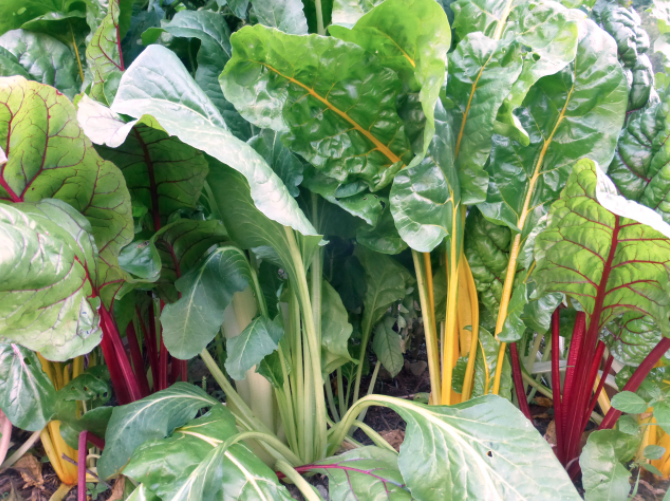
These rainbow greens might help make leafy vegetables more appetizing for your kids. They also have larger seeds than many greens making them easier for small children to plant.
Cossack Pineapple Ground Cherry
These tasty little fruits have a flavor reminiscent of pineapple. Small and easy for children to pick on their own, they’re sure to be a star in your garden. Just don’t expect too many of them to actually make it into the house!
Green Arrow Dwarf Shelling (English) Pea
Peas are nice big seeds for little hands to plant. They also have sweet little flowers and vines. They’re fairly easy for small children to pick and shelling them together can be a great family activity.
Connecticut Field Pumpkin
What child wouldn’t want to grow their own jack-o-lantern? Unlike store-bought Halloween pumpkins you’ll know exactly what these were grown with so you can eat them too!
Amy’s Apricot Mix Cherry Tomato
Cherry tomatoes are super easy for kids to go into the garden and pick for themselves. This variety tends to vary a lot so you’ll probably end up with a mix of colors and shapes which can make them even more fun for kids. Other great cherry tomato choices include Matt’s wild cherry tomato (red) or lollipop tomatoes (yellow).
Amish Moon and Stars Watermelon
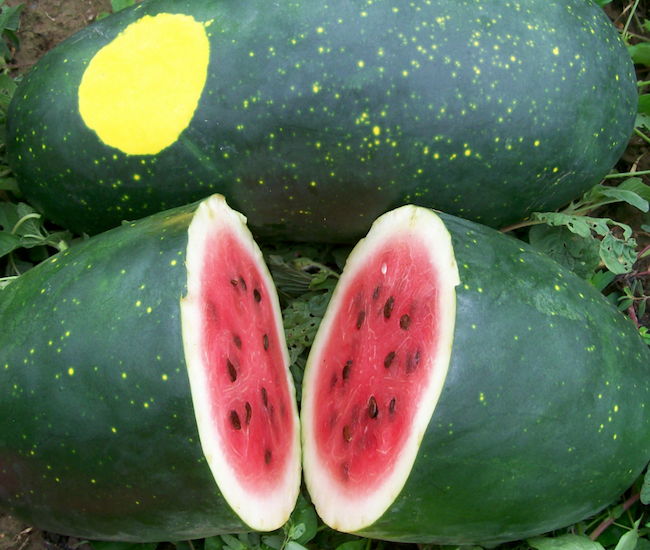
If you have the space for a watermelon patch, moon and stars watermelons are stunning. They generally have one or two larger yellow spots (moons) and tons of smaller yellow spots (stars) on their dark green rinds. They make a super fun space themed snack for any kid.
If you don’t have space or long growing season for Amish moon and stars you might consider a patch of sugar baby watermelons. They’re a delicious, easy to grow, space saving variety.
Johnny-Jump-ups
These tiny flowers are super easy to grow and edible. Munching on a few flowers may help kids feel at home in the garden.
Nasturtiums
One of my favorite flowers, nasturtiums are so whimsical they have earned their place in fairytale lands like Tolkien’s Middle Earth. They’re vining nature, cute orange flowers and lily pad-like leaves help make the garden a magical place. They’re also entirely edible, perfect for young children who like to try everything.
Mammoth Sunflowers
With 9ft stalks and 11in heads, these mega sunflowers will impress kids and adults alike. Just make sure the kids keep the shell spitting contests outside!
For more tips on getting your children gardening, check out Get Your Kids Involved in the Garden!
Pin it for later.