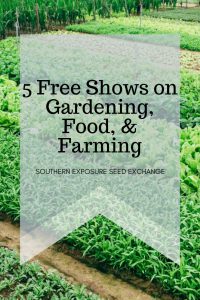
 Gardening may be as good as therapy but sometimes we all need to kick back and enjoy a little screen time. While Game of Thrones may be really exciting, next time you’re in the mood for a Netflix binge consider one of these five documentaries. They’re all free to watch and shed light on gardening, food, and farming.
Living Soil Film
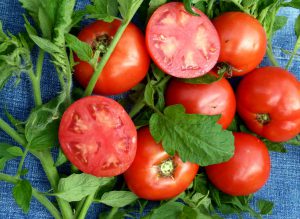
This documentary, produced by the Soil Health Institute, discusses the problems with humans’ relationship with soil. It introduces staggering statistics like, “the societal and environmental costs of soil loss and degradation in the United States alone are now estimated to be as high as $85 billion every single year” and provides methods for more sustainable farming. It features innovative farmers and soil experts from across the United States. Learn more about soil and how you can keep your garden’s soil healthy.
Tales from the Green Valley
Though not a documentary this TV show created by the BBC as part of a historic farming series is an informative look at agricultural techniques of the past. The show follows historians Ruth Goodman and Stuart Peachy as well as archeologists Alex Langlands, Peter Ginn, and Chloe Spencer as they run a historical farm just the way it would have been in the 17th century for a full calendar year. Try an episode (or twelve!) for a glimpse of history through the lens of everyday life.
Unbroken Ground
Created by Patagonia Provisions, this short documentary discusses the role of agriculture in our current environmental crisis. It takes an inspirational look at folks who are trying to change the way we produce food and protect our lands and waters. Join the food revolution with this informative film.
Treasures of New York: The New York Botanical Garden
This PBS special explores the 250 acre New York Botanical Garden. A “museum of plants,” the New York Botanical Garden is home to over million plants and operates one of the world’s largest plant research and conservation programs. Get inspired as you follow along on a tour of this amazing garden.
Stone Age Stories: First Farmers
This documentary focuses in on archeological evidence that Stone Age peoples began gathering and growing grains. It attempts to explain their transition from nomadic hunter-gatherers to farmers. It also looks at the beginning of permanent settlements, animal domestication, and metal working. Check it out to learn more about agriculture’s profound effect on civilization.
Next time you’re having a family movie night or just want to relax on a rainy afternoon try one of these documentaries. They might change your ideas about food and farming!
Pin it for later.