Tag Archives: soil health

Wildlife Friendly Garden: Fall Clean-Up

This fall, we’ve loved seeing an increased awareness about how pollinators and other beneficial insects are affected by garden clean-up. These creatures overwinter in organic debris such as plant stems, seed pods, and leaves. Overwintering songbirds also utilize this debris for habitat and food sources. 

So do we leave our garden as is in the fall for wildlife? No, we remove some material, leave some, and add some. These autumn chores are essential for the health and productivity of next year’s garden. Here’s what we recommend to keep your garden healthy and give wildlife a helping hand:

Clean up diseased plants.

In the fall, any diseased plant material should be removed from the garden and burnt, buried away from any garden beds, or composted in a well-managed compost pile that reaches at least 140°F. 

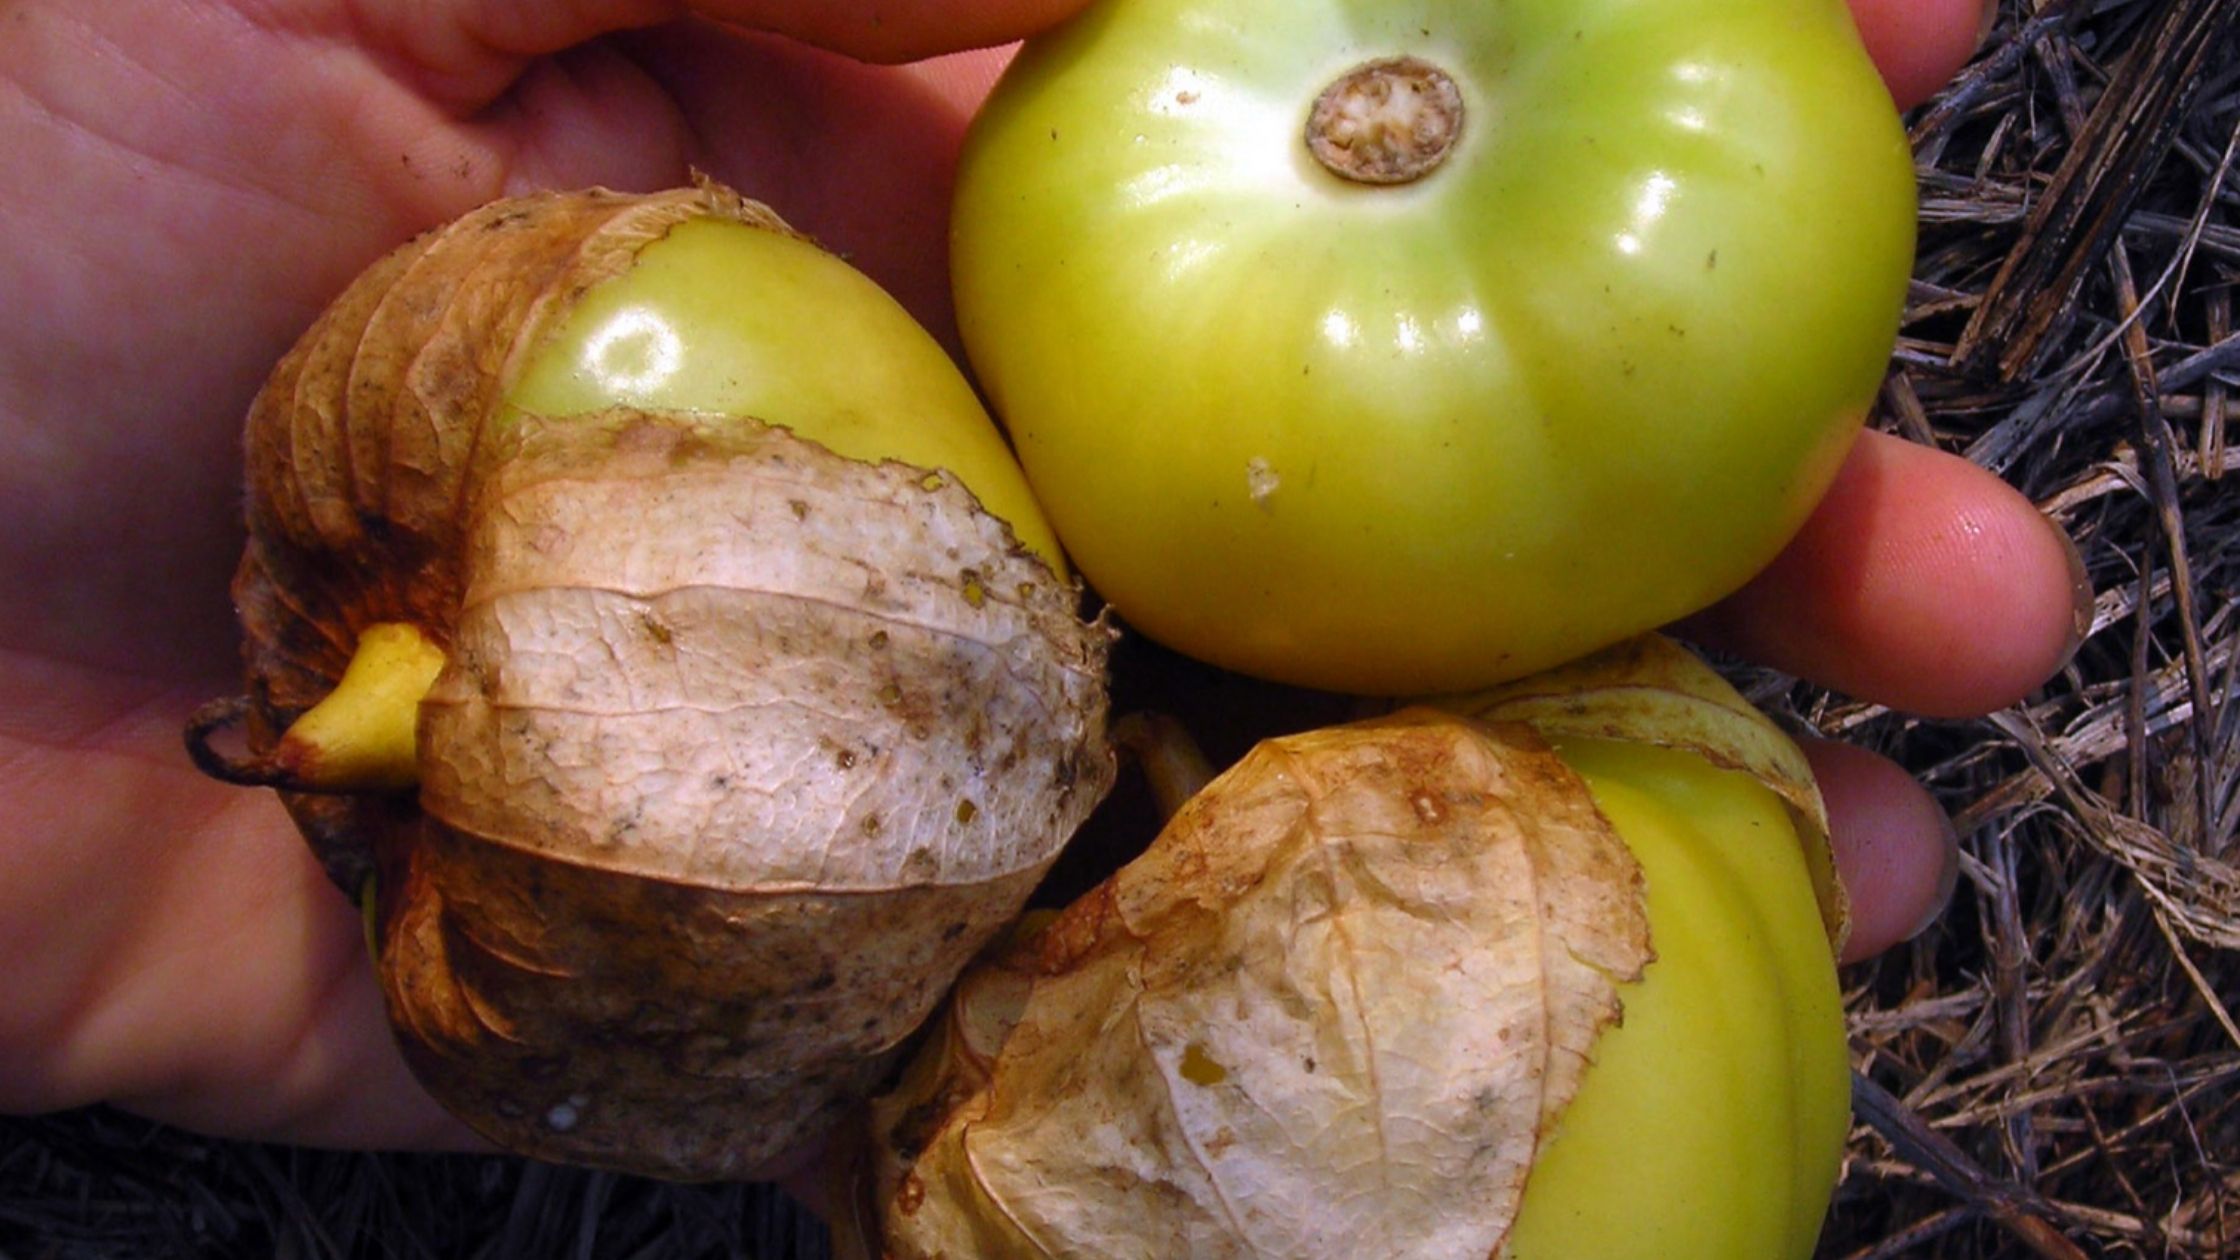
Nightshades or members of the Solanaceae family, including peppers, potatoes, tomatoes, and eggplants, are common candidates. These plants are affected by fungal diseases such as Alternaria (early blight), late blight, verticillium wilt, and fusarium wilt, which can overwinter in dead plant material.

You should also remove plants like cucumbers and squashes that have been affected by Downey Mildew.

Don’t leave soil bare over the winter. 

If your first frost is still several weeks away, you should be sowing cover crops like clover, Austrian winter peas, or winter rye in open beds. Cover crops prevent erosion, suppress weeds, add organic matter and nutrients to the soil, and provide habitat for beneficial insects, bacteria, and fungi.

However, depending on what zone you’re in, if you haven’t sown any fall cover crops at this point, you may want to use mulch instead. A thick layer of mulch can help provide a winter habitat for beneficial insects, bacteria, and fungi. It also suppresses weeds, slowly adds organic matter as it breaks down, and protects the soil from winter weather. We talked more in-depth about mulch in a previous post, but you can use straw, hay, old leaves, or wood chips.

Leave the leaves!

We’ve been taught that our yards and gardens should look tidy, but there’s nothing wrong with leaving autumn leaves right where they fall. They’ll break down and add organic matter and nutrients to your lawn and garden.

If you have places you want to remove leaves from, such as pathways to your home, there are a couple of great uses for them. You can add them to your compost pile; they’re a great source of carbon. You can also use leaves as an excellent free mulch to protect soil or perennial and overwintering plants like garlic, fruit trees and shrubs, strawberries, rhubarb, or tulips.

Don’t cut back seed-bearing flower heads.

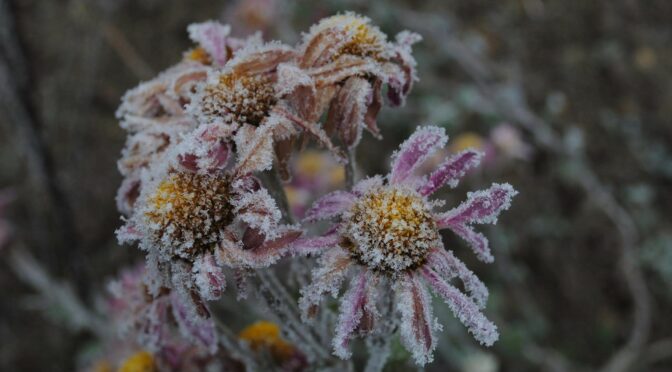
Dead flower stalks are some of our favorite plants to leave standing. A few great choices include sunflowers, echinacea (coneflowers), bee balm (monarda), and rudbeckia (black-eyed Susans). The stems from many species are ideal places for native bees. You might also spot songbirds using them as winter perches and searching them for any leftover seed. They also add a bit of beauty to the winter landscape. Frost-covered seed heads are a lovely morning view. 

Plant more flowers.

Depending on your zone, you may still be able to sneak in a few flower seeds and bulbs. Many native flowers are excellent choices for fall sowing because their seeds are adapted to spending the winter in the soil in our climate. Check out our post, Spring Flowers: Fall Sowing, for a list of flowers that can be fall sown. 

Do cut back pest-infested material.

Another instance where we opt to remove and burn plant material is when it is infested with pests that may overwinter in the material. An excellent example of this is asparagus stalks that were infested with asparagus beetles. After they turn brown and die back in the fall, it’s a good idea to cut them about 2 inches above the soil and burn them. 

Other November odds and ends:

  • Drain the gas from rototillers and other equipment that will sit all winter.
  • Bring in terracotta pots that can crack during freeze and thaws.
  • Drain and store hoses and sprinklers. 
  • Clean and oil garden tools before storing them. This also helps fungal diseases from being transmitted to other garden beds.

As organic gardeners, we strive to work with nature. Following these simple ideas can limit time spent on clean-up, help build healthy soil, and increase the number of birds and beneficial insects in and around our gardens.

8 Reasons to Grow Austrian Winter Peas

We’ve mentioned fall cover crops a lot on this blog. They help protect your soil through the winter, preventing erosion and providing habitat for beneficial insects and fungi. They also add nutrients and organic matter, and suppress weeds. One of our favorite fall cover crops is Austrian winter peas. Here’s why you should consider adding them to your garden:

1. It’s not too late to plant Austrian winter peas!

At least in the upper south, the end of October is a bit late to be sowing most cover crops. Thankfully, these peas will tolerate temperatures down as low as 0°F for brief periods. We still recommend planting them 4 to 6 weeks before your first hard frost for best results. However, we’ve had luck planting later than that. You can also improve their cold tolerance by sowing them with winter rye which will help shelter the peas from wind and cold temperatures. 

2. The flowers are beautiful and edible.

It’s hard not to fall in love with those little bi-colored blossoms. Beyond adding beauty to your springtime garden, you can use them to add color to salads or be as natural decorations for baked goods. 

3. They’re nitrogen-fixers.

Not all cover crops have the same benefits. Austrian winter peas are what are commonly known as nitrogen fixers, meaning that they have a symbiotic relationship with specific bacteria. The bacteria colonize the plant’s roots and pull nitrogen out of the atmosphere. The bacteria use the nitrogen, and then it becomes available to the plant.

When you plant Austrian winter peas as a cover crop, that nitrogen is added to the soil for your next crop to use. Additionally, the peas provide habitat for the same type of bacteria that other legumes like snap peas and pole beans use. Helping these beneficial bacteria flourish in your soil will give you better results with these sorts of crops.

4. The shoots are great in salads and stir-fries. 

Austrian winter peas are primarily grown as a cover crop or green manure, but they’re also a tasty green. The young shoots can be snipped off and added to salads and stir-fries. They have a nice pea-like flavor and will continue to grow in much of the south through the winter.

5. Austrian winter peas make great mulch. 

When you’re ready to plant other crops in spring, you have a couple of options when cover cropping with winter peas. Often, people choose to till them in. However, you can also use them in a no-till garden. Simply scythe them down (or cut or pull them by hand for small beds) and plant directly into them. They make a excellent layer of mulch and will slowly decay and add organic matter to the soil.

6. Livestock loves Austrian winter peas too.

Humans aren’t the only ones that find Austrian winter pea shoots tasty. Livestock loves them. During the winter, you can cut some as a treat for goats, chickens, or other backyard livestock.

7. You can eat them like snap peas.

If you decide to let your Austrian winter peas continue growing in spring, you can eat the young pods as snap peas or use them like shell peas as they mature. Generally, they aren’t quite as sweet as other varieties. 

8. The flowers are helpful for pollinators. 

When you fall plant Austrian winter peas, they get ahead start on many of your spring garden crops. This means they flower early, providing bees and other pollinators with food at a critical time.

We grow and offer many different cover crops at SESE, but Austrian winter peas have earned a place as a fall favorite. They’re a great dual-purpose crop for small farmers and gardeners looking to improve their soil health and grow fresh food during the winter.

Using Manure in the Garden

It’s now believed that farmers have been using manure to fertilize their crops for at least 8000 years! Spreading manure on fields and gardens to increase soil fertility has long been common, especially when most folks were keeping livestock. Today, it can be more tricky. So whether you’ve got your own backyard farm or not, here are a few things you should know about using manure in the garden. 

Pros

  • It’s full of nutrients! Manure is an excellent source of primary plant nutrients nitrogen, potassium, and phosphorus. It also includes secondary nutrients; calcium, magnesium, and sulfur that may not be found in commercial garden fertilizers.
  • Manure adds organic matter and improves soil structure. This allows optimum root growth and increases the soil’s ability to hold moisture.
  • You can often find manure for free or use your own from your own livestock.

Cons

  • Fresh manure can contain bacteria that can contaminate crops and make you sick.
  • It often contains weed seeds.
  • It may contain pesticides, herbicides, or other chemicals.
  • Fresh manure contains high levels of nitrogen, ammonia, and salts which can burn crops. 

Sourcing Good Manure

If you own livestock, using their manure is the best choice. To fertilize your garden, you can use chicken, goat, cow, horse, rabbit, and other livestock manure. Avoid cat and dog waste as their feces can contain toxins and heavy metals that will remain in your garden. 

If you don’t own animals, it may be possible to source manure from a local farm. However, you may want to ask some questions. Herbicides can stay in manure and ruin your garden, so it’s essential to ask if the animals were allowed to graze where an herbicide was sprayed. 

It’s also worth noting that not all animal manures are the same. Manure from herbivores like horses and cows has a lower nitrogen to carbon ratio than omnivore manure like that from pigs and chickens. Therefore herbivore manure won’t burn your crops even if it’s fresh. You should also note that horses don’t digest seeds, so horse manure will have more weed seeds in it. 

Composting Manure

Some of the “cons” of manure are easily taken care of by composting it. Composting your manure will kill any bacteria and allow it to mellow, so it’s not high in nitrogen, ammonia, or salts and won’t burn your crops. A good, hot compost pile can also render weed seed inviable. 

To compost manure, you’ll want to follow the same techniques we discussed in Black Gold: Making Compost. Mix your nitrogen-rich manure with good sources of carbon such as old leaves, straw, or shredded paper; alternate layers as you build your pile. Keep the pile moist and turn it over every few weeks to encourage aerobic decomposition. It’s ready when it looks like black, crumbly soil and is no longer hot or smelly. 

You can apply composted manure to the garden the same way you use your regular compost. Spread a few inches on a bed before planting, add it to homemade potting mixes, or side-dress crops. 

Aging Manure

Your other option is to age manure rather than compost it. It’s exactly like what it sounds. You pile it and leave it. This process can take longer than composting, particularly if you’re starting with manure that’s high in nitrogen, like pig manure. 

Applying Fresh Manure

If you want to apply fresh manure, you need to select “cool” manure like horse, cow, or rabbit manure. Other manures, including goat, poultry, and pig, may burn your crops. Goat and sheep manure may be okay if it’s mixed in with carbon-rich bedding like straw or hay.

One of the safest ways to use fresh manure is to follow the USDA National Organic Program Guidelines. They state that if the crop may come into contact with the soil, whether it’s touching them directly like with beets or splashing on them like with Swiss chard or cucumbers, it must be applied 120 prior to harvest. If the crop won’t be in contact with the soil like corn or dry beans, the manure must be applied 90 days prior to harvest. 

It’s a long time! This timeframe keeps crops safe from bacterial contamination such as E. coli and Salmonella. However, many home gardens don’t feel the need to follow such stringent guidelines. Just make sure you wash your veggies well if there’s a chance they’ve come into contact with the manure, especially if you don’t know where the manure came from.

Can You Use “Humanure?”

Using composted human waste to fertilize crops used to be common throughout much of the world. Composting human waste can reduce pollution and water consumption. Setting up a composting toilet is also much easier and cost-effective than installing a septic system and is a popular choice for off-grid and tiny homes. 

So is it safe? Yes, when done correctly. There are a number of fairly basic considerations to composting human waste. For example, you want to ensure your compost bins aren’t on wet ground or somewhere they could contaminate ground or surface water. You should also compost your waste for a year before use, and you should use it around fruit trees, berry bushes, and ornamental plants where it won’t get on food crops. Modern Farmer has a more detailed piece on humanure you can find here.