So far this summer is promising to be a hot one. With the temperatures climbing and much of the east coast worrying about droughts like the ones they faced last summer a productive garden may seem like a mere dream. However there’s several easy tricks that can keep your plants cool, productive, and even lessen your water usage.
Install windbreaks.
Wind tearing through your garden can not only damage plants but also causes soil moisture to evaporate. The easy solution to this is to install or grow windbreaks in your garden. Windbreaks don’t need to be solid and stop all the wind. They can be quickly made from snow or pallet fencing. If you’d like living wind breaks consider tall annual crops, shorter perrenials that won’t shade your garden too much like berry bushes or dwarf fruit trees depending on your space, or hedge species. These should be placed perpendicular to the direction of the wind.
Invest in or diy some shade cloth.
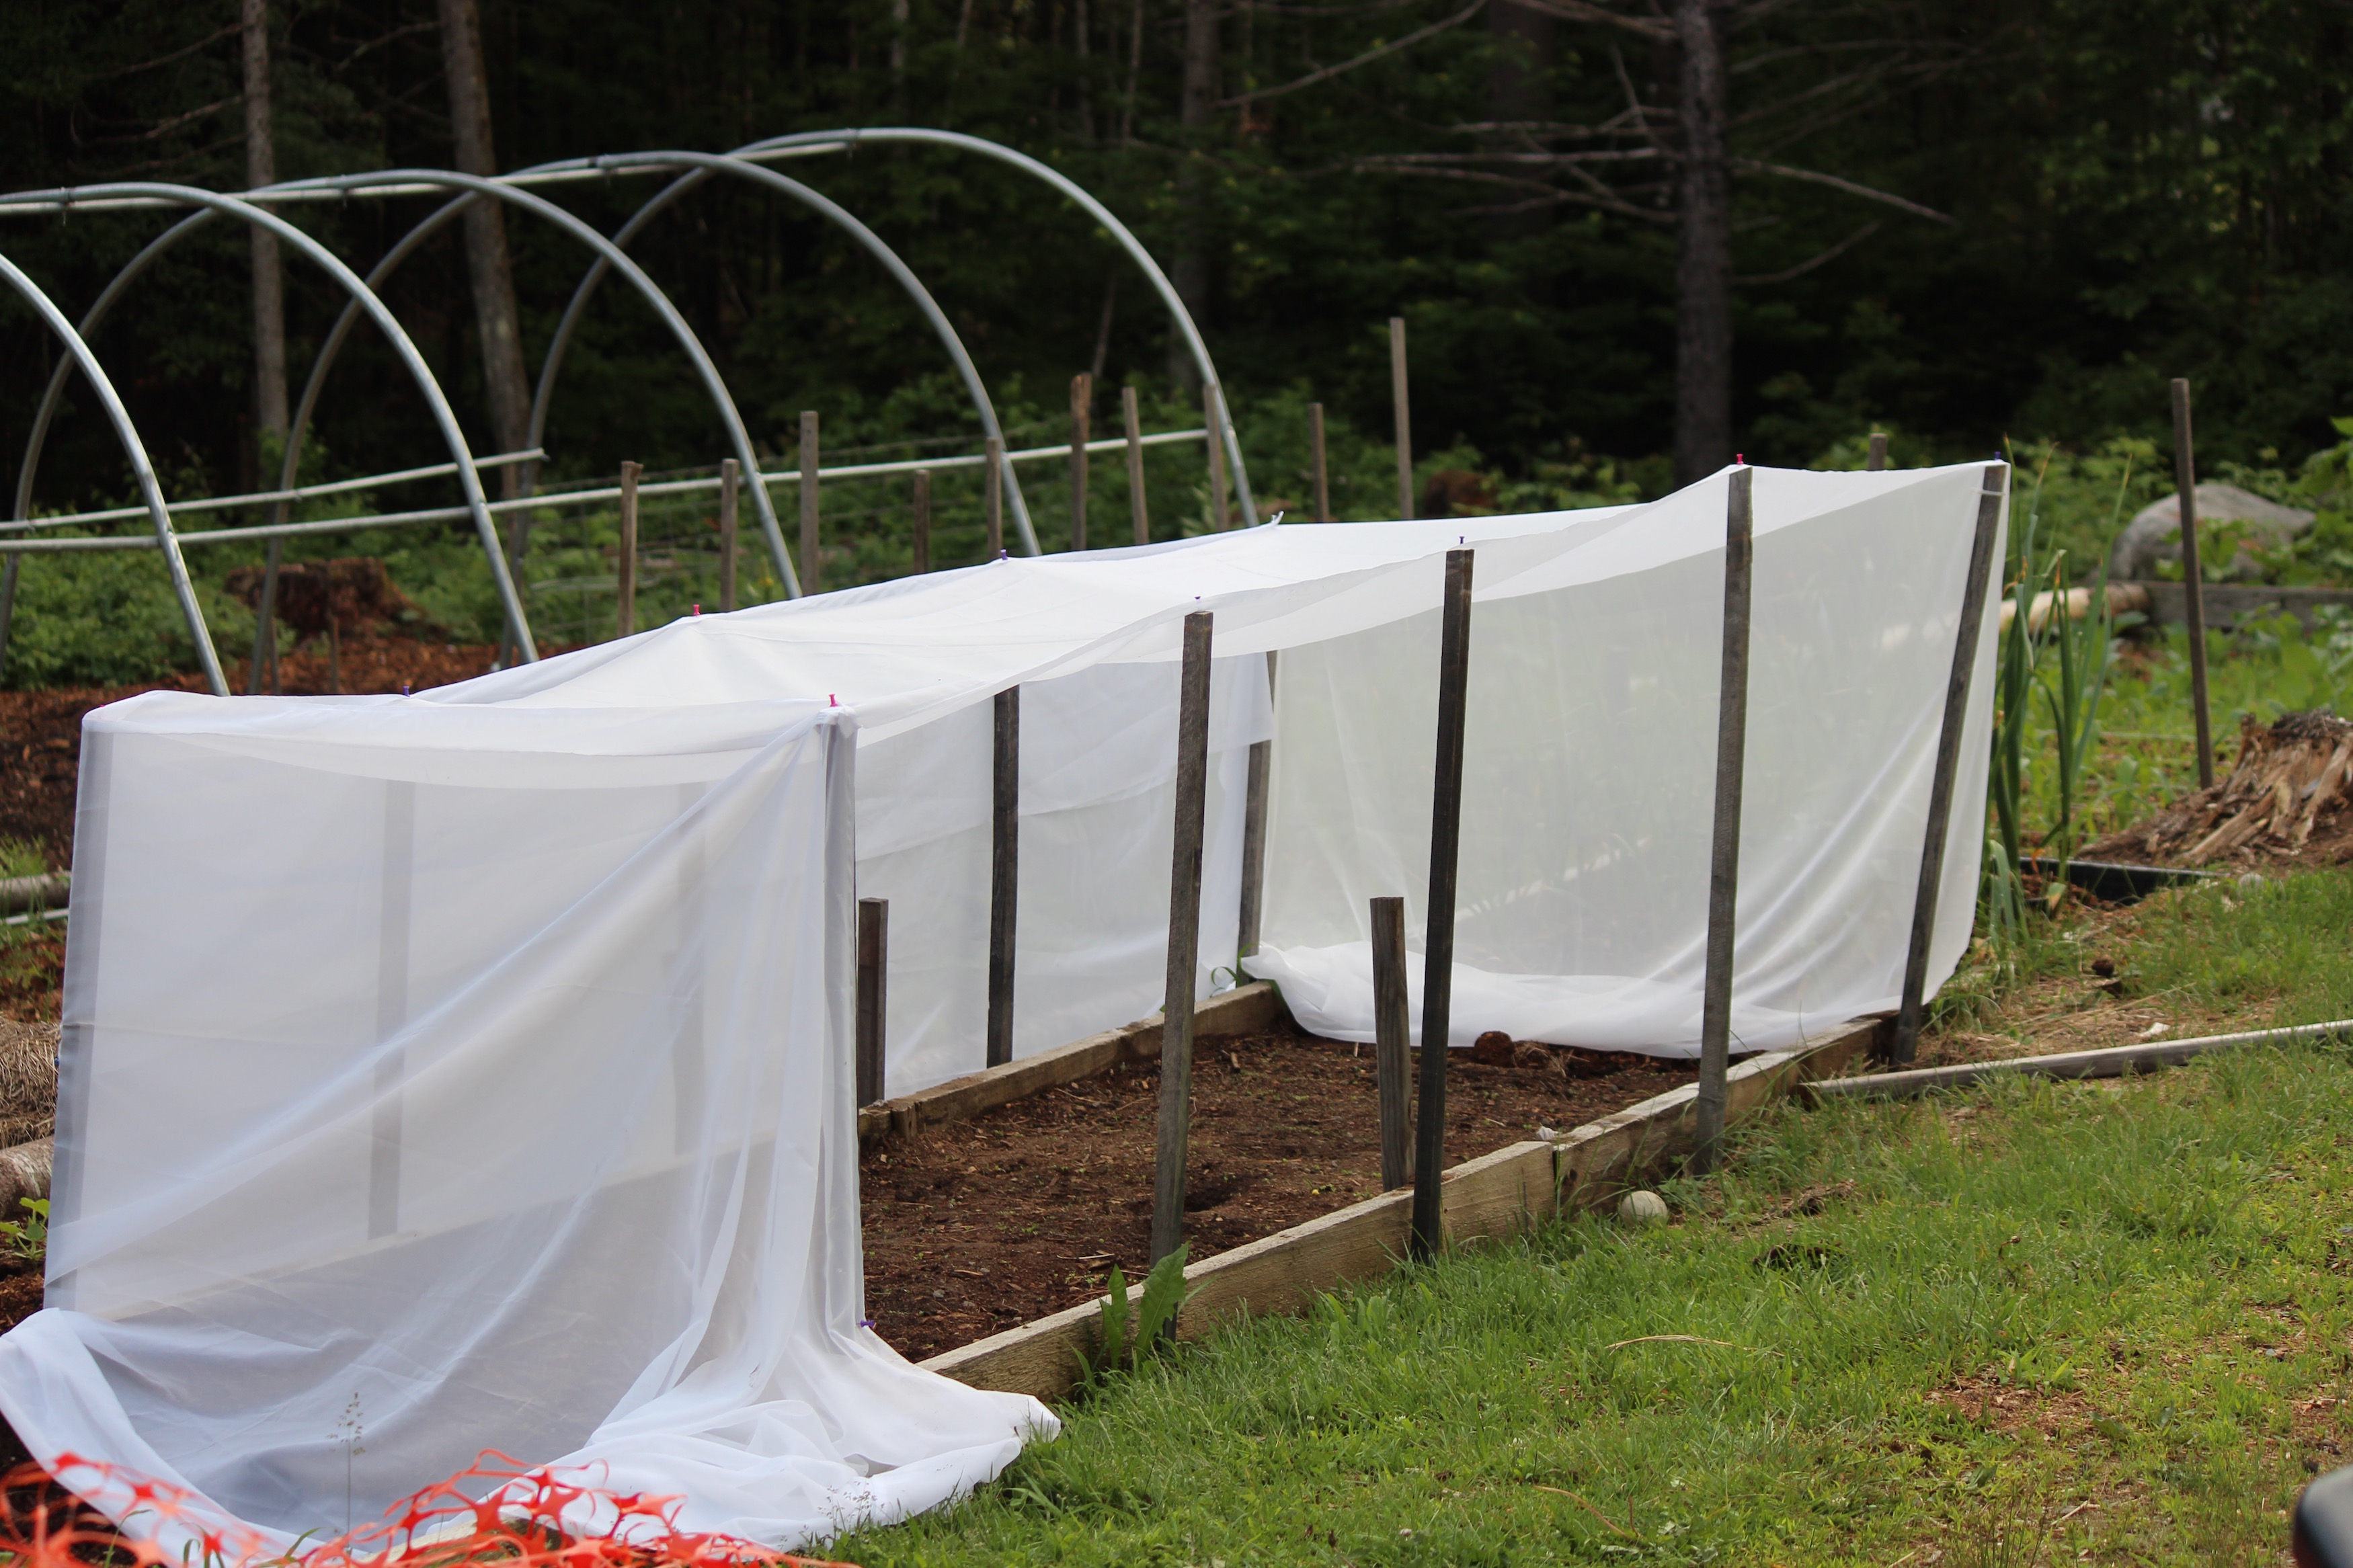
Shade cloth can be super helpful for keeping those cools seaosn plants like peas and spinach producing longer. It can also be used over new new transplants that are adjusting to field conditions or seeds like lettuce that prefer cool soils to germinate.
Use a lot of mulch.
Mulch is one of the easiest ways to keep soil temperatures cooler and moisture levels up. Plus mulch cuts down on the weeding. Great mulch options include grass clippings, straw, hay, or old leaves all of which can be combined with cardboard or newspaper.
Water your garden consistently.
Your watering schedule will obviously be unique to your garden but you sould work hard to maintain moist soil conditions. Waiting for plants to start wilting before you realize it’s time to water harms your plants’ health and reduces your harvest.
Water at the right times.
Watering consistently is half the battle but you should also try to water at the best times of day. The early morning and evening are the best times to water. Less water is wasted waisted to evaporation because it has a chance to soak into the soil before it’s exposed to the mid-day sun and heat.
Practice interplanting.
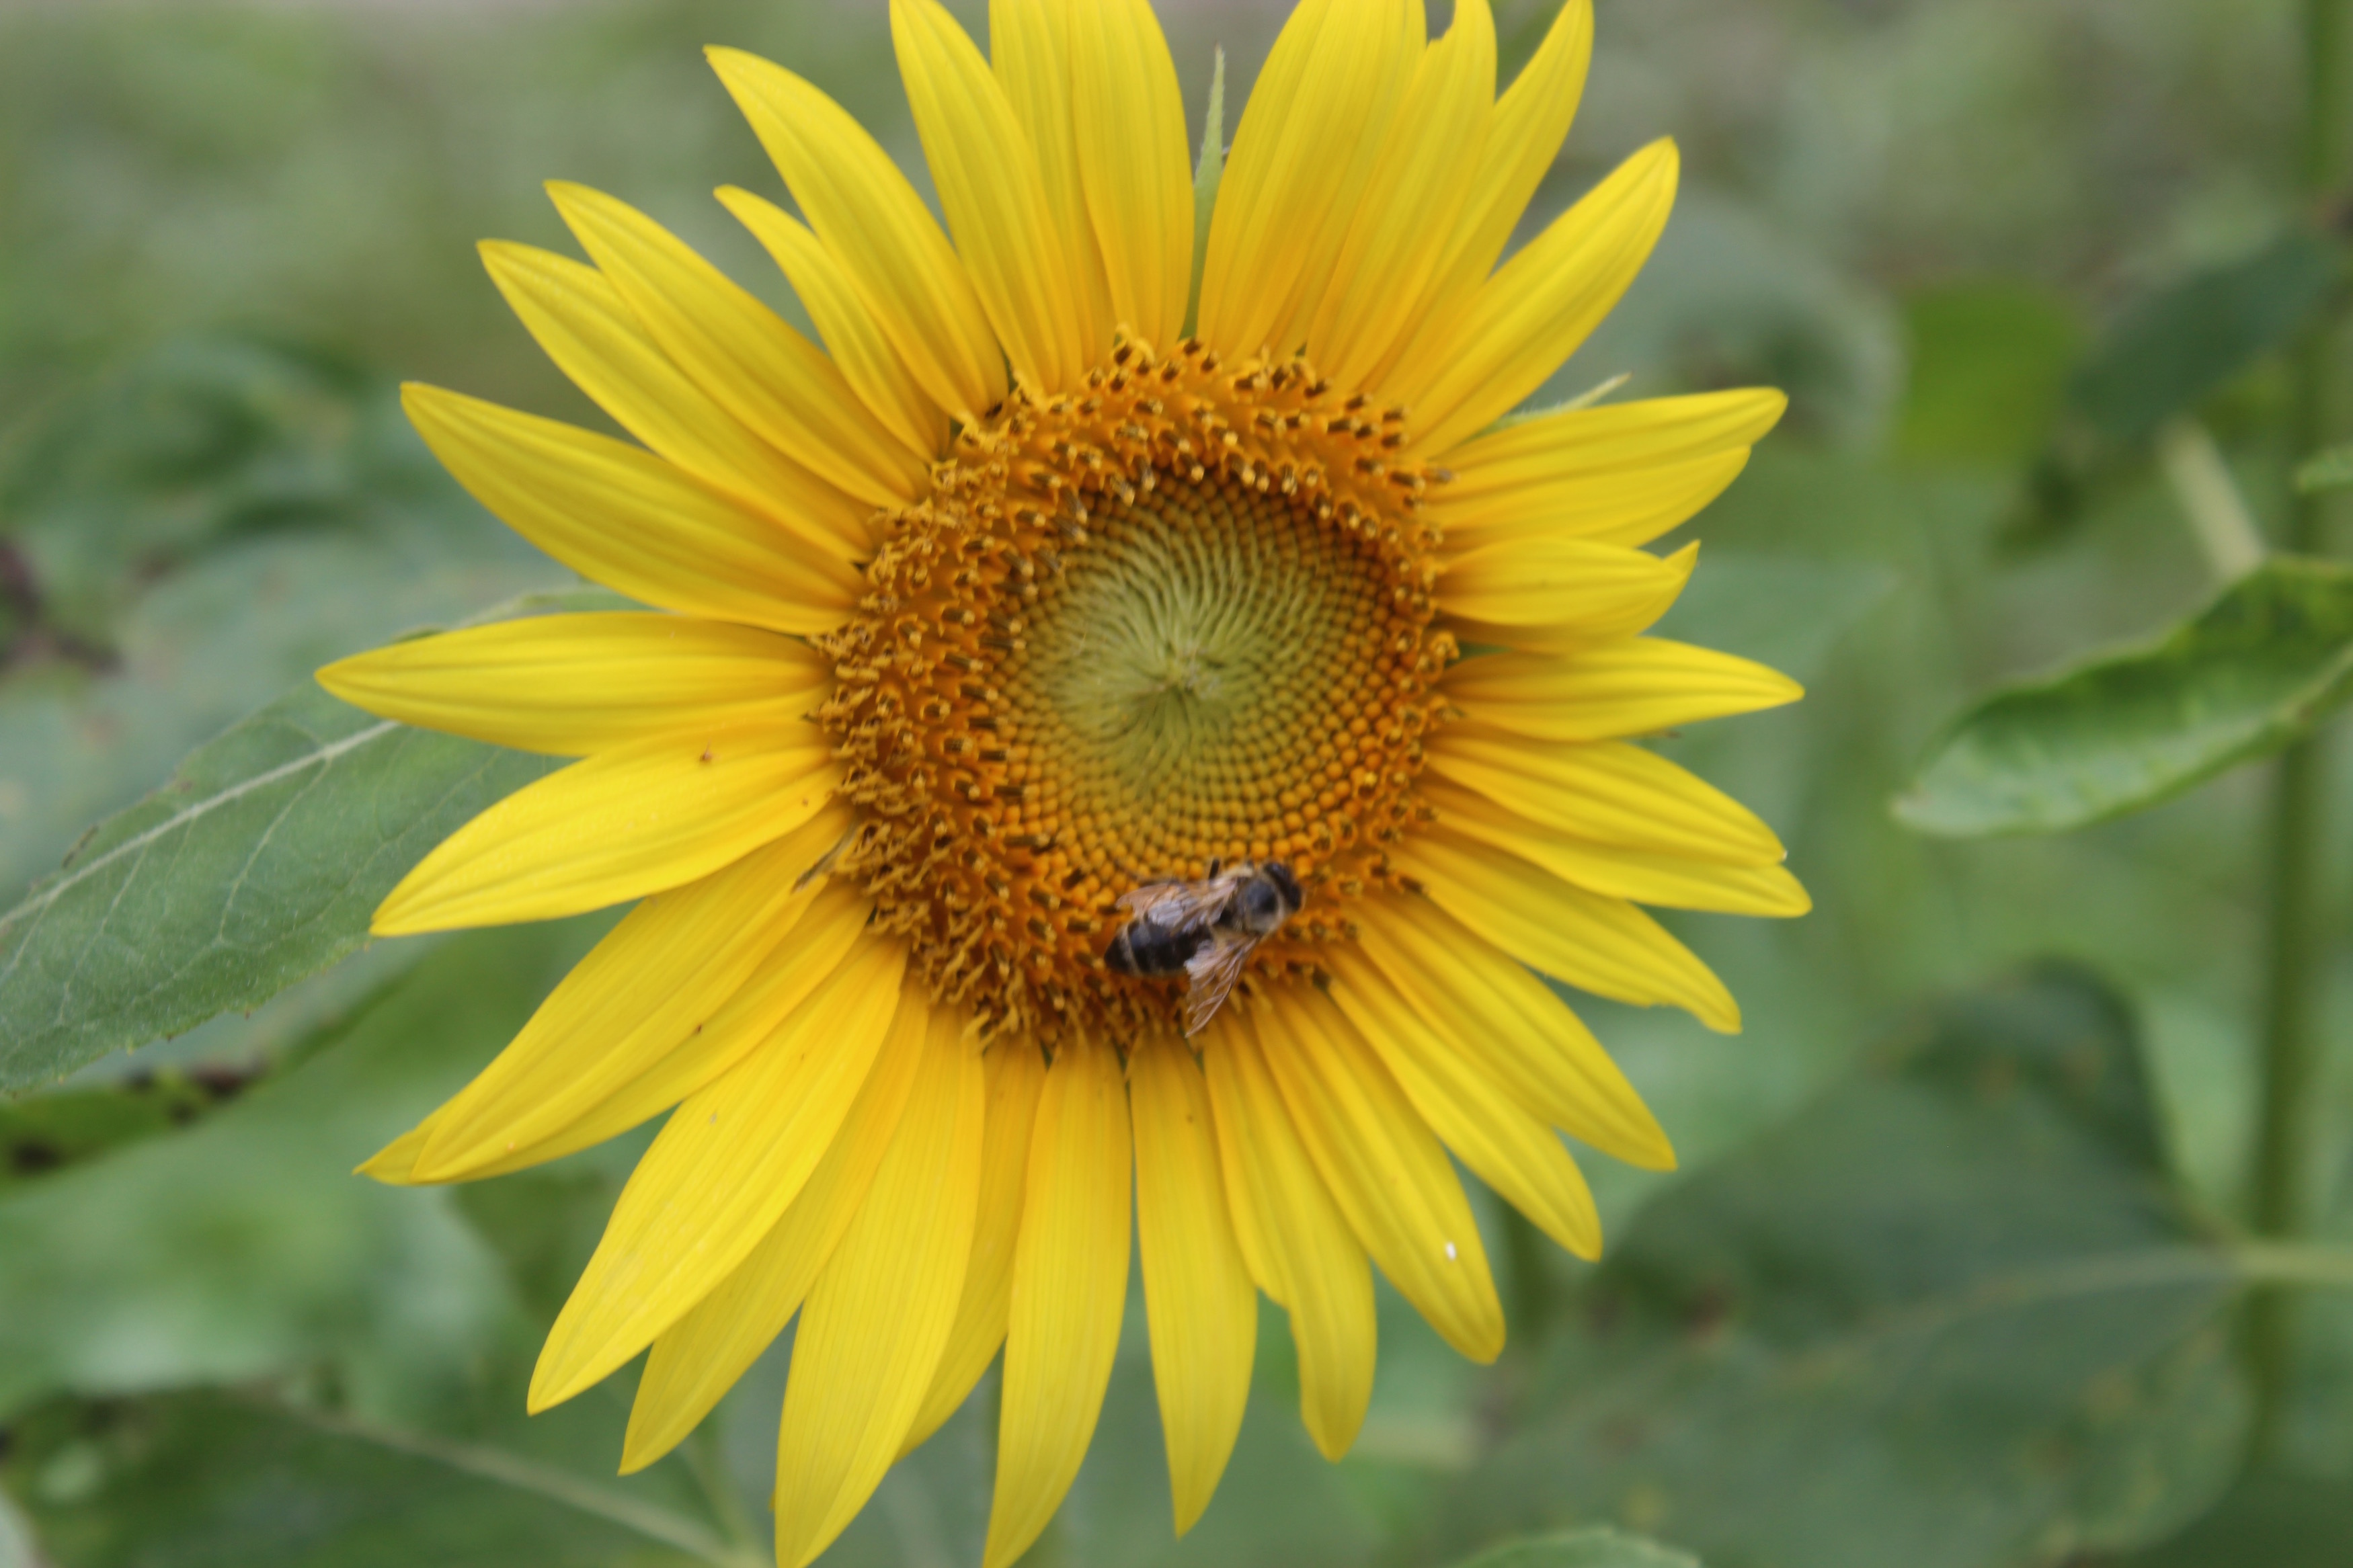
Growing vining plants like watermelons, cucumbers, gourds, squashes, sweet potatoes, and nasturiums under taller plants like corn, sorghum, and sunflowers can help you make the most of your space and keep the soil cool. The vining plants will shade the soil, block weeds, and hold moisture once they’re mature enough.
Check out our The Three Sisters Garden Guide.
Build a shade trellis.
Create a trellis for climbling plants like cucumbers or runner beans and then plant a cool weather loving crop in the shade they create. These trellises are often set up so they’re slanted to provide maximum shade.
Learn more about trellising from Vertical Gardening: The Beginners Guide to Trellising Plants.
Use intensive planting.
Intensive planting is a principle of biointensive gardening. Plants are grown in beds, not rows and are often planted hexagonally. This style of planting maximizes space. Mature plants may touch leaves but still have plenty of room for their roots. They shade the soil reducing moisture loss and blocking weeds.
Note: planting intensively will work best with healthy soils as you’ll be growing more plants on less space.
Transplant at the right times.
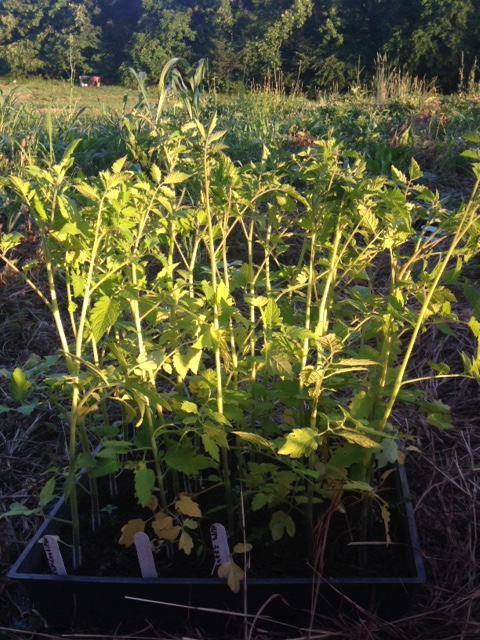
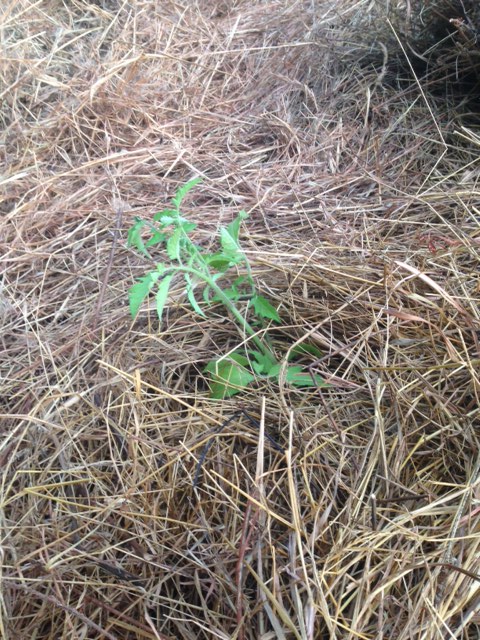
If you’re transplanting crops into your garden it’s best to avoid the heat and sun as much as possible, for your sake and the plant’s! Transplant in the early morning, late evening, or on a cloudy day for best results. The plants will suffer less transplant shock that way.
Catch rainwater around your plants.
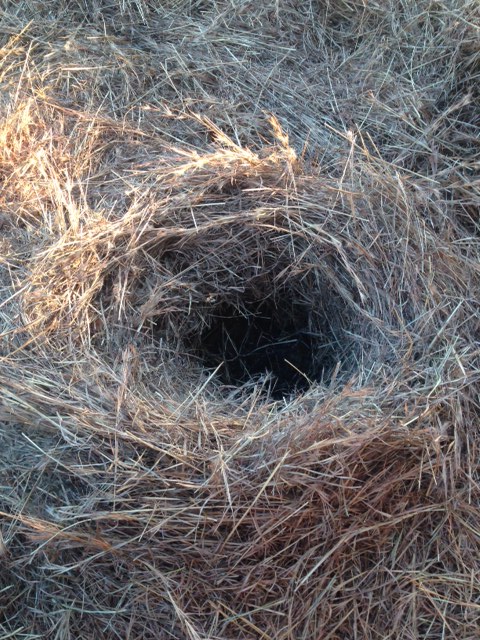
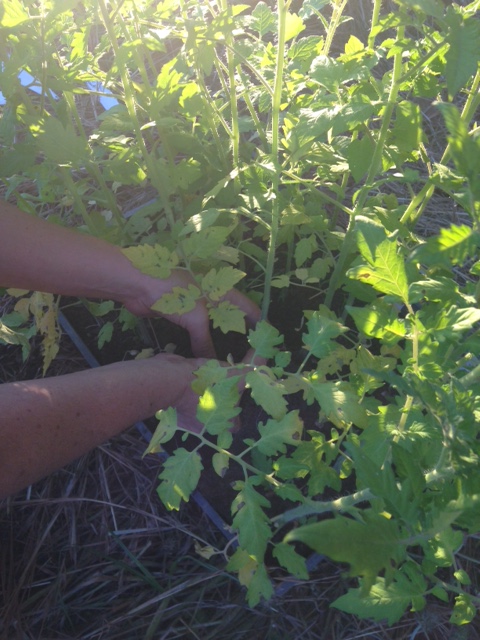
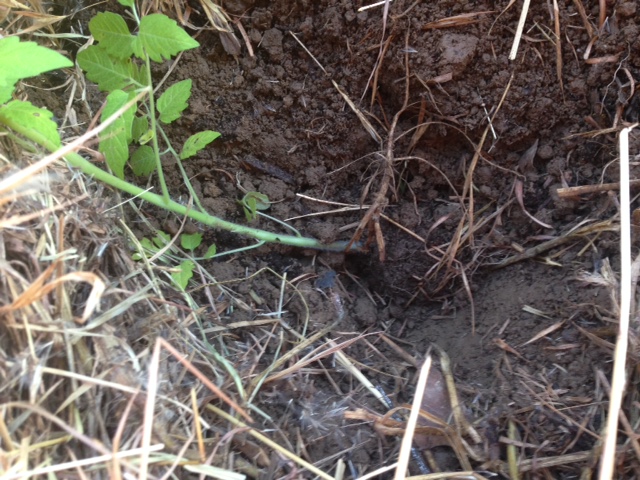
For transplants dig your hole a little extra deep and create a basin around each plant that extends outwards a little beyond the edges of the plant’s crown to funnel rainwater towards the roots.
For planting seeds dig your trench slightly deeper than necessary so that rainwater stills runs down into it even after you’ve covered your seeds.
If you’re feeling really productive go ahead and install some rain barrels on your gutters too!
Choose crops wisely.
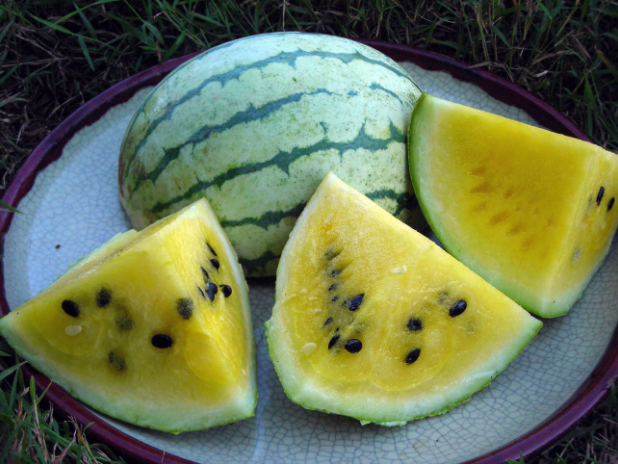
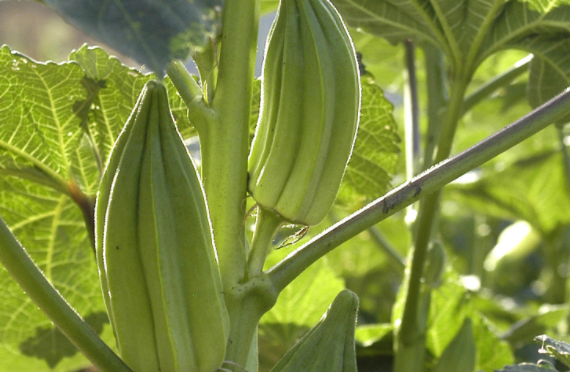
If you live in an area with hot summer temperatures it’s a good time to start direct seeding crops that can handle the heat. These include plants like watermelon, okra, roselle, lima beans, and southern peas.
Learn about Direct Sowing Roselle.
Practice good soil and crop management.
Whenever gardening you should be thinking about keeping your soil and therefore your plants healthy. Doing maintanence work like crop rotation, cover cropping, and applying compost will keep your soil and plants healthy. Well nourished, disease free plants will tolerate the stress of hot weather much better than those already struggling.
Gardening is never easy but hot weather can be especially tough on you and your plants. Follow these tips for a healthy and productive garden even in hot, dry weather.

