
Most of you have probably already transplanted your tomato seedlings, but here at SESE we do it a bit later than most. Why? Because we want the vast array of tomatoes we grow for the tastings at our late August open house and at the Monticello Heritage Harvest Festival in September to be ready for picking just at the right time for those events. We’re growing more than 70 varieties for you to come and taste!
Here’s the technique we use for quick and successful transplanting of tomato seedlings:
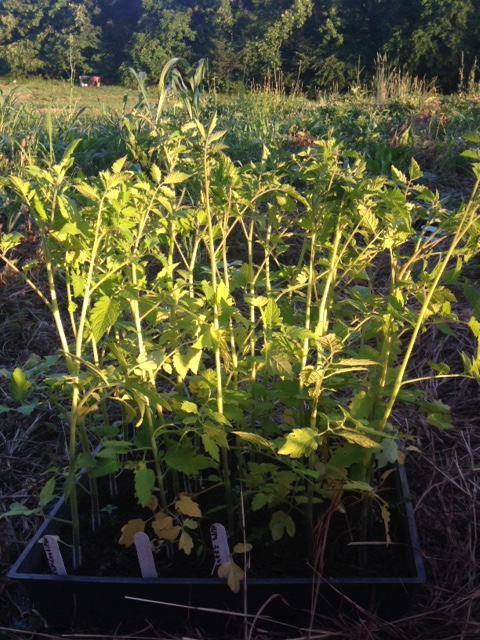
After hardening them off for a couple weeks in our cold frames, we’re ready to take them out to the garden. For us, this means lots of careful labelling and mapping to keep all those varieties clearly separated!
Step 1: We start by spreading hay thickly over the whole area where the plants will go. This serves to keep the ground cool, hold moisture in, and choke out weeds, and in the long term it adds organic matter to improve the soil. If you try this, make sure you get hay that hasn’t been treated with herbicides or pesticides. You’ll also want to get hay that’s been sitting for a year or so, giving all the seeds a chance to have sprouted and died, or you’ll be growing grains alongside your tomatoes.
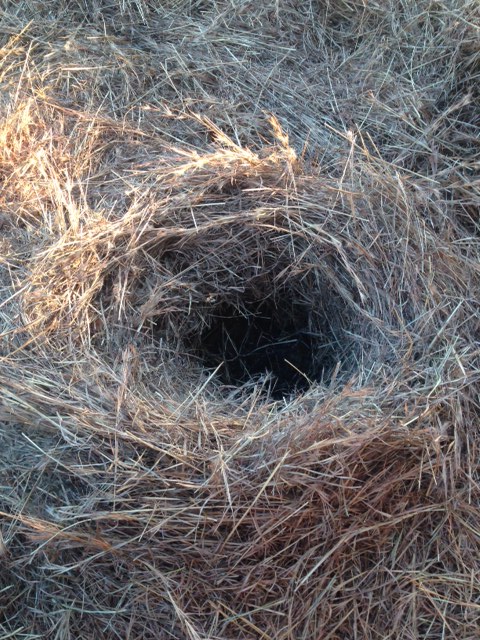
Step 2: Make a nest in the hay at each place where you want a tomato to go. Space them about 4 feet apart and make each nest about a foot in diameter, pushing the hay away until you can see the ground.
Step 3: Dig a hole at the bottom of the nest, toss in a double handful of compost, and mix the compost with the soil you have loosened.
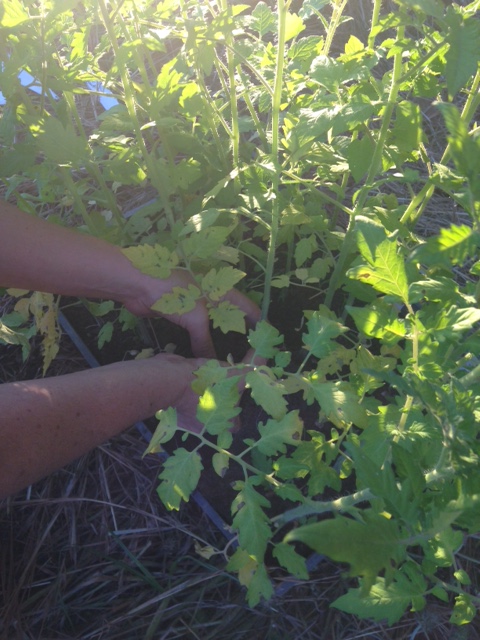
Step 4: Gently pull the seedling out of its container and lay it on its side at the bottom of the hole you’ve dug, all the way at one edge of the nest space. This way you can cover not just the root ball, but also a good portion of the stem with soil. You want to bury a third to a half of the plant. Tomatoes will grow roots along any portion of the stem which is underground, and this method gives you a much sturdier root structure. Be careful that the sideways portion of the stem is supported by soil so it doesn’t break.

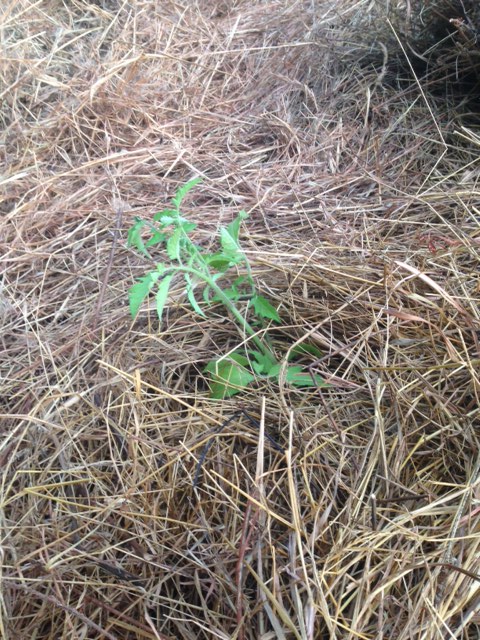
Step 5. Cover the root ball and stem portion with soil and press it down firmly. Good soil to root contact is essential to get the plant sucking up water and nutrients right away. Then pull the hay back into place all around the stem of the plant, tucking it in cozily. Finally, give it a good watering and watch your baby grow!
If you do come to the Heritage Harvest Festival, here are a few of our top picks to look out for:
- Rutgers 250 This is a brand new variety which brings added durability to a flavourful old heirloom and we plan to add it to our 2017 catalog.
- Matt’s Wild Cherry This one is always a favourite at tastings, an intensely sweet wild cherry tomato originating in Mexico.
- Garden Peach A delightful novelty tomato disguised as a peach.