Tag Archives: herb garden

8 Herbs to Start from Seed this Winter

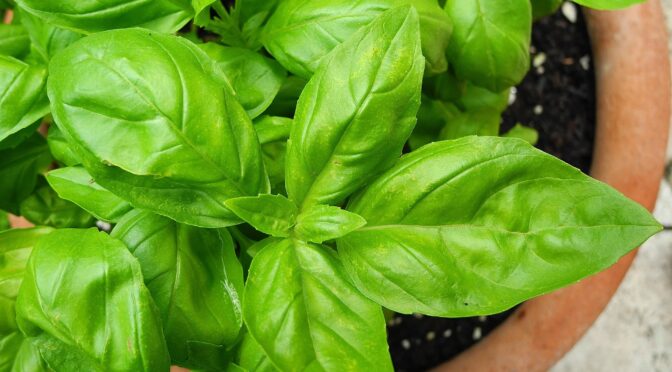
Late winter is seed-starting season for many gardeners. We check our planting calendars and start pushing tiny round cabbage seeds and flattened tomato seeds into trays of seed-starting mix. While vegetable crops take the spotlight, it’s also a good time to start several slow-growing herbs. Here are a few of our favorite herbs to start indoors and tips to grow them successfully.

Keys to Success When Starting Herbs from Seed

Herbs can be more challenging to start from seed than most vegetable crops. Here are a few quick tips for success.

  • Herbs don’t tolerate soggy soil. Use containers with good drainage and a proper seed-starting mix.

  • Follow the sowing instructions carefully. Some herbs need light to germinate, while some require complete darkness. Many herbs like warm soil for germination, while a few prefer cool soil or may even require cold stratification.
  • For seeds that need light to germinate, gently press them into the soil surface. You don’t want to bury them, but they need good soil to seed contact.
  • Keep the soil consistently moist but not drenched. A mister can help with this.
  • Many herbs need a lot of sunlight to form compact, healthy transplants. You may need to supplement your plants with additional lighting.
  • As herbs can be tricky, we usually sow more than we need, which can lead to crowding. Thin your seedlings as needed. 

Herbs to Start Indoors This Winter

There’s a variety of culinary and medicinal herbs you can sow indoors, but these are a few of our favorites to start in winter.
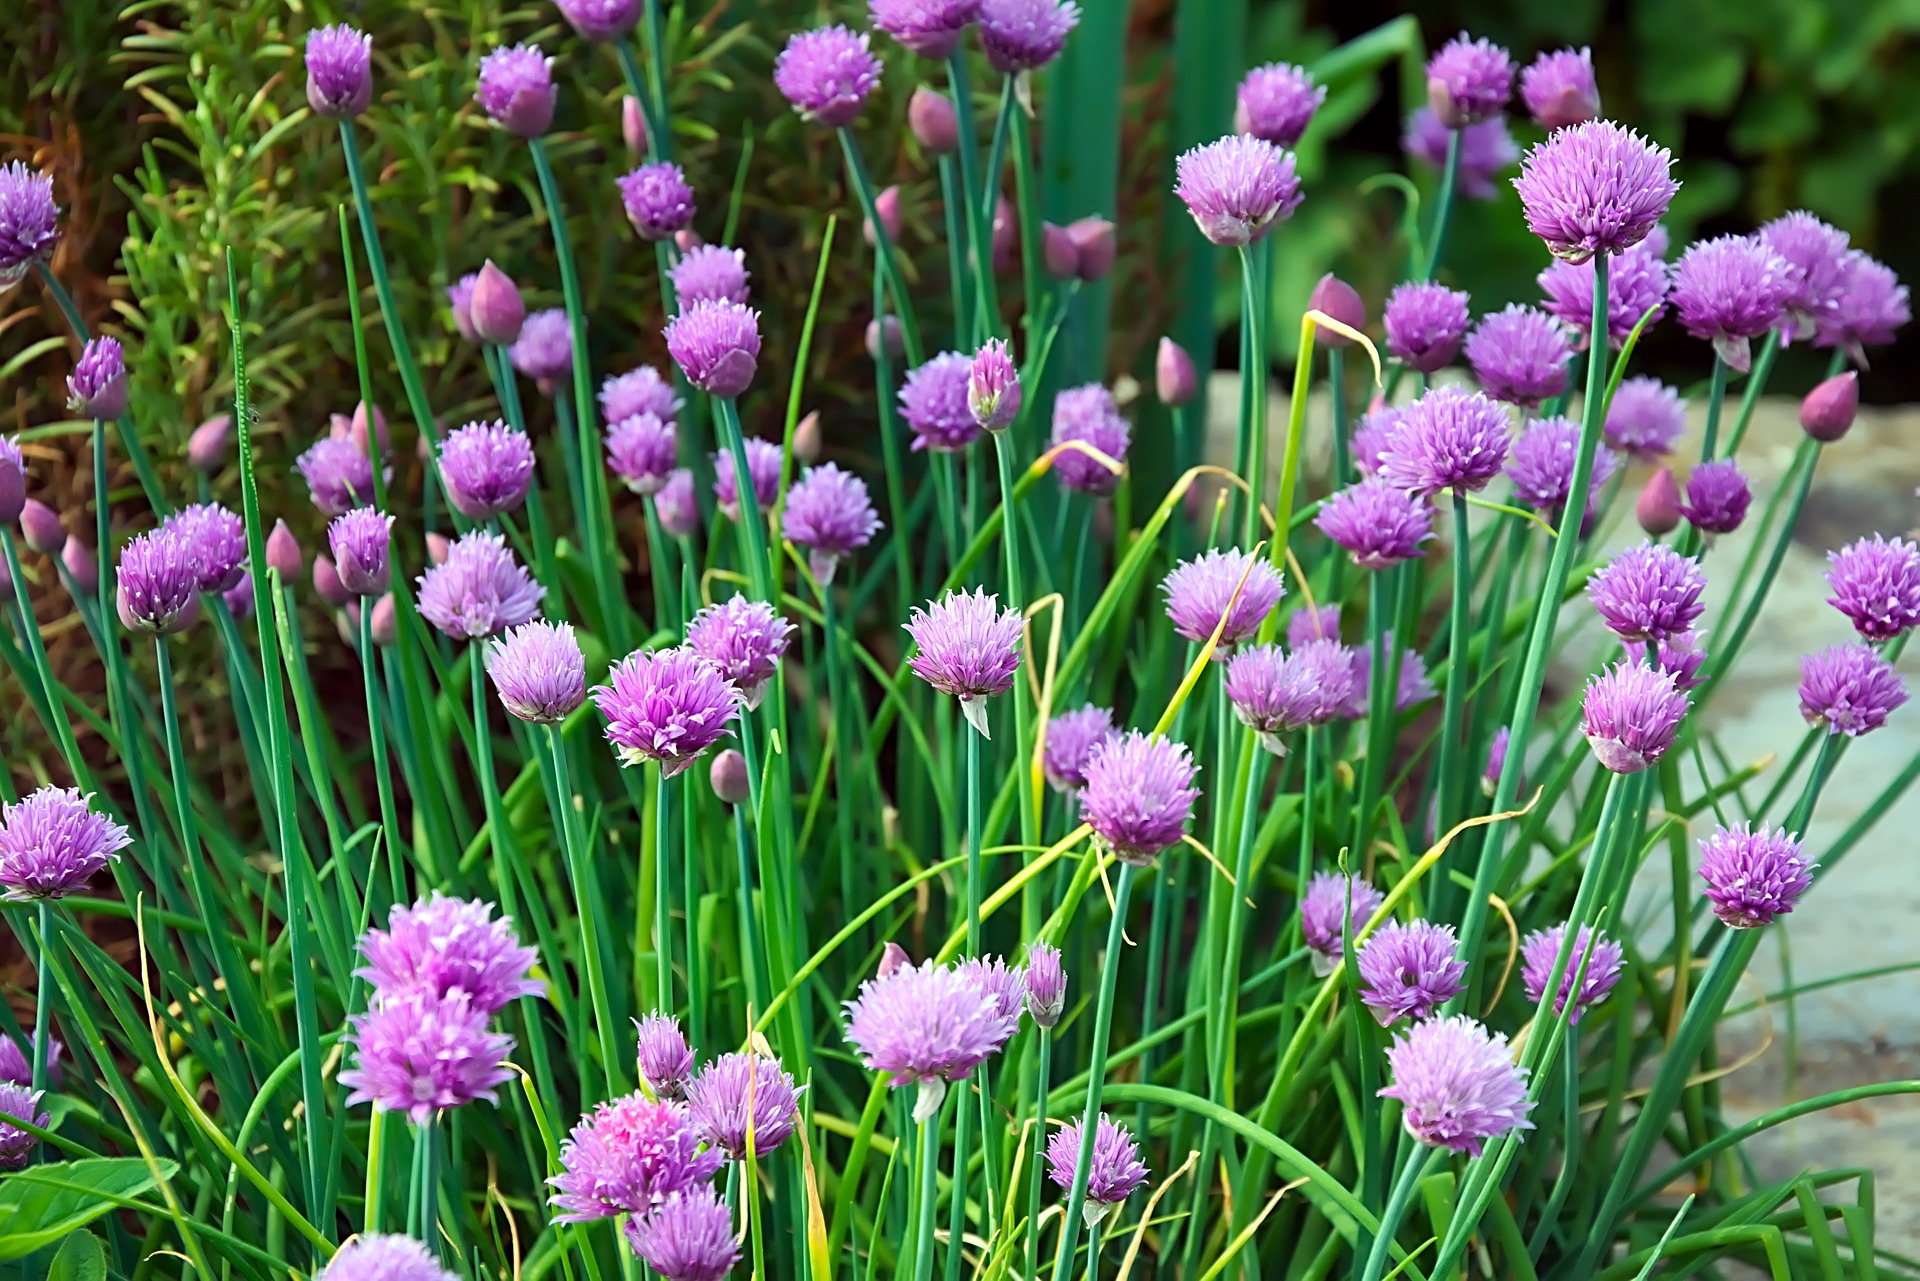
Chives

Starting chives this winter will provide you with harvests for years to come. Chives are perennial to zone 3. You can direct-sow chives or start them indoors during the winter.

Chives germinate best when soil temperatures are 60 to 70°F. Chives also need consistently moist soil and darkness to germinate. In ideal conditions, they take about 7 to 14 days to germinate, but may take up to 20 days.
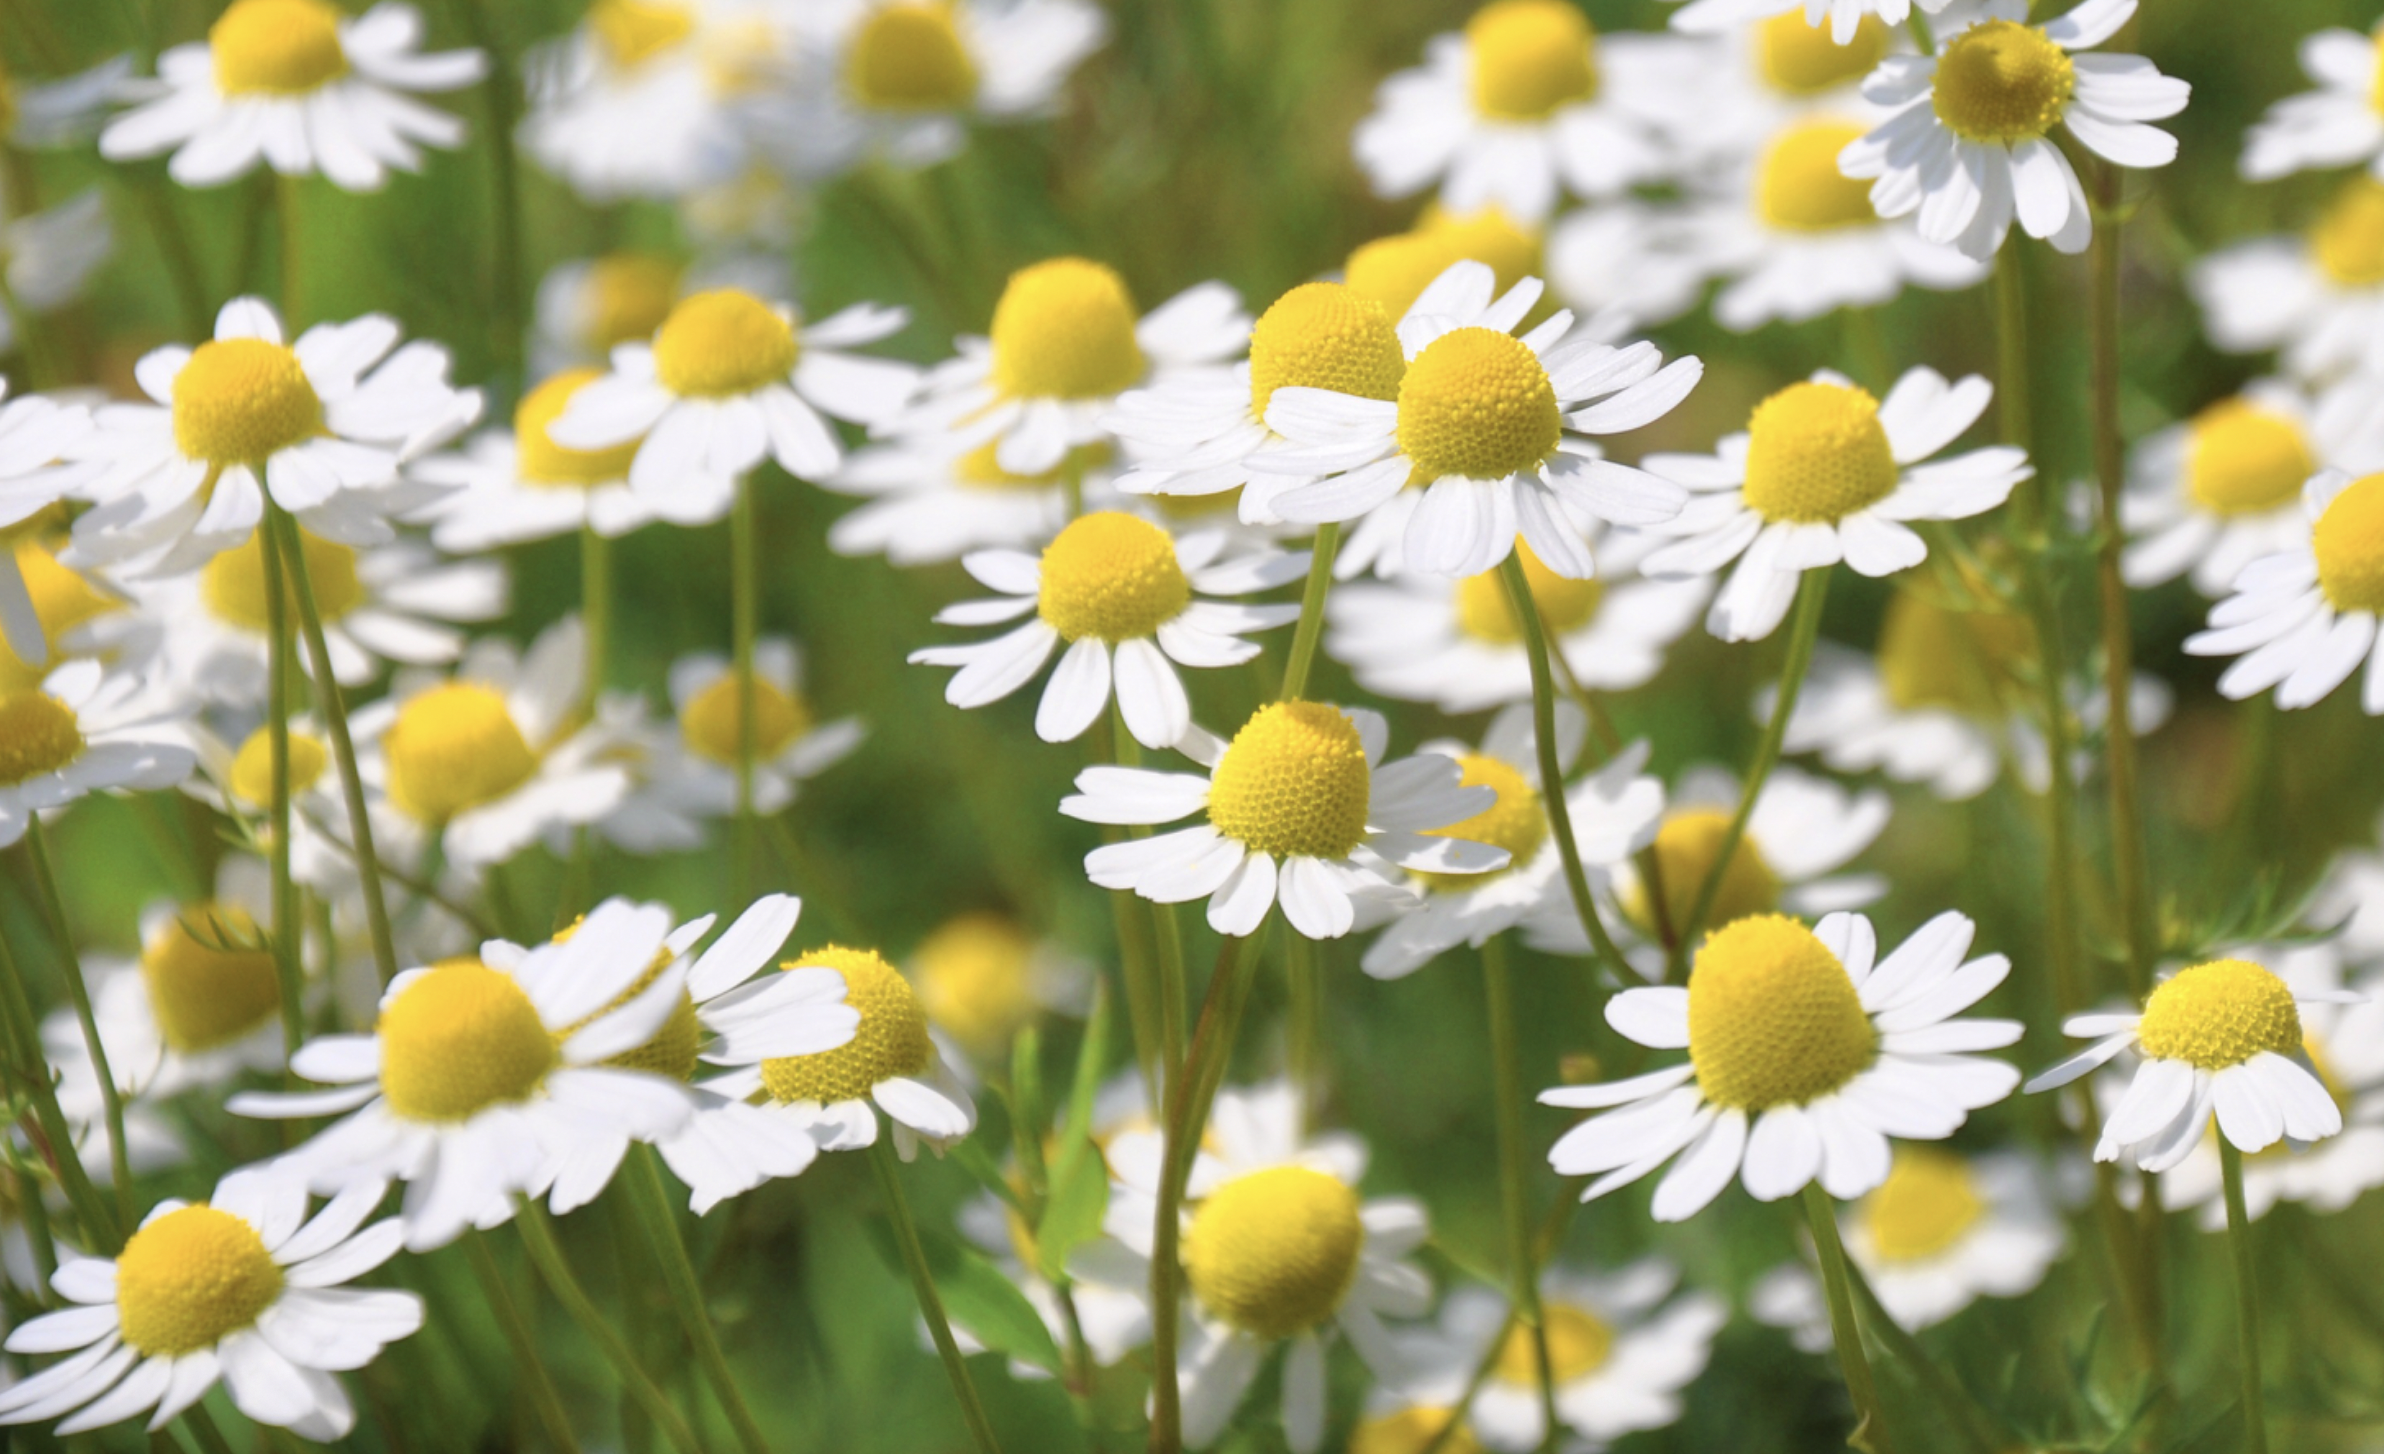
Shop chive seeds here.Flowering German chamomile

German Chamomile

Medicinal and downright tasty, chamomile deserves a spot in more herb gardens. Start your chamomile indoors this winter. 

Chamomile seeds need light to germinate, so you want to gently press them into the surface of the soil. Mist the surface constantly to keep the seeds moist. Typically, it takes 10 to 14 days to germinate. Chamomile will germinate well when the soil is 55 to 60°F.

Shop German chamomile seeds here.
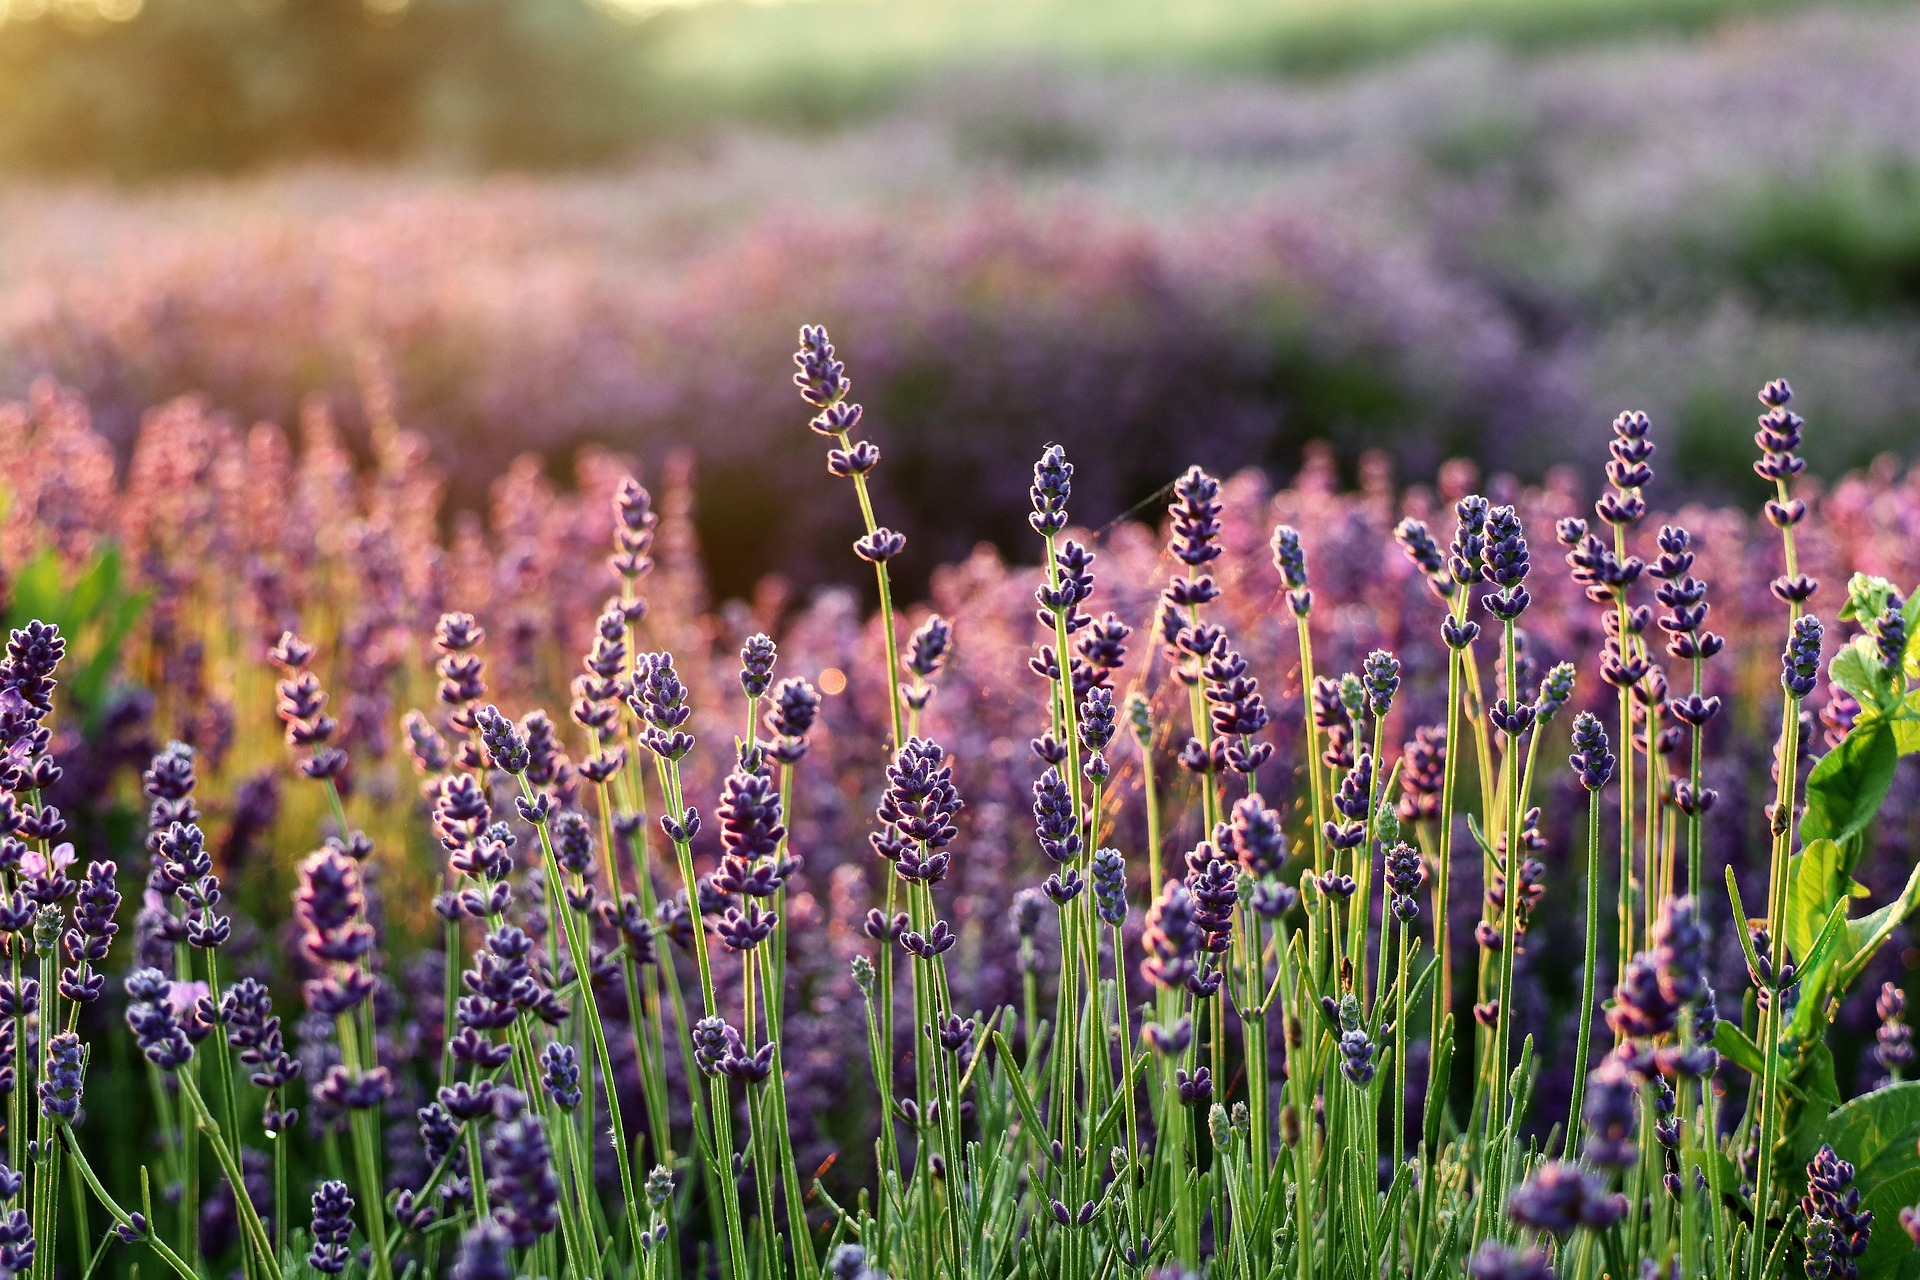
Lavender blooming

Lavender 

Lavender is one herb that will test your patience. The seeds can take 30 days to germinate, and the seedlings grow slowly. For best results, use slightly alkaline seed starting mix. They do best in warm soil, about 70°F. The seedlings need protection from wind and good drainage. 

Lavender seedlings need plenty of light to grow well. Like rosemary, they can quickly get leggy without enough light.
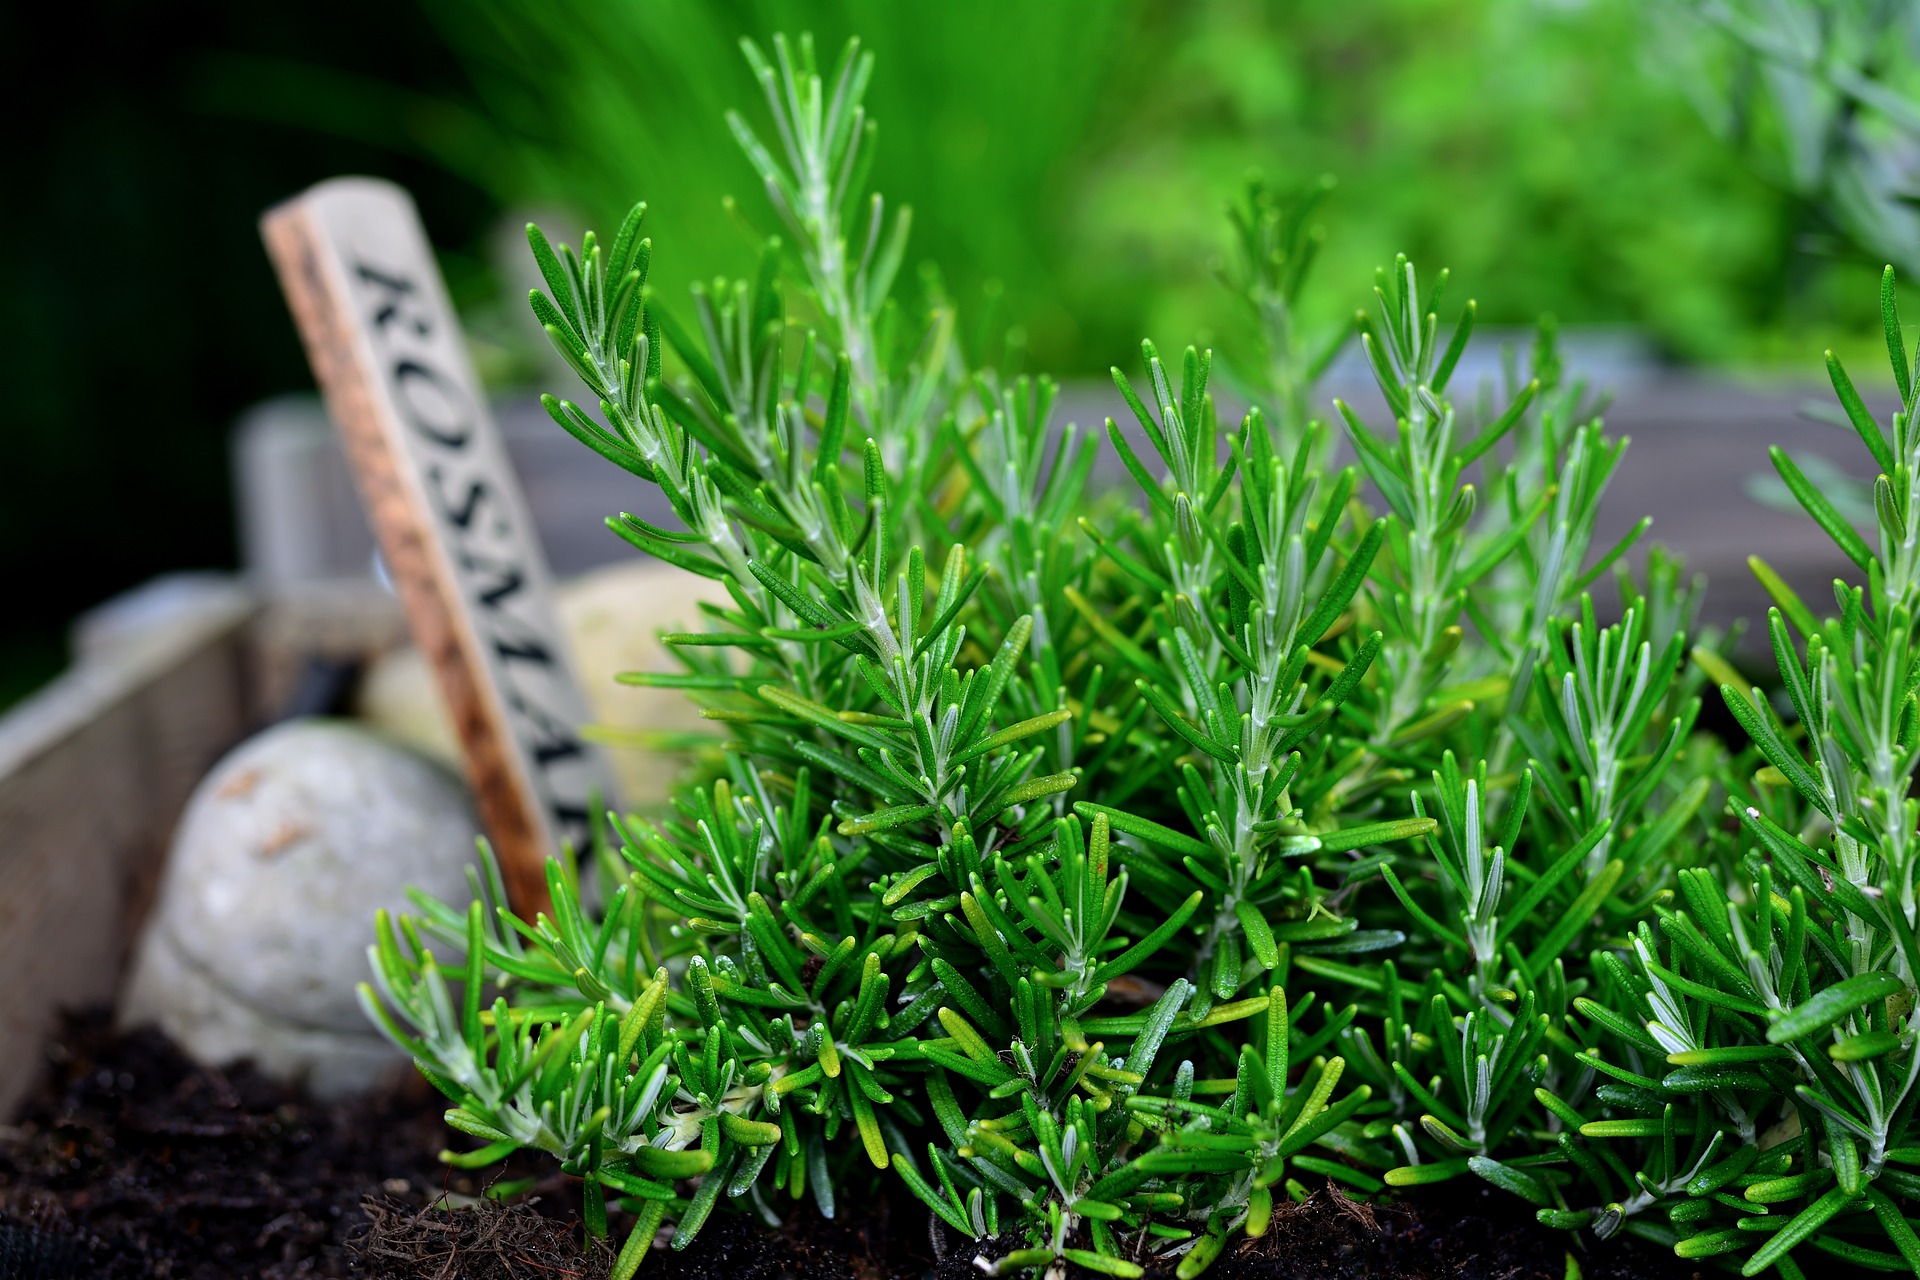
Shop lavender seeds here.Rosemary plant in a raised bed with wooden label

Rosemary

Perennial in zones 7 through 10, rosemary is a splendid choice for gardeners in the Southeast creating an herb garden. Unfortunately, it’s challenging to start from seed. Rosemary typically has low germination rates, and seedling growth is slow.

Rosemary thrives in alkaline soil, so for best results, sow your rosemary in seed-starting mix with limestone added. The seeds also need light to germinate. Gently press the seeds into the surface of the soil. Mist the surface regularly to keep the seeds moist. Keep your soil between 55° and 60°F during germination. Rosemary will germinate in 14 to 28 days. 

Once your rosemary has germinated, let the top of the soil dry out between waterings, but never let the plants dry out completely. Use supplemental light if possible; rosemary will get leggy quickly without enough light. You can transplant it out after all danger of frost has passed. 
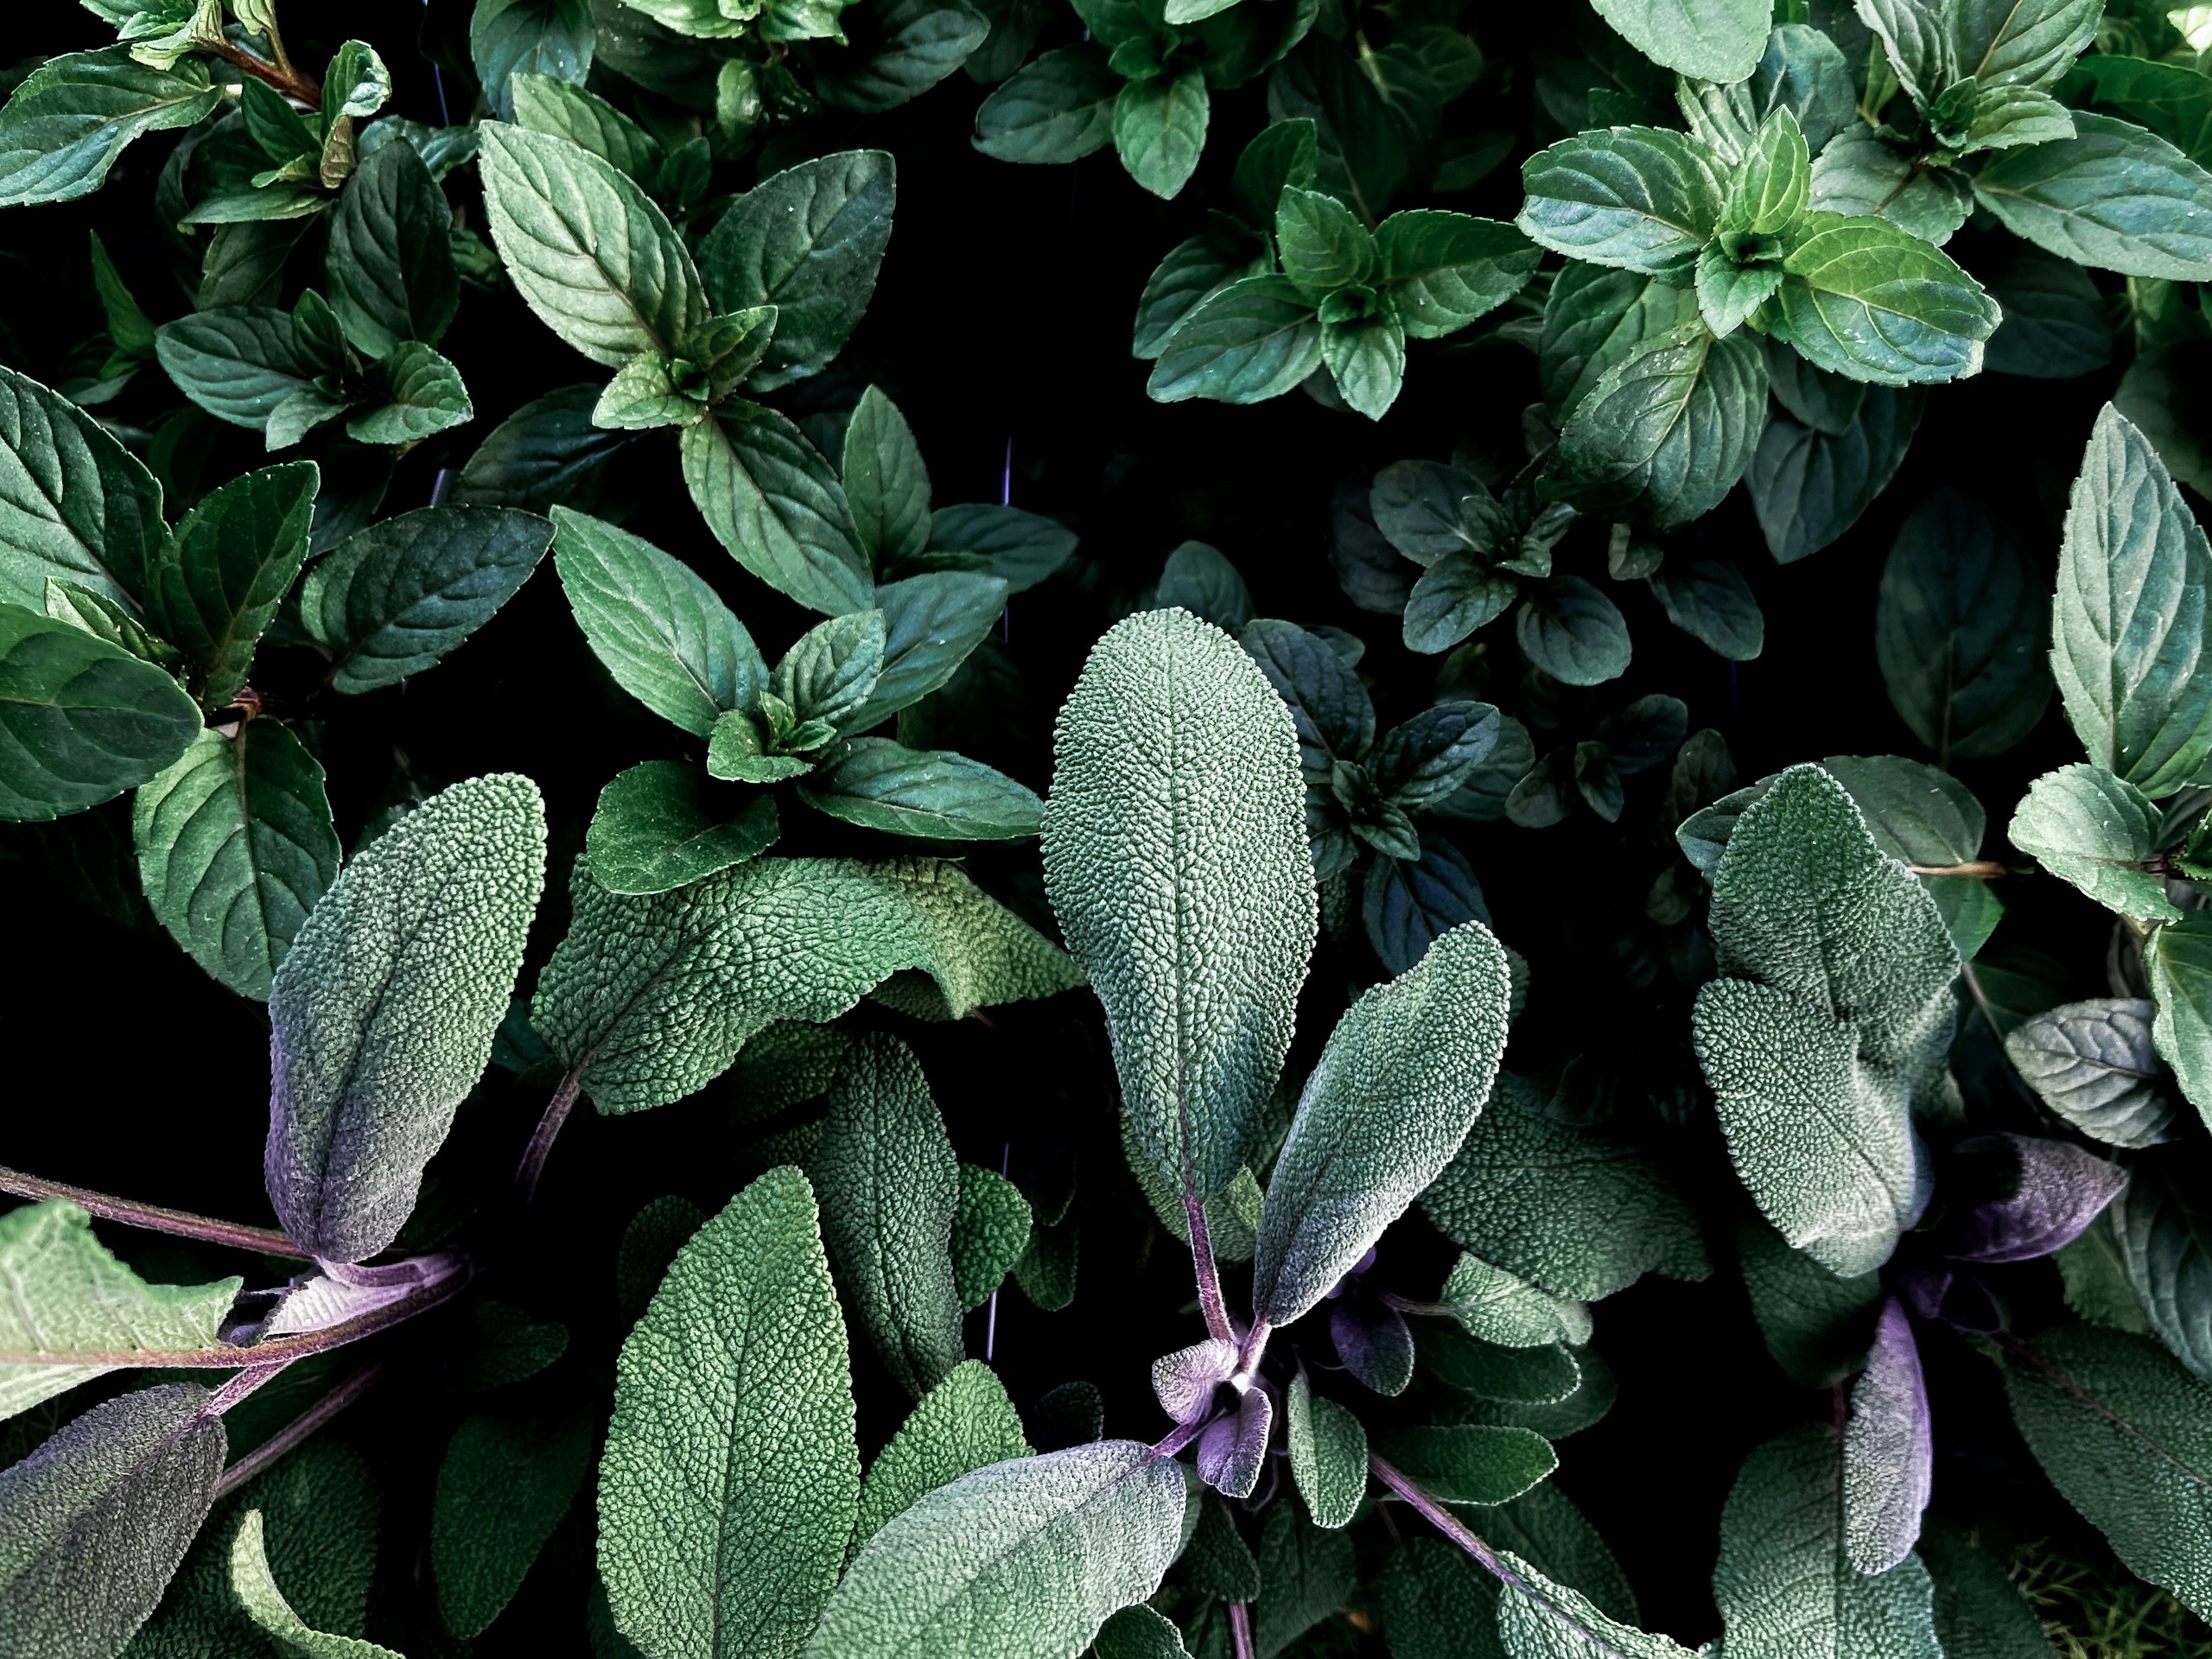
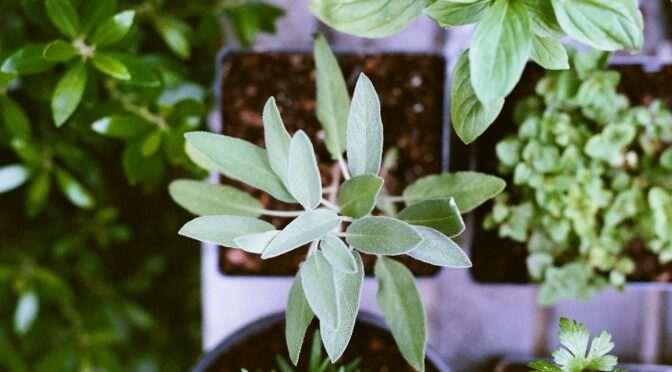
Shop rosemary seeds here.

Oregano and Sage Perennial Herb Plants
Oregano and Sage


Sage

Sage can be tricky to get started, but it’s well worth the effort. It’s a hardy perennial in zones 4 through 10 once it’s established. 

Sage seeds take between 7 and 21 days to germinate and need constant moisture and warmth during germination. Keep the soil around 70°F. Sage seedlings need plenty of light to grow healthy and sturdy, so you may need to provide them with supplemental lighting. 

Shop sage seeds here.

German Winter Thyme plant
German Winter Thyme


Thyme

Thyme (Thymus vulgaris) seeds are difficult to work with because they’re minuscule. Planting thyme feels like you’re sowing dust. The seeds need light exposure to germinate, so spread them over the soil and gently press them into the surface.

Thyme seeds will germinate when the soil is 55 to 60°F. They’re incredibly slow and may take 14 to 30 days to germinate. The seedlings also grow slowly. Your other herbs and plants will grow much faster, but don’t worry. Thyme will take off later once it’s established outdoors. 

You need to keep your thyme seedlings moist, but it can be tricky because they’re so small and delicate. Use a mister while they’re germinating. For small seedlings, you can continue with a mister or switch to bottom watering.

Summer thyme is a perennial in zones 6 through 9. German winter thyme is perennial in zones 4 through 10. 
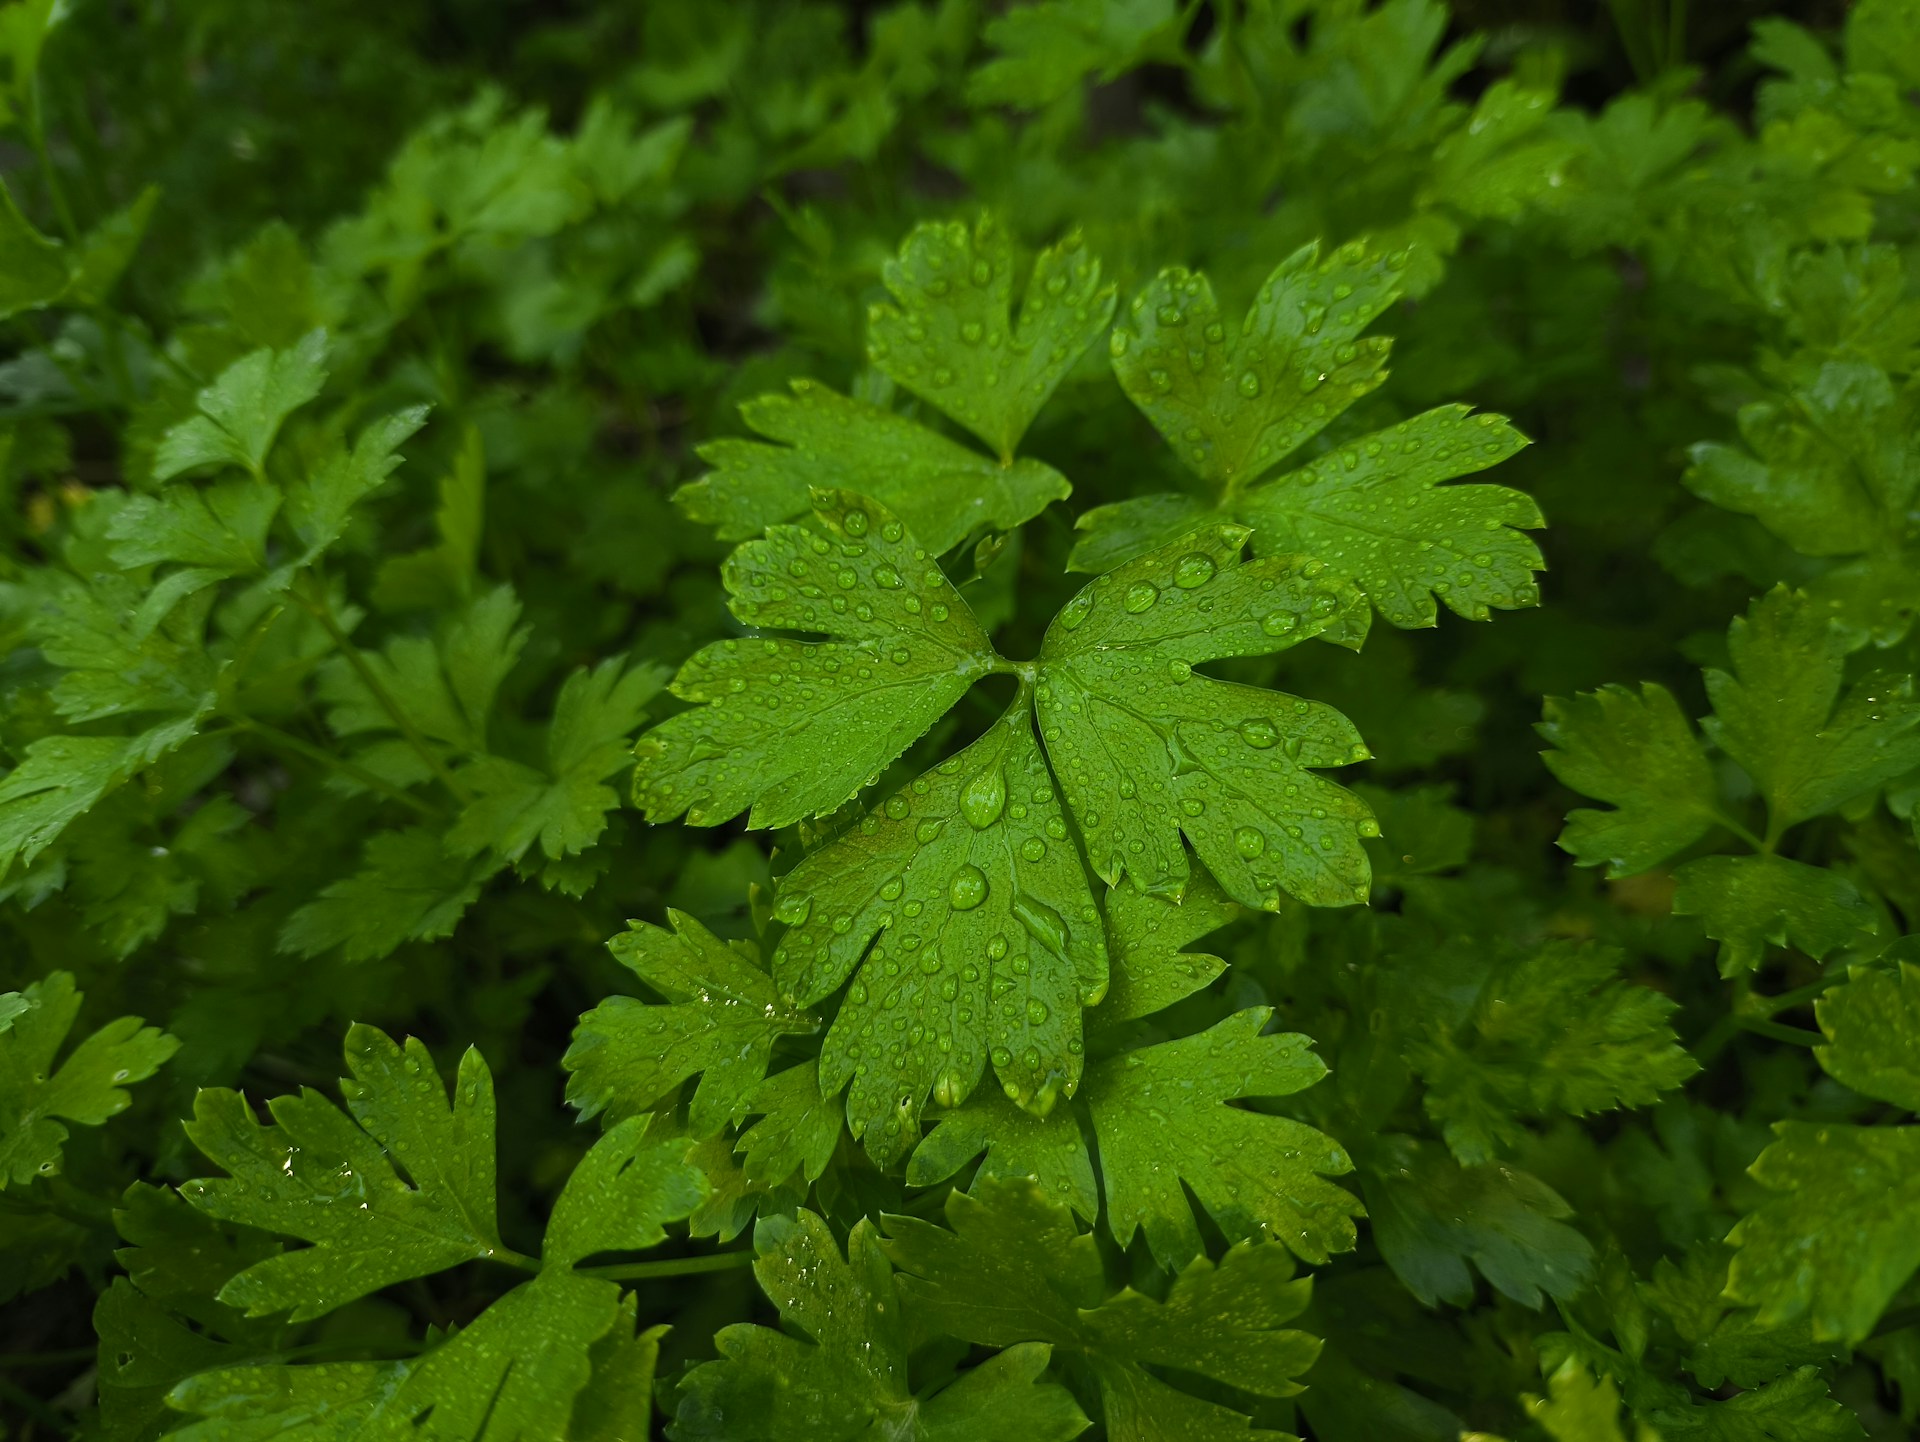
Shop thyme seeds here.Parsley plant with dew on the leaves

Parsley

While you can direct sow parsley, some growers like to get a jump on it in winter. Parsley is slow to germinate, taking 3 to 4 weeks even in ideal conditions.

Unlike many Mediterranean herbs, parsley needs plenty of moisture. Soak the seeds overnight before sowing and keep them watered well while the seeds are germinating and in the seedling stage. For best results, keep the soil between 65 and 70°F. 

Shop parsley seeds.

Growing herbs from seed can be tricky, but with a little patience, you can add some amazing flavors to your garden and table. Try starting these eight herbs indoors this winter. 

6 Tips for Growing Great Basil

Basil’s rich culinary, cultural, and medicinal history has earned it the moniker, “the king of herbs.” The name basil actually comes from the Greek “basilikon” meaning “king.” Though the Greek’s gave it its modern name, the Indians first cultivated basil at least 5,000 years ago. Through the years, cultures around the world have grown basil. The Egyptians used it in the embalming process, the French used it to deter mosquitoes, and the Italians made Caprese and pizza. Thankfully, with a few tips, basil is easy to grow at home so you can join the herbal tradition.

Choose the right variety for your needs.

Basil varieties are as varied as their uses. Varieties like the large Lettuce Leaf Basil and Sweet Genovese are highly prized for their culinary use in Italian food. Others like Lemon Basil and Lime Basil offer bright citrusy flavors for soups, salads, and fish dishes. A few, like Kapoor Tulsi (Holy Basil) are renowned for their medicinal use.

They also have unique styles. Red Rubin and Dark Opal offer gorgeous purple leaves. Spicy Bush Basil offers intense flavor in a compact package perfect for patio containers or even window boxes.

This is just a few of the amazing basil varieties available. Be sure to do your research before selecting a variety for your garden.

Shop all basil here.

Provide your basil with appropriate growing conditions.

Basil is a heat loving herb. It thrives in warm, sunny locations and is sensitive to frost. While you can direct sow basil, if you live in an area with cool springs it may be worth starting it indoors where you can protect it from cool temperatures.

Once summer begins, basil grows great in most of the Southeast. However, northern gardeners and those that live in mountainous areas may want to select a sunny spot that’s sheltered from the wind when transplanting out.

Protect your basil from pests.

Young basil seedlings are susceptible to damage from slugs and snails. If you frequently find these pests in your garden, it’s a good idea to start basil in containers and then transplant them. Larger seedlings are less susceptible to slug and snail damage. You can also temporarily pull mulch back from plants to destroy slug hiding places, put out homemade slug beer traps, or use place boards as slug hideouts and regularly collect the residents.

Aphids are small black or green soft-bodied insects that suck the plant’s sap. You’ll often spot clusters of them on the underside of leaves. Thankfully, they’re fairly easy to deal with, especially if you only have a few plants. Often, you can wash them off with the hose or use a mixture of dish soap and water in a spray bottle to kill them. Some folks also find that putting coffee grounds around their plants helps prevent aphids.

Basil downy mildew sporulating on the abaxial side of a leaf.
Dr. Lina Quesada, NC State Vegetable Pathology Lab

Work to prevent Downy Mildew.

Basil is occasionally susceptible to a fungal disease called Downy Mildew. When a basil plant has Downy Mildew, you’ll likely notice yellowing on the tops of leaves, usually in between veins like sun scald or a nutrient deficiency. The purplish-gray spores form on the underside of the leaf, which looks a bit like a black mold or fuzz.

Unfortunately, this disease is easy to spread. It can come from infected plants and seeds or by spores which travel long distances on the wind. Thankfully, there are a few ways you can prevent and manage Downy Mildew in basil.

  • Space plants appropriately and prune as needed to encourage good airflow.

  • Only water the base of the plants and avoid splashing water on the leaves.

  • Monitor lower leaves as this is usually where the disease begins.

  • Remove and destroy any infected plant material.

Provide consistent moisture.

Basil produces best in moist, well-drained soil. It may not need much attention in spring, but as the weather gets hotter and drier, your basil will benefit from consistent watering. Ideally, you want to water deeply at least once a week. Once your basil is beyond the seedling stage, it’s also a good idea to mulch around the plants to help hold moisture in the soil.

Pinch your basil often.

Basil is one of the amazing crops that performs better with consistent harvests. Harvest basil with a technique called “pinching.” Once your basil reaches 6 to 8 inches tall, you can begin harvesting. Use your fingers to pinch off the tips of basil stems and a few leaves about a 1/4 inch above a set of leaf axils.

You’ll notice that little shoots are beginning to grow at the leaf axils. Pinching the tips and encouraging the side shoots and creates a healthier, bushier plant.

Growing basil will bring incredible flavor to your meals throughout the season. Follow these tips for success with this royal herb.

Herbal Teas: Drying & Blending

One of the best parts of gardening is enjoying your harvest. One of my favorite ways to use my garden’s edible flowers and herbs is to dry and mix herbal teas. These teas are tasty, beautiful, and fun to make. They can also be nourishing and helpful in supporting the system with minor issues like nausea, sleeplessness, colds, and stress. Here’s how you can get started making your own herbal teas too.

What Should I Put in My Tea?

You may have grown many great tea ingredients in your garden this year. Some of these herbs are usually grown for medicinal purposes, while others are often included in culinary herb gardens and ornamental flower beds.

If you’ve never made herbal tea, it’s a little more complex than just picking plants. Different herbs have different valuable parts. For example, we may use one plant’s roots while focusing on another’s aerial parts (leaves, flowers, and stems). 

Here are some of the common tea herbs you may be growing and what part to harvest:

  • Anise-Hyssop (leaves)
  • Ashwagandha (roots)
  • Calendula (flowers)
  • Catnip (leaves)
  • Chamomile (flowers)
  • Echinacea (whole plant including roots)
  • Feverfew (aerial parts)
  • Ginger (rhizome)
  • Lavender (Flowerbuds)
  • Lemon Balm (leaves)
  • Mint (leaves)
  • Monarda (aerial parts)
  • Rose (hips and petals)
  • Roselle (calyxes)
  • Skullcap (aerial parts)
  • Valerian (roots)

Additionally, you may have some fun tea ingredients on hand or can easily pick up at a grocery store. These include:

  • Black Tea
  • Cardamom
  • Cinnamon Sticks
  • Fennel Seeds
  • Green Tea
  • Lemon Peels
  • Nutmeg
  • Orange Peels
  • Vanilla Beans

If you’re outdoorsy, you may also want to forage for some tea ingredients! Just make sure you are 100% confident in your identification. Also, avoid harvesting plants from areas that could be contaminated. 

  • Elderberries
  • Chicory
  • Clover
  • Ground Ivy
  • Nettles
  • Pine Needles
  • Raspberry Leaves
  • Spruce Tips
Roselle calyxes
St. Kitts and Nevis Roselle

How To Process Tea Ingredients

You can use ingredients fresh from the garden, but if you want to make larger batches of tea blends to keep on hand or enjoy tea out of season, you’ll need to preserve your herbs. 

You can air-dry many herbs, like mint and lavender. To do so, you’ll need a spot with good airflow out of direct sunlight. Mint and many other herbs will dry when hung upside down in bundles from the ceiling of a kitchen or porch. Avoid hanging them in areas where they may be hit with water or steam, like over the stove. 

You can also lay the herbs in a single layer on an old window screen or similar material that allows good airflow around them.

However, in our humid climate, it’s much tougher to air-dry fleshier herbs like roselle calyxes and roots and rhizomes like ginger, echinacea, and valerian. We generally recommend cutting them into small pieces and drying them in a dehydrator. 

How to Design a Herbal Tea Blend

To get started, it’s essential to think about why you want to make your tea. Are you trying to make a citrusy blend that’s tasty to drink iced in the garden? Do you want to make a soothing blend to drink before bed or an energizing blend for the morning?

Once I have a good idea of my goal, I start with the Herbal Academy’s basic recommendation. Generally, they advise including:

  • 3 parts base ingredient
  • 1-2 parts supporting ingredients
  • 1/4-1 part accent ingredient

This guideline is just a starting point. Start just making a batch that will make a cup or two and then change the ingredients as needed. 

For most recipes, I’ve found that a tablespoon of tea makes one 8-ounce cup of tea when steeped for 5 to 15 minutes. However, you can use more or less depending on how strong you enjoy your tea.

Example Herbal Tea Blends to Try

If you’re unsure where to start, here are a couple of basic blends I enjoy. You can start with these and adjust or change ingredients based on your needs and taste.

Sleepy Tea

It is a calming tea to drink before bedtime or when you’re trying to relax.

  • 1 cup chamomile flowers
  • 1/2 cup catnip leaves
  • 1/4 cup lavender blossoms

Stomach Calming Tea

This tea is helpful for indigestion, nausea, and car sickness. 

  • 1 cup mint leaves
  • 1/2 cup chamomile
  • 2 TBS ginger
  • 1 TBS fennel seeds

Cold Support Tea

  • 1 cup echinacea
  • 1/2 cup monarda
  • 1/4 cup orange peels
  • 1/4 cup rosehips

If you have beautiful herbs coming in from the garden, it’s tea time! You can dry your own herbs and create tasty, nourishing tea blends. What’s your favorite herbal tea blend?