Lettuce is excellent for beginner gardens, seed savers, and succession planting. Even if you didn’t have a great spring lettuce crop, you can sow another for fall. If you’ve been browsing lettuce on the catalog or website, you may have noticed that there are an almost overwhelming number of varieties divided into a few different categories. Below we’ll cover the different types of lettuce and how to select the best one for your garden.
Lettuce Types
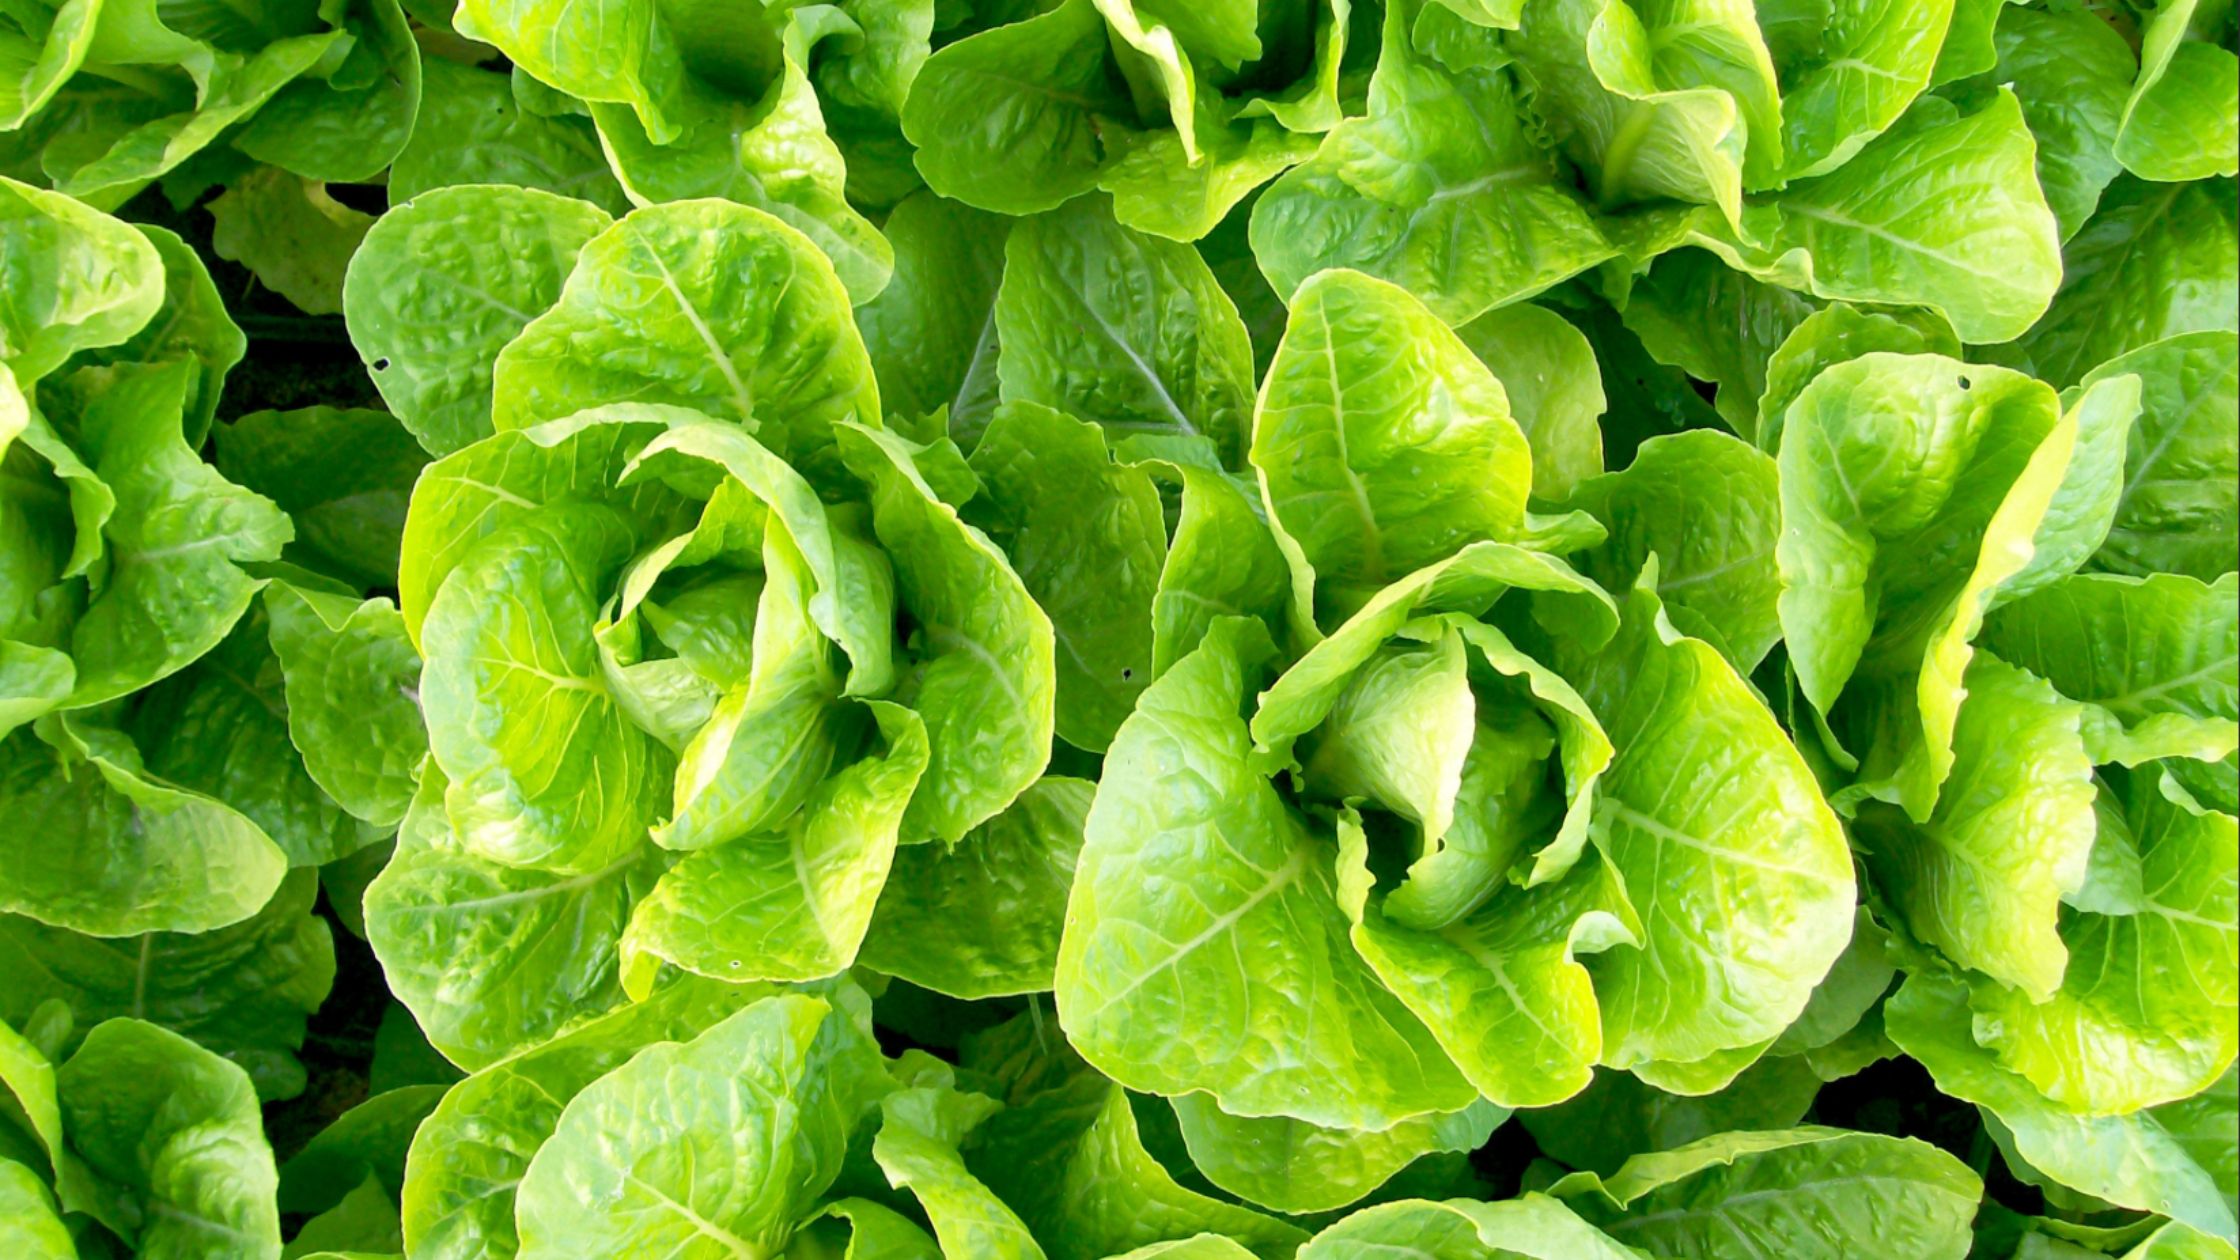
Romaine (Cos) Lettuce
Even if you’re new to gardening, you’re probably familiar with romaine lettuce from your local grocery store. It produces upright, elongated tall heads with thick succulent ribs and distinctively flavored long, thick crinkled leaves. In most stores, you’ll see green Romaine, but you’ll find seeds in other colors, like the red heirloom Rouge d’Hiver (Red Winter) Romaine Lettuce or the deeply blotched Mayan Jaguar Romaine.
Romaine is the most nutritious type of lettuce you can grow. It does best in loose, fertile soil and is moderately tolerant of heat and shade. Some varieties, like Jericho, an Israeli variety bred for the desert heat, are a favorite among market growers for their heat and to-burn resistance.
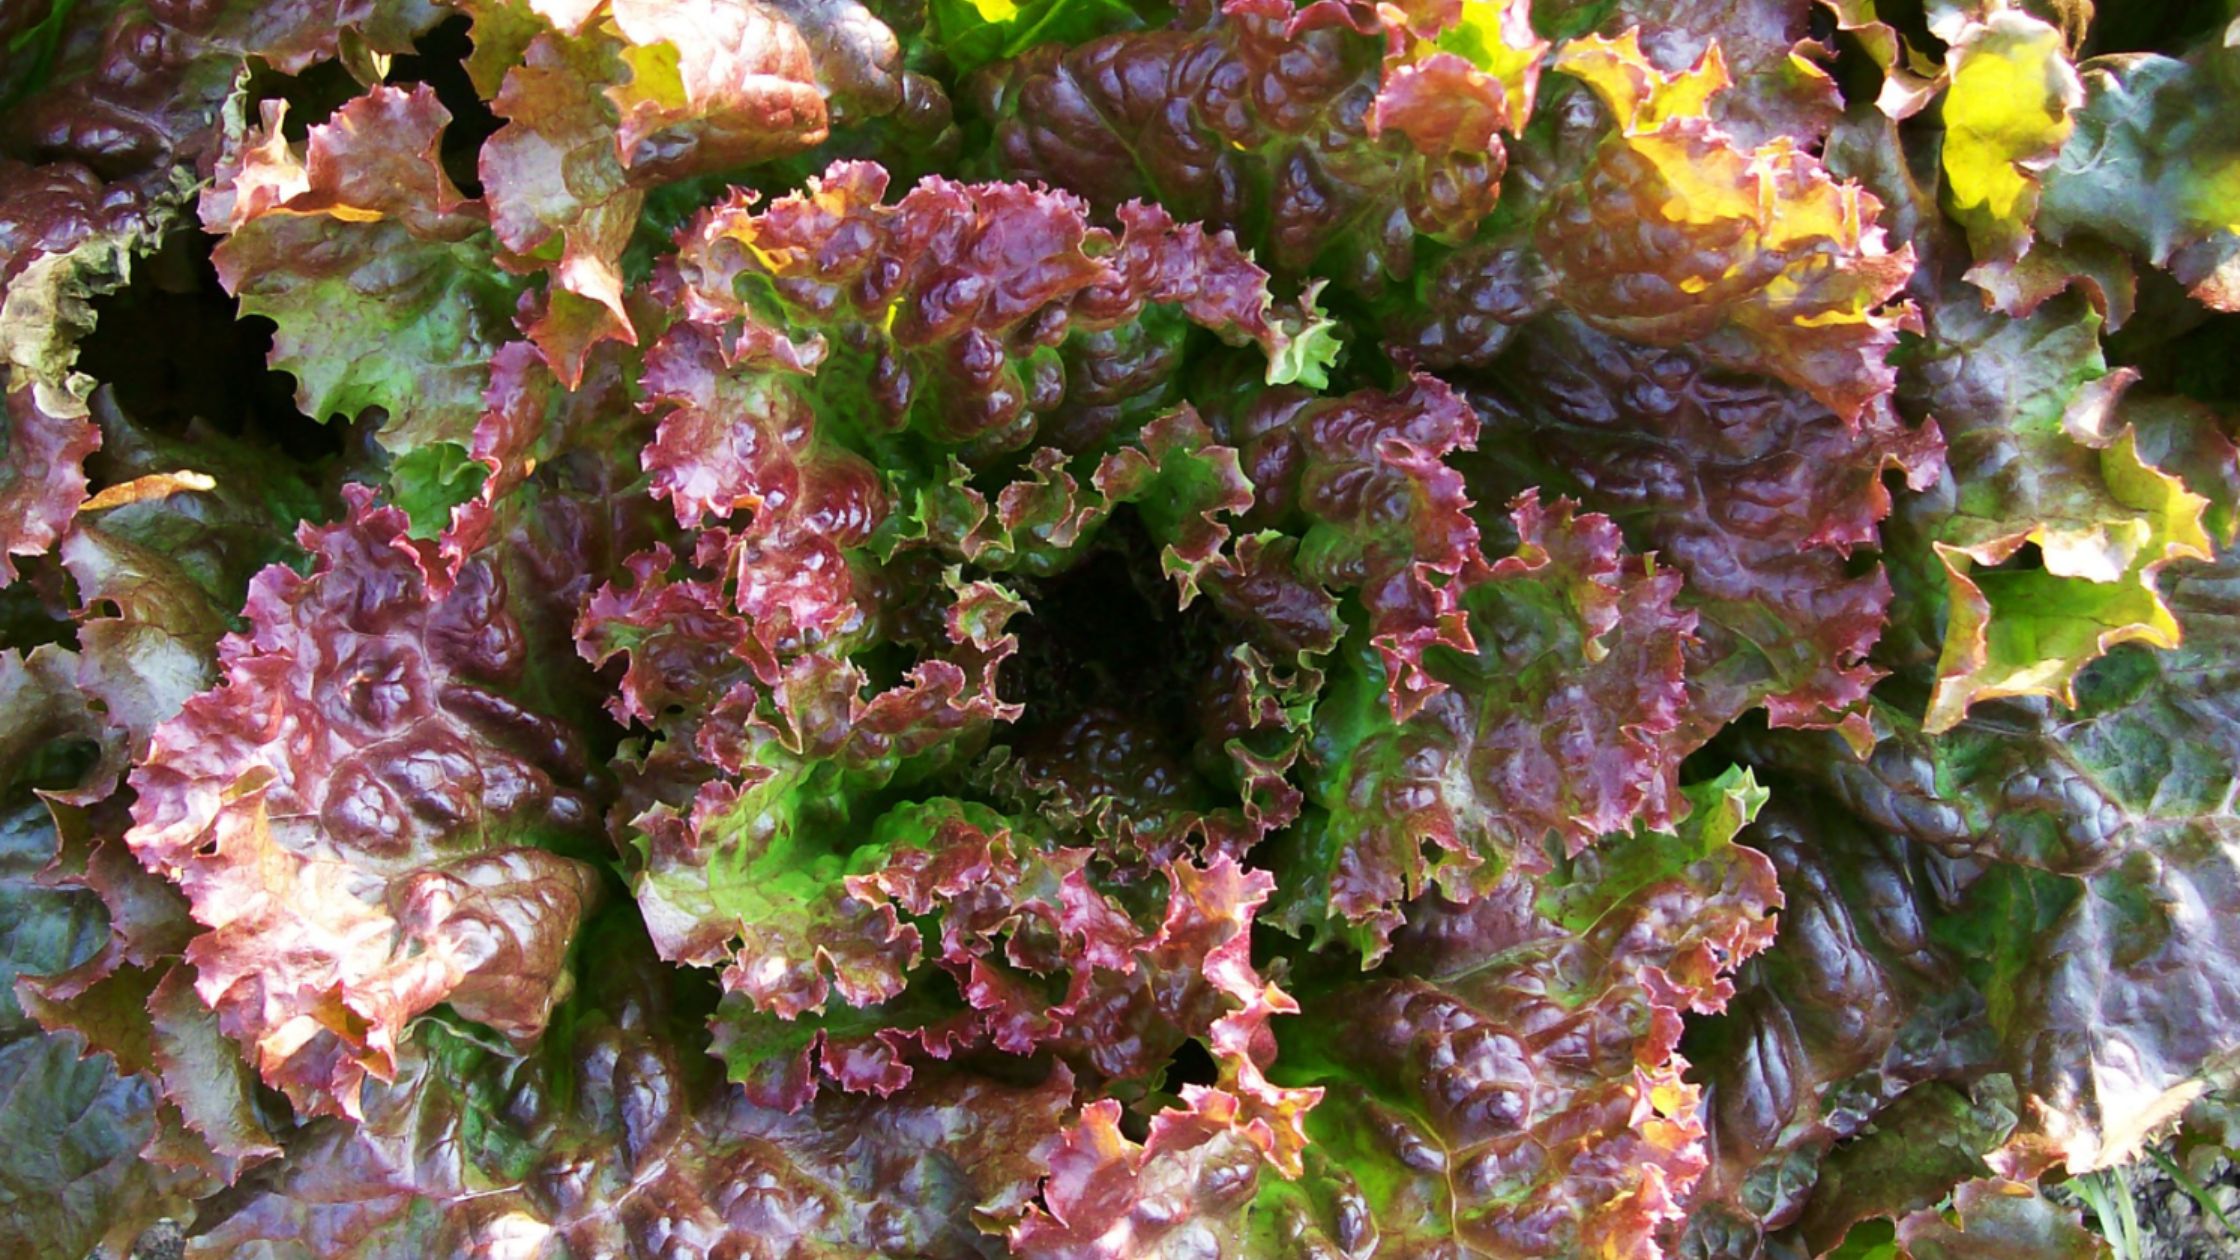
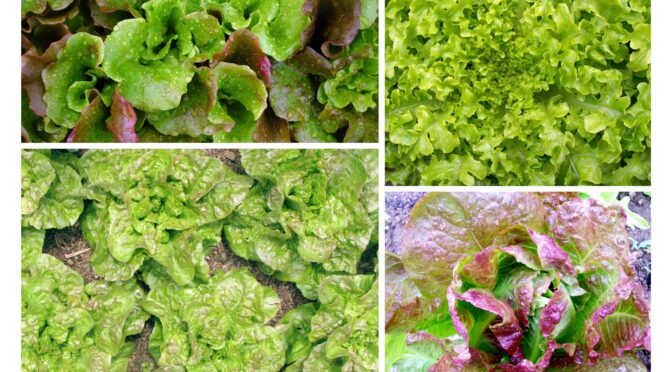
Loose-Leaf Lettuce
You may have also spotted loose-leaf in stores, probably in baby lettuce mixes. As the name suggests, it’s a non-heading type of lettuce. Like Romaine, there’s so much more than you’ll find in store. Loose-leaf lettuce contains the largest diversity of attractive heirlooms.
Loose-leaf is second to Romaine in nutritional value. It’s great for home gardeners because it does well as a cut-and-come-again type and allows you to harvest only as much as you need at once. However, it doesn’t keep in the fridge as well as Romaine. Loose-leaf is also the most forgiving of poor soil and is generally more heat-tolerant than other types.
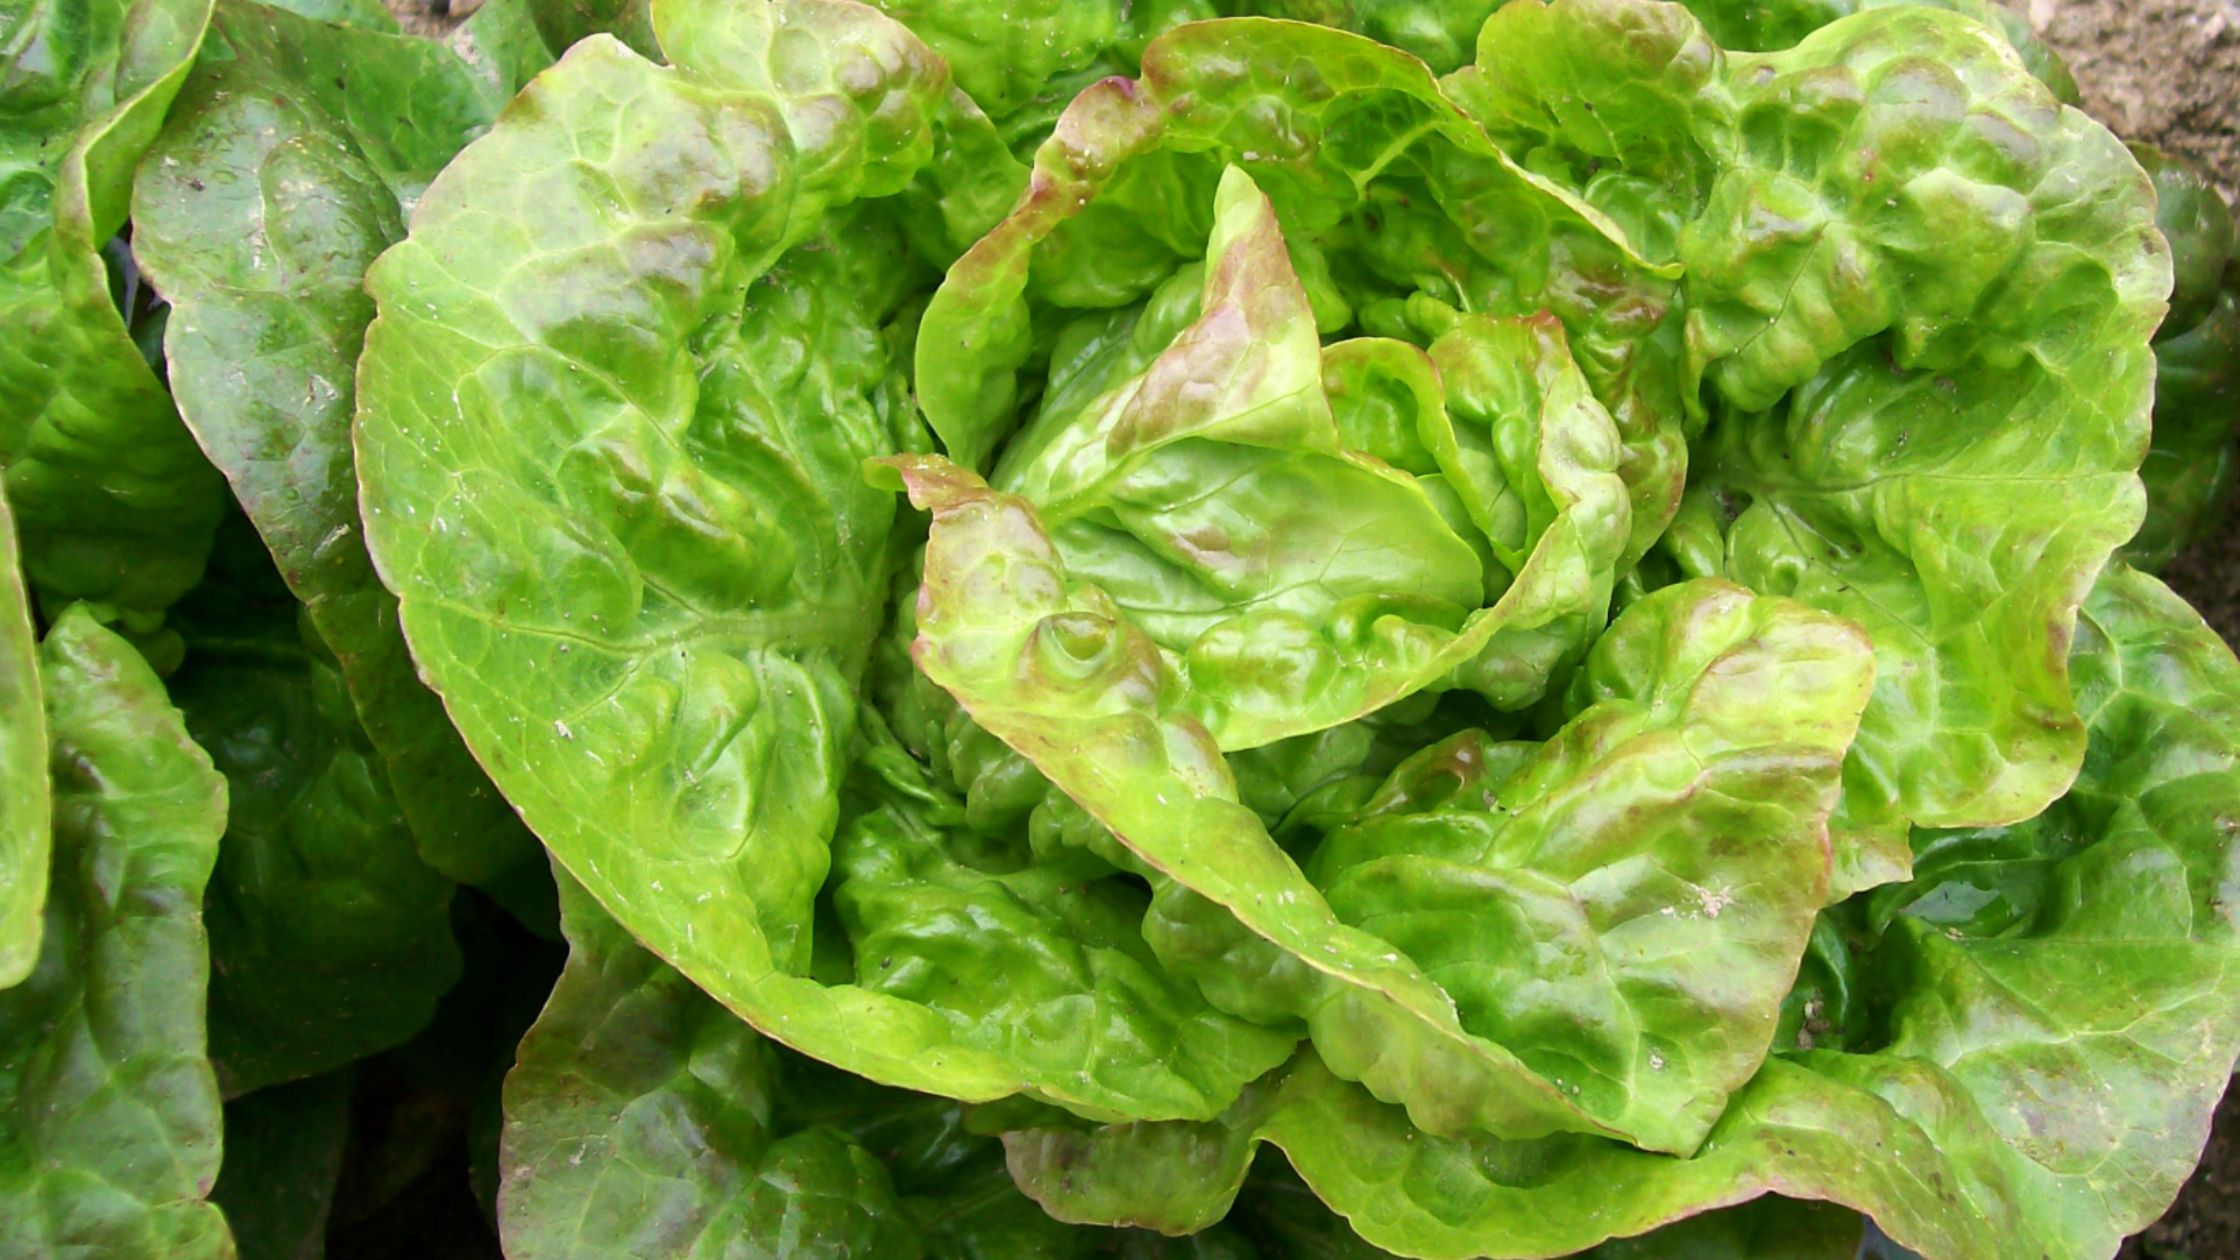
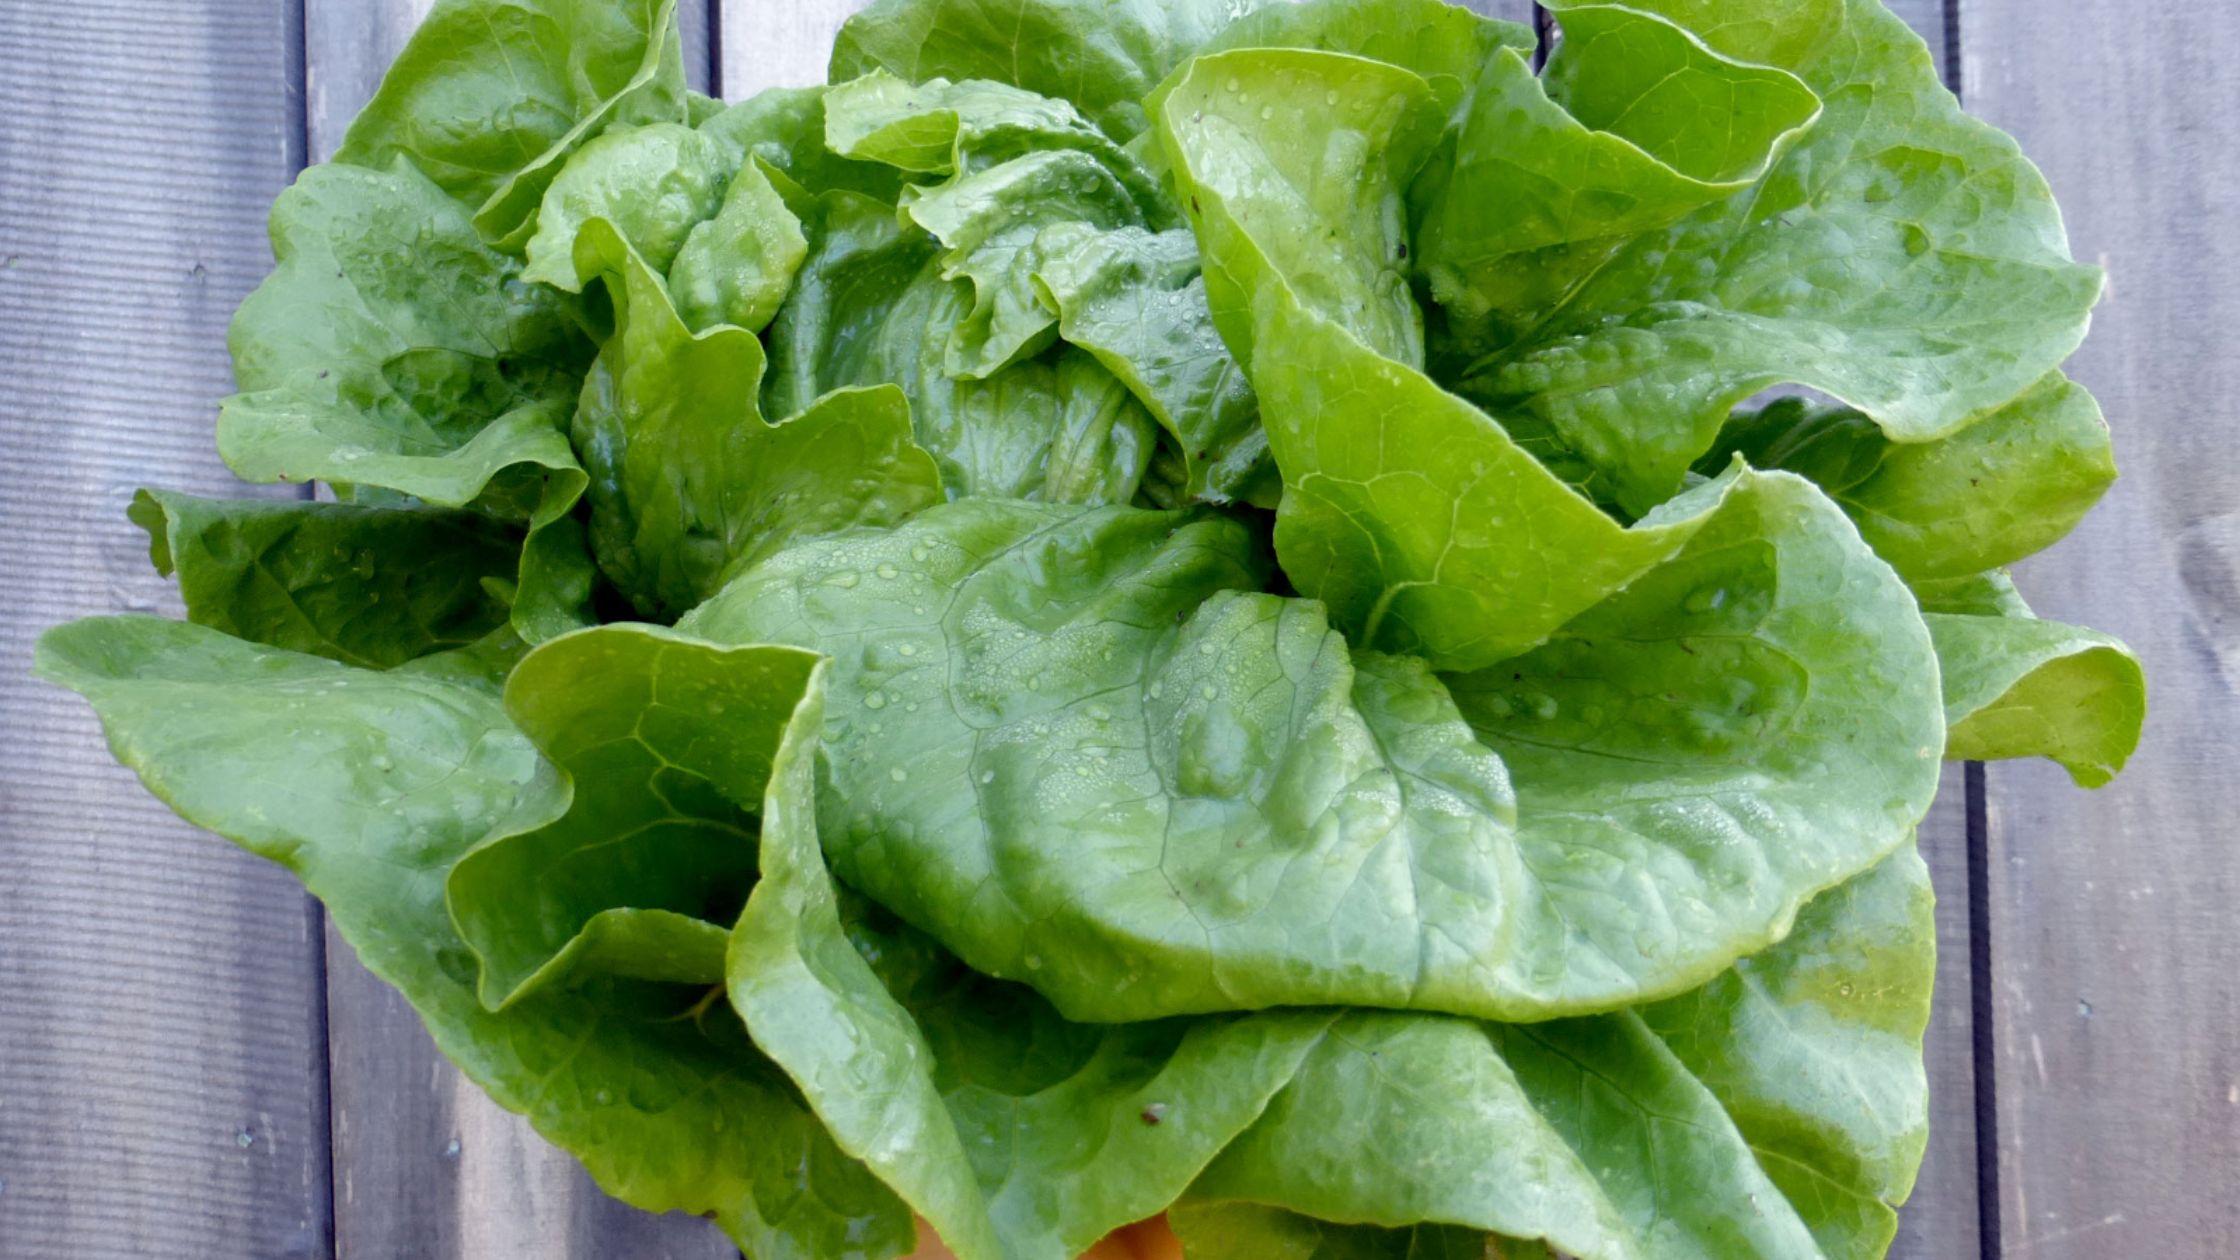
Bibb (Butterhead) Lettuce
Bibb or butterhead lettuce has small, loose green heads, blanched yellow interiors, and thin, soft-textured leaves. It has a wonderfully almost-buttery, sweet taste. The small heads are a great size for single people and smaller families.
Bibb has intermediate nutritional value. It’s generally more tolerant of hot weather than crisphead lettuce. As a group, it is best for cooler regions, with some notable exceptions.
*There’s also Buttercos lettuce which has the characteristics of both butterhead and cos.
Crisphead & Batavian Lettuce
You’re undoubtedly familiar with one common type of crisphead lettuce you’ll find at nearly any grocery store, Iceberg. Like Iceberg, other crisphead lettuce varieties are popular for their tightly folded, blanched crisp leaves.
Crisphead is less nutritious than other varieties. Because it is harder to grow to perfection, we offer varieties that are more adapted for hot regions. Crisphead lettuce should be set out early in the season since it requires a long cool season. Shading with cheesecloth or screening is recommended if heads have not formed by late spring.
Common Questions About Growing Lettuce
How Do You Keep Lettuce Going in Summer?
While some varieties are more heat tolerant than others, lettuce is a cool-season crop. You can extend your season into hotter weather in a couple of ways. The first is to cover your plantings with a reemay blanket.
The other is to plant tall vegetables in north-south rows and plant heat-resistant lettuce underneath the leaf canopy so that it is shaded during the hottest portion of the day. Corn planted in rows 4 feet apart or pole beans on a fence or trellis is ideal. Interplanting lettuce with bush squash also gives good results. Mulch the lettuce well, keep it well watered, and enjoy!
How to Start Lettuce in Hot Weather?
If the temperature exceeds 80 degrees F, lettuce will often fail to germinate. You can plant lettuce during late summer or early fall while the days are still hot, provided the seeds are germinated in the refrigerator for 4-6 days. Another method is to soak the seed in 10% bleach for 2 hours at 40-60 degrees F, followed by four water rinses. This method enhances both the speed and amount of germination.
One more method is to keep the soil cool with burlap or boards; remove cover promptly after germination to keep grasshoppers and other pests from enjoying the shaded tender sprouts!
What’s the Best Type for Beginners?
Generally, we recommend loose-leaf types for beginners as they tend to be the most forgiving of various conditions, including heat and poor soil. They also grow quickly, helping you get harvests faster and more frequently. You could also try Romaine lettuce if you have good, loose, fertile soil.
What’s the Best Type for Greenhouses?
We recommend using heat-tolerant varieties of heat-tolerant, loose-leaf, or Bibb types for greenhouses.
 How Do I Save Seed From My Lettuce?
To save seed, you should isolate varieties by a minimum of 12’ for home use. For pure seed isolate varieties a minimum of 25-50’.
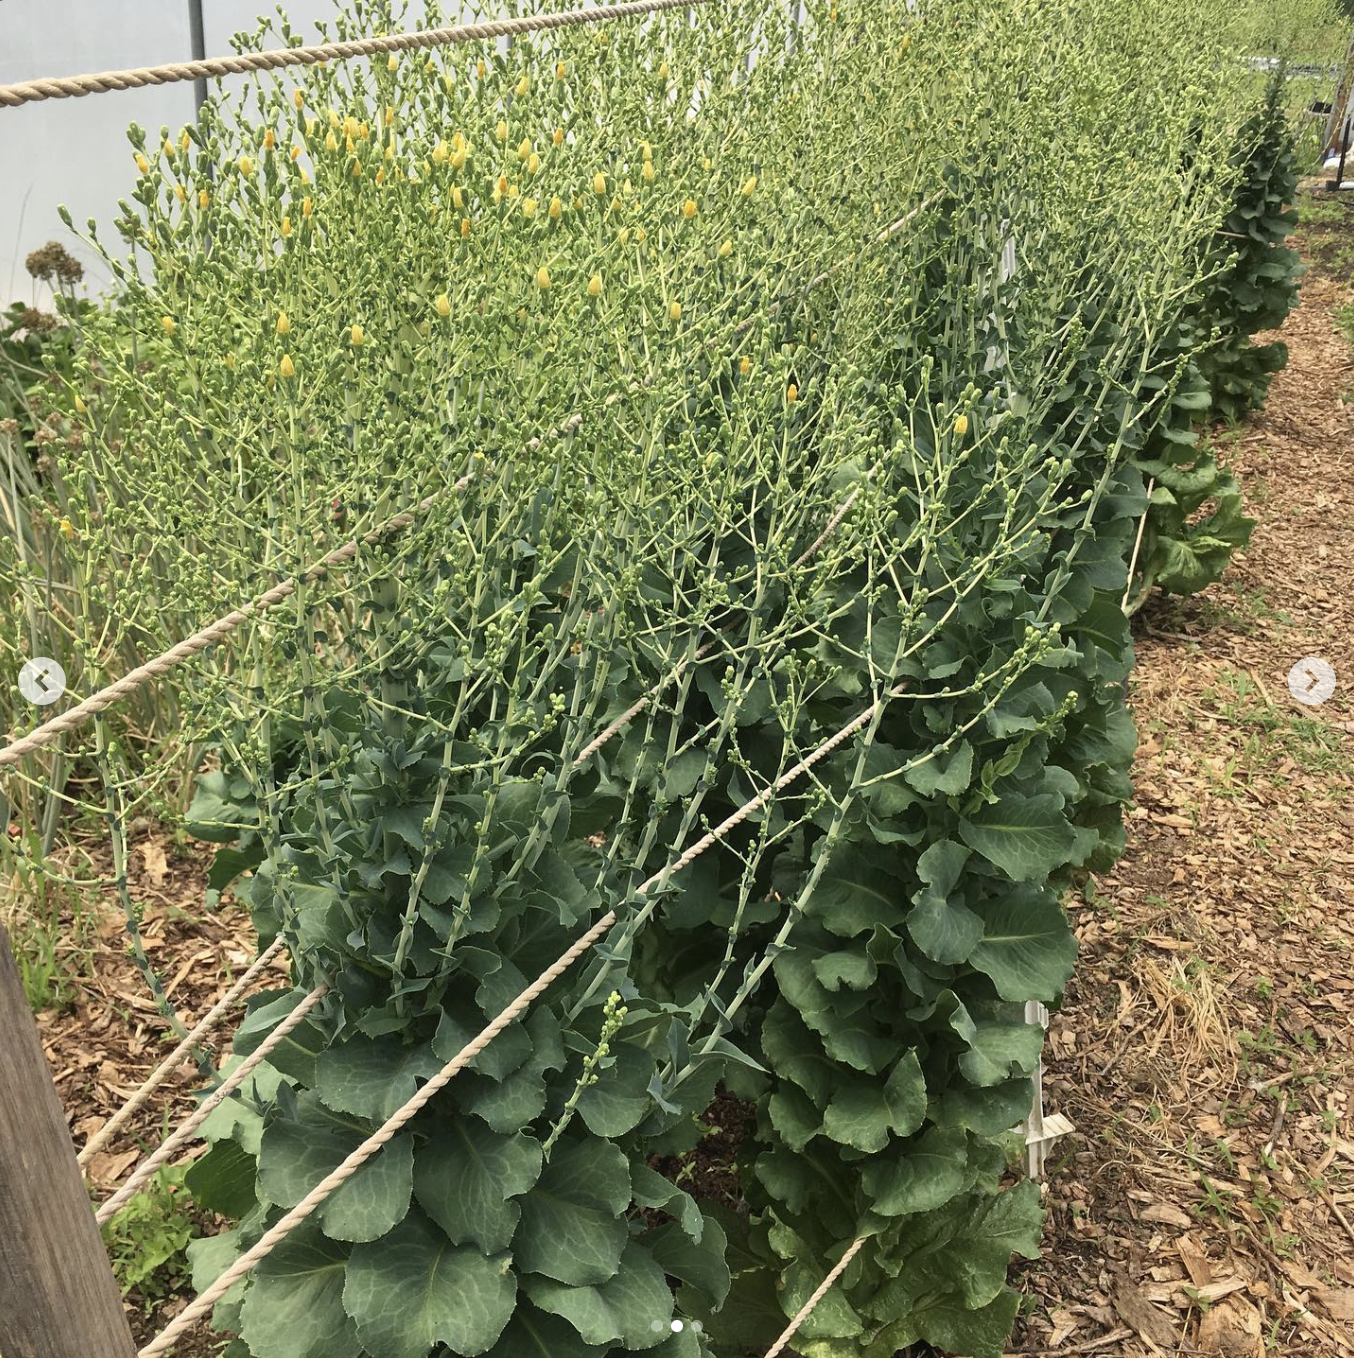
Lettuce will eventually bolt, especially in hot weather, sending up a tall flower stem. The flowers look a bit like mini, yellow dandelions. The flowers will eventually become fluffy and dry, and it will be time to harvest seed.
Gently bend the flower stem into a paper bag or container and give it a good shake. Any mature seeds should drop into the bag. You may need to try this for several days as the seeds slowly mature.
After collecting your seeds, you can winnow out the chaff or unwanted plant material. You can use a fan, and a couple of dishes, pouring the seed from one dish to the other as the wind blows the lighter, unwanted material away. Avoid getting too close to the fan, as lettuce seed is quite light.
There’s a lot more to lettuce than you’ll find on the grocery store shelves. Romaine, loose-leaf, Bibb, and crisphead lettuce types all have their pros and cons. Find a tasty, beautiful heirloom variety that fits well in your garden!

 Cherry Tomatoes
 Peas
Peas