
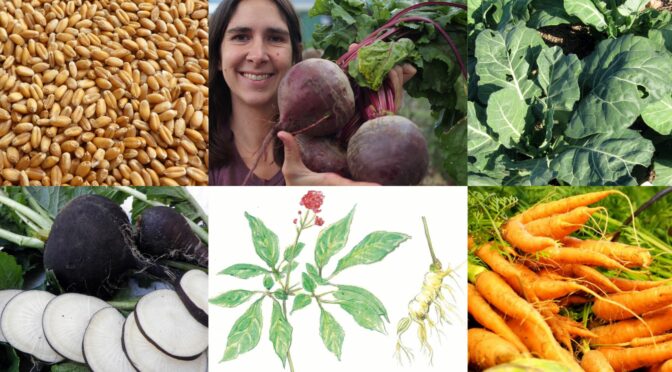
It’s still warm outside, but the gardening season is waning. While the big summer crops, peppers, tomatoes, beans, and squashes, will be finishing up soon, there is still time to do some fall planting. Some fall planted crops you can harvest throughout the late fall and early winter, and some won’t mature until next summer or even a few years. As we head into the colder months, we’re losing light each day, but it’s a beautiful time to work in the garden.
Fall Planting Alliums
Perennial Onions & Shallots
You can use shallots or perennial onions as onion substitutes in recipes. For those unfamiliar, shallots have a delicate, mild flavor. However, Egyptian walking onions are typically grown for their green tops. Depending on your zone, you can plant these hardy, productive perennials from September through November.
Bulb Onions
It can be surprisingly tough to get large bulb onions! We recommend getting as early a start as possible on your onions. The hot, long days of summer signal the bulbs to stop growing and start drying down.
Sow bulb onions indoors or in the greenhouse from mid-September to mid-March. Then they can be transplanted out in February or as soon as the soil can be worked in the spring.
Garlic
There are different types of garlic hard-neck, soft-neck, and elephant.
Hard-neck Garlic
Hard-neck garlic offers fewer larger cloves, making for easy peeling. They have excellent flavor but don’t store quite as long as soft neck varieties. However, hard-neck produce flower stalks, garlic scapes which are often considered a specialty. Some hard-neck varieties will tolerate the Southeast but thrive in areas with cold winters and long cool springs.
Soft-neck Garlic
Soft-neck garlic does better with southern winters. They typically produce more and smaller cloves than hards-neck garlic. They also have excellent flavor, keep well, and can be braided.
Elephant Garlic
As the name suggests, elephant garlic produces large bulbs, sometimes as large as a grapefruit. They’re closely related to leeks, and their flavor is mild and sweet.
Fall Planting Brassicas
Brassicas are often the backbone of cool weather gardens. They include cabbages, collards, kale, kohlrabi, cauliflower, broccoli, Chinese cabbage, and Brussels sprouts. It’s best to sow many of these in the middle of summer for fall planting, but you may still have time to get some in, depending on your zone.
Cabbage
For fall crops, either transplant to desired spacing when plants have three true leaves or direct sow 6-12 seeds per foot at a depth of 1/4 inch and thin as needed. Maintain adequate soil moisture during germination.
- January King Cabbage
- Red Acre Cabbage
- Savoy Perfection Cabbage
Collards
Tasty and high in vitamins A and C, collards have long been a must-have for southern gardens. Most varieties are winter-hardy from Virginia southward. Here are a few of the many great varieties:
- Champion Collards
- Variegated Collards
- Vates Collards
- Whaley’s Favorite Cabbage Collards
Kale
Kale is super easy to grow and frost hardy. It is often less susceptible to pests than other brassicas.
- Lacinato Rainbow Mix Kale
- Premier Kale
- White Russian Kale
Kohlrabi
Kohlrabi is a brassica with a bulbous stem and leaves which can be eaten raw in salads or cooked.
- Gigant Winter Kohlrabi
- Early Purple Vienna Kohlrabi
Fall Planting Root Crops
Before the advent of modern refrigeration, root crops often made up a considerable portion of people’s winter diet. You can sow many root crops in the fall for a late fall or early winter harvest.
Carrots
Carrots are an ideal fall crop for harvesting through the winter. Here in the Southeast, you can store them right in the garden by covering the tops with a thick layer of loose mulch, like straw. Some great varieties for fall include:
- Danvers 126
- Purple Dragon
- Yellowstone
Beets
Plant beets in early September for winter harvests. Thin to six plants per foot for fresh beets, three plants per foot for beets used for winter storage, in rows 12 inch apart. Some great varieties for fall include:
- Lutz Green Leaf (Winter Keeper) Beet
- Chioggia (Dolce Di Chioggia) Beet
- Bull’s Blood Beet (usually harvested young for salad mix)
Turnips
These versatile veggies provide greens and sweet, mildly spicy roots in the winter. Among some families, it’s traditional to eat turnip greens on New Year for good luck. Some great varieties for fall include:
- Amber Globe (Yellow Globe) Turnip
- Seven Top (Southern Prize) Turnip Greens (used as a winter green)
Radishes
Radishes are fast maturing and add a bit of spicy flavor to salads and roasted root veggies. For winter storage, radishes sow 5-10 weeks before the first fall frost. Thin to wider spacing (4-6 in. apart) than regular radishes. Harvest before temperatures drop below 20 degrees F. Trimmed roots can store for two to three months in the refrigerator or root cellar.
- Black Spanish Round Fall Radish
- China Rose Fall Radish
- Daikon, Miyashige White Fall Radish
- Misato Rose Fall Radish
Rutabagas
Rutabagas are a productive crop originating in Sweden from a cross between cabbages and turnips. Historically and today, rutabagas are used both as a table vegetable and as animal fodder. You can make a hearty dish from mashed potatoes and rutabagas. Rutabagas are also traditionally part of New England boiled dinners.
Plant 8-10 weeks before the first fall frost. Seed 1 inch apart in rows 12 to 16 inches apart, thinning to 8 inches apart. Thin within a month–crowded seedlings won’t bulb properly.
Fall Planting Peas
Shelling (English), snap, and snow peas are all fast-maturing, cool-weather crops that can all be fall planted. Here in zone 7a, they don’t tend to perform as well as our spring plantings. However, it may be worth trying it in your area. Some varieties to try:
- Little Marvel Dwarf Shelling (English) Pea
- Sugar Ann Dwarf Snap Pea
- Oregon Giant Dwarf Snow Pea
 Fall Planting Greens
Several greens thrive in fall’s cool weather. You can sow lettuce, mustards, endive, cress, spinach, endive, and arugula this time of year. Here are a few of my favorites for fall:
Mustards
- Red Giant Mustard
- Feaster Family Heirloom
- Southern Giant Curled Mustard
Lettuce
- Anuenue Batavian/ Crisphead Lettuce
- Parris Island Cos Romaine Lettuce
- Crawford Bibb (Butterhead) Lettuce
- Rouge d’Hiver (Red Winter) Romaine Lettuce
Fall Planting Flowers
When we think of planting flowers, we typically think of spring. However, you can start a flower garden in the fall.
Fall Bulbs & Crowns
Many flowers grown from bulbs do best when planted in the fall. These include tulips, crocus, daffodils, oriental lilies, and ornamental alliums. Some can be fall-planted from crowns such as peonies.
Fall Flowers Seeds
Many of the flower seeds we carry can also be fall sown. It sounds a bit odd but think of all the flowers that will self-sow. We typically recommend sowing these flowers 4 to 6 weeks before your first frost. You can find out more about what varieties and planting recommendations in our post Spring Flowers: Fall Sowing.
 Woodland Medicinals
Goldenseal
Historically, herbalists used goldenseal to treat various ailments especially inflamed mucous membranes. It was used in gargles for sore throats, topically to treat skin irritations and infections, as an eyewash, and internally to treat UTIs, ulcers, and digestive issues.
Today, goldenseal is now believed to be one of the most at-risk medicinal plants in the United States and is believed to be at high risk of extinction in many parts of its range. Goldenseal rhizomes can be planted in the fall, helping to ensure this specie’s long-term survival.
Ginseng
Like goldenseal, ginseng is disappearing from the woodlands of North America. Herbalists highly favor wild ginseng over cultivated ginseng. Interestingly, wild ginseng shows exponentially higher levels of the compound ginsenoside, which is believed to have numerous medicinal benefits.
It’s best to plant ginseng seeds or roots in the fall. It thrives on northern facing slopes of deciduous forests. Planting ginseng in your woodlands helps ensure its survival.
Fall Planting Grains
Growing your own grain is as rewarding as growing your vegetables and herbs. Whether you’re an avid baker or brewer or just want to try something new, small-scale grain production is a great option. For fall planting, try Nu East Hard Winter Wheat.
Fall Cover Crops
Sowing cover crops is an essential part of fall garden maintenance. Cover crops help provide habitat for beneficial insects, reduce erosion, and add organic matter to your soil. Please read our blog Fall Cover Crops & Their Importance for more info on fall cover crops. Some great options include:
- Austrian Winter Peas
- Hairy Vetch
- Buckwheat
- Crimson Clover
- White Dutch Clover
- Red Clover
- Hulless Oats
- Common Winter Rye
Fall Cover Crops & Their Importance
Fall Planting Fruit Trees & Shrubs
If you’re dreaming of a home orchard, now is a great time to start! Many fruit trees and shrubs can be planted in the fall. Cooler and shorter days may actually help trees become established in hot areas. You can plant apples, plums, peaches, and others in the autumn.
Fall is a wonderful time to work in the garden, enjoying the cooler weather and lower humidity. Depending on your location and garden, you may be able to add some crops or perennials to your plot this time of year.
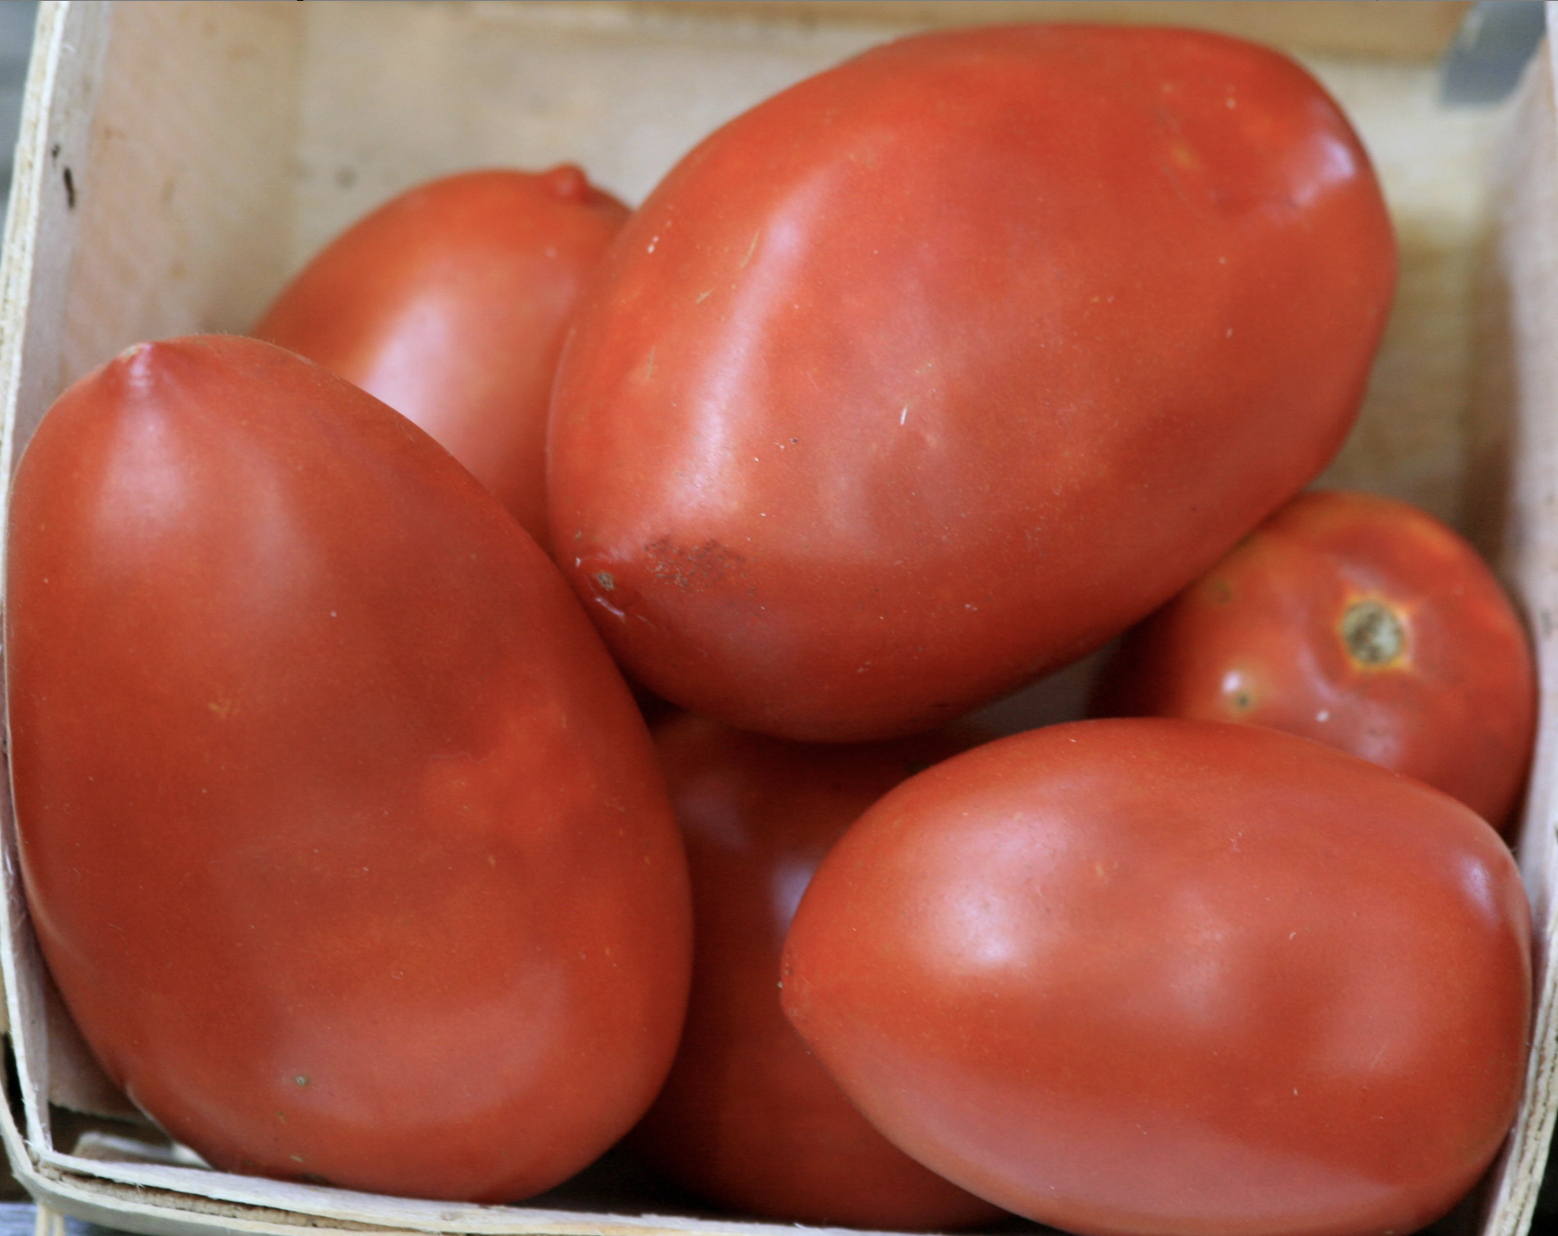 Amish Paste (Indeterminate)
 San Marzano (Indeterminate)
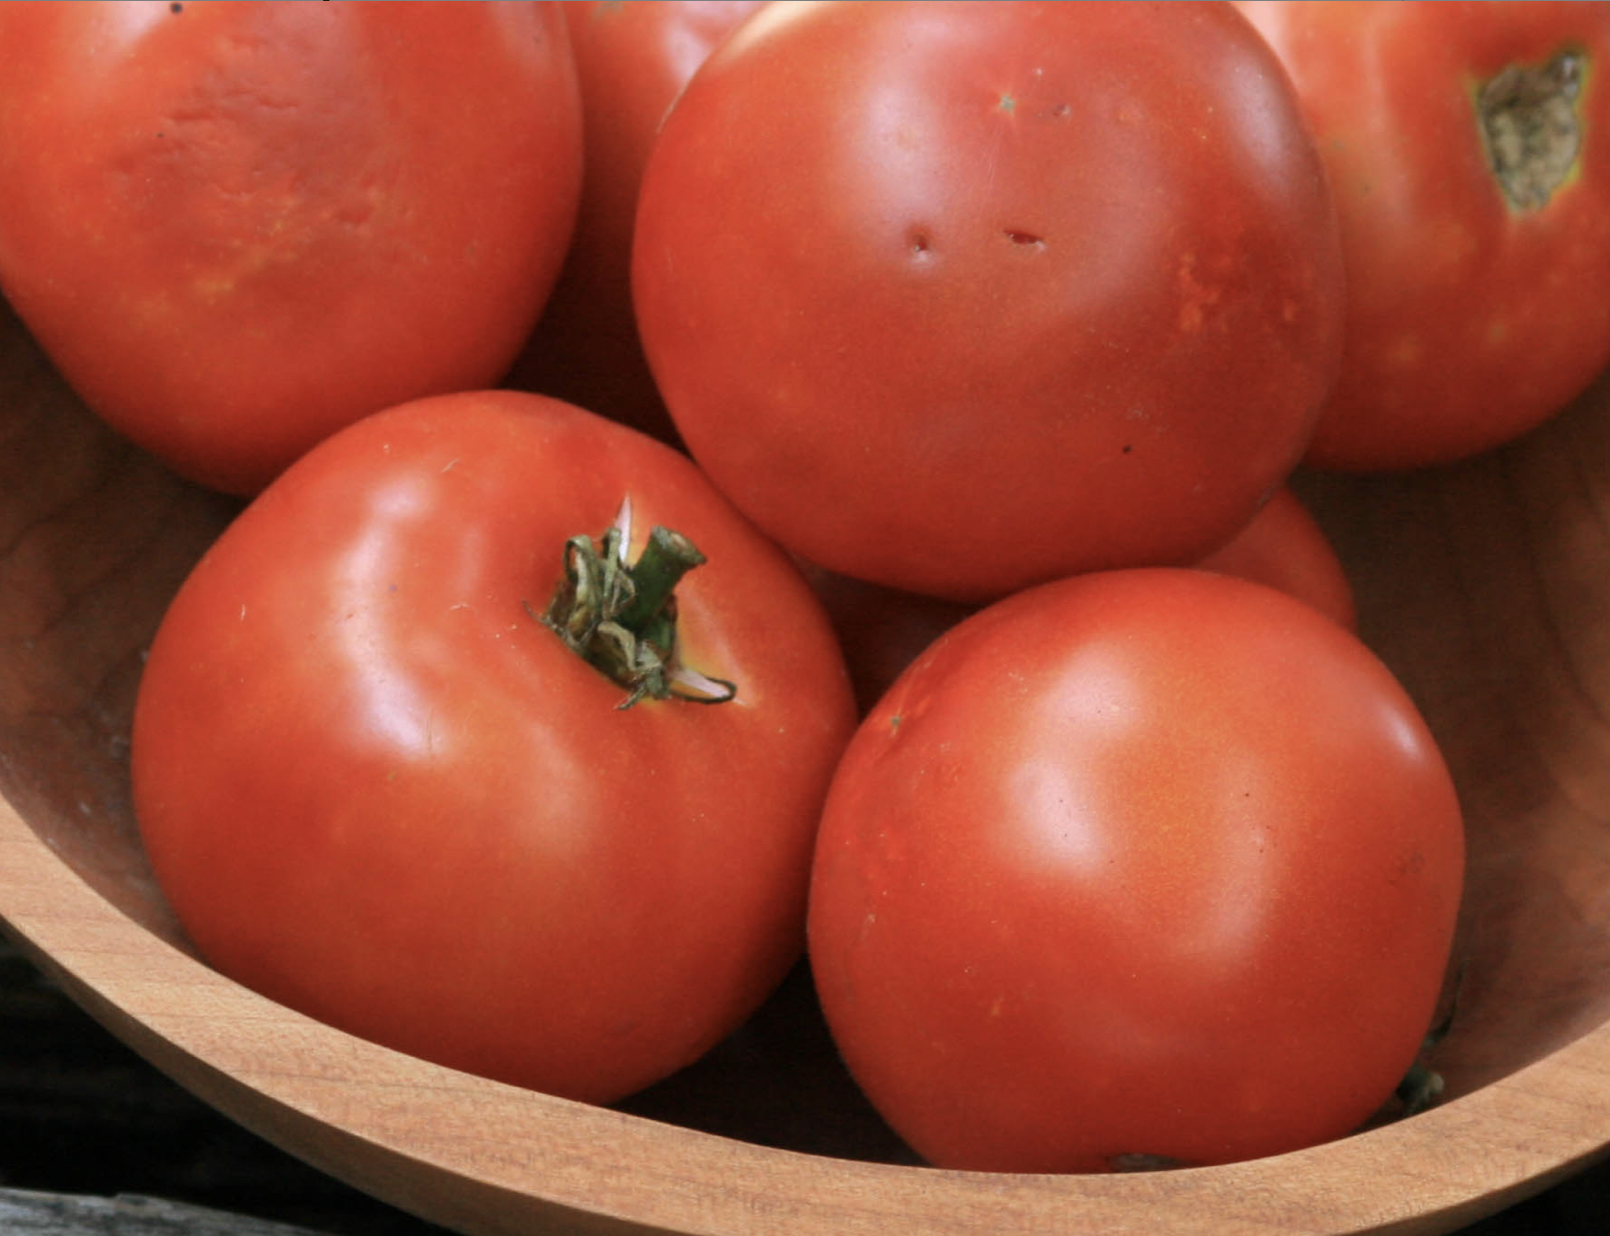 Heinz 1350 VF Processing Tomato (Determinate)
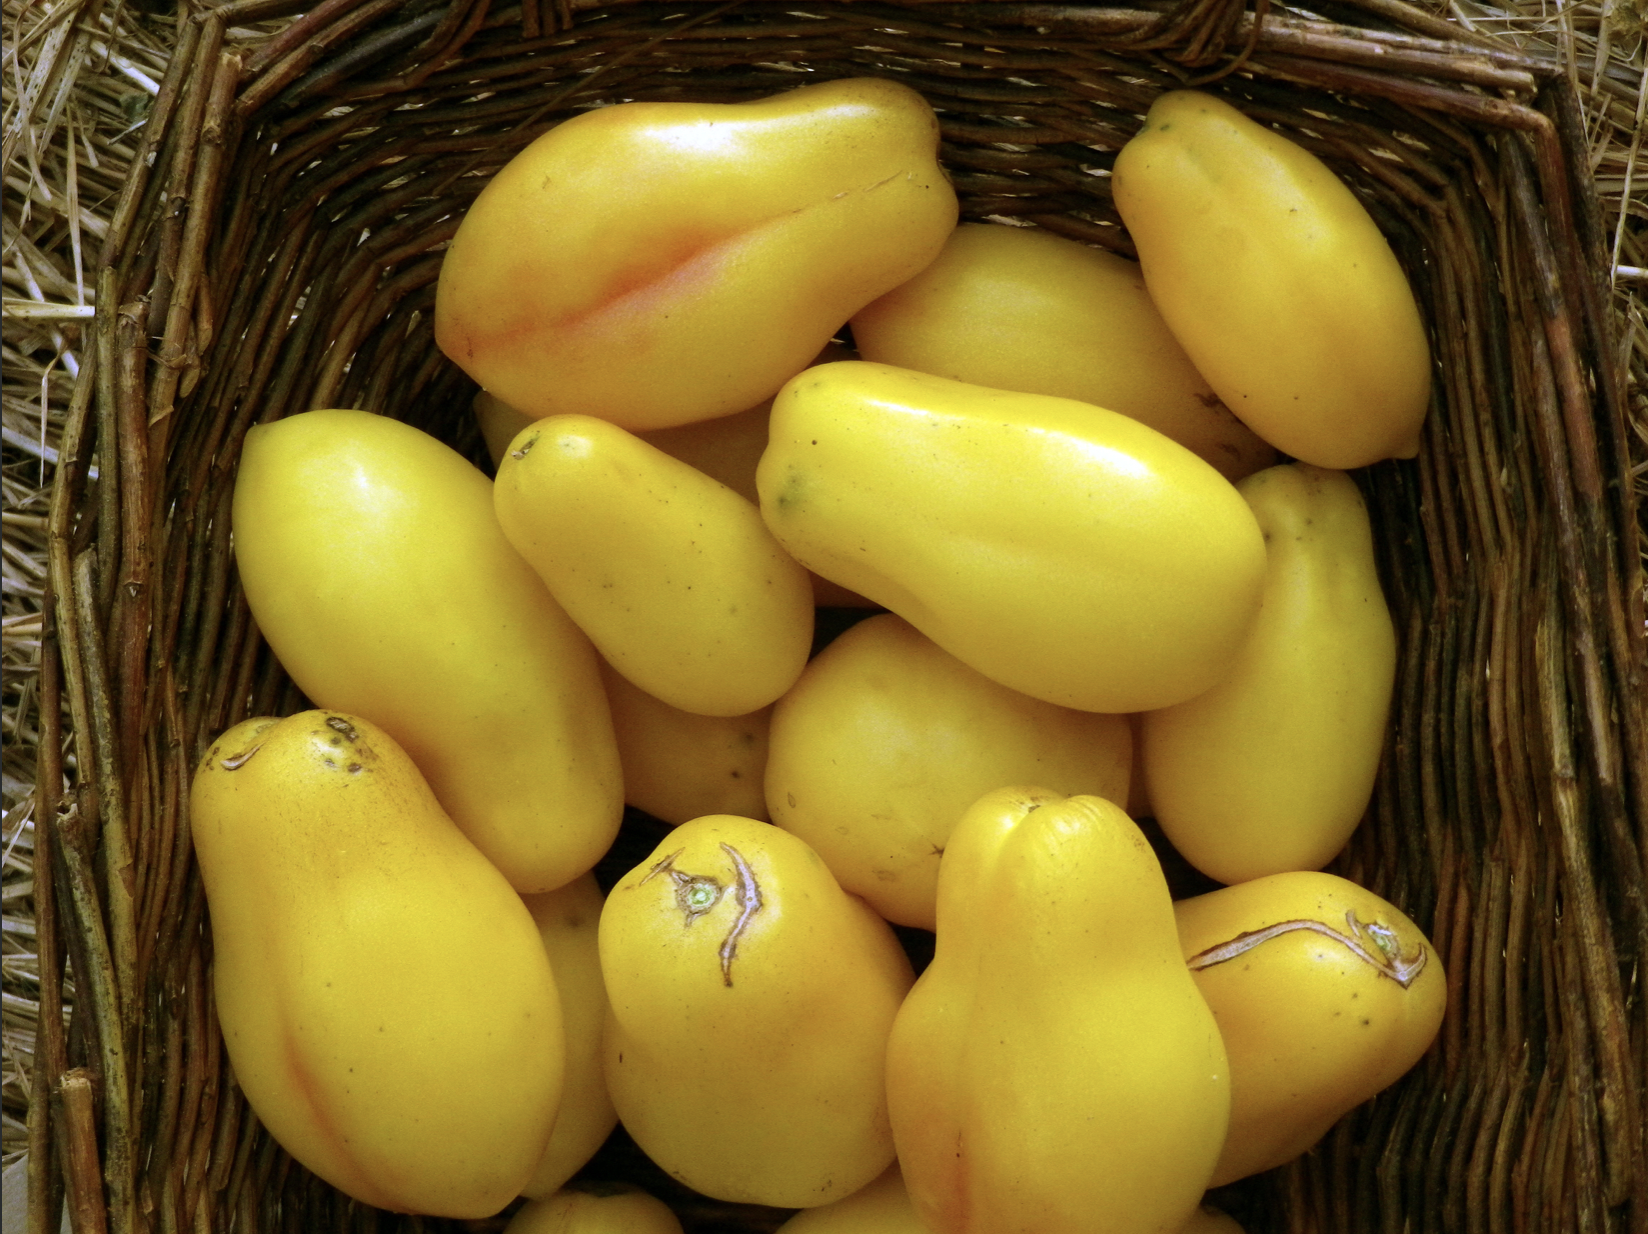 Yellow Bell Paste Tomato (Indeterminate)
 Roma VF, Virginia Select Paste Tomato (Determinate)
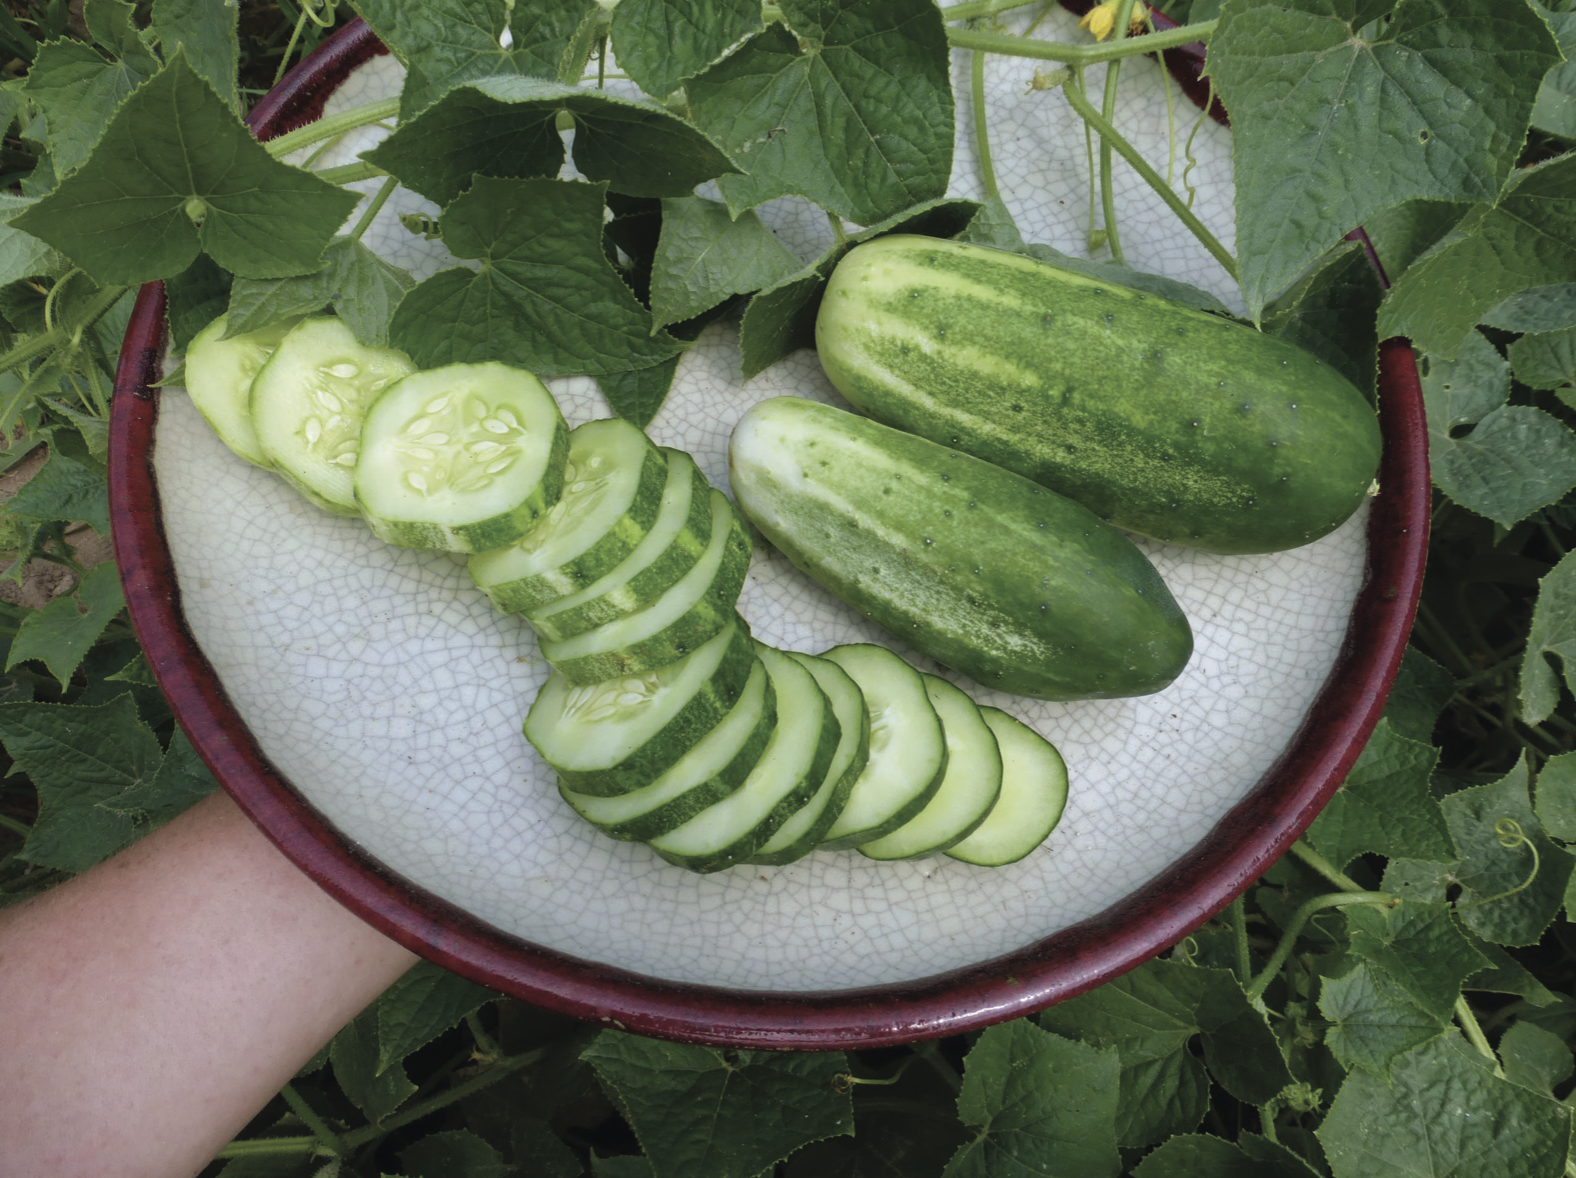 Arkansas Little Leaf Pickling Cucumber
 Boston Pickling Cucumber
  Roseland Small White Pickling Cucumber
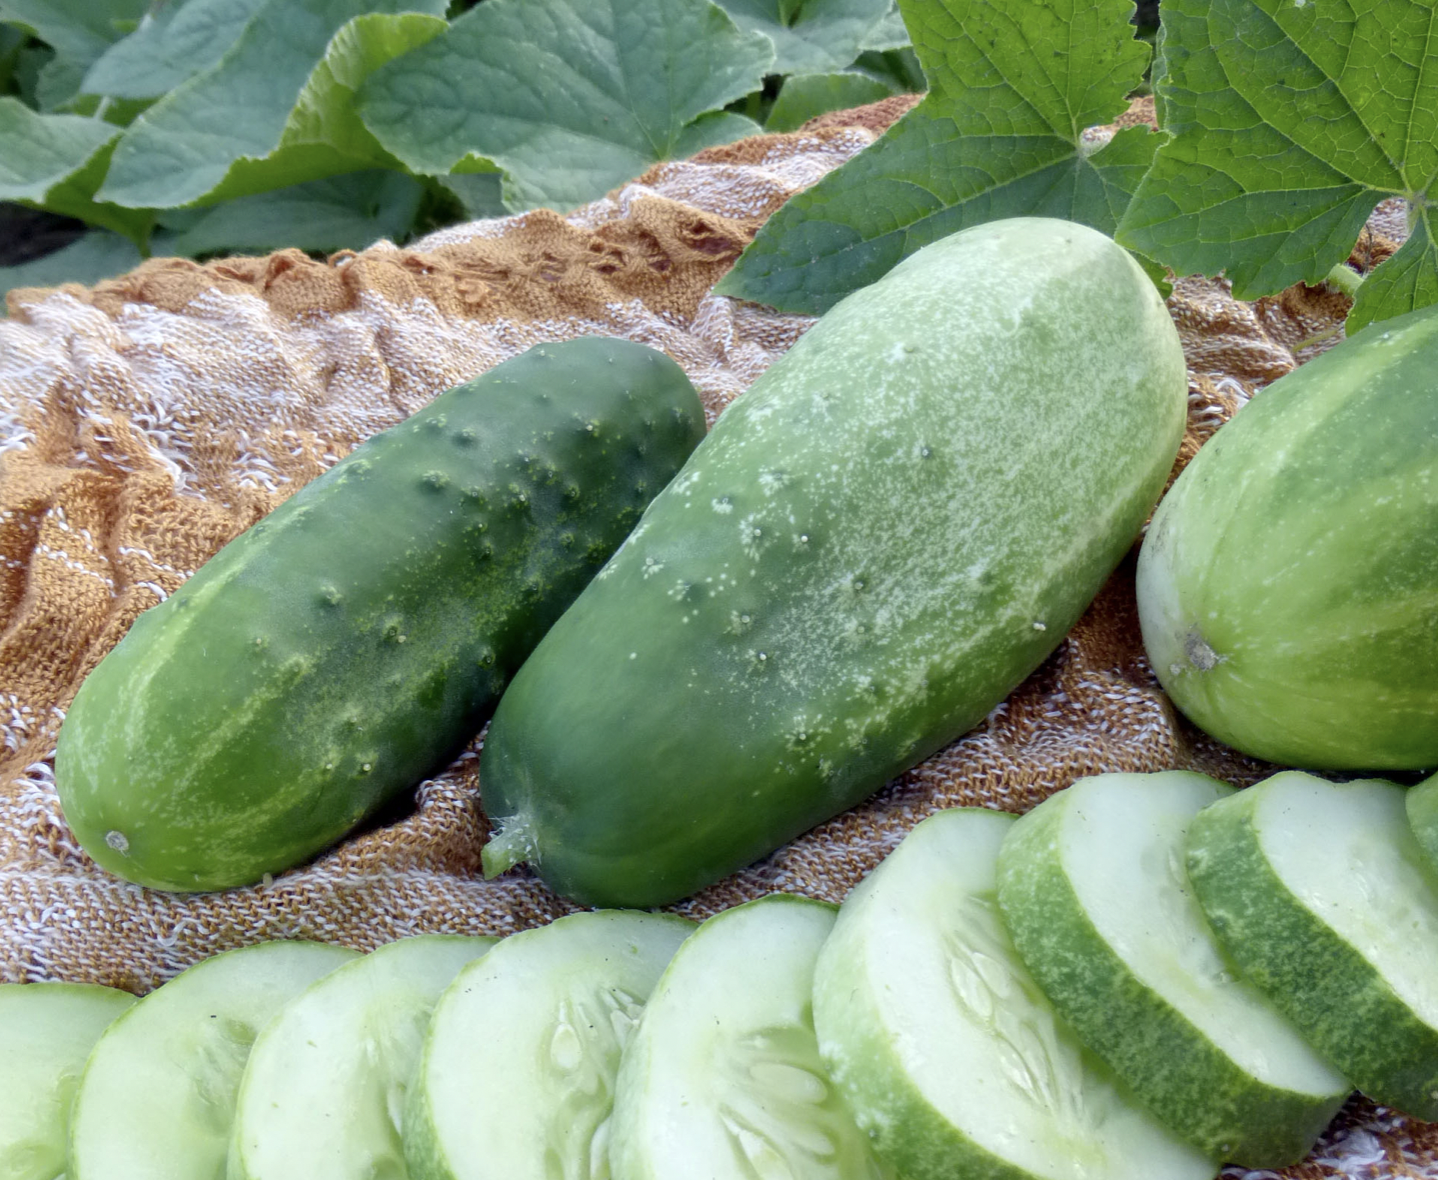 Homemade Pickles Pickling Cucumber
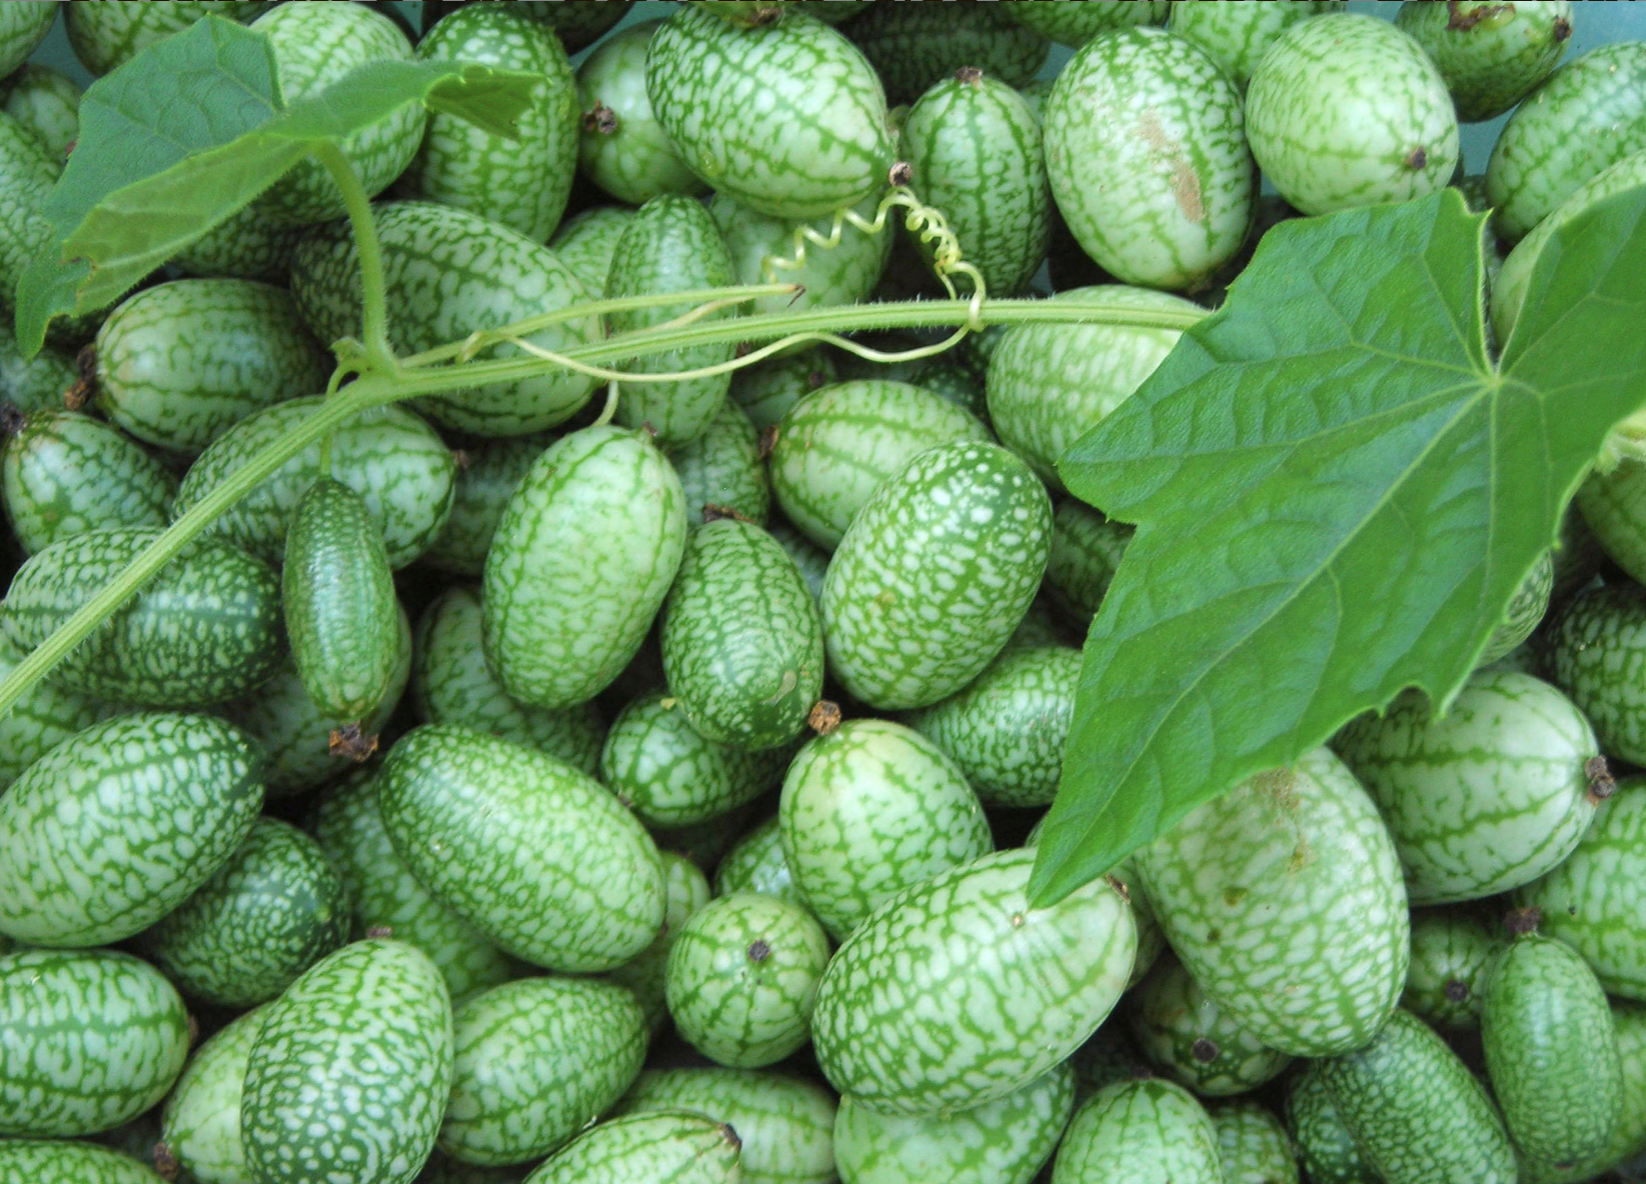 Mexican Sour Gherkin (Mouse Melon, Sandita)
  Hungarian Hot Wax Banana Pepper
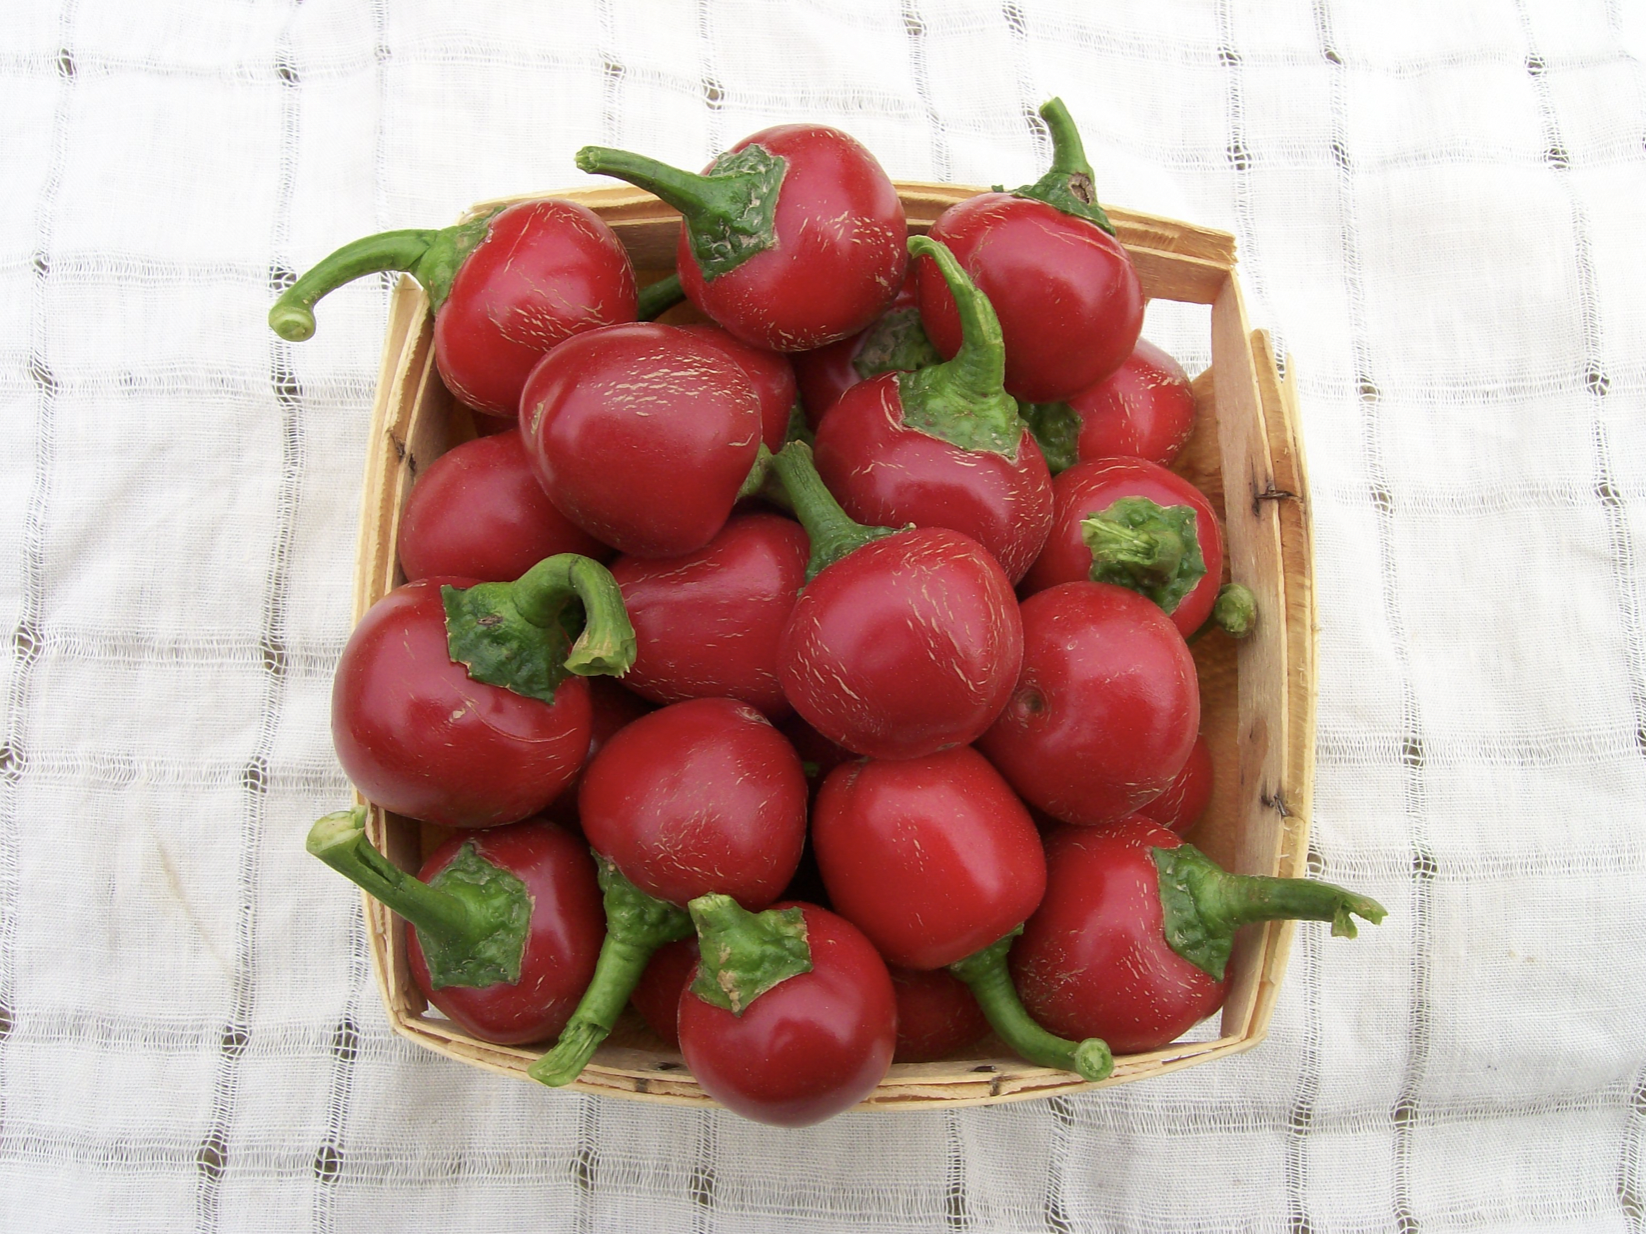 Red Cherry (Cherry Sweet) Sweet Pepper
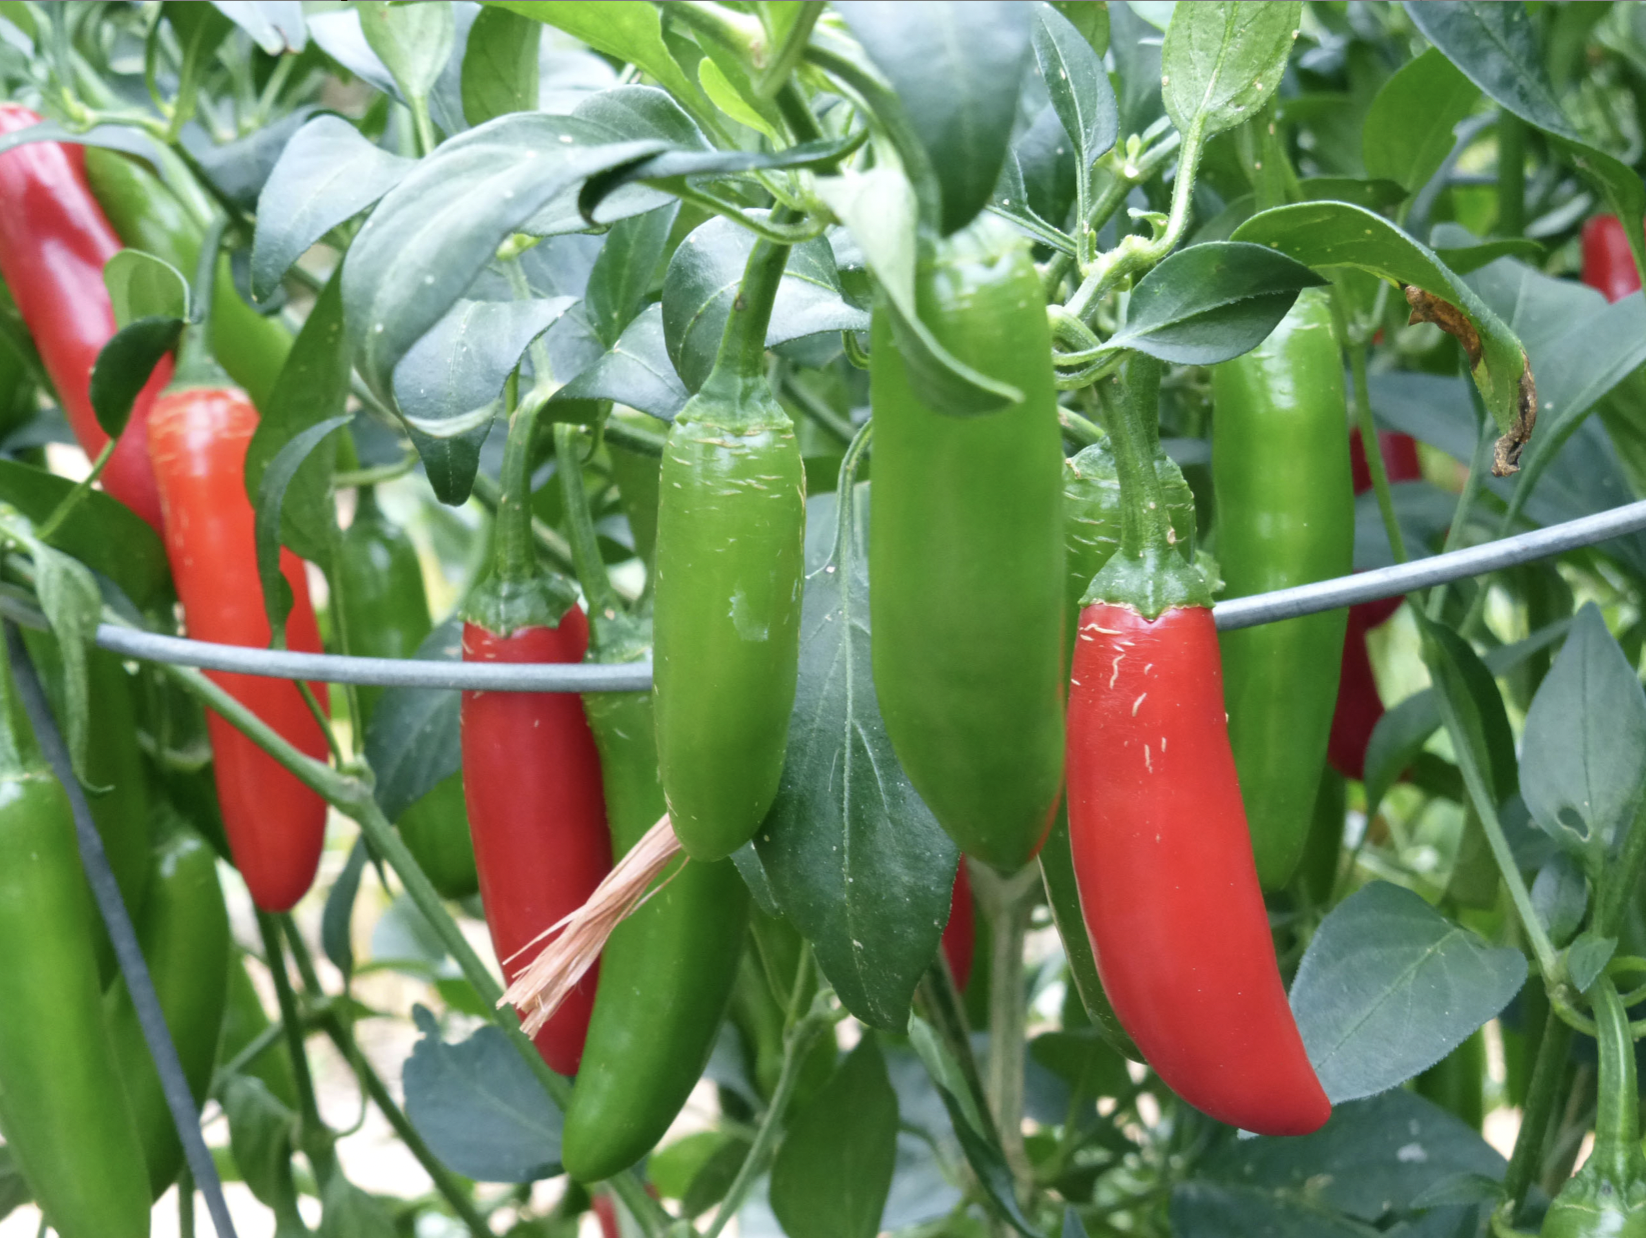 Serrano Tampiqueño Hot Pepper
 Sweet Banana (Long Sweet Hungarian) Sweet Pepper
 Jalapeño Hot Pepper
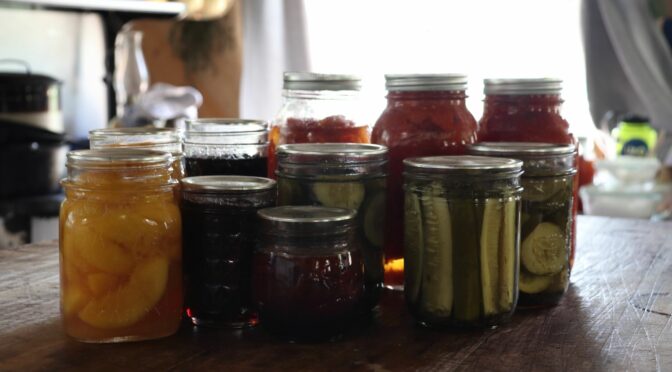
") Consider smaller jars and amounts.
Consider smaller jars and amounts.