
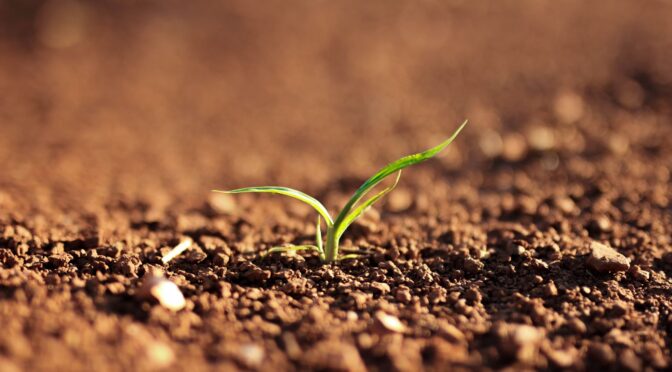
It’s easy to see that great gardens come from healthy soil. However, it’s less easy to understand how to build healthy soil. There are micro and macronutrients to consider, acidity, cover cropping, the soil food web, and so much more. One way we can examine our soil and easily make adjustments is by understanding its texture. Soil texture determines how it “acts,” like when you’re trying to dig a new bed or get heavy rain.
One of the easiest ways to examine your soil texture is to do the jar test or the mason jar test.
The Jar Test
To complete this test, you’ll need some basic supplies; a ruler, permanent marker, water, soil samples from the root zones of your plants, and a clear jar for each sample. You don’t need to go crazy with samples, but it’s worth doing a couple, especially if you have a large garden or multiple.
- Place your soil sample in the jar. It should be about 1/3 of the way full.
- Fill the jar almost to the top with water.
- Shake thoroughly for a couple of minutes.
- Place the jar aside until everything settles. This may take several hours.
When you return to your jar, you’ll immediately notice that it has separated into layers. The bottom layer will be sand. Sand particles are larger and heavier, so they settle out first. The layer above the sand will be silt with slightly larger particles, and the top layer will be clay with very fine particles. You may also see some organic matter floating at the top.
 Now you can begin measuring. If it’s helpful, mark the edges of the layers with your marker. Then measure the total height (not including water) and the height of each layer. Once you’ve got these measurements, you can calculate the percentage of each.
% Sand = (height of sand / total height) x 100
% Silt= (height of silt / total height) x 100
% Clay = (height of clay / total height) x 100
Now you can use this handy chart from the USDA to find your soil type based on the percentages.
 For example, if you got 60% clay, 20% silt, and 20% sand; you have clay soils.
Let’s say you got 15% clay, 15% silt, and 70% sand; you have sandy loam soils.
You can also use the NRCS Soil Texture Calculator.
What Does My Soil Texture Mean?
Different soil types behave differently.
Clay Soils
Soils higher in clay tend to be high in nutrients and hold water well. Unfortunately, they can also be hard to dig in, too dense for large roots to grow, and tend to become waterlogged.
Sandy Soils
Sandy soils are very easy to dig in and allow for easy growth of large roots (think big carrots). They also drain well and warm up quickly in the spring. Unfortunately, sandy soil doesn’t hold nutrients or water well, meaning plants grown in them may suffer from nutrient deficiencies and drought.
Silty Soils
Silty soils are in between sand and clay. They tend to have more nutrients than sandy soils and hold water better but are still easier to cultivate and dig than clay soil. Unfortunately, silty soils compact easily and tend to form a crust. They also have poor water filtration.
How Do I Change My Soil Texture?
Most of us would love it if we got ‘loam’ as a result, but it’s unlikely we will. Our region and the land’s history will largely determine the soil we get to begin working with.
The best amendment for any soil type is organic matter. You can add organic matter to your soil through composting, cover cropping, mulching, and manures.
Be careful if you decide to add other amendments like sand or gypsum. These can make soil problems worse when added incorrectly.
There’s a lot to learn about soil, but understanding soil texture is an excellent start to improving your garden. Use the jar test to learn about your soil texture today!
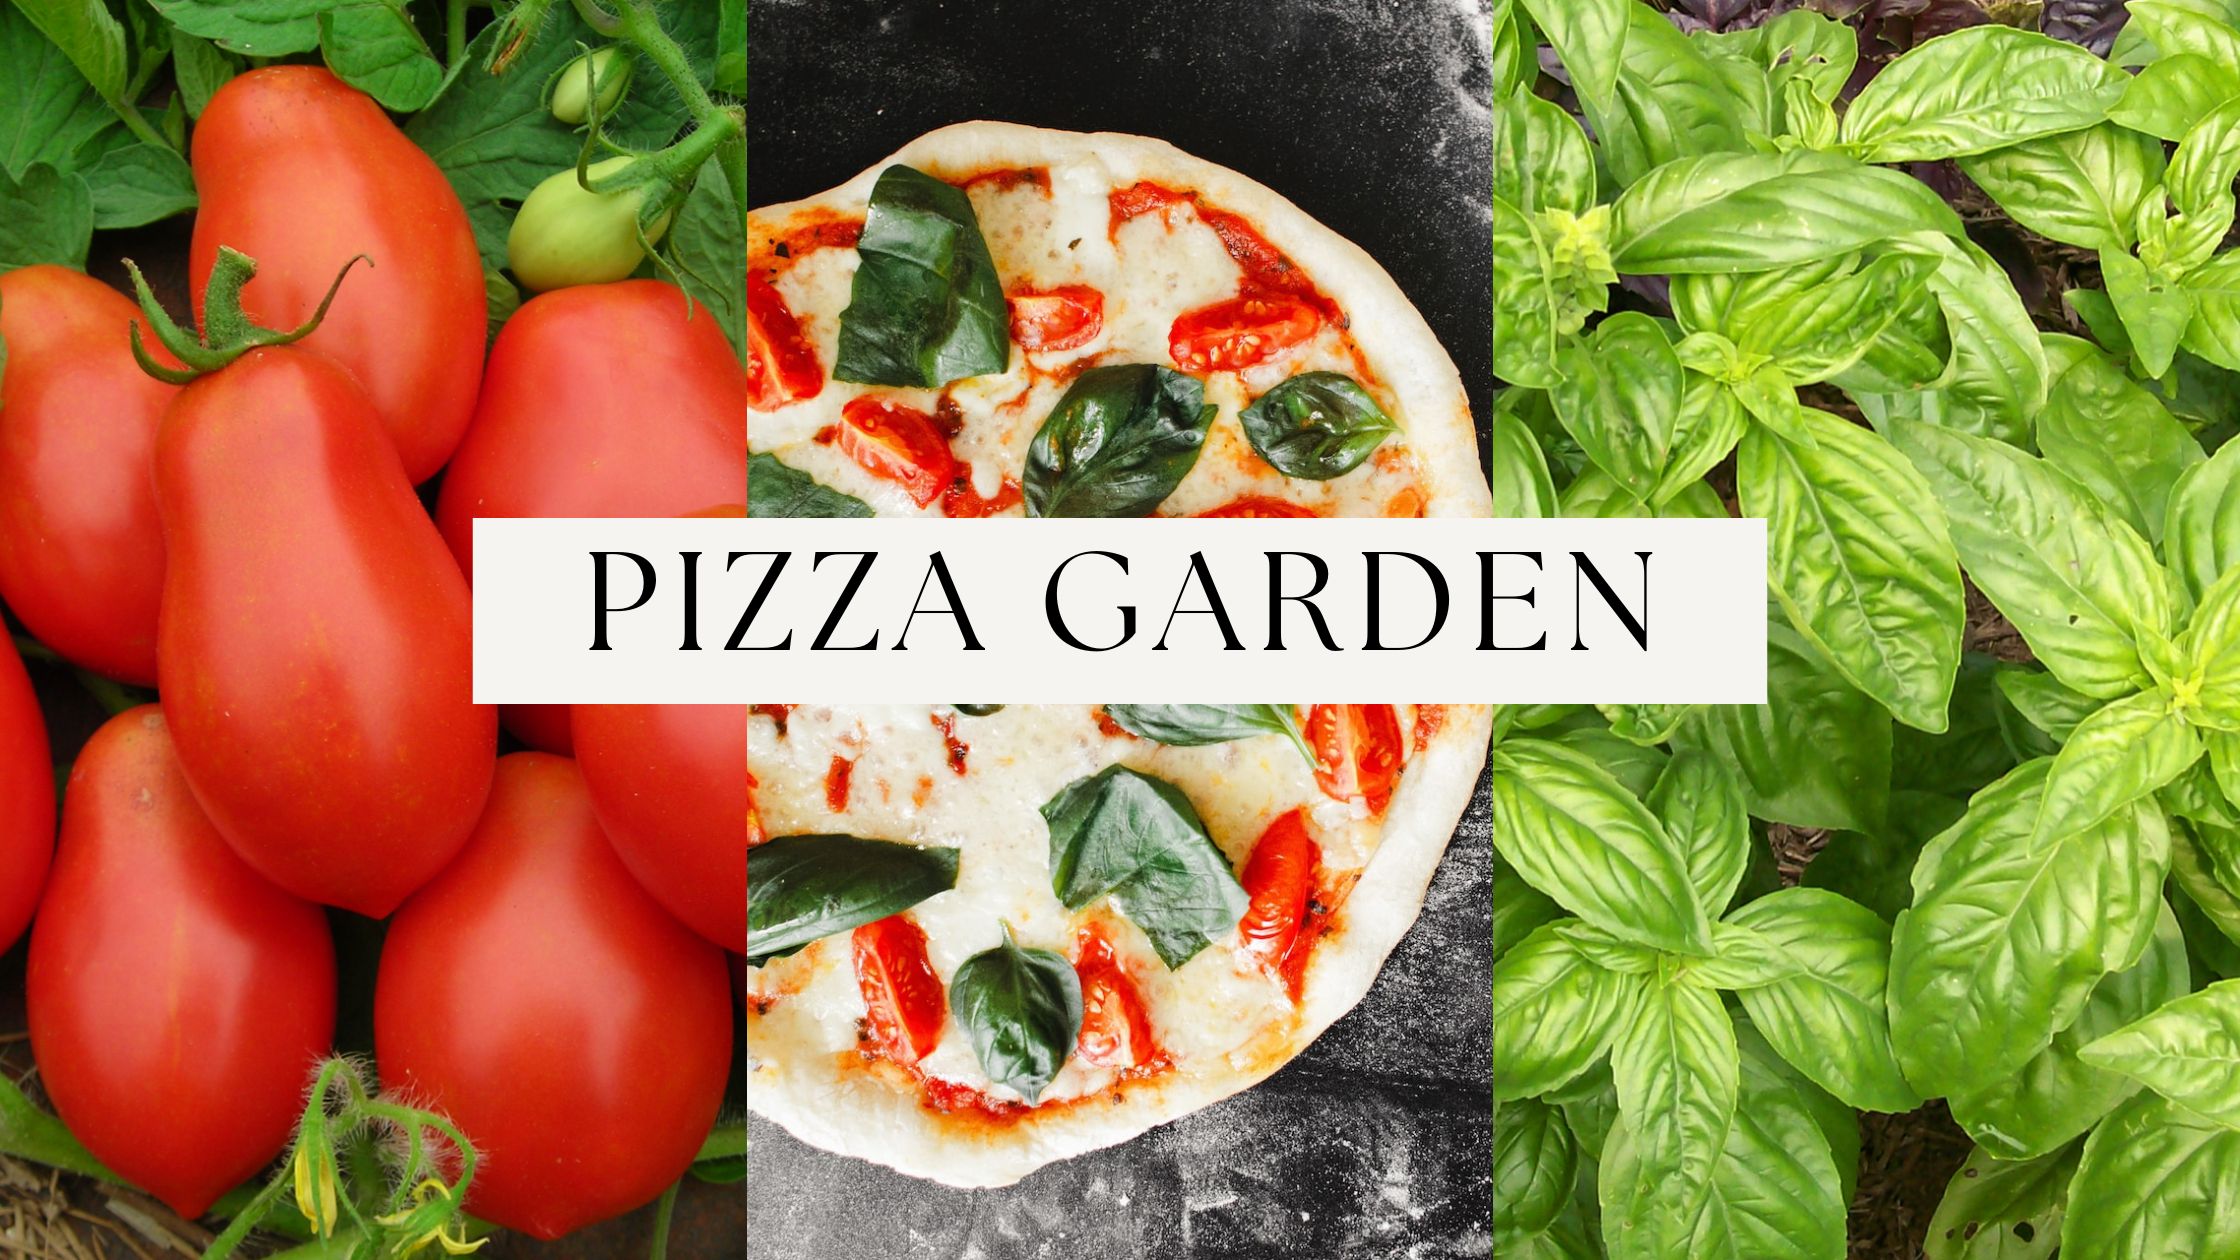 Gardening doesn’t have to mean growing all your vegetables or getting your family to eat insane amounts of zucchini and kohlrabi. This winter, try planning a pizza garden! You can grow the ingredients you need to make a delicious homemade pizza for you and your family. Pizza gardens are also a great way to get kids started in the garden and show them how food can go from seed to plate.
  Selecting Plants for Your Pizza Garden
 Pizza Garden Planting & Care Tips