6 Ways to Improve Soil Fertility

As grocery, fertilizer, and other prices continue to rise, many backyard gardeners are digging deep to grow their own food. Whether you’ve been gardening for 20 years or planted your first plot this spring, maintaining or building healthy, fertile soil is probably a top concern. If you’re on a budget, purchasing fertilizer or other organic garden amendments can be a strain or even out of reach entirely. Thankfully, there are a few affordable or even free ways to improve soil fertility. 

Start composting. 

In a previous post, I referred to compost as black gold, and I wholeheartedly believe that good finished compost is one of the best garden amendments you can have. It adds fertility, improves soil structure, encourages beneficial fungi and bacteria, and more. Composting also helps keep unnecessary items out of landfills. 

Here are a few of the items you can compost and keep out of a landfill:

  • Vegetable Scraps
  • Stale or Moldy Bread, Crackers, Chips, etc.
  • Egg Shells
  • Grass Clippings
  • Coffee Grounds
  • Tea and Tea Bags
  • Leaves

If you want to learn more about composting from what bin or system to use, maintaining your compost, and what to put in it, visit our post, Black Gold: Making Compost.

Water with compost, comfrey, grass-clipping, or manure tea.

If your plants need a fast-acting boost, watering with a bit of one of these DIY liquid fertilizers may do the trick. It may sound a little gross and can be a bit smelly, but it’s easy to do and worth it!

All you need is compost, comfrey leaves, grass clippings, or manure, a five-gallon bucket or another similar container, water, and some material for filtering like an old pillowcase or cheesecloth. 

Get the details from our post, DIY Compost Tea.

Bag and use your grass clippings.

While I’m all for going no-mow whenever you can and using alternatives like wildflower plantings in place of lawns, I do understand that mowing some areas is nice or even necessary. Whether you’re mowing around your garden to keep the grass from creeping in, a play area for your kids, or just around your home, you can put those grass clippings to good use!

A mower with a bagger will allow you to collect and use grass clipping as mulch or ingredients in compost or liquid fertilizer. However, you may not want to bag your clippings all the time. Just like grass clipping add fertility to your garden, they help keep your yard fertile and grass looking nice as well.Cover Crops to Improve Soil Fertility

Grow cover crops. 

Cover crops aren’t a quick fix, nor are they free, but I think their benefits still outweigh their negatives. Cover crops add fertility and organic matter to the soil, help keep down weeds, provide habitat for pollinators and other beneficial insects, and prevent erosion. They’re also more affordable than buying fertilizer over the long term. 

Different cover crop species come with different benefits, and you may want to do a bit of research before selecting one. 

Some cover crops like buckwheat are “winter-kill,” meaning they die back with frost. Some no-till gardeners use these as mulch for the following spring. Just rake the dead plant material back to seed or transplant your crops.

Clover and other cover crops in the legume family are nitrogen-fixers meaning that they take nitrogen from the air and add it to the soil as they grow. You can read more about how nitrogen fixation works in our post, What’s a Nitrogen Fixer?

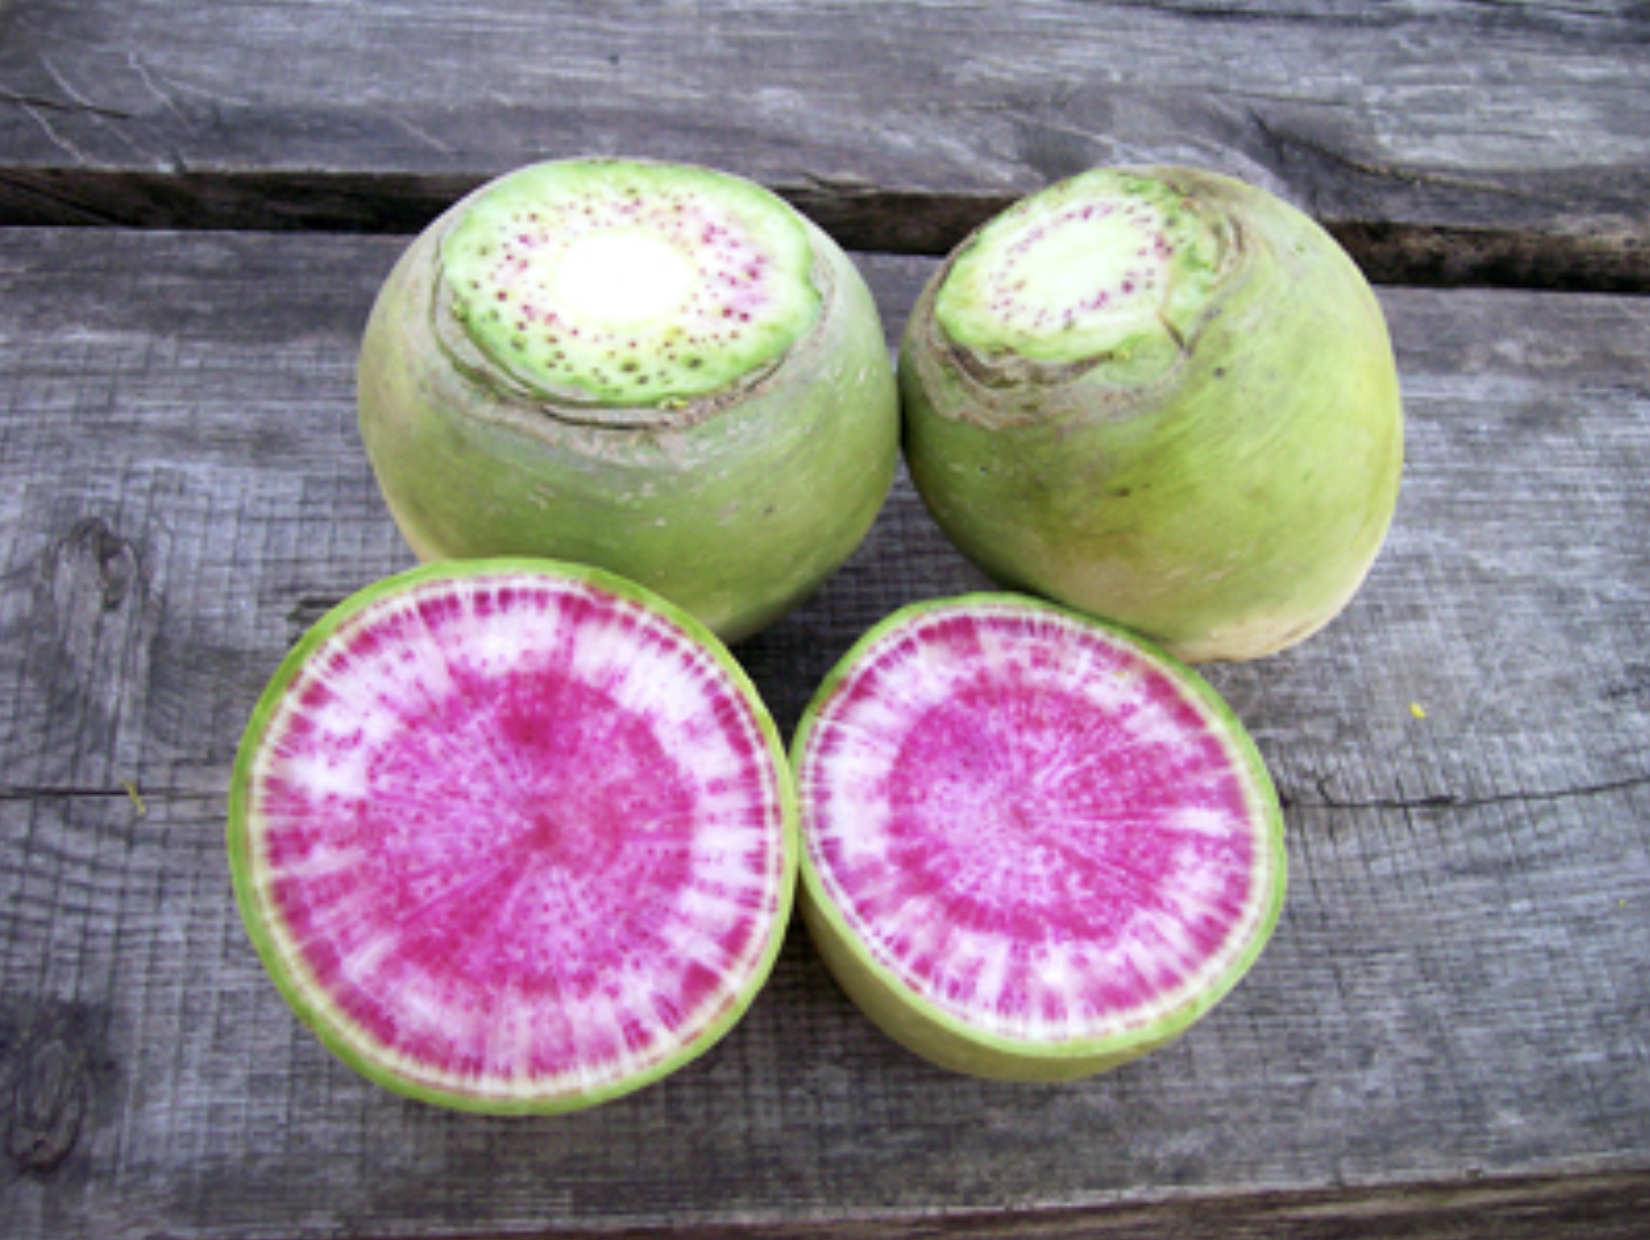
If you have a hardpan or compacted soil, you may want to look into cover crops like Deep-Till radishes. These and other large rooted, tough cover crops will help break up compacted soil and hardpan, aerate the soil, add organic matter and allow water to soak in faster.

Here are a few great cover crop options:

While many cover crops are planted in a rotation, leaving beds free of crops for a year or in seasons when beds are not in use, there is another great option, especially for no-till gardeners. You can grow a crop like white clover in the paths between permanent beds. White clover will tolerate being walked on and mowed, providing a great path and source of mulch.

Look for people getting rid of “mulch hay” or straw.

Sometimes, you can find old or “mulch” hay or straw listed for cheap or free on sites like Facebook Marketplace. Often, these are bails that have gotten wet, moldy, or are just no longer fit for animal feed or bedding, but they’re perfect for the garden! 

Use old hay or straw to create lasagna gardens, mulch around plants, add to your compost, or create hugelkultur mounds.

Talk to the farmer you’re purchasing or getting the hay from and make sure it’s not from a field that has been treated with herbicides. Some folks also don’t like using hay because it contains weed seeds. Straw is the stalks from a wheat harvest and is generally free of seeds.Woodchips for Soil Fertility

Search for free wood chips.

Wood chips are another great source of organic matter and work well as a mulch, helping keep the soil cool and moist and blocking weeds. They’re slower to break down than other mulches like grass clippings, hay, or straw but will eventually turn into good quality soil. They’re also an excellent habitat for beneficial insects.

It’s often easy to find free wood chips in the summer when power companies are cutting trees and limbs away from power lines. Contact your local company or stop and ask workers you see. Sometimes, they may even be willing to dump a whole truckload at your home for free if they’re working nearby. Occasionally, local garden or hardware stores will source wood chips from electric companies, and you can go and fill coats or a truck for cheap or free. 

Avoid using the dyed black or red wood chips that come in bags from hardware or big box stores. These aren’t organic and are generally much more expensive.

Improving your garden starts with the soil. Using these methods and amendments, you can add fertility to your soil on any budget. They’re great for your garden, good for the environment, and generally pretty simple. How do you add fertility to your organic garden?

8 Tips for Success With Sweet Potatoes

In the Southeast, growing sweet potatoes is an excellent option for filling more of your pantry with homegrown food. While most people grow sweet potatoes for the tubers, you can also eat the leaves as a green! Plus, once established, they’re a low-maintenance crop. Sweet potatoes aren’t difficult to grow, but a few tips we’ll cover below can make your plants much more productive. 

Loosen the soil.

Sweet potatoes thrive in loose, well-drained soil. Especially if you have hard, packed clay soil or drainage issues, improving a bed before planting your slips is essential. It’s a good idea to add a lot of compost and other organic matter. I also like to loosen and lift the soil with a broad fork. 

You can also plant sweet potatoes in raised beds. Raised hills or planting ridges about 8 inches deep also works for areas with poor drainage.

For more information on planting, visit our Sweet Potato Growing Guide or previous blog post, Sweet Potatoes From Order to Plate.

Check your soil temperature and be patient.

Sweet potatoes need warmth to thrive. Waiting until air and soil temperatures are appropriate is key to good production. Plant your sweet potatoes when nighttime temperatures remain over 50°F, and soil temperatures are at least 60°F.

You can lay black plastic over the soil in the spring to help warm it and kill weeds. In a northern area, sweet potatoes can also be grown in greenhouses or low tunnels. These allow the soil to heat up faster and provide consistent warm temperatures for your potatoes.

Water sweet potatoes consistently and often.

Sweet potatoes need consistent soil moisture, especially as they’re getting established. When you plant your slips, water them well and keep the soil moist for at least the first week.

Regular watering throughout the season can improve the size and quality of your harvest. We recommend that plants receive about one inch of water per week throughout the season. Large swings in soil moisture (from very dry to very wet) can lead to splitting and cracking in the potatoes. Cut back on watering three to four weeks before harvest.Growing Sweet Potatoes (sweet potato vines)

Keep up with weeding.

Especially when sweet potatoes are getting established, it’s essential to keep them weed-free so that they’re not competing for space, moisture, and light. Be careful cultivating to avoid damaging shallow roots. 

Thankfully, after about six weeks, your sweet potatoes will take care of the weeds for you. Their vigorous vines will cover the bed and shade out almost all weeds.

Protect your plants from animals.

Deer and rabbits are fond of sweet potatoes. Protect your plants with fencing or other means, especially while they’re still small.

Rotate your sweet potatoes.

Sweet potatoes are susceptible to some fungal diseases. Rotating your crops each year can prevent these diseases from flourishing in your soil.

Don’t over-fertilize.

It can be tempting to add fertilizer or manure to garden beds thinking that the more nutrients, the bigger and more potatoes you’ll get. Unfortunately, excess nitrogen can encourage sweet potatoes to put energy into vines and leaves and little into the tubers, leaving you with a scrawny harvest. Especially if you’re considering adding amendments, you should get a soil test before planting. 

Sweet potatoes generally perform well even with low nutrients, but you can side dress each plant with a shovel full of finished compost for a better harvest. 

Harvest sweet potatoes at the right time.

Harvest your sweet potatoes before soil temperatures dip down to 55°F. Colder temperatures will damage the sweet potatoes’ taste and storage ability. Generally, this is around the week of your first frost. It’s best to harvest on a sunny day when the soil isn’t too wet. 

Sweet potatoes are an excellent low-maintenance crop to add to your garden, especially in the Southeast. Follow these simple tips to ensure you have an awesome sweet potato harvest this year. 

Want to keep learning? Check out:

Sweet Potatoes, Potatoes, or Both? Decide for your garden.

Wellness Simplified! Herbalism From The Ground Up

We’re so excited to be able to carry one of our neighbor’s books! Krista and Skyler Rahm of Forrest Green Farm in Louisa County, Virginia, have just published Wellness Simplified! Herbalism From the Ground Up. Krista and Skyler designed this straightforward guide to help you connect with nature and learn to grow and use herbs in your everyday life. 

For context, I’m one of SESE’s writers and social media managers, and I had the pleasure of perusing a copy over the last week. Digging into herbalism can be tough and intimidating. I’ve dabbled in herbalism for several years and have read my fair share of herb books. Krista and Skyler have done and an incredible job of pulling together usable information in an easy-to-understand format for Wellness Simplified!. 

Gardening Basics

If you’ve read this blog often, you’ll know I believe that a productive garden starts with the soil. Krista and Skyler share my sentiments stating, “success in your garden relies on a healthy soil diet!” They’ve followed this up with crucial information about soil amendments, nutrients, and composting without sounding like a science textbook.

This first section provides several other essential gardening basics that we’re big fans of here on the SESE blog. Krista and Skyler cover the fundamentals of seed starting, transplanting, beneficial insects, companion planting, pest management, and even vermicomposting!

Herbal Preparations

From there, they delve right into harvesting and preserving herbs and recipes for herbal preparations. When you’re new to herbalism, understanding when to use different herbal preparations and even what they are can be challenging. I found this section especially helpful. 

The internet is full of herbal recipes. Bloggers will provide you with recipes for tinctures, elixirs, glycerites, and infusions, but unless you’ve taken an herbalism course, how do you know what those are, let alone how to use them appropriately. While a course may be great for those who can make the financial and time commitment, having a go-to guide on hand makes herbalism more accessible.

Krista and Skyler also provide an informative section on formulating, guiding you to go further than following others’ recipes on your herbalism journey. They’ve included a list of things to consider, like family history, dieting and eating habits, emotional feelings, and more, plus a step-by-step guide to creating a formula.

Wellness Simplified! Hibiscus Plant Profile (Photo from Forrest Green Farm)

Plant Profiles

Many herbal books offer “plant profiles,” a quick overview and historical use of herbs with no practical information. History is fun and sometimes contains valuable lessons, but it isn’t what I’m looking for in a modern herbal. Knowing that folks used fennel to ward off evil spirits in the past is great, but I want to know what I can use it for today.

The profiles in Wellness Simplified! offer the information you need to incorporate each herb into your practice. Learn how to identify, grow, harvest, and use 127 herbs from the humble lemon balm to the tropical moringa. The index in the back of the book will even help you locate plants by the problem they can treat. For example, search the index for dandruff and be taken to the page for Oregon grape!

Wellness Simplified! will be a great reference on my shelf for years to come. It’s packed with clear-cut, step-by-step information that you need to grow and use herbs. Grab the book here on the SESE shop, and check out Forrest Green Farm

Saving the Past for the Future