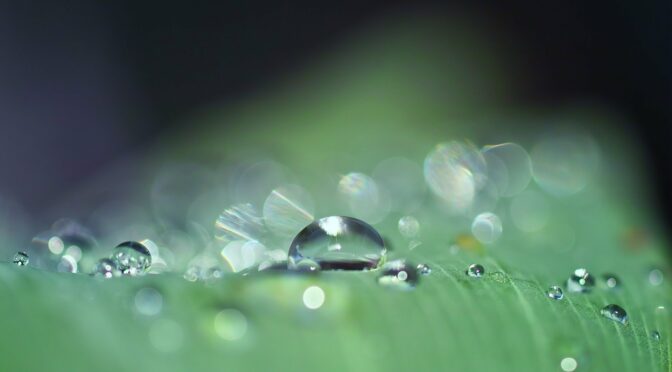
Water may seem like one of the easiest elements of a garden to manage. Pulling out the sprinkler is undoubtedly easier than pulling weeds! Unfortunately, as many gardeners have discovered, water can cause a host of issues in the garden if you have too much or too little. Here are a few ways you can improve your garden to cope with water shortages and surpluses.
Too Much Water
Erosion Control
Many gardeners lucky enough to call the Appalachians home have to cope with less than flat garden plots. Even with a slight slope, erosion can be a significant cause for concern.
Erosion damages garden soil by washing away organic matter and essential nutrients. It’s also damaging to local watersheds. When excess soil nutrients end up in streams, lakes, and rivers, they can cause algal blooms, which harm fish and other aquatic life.
-
Swales & Terraces
For severe slopes or areas you know are prone to erosion, building contour swales or terraced beds may be worth the time and work invested.
You can create terraced beds with a variety of materials, including boards, logs, or rocks. You want to create a wall that is parallel with the slope. Then you can flatten the soil behind it by raking it against the wall. This method is a great way to be able to grow annual crops on hillsides.
Swales are essentially mounded beds with ditches behind them. Larger swales are typically built to follow the contour of a slope. Swales help prevent erosion and retain water. The water that collects in the ditch slowly seeps into the mound, providing moisture to plants over a longer period. You can learn more about building a swale of your own in our post, “Let’s Talk About Swales.” -
Cover Crops
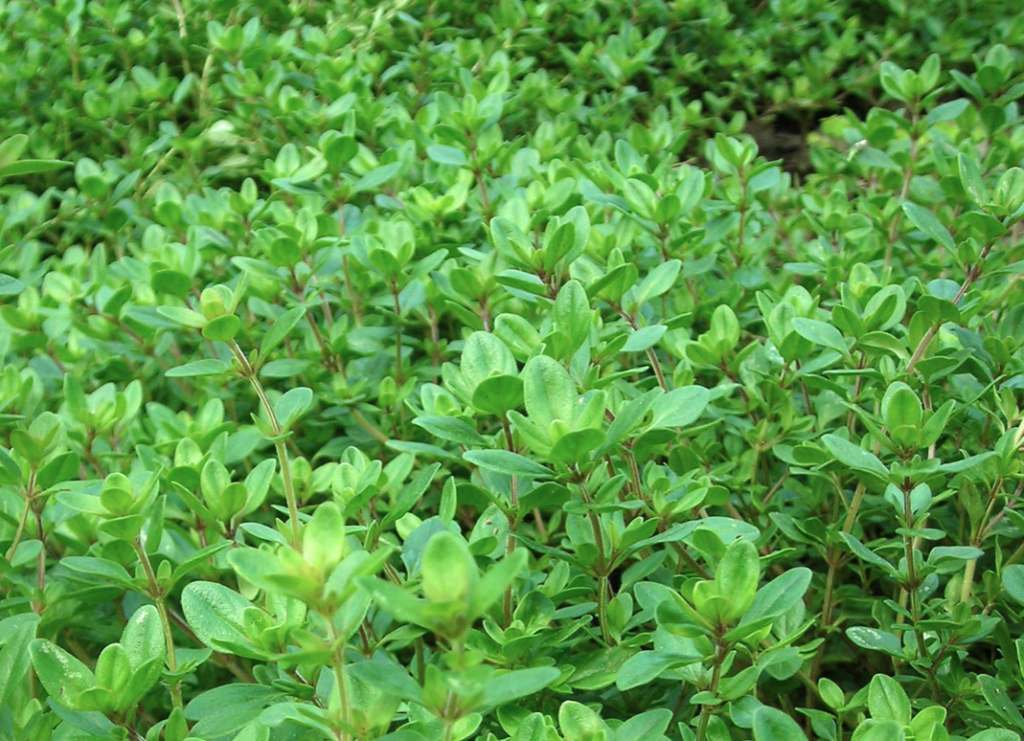
Another critical factor in preventing erosion is never leaving soil bare. Cover crops help prevent erosion because their roots help hold soil in place, and take up some moisture. Sow cover crops in pathways between beds, in areas not currently in production, and during the fall to keep your soil covered during the winter and spring. Learn more about which cover crops you should plant in this blog post.
Water-Logged Soils/Standing Water
Another issue common to the Southeastern US is heavy clay soils. These types of soils are prone to becoming water-logged during the spring rainy season. There are a few things so can do to combat this issue.
-
Add Organic Matter
Organic matter dramatically improves how your soil handles water. It soaks up water during rains and allows plants to access it slowly over time. The fastest way to add organic mater to your garden is to top dress your garden with several inches of well-aged compost.
You can also add organic matter by using cover crops and mulch. Natural mulches like straw, leaves, grass clippings, and wood chips slowly break down adding organic matter and nutrients to the soil. -
Go No-Till
Like adding organic matter, reducing the amount you till helps improve drainage and allows plants to access moisture over a longer time. Ditching the tiller keeps soil structure intact and reduces compaction, a major problem with clay soils. -
Raised Beds
If you struggle with wet spring soils, you might consider building raised beds. You can create raised beds from scrap lumber, logs, rocks, and other cheap or free materials. They drain well and warm up quickly in the spring, helping you to get an early start. Keep in mind they also dry out faster during the hot summer months.
Too Little Water
Water Efficiently
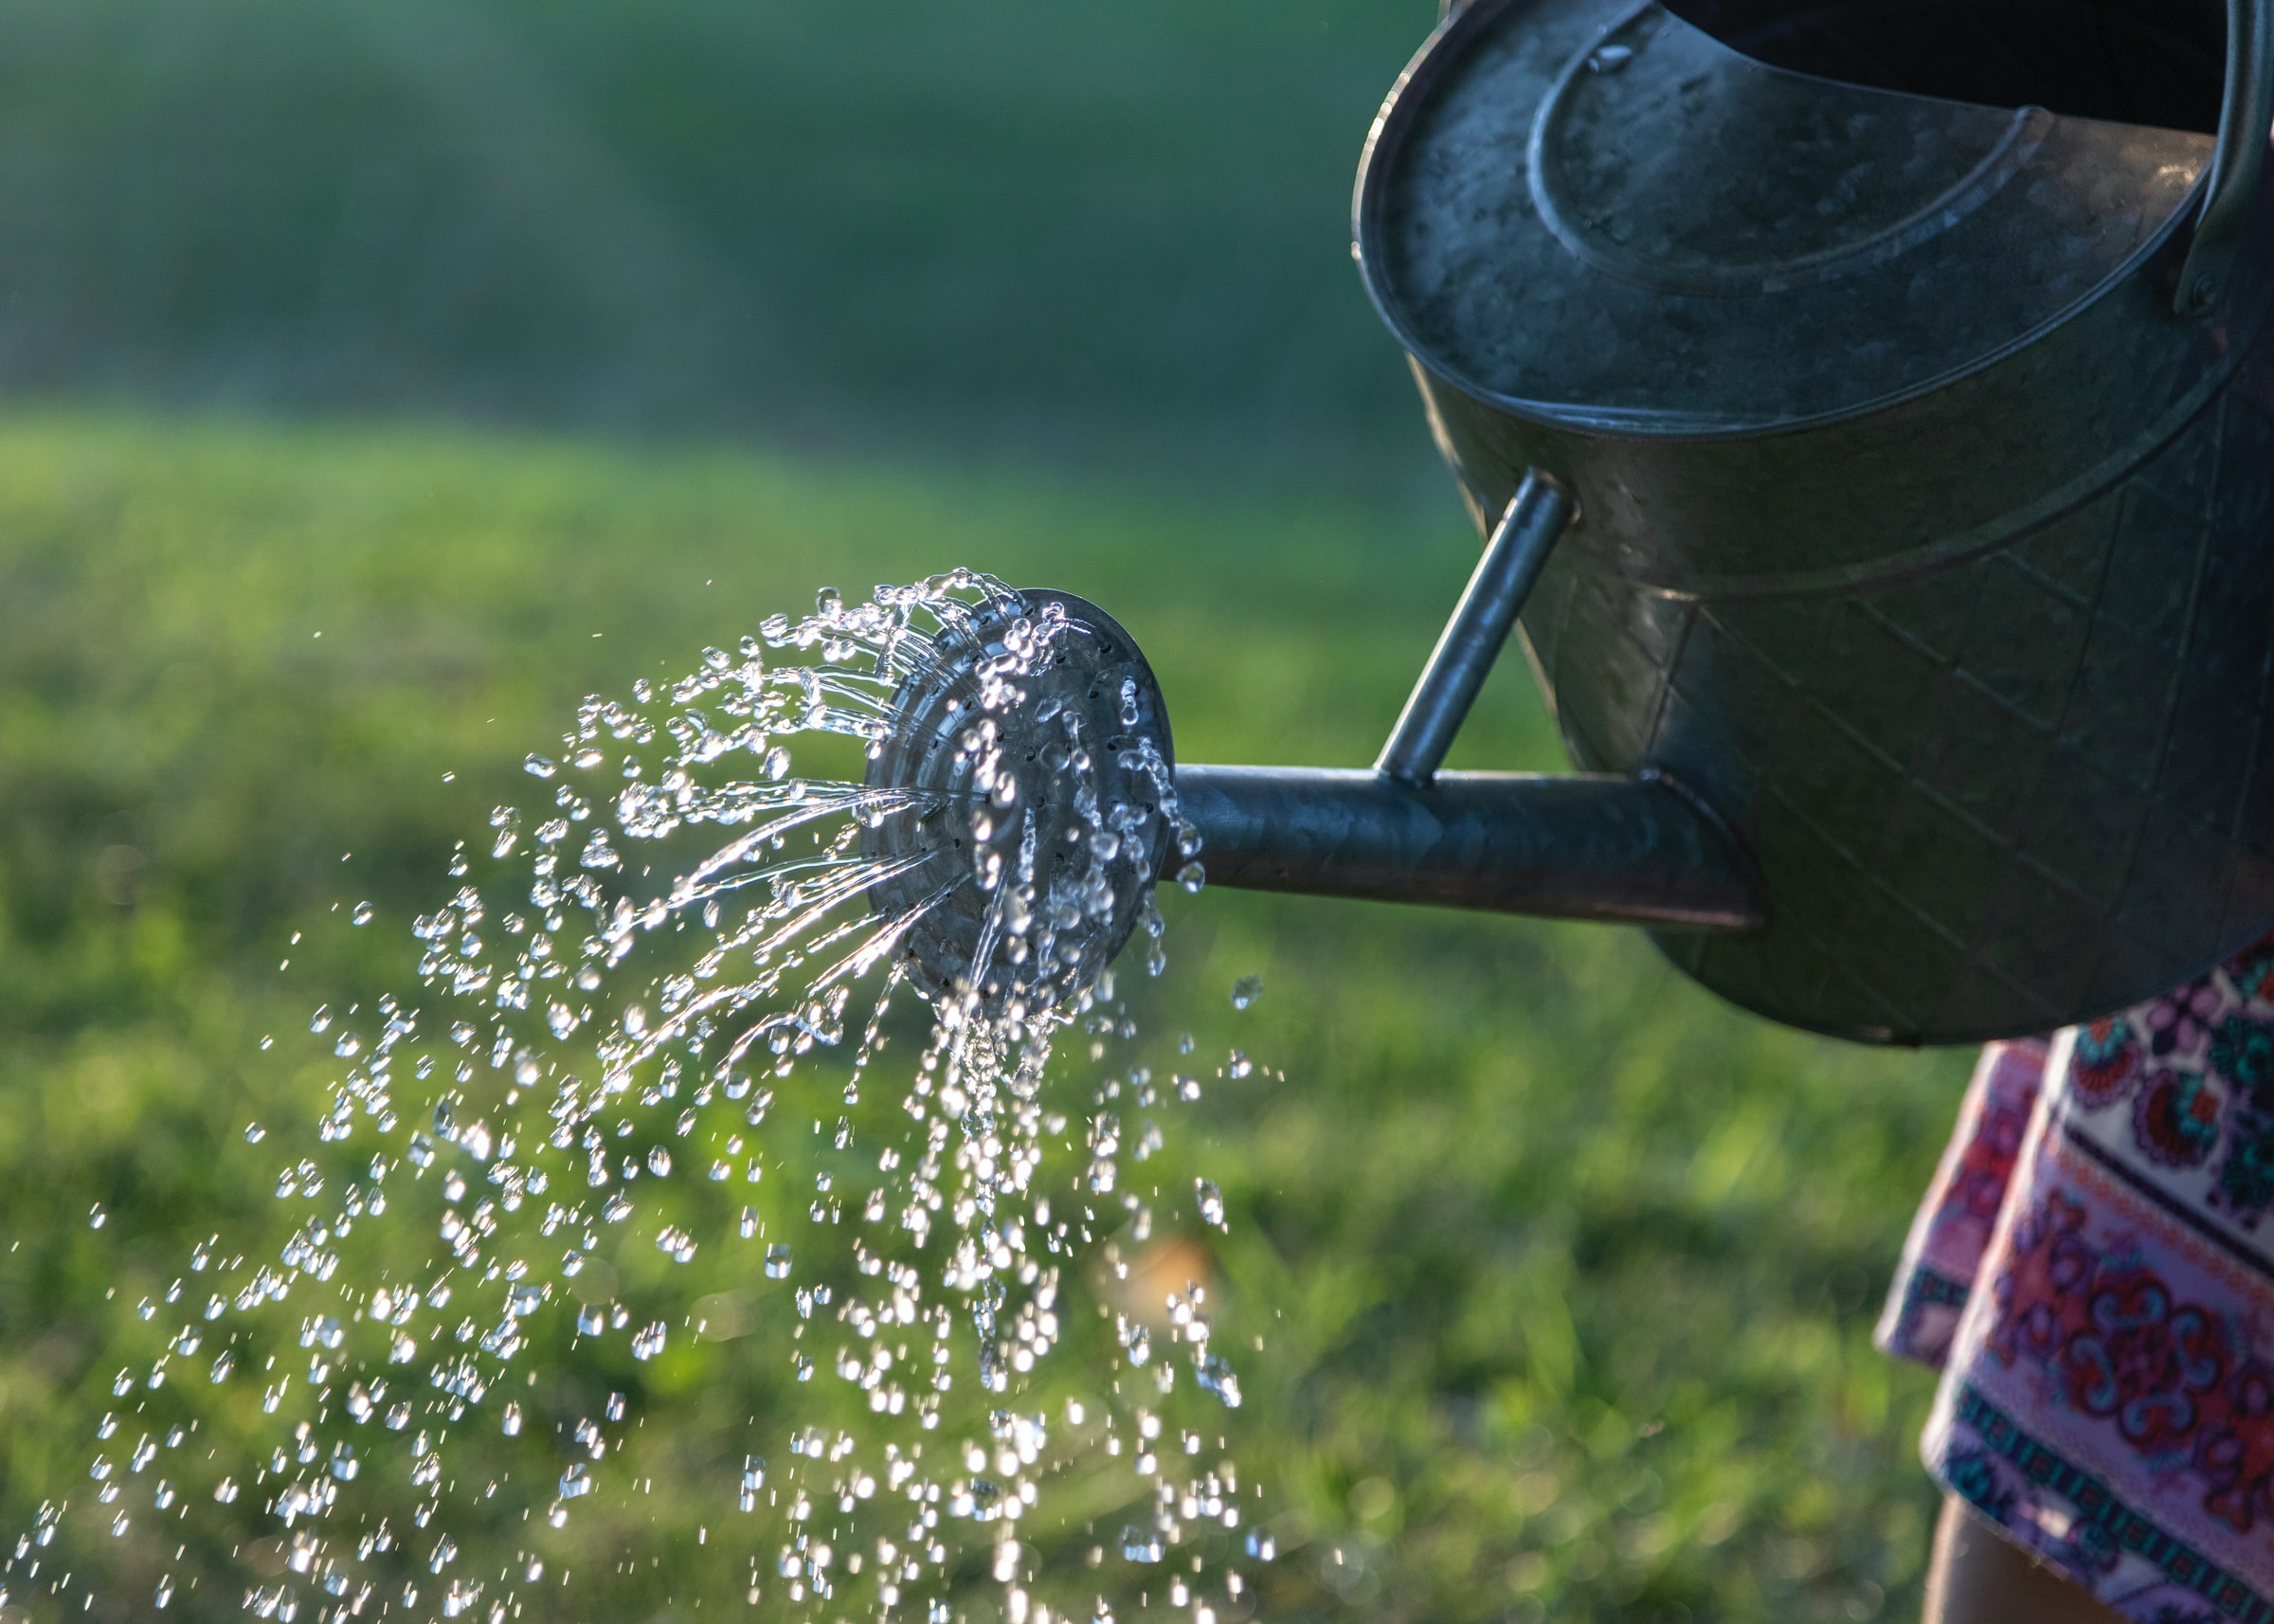
Not all watering schedules are created equal! Watering in the cooler early morning or evening helps decrease the amount of water you lose to evaporation. You can further reduce evaporation by using drip irrigation or soaker hoses.If you often forget to turn off your watering system, consider purchasing a timer which will shut it off automatically. Alternatively you can set a kitchen timer or timer on your phone to remind you.
Mulch
Mulch helps keep soil cool and moist, reducing evaporation. You can use many cheap or free materials as mulch including cover crop residue, grass clippings, straw, leaves, and wood chips.
Collect Rainwater
-
Rain Barrels
Rain barrels are an excellent asset for any backyard garden. You can add gutters to your home or garden shed and collect the water in a barrel to use for watering plants. Rain barrels don’t need to be fancy; cleaned trash barrels with holes drilled in the appropriate places will work if you don’t mind a DIY project. -
Swales
As we mentioned above, you can also use contour swales to collect rainwater. The water fills the ditch behind the mound and slowly seeps into it, allowing plants to soak up the water over a longer time.
Choose Water-Wise Crops
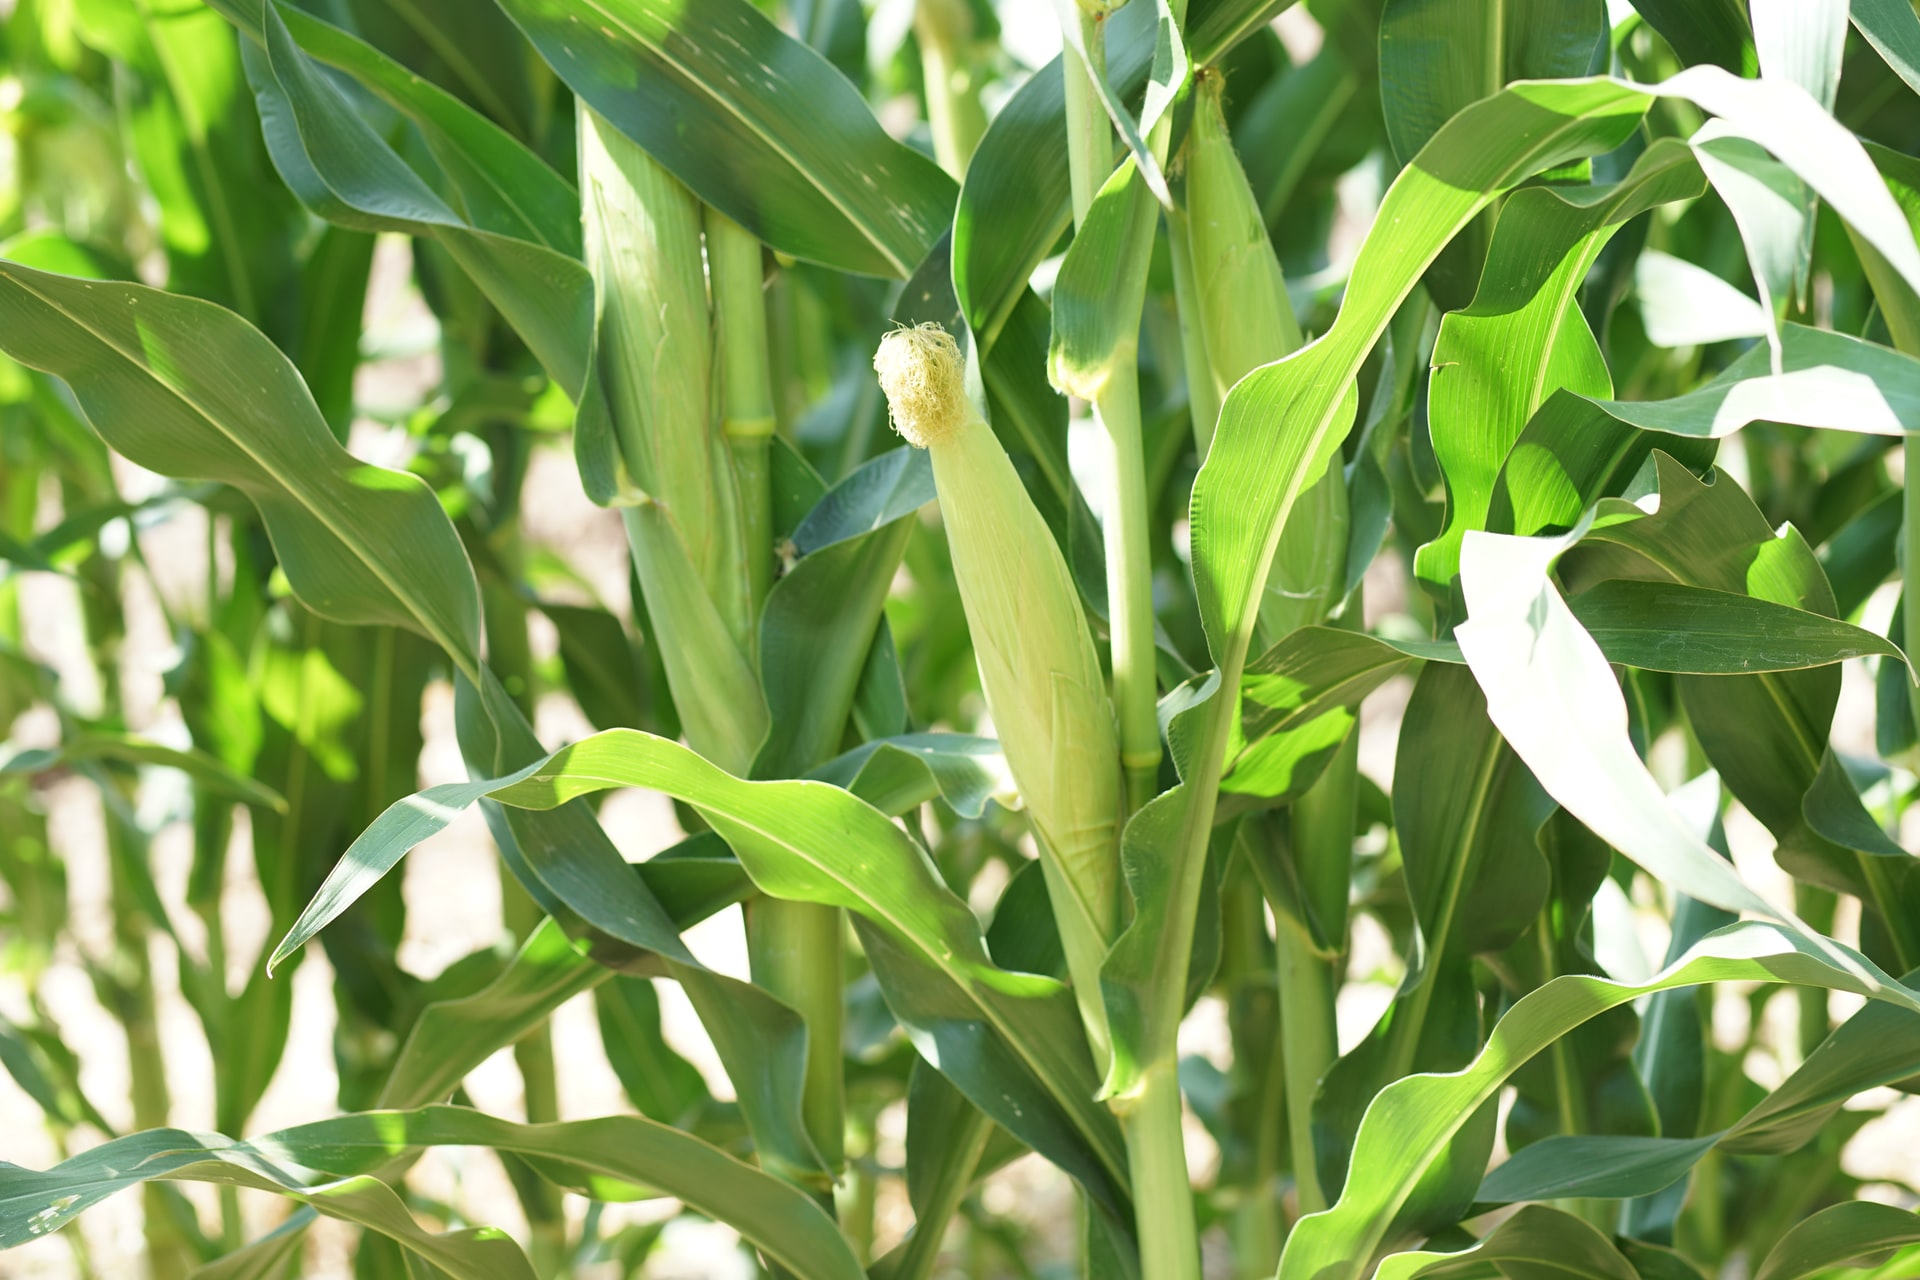
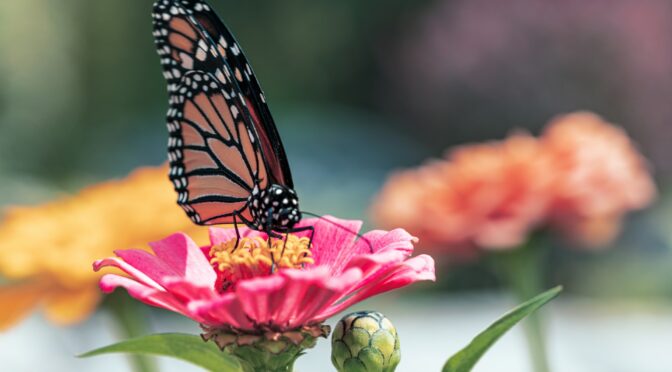
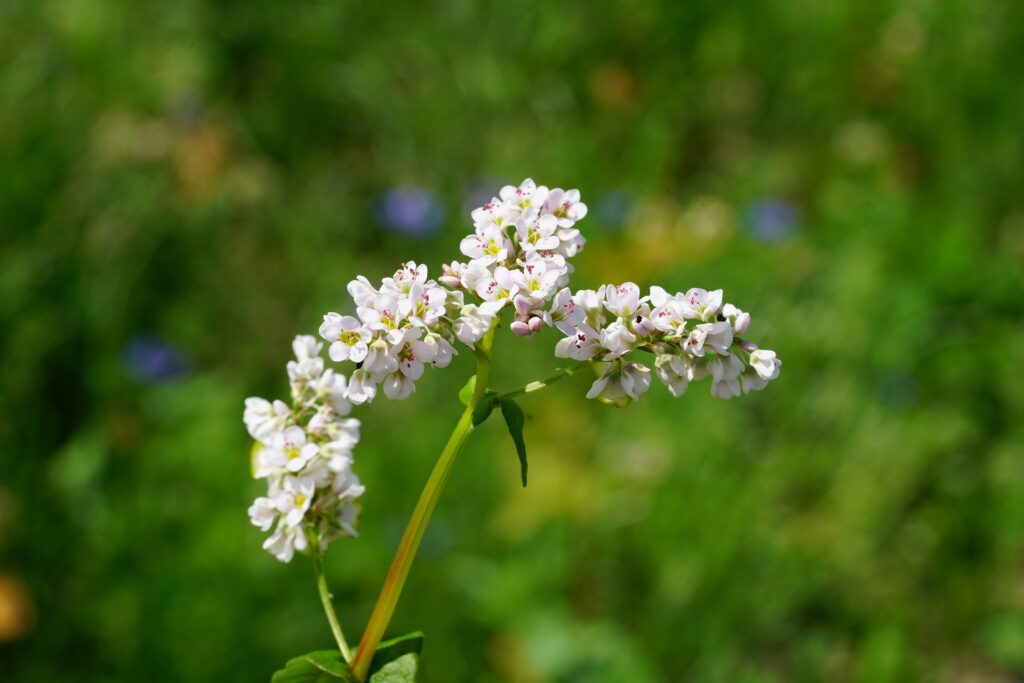
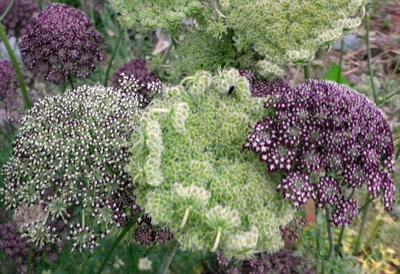
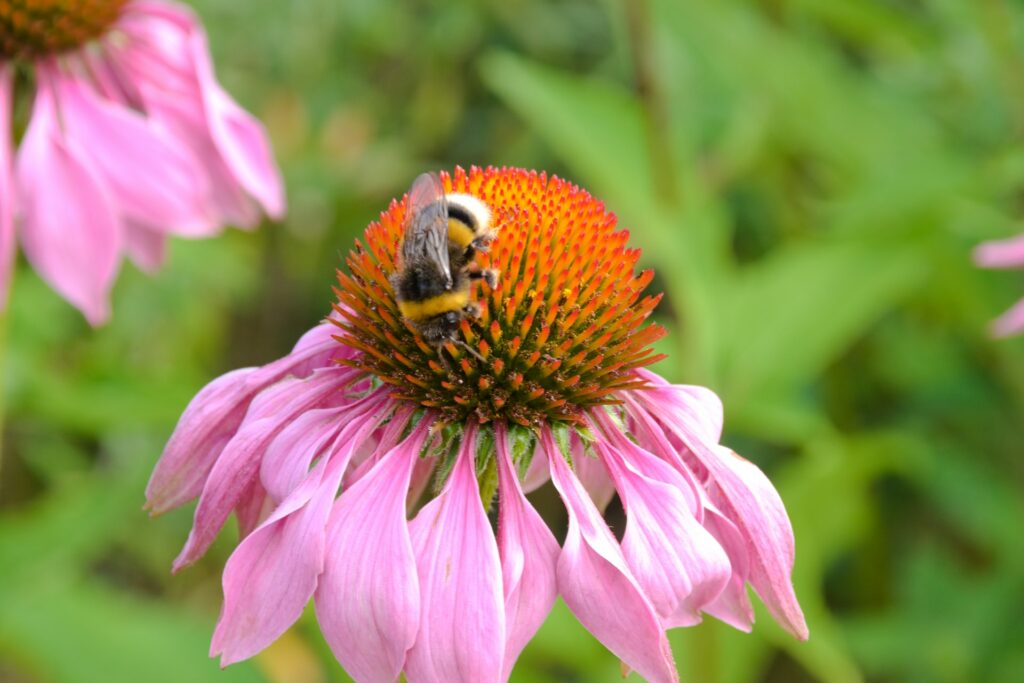
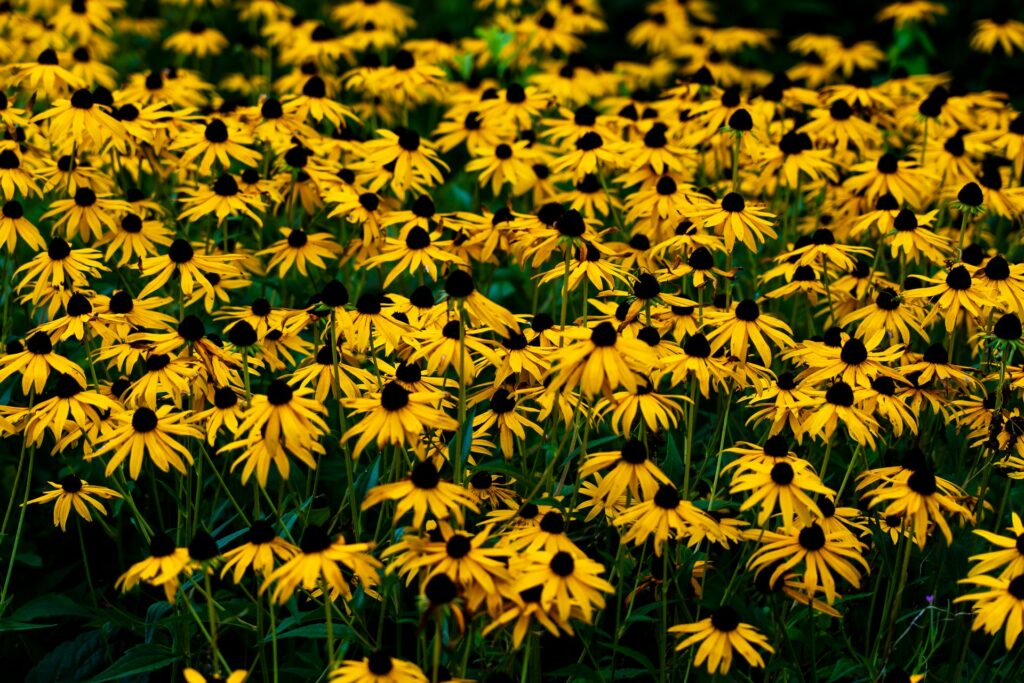
If you have an area of your garden that is hard to water you may want to plant crops and flowers that don’t require much. These include native flowers like echinacea and food crops like flint and dent corns.
Whether you struggle with too much water or too little these strategies can help make your garden more productive. Proper water management is key to a healthy garden and a healthy local ecosystem.