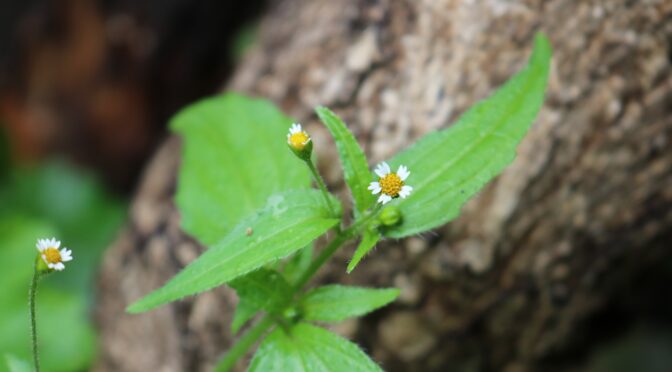
Last week we discussed strategies for conquering weeds in an organic garden. This week we’re moving on to another chore loathed by natural farmers, gardeners, and growers everywhere, controlling pests. One excellent way to ensure pest populations don’t get out of control is to ensure you have plenty of beneficial insects. When we think of beneficial insects, we often think of pollinators like bees and butterflies, but insects have so much more to offer us, gardeners! Many beneficial insects prey on pests and their eggs and larvae. Learn how to attract beneficial insects to your garden.

What are Beneficial Insects?
Beneficial insects help us in the garden by pollinating plants, feeding on pests, and parasitizing pests. In our area, some of these include:
- Wheel Bug (Arilus cristatus)
- Wolf Spider (Lycosidae spp.)
- Rusty Patched BumbleBee (Bombus affinis)
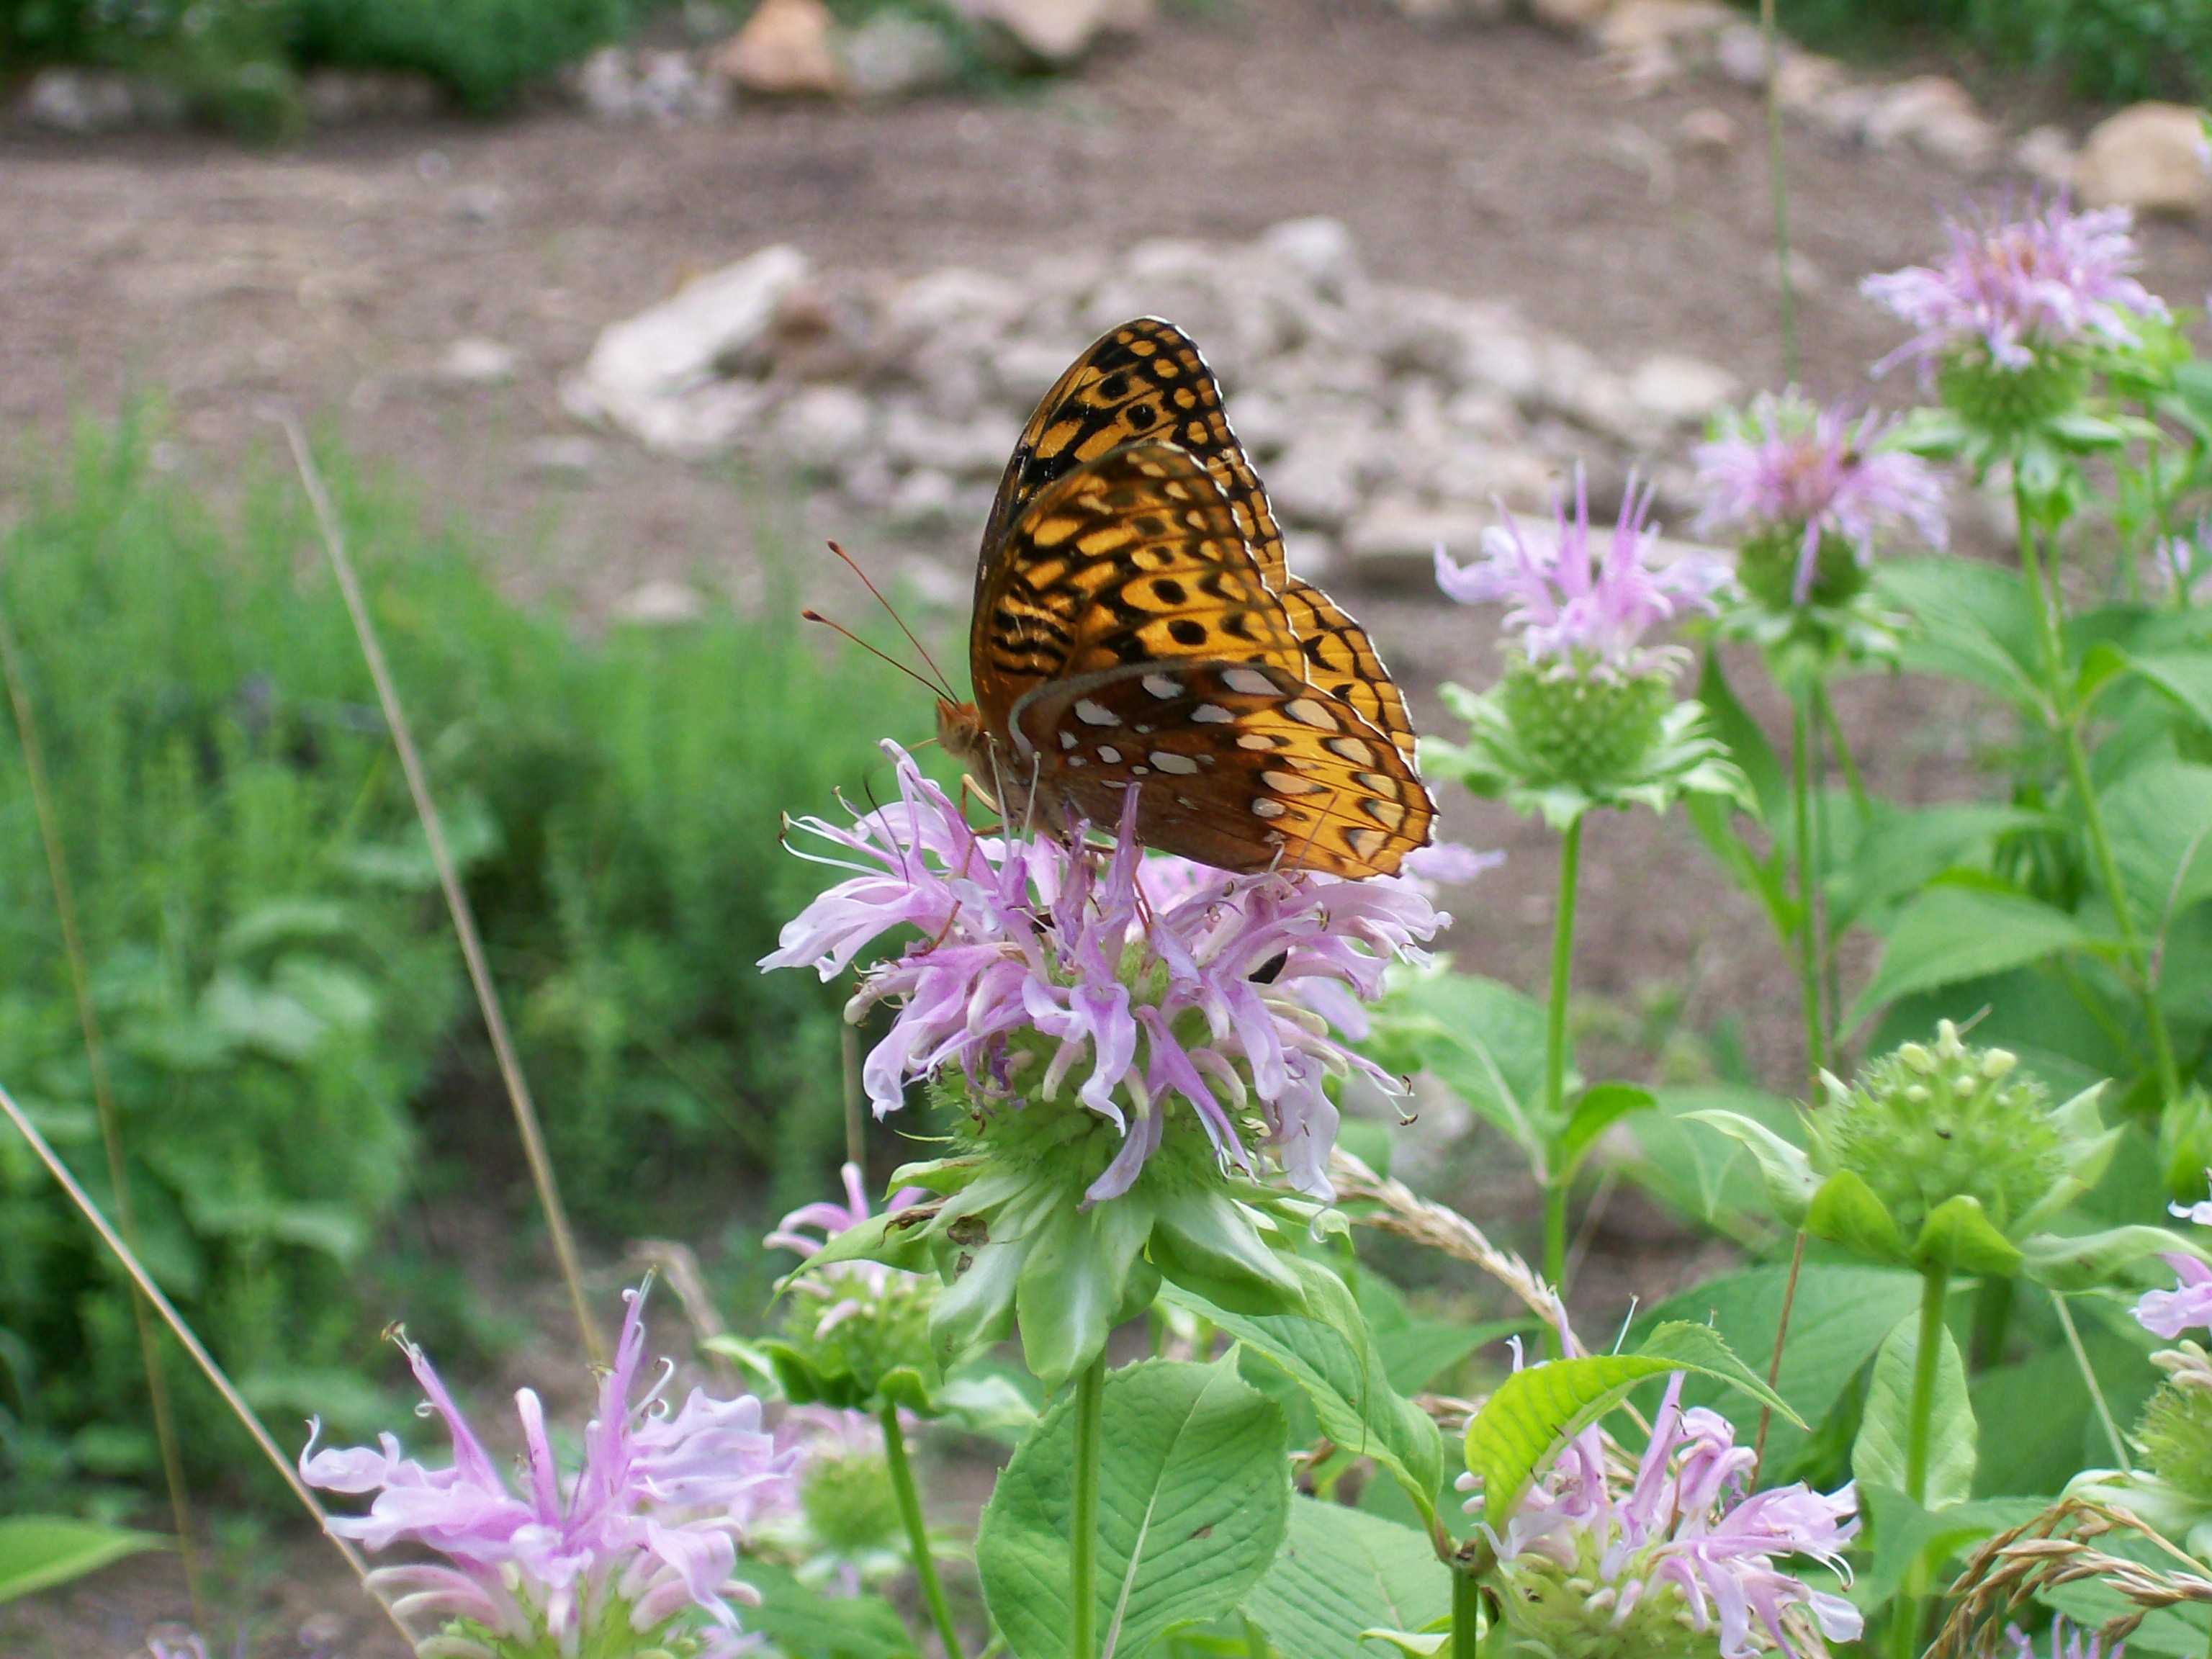
- Black Swallowtail (Papilio polyxenes)
- Carolina Mantis (Stagmomantis Carolina)
- Yellow Garden Spider (Argiope aurantia)
- Orange Sulfur (Colias eurytheme)
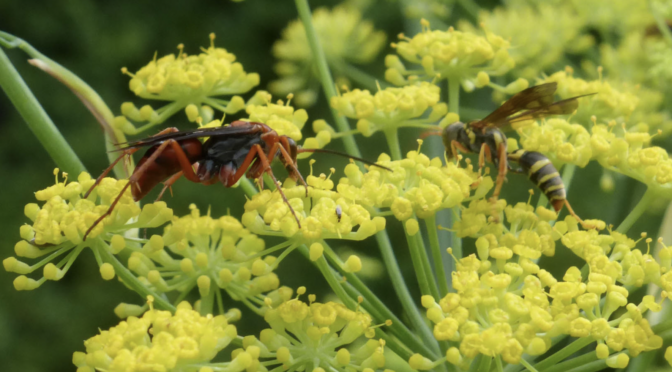
- Braconid Wasp (Cotesia congregates)
- Damsel Bugs (Nabidae spp.)
- Mabel Orchard Orbweaver Spider (Leucauge argyrobapta)
- Southeastern Blueberry Bee (Habropoda laboriosa)
- Lacewing (Chrysopidae spp.)
- Big-Eyed Bug (Geocoris spp.)
- Blue Orchard Mason Bee (Osmia lignaria)
- Striped Lynx Spider (Oxyopes salticus)
- American Copper Butterfly (Lycaena phlaeas Americana)
These are just a fraction of the insect species hard at work in our yards and gardens! Of course, there are beneficial animals too. Birds and bats can also help keep pest populations down and pollinate plants.
Further Reading:
- 5 Bees Native to the Southeastern U.S. & Tips for Supporting Them
- 5 Butterflies Found in the Mid-Atlantic & What to Plant for Them
- 5 Predatory Insects Native to the Southeastern U.S.
- 5 Helpful Spiders of the Southeastern U.S.
Habitat Features to Attract Beneficial Insects
All these helpful insects need a habitat that provides the essentials of food, water, and shelter, just like we do.
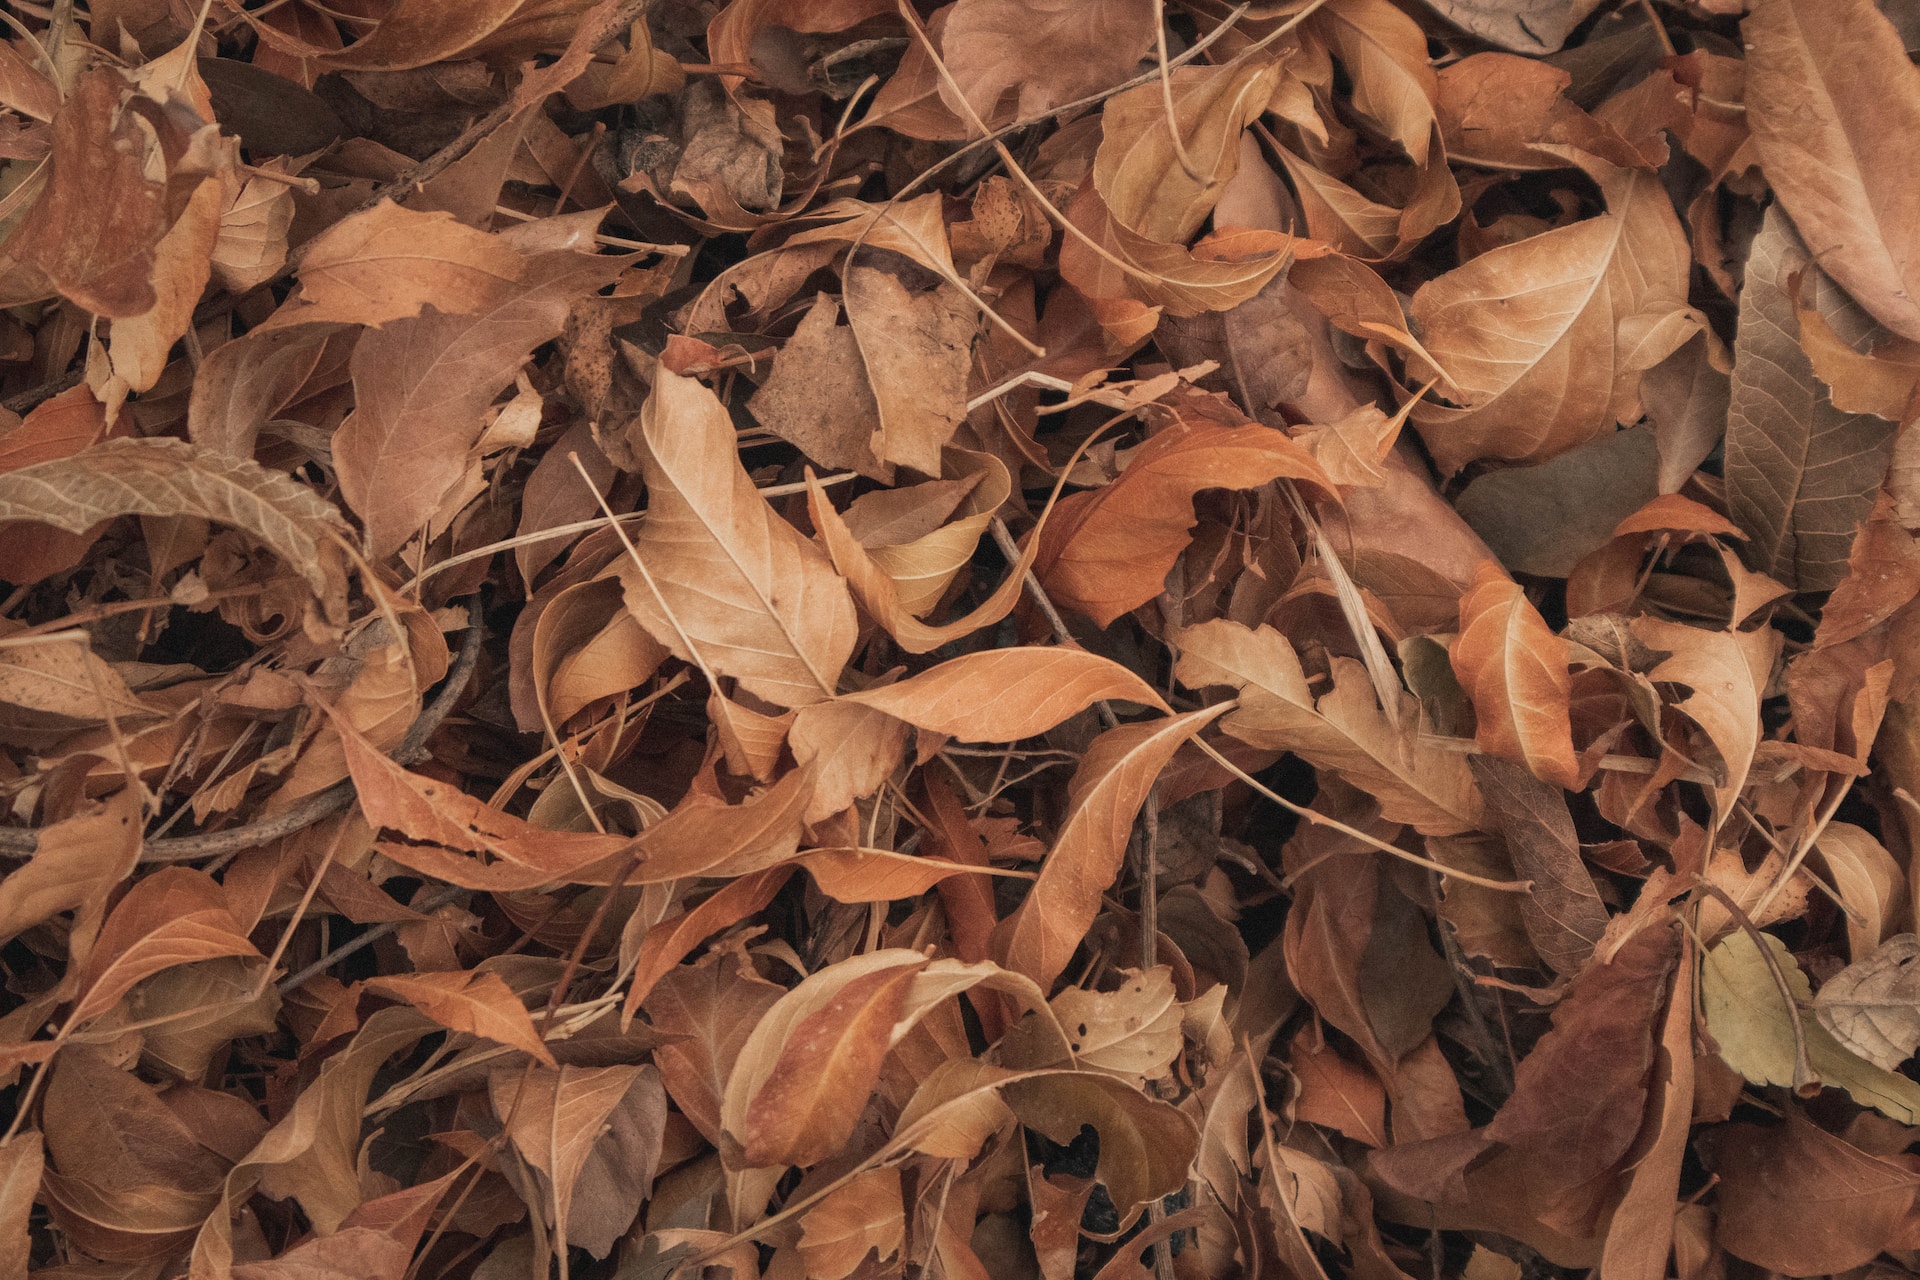
Don’t Clean Up Too Much
Many beneficial insects need places for themselves or their eggs to overwinter. Blue Orchard Mason Bees, for example, overwinter their eggs in cavities in plants like the hollow stems of flowers or reeds. Depending on the species, Lacewings over winter in their adult or pupa stage in piles of dead leaves or other organic debris. Resisting the urge to keep your garden spotless can provide these insects with better habitat.
Plant a Windbreak
Sometimes, gardeners will plant windbreaks to help with wind-related issues like lodging corn, but few people probably consider that it makes life much easier for beneficial insects. A windbreak or hedgerow can help slow wind through your garden, creating calmer flying conditions for bees, dragonflies, lady beetles, and other flyers.
Provide Water
Especially in the hot dry days of summer, insects need water just like people do. If you have water on your property like a pond or creek you can help keep it full and cool by allowing the banks to grow in trees and shrubs that will shade it. If you don’t have a natural water source, don’t worry you can make an insect waterer! All you need is some sort of clean small trough and stones to place in it. The stones are critical, as insects need an easy way to get down to the water and to climb out. Change the water regularly.
Avoid Pesticides of Any Kind
Sometimes when we see the organic label we assume something is safe. Unfortunately, it isn’t that simple. Organic pesticides may be much safer for people and often waterways than conventional pesticides. However, both conventional and organic pesticides kill insects and neither of them differentiate between types of insects. If you have something that kills caterpillars to get rid of the cabbage loopers any swallowtail caterpillar that comes into contact with it will be effected too.
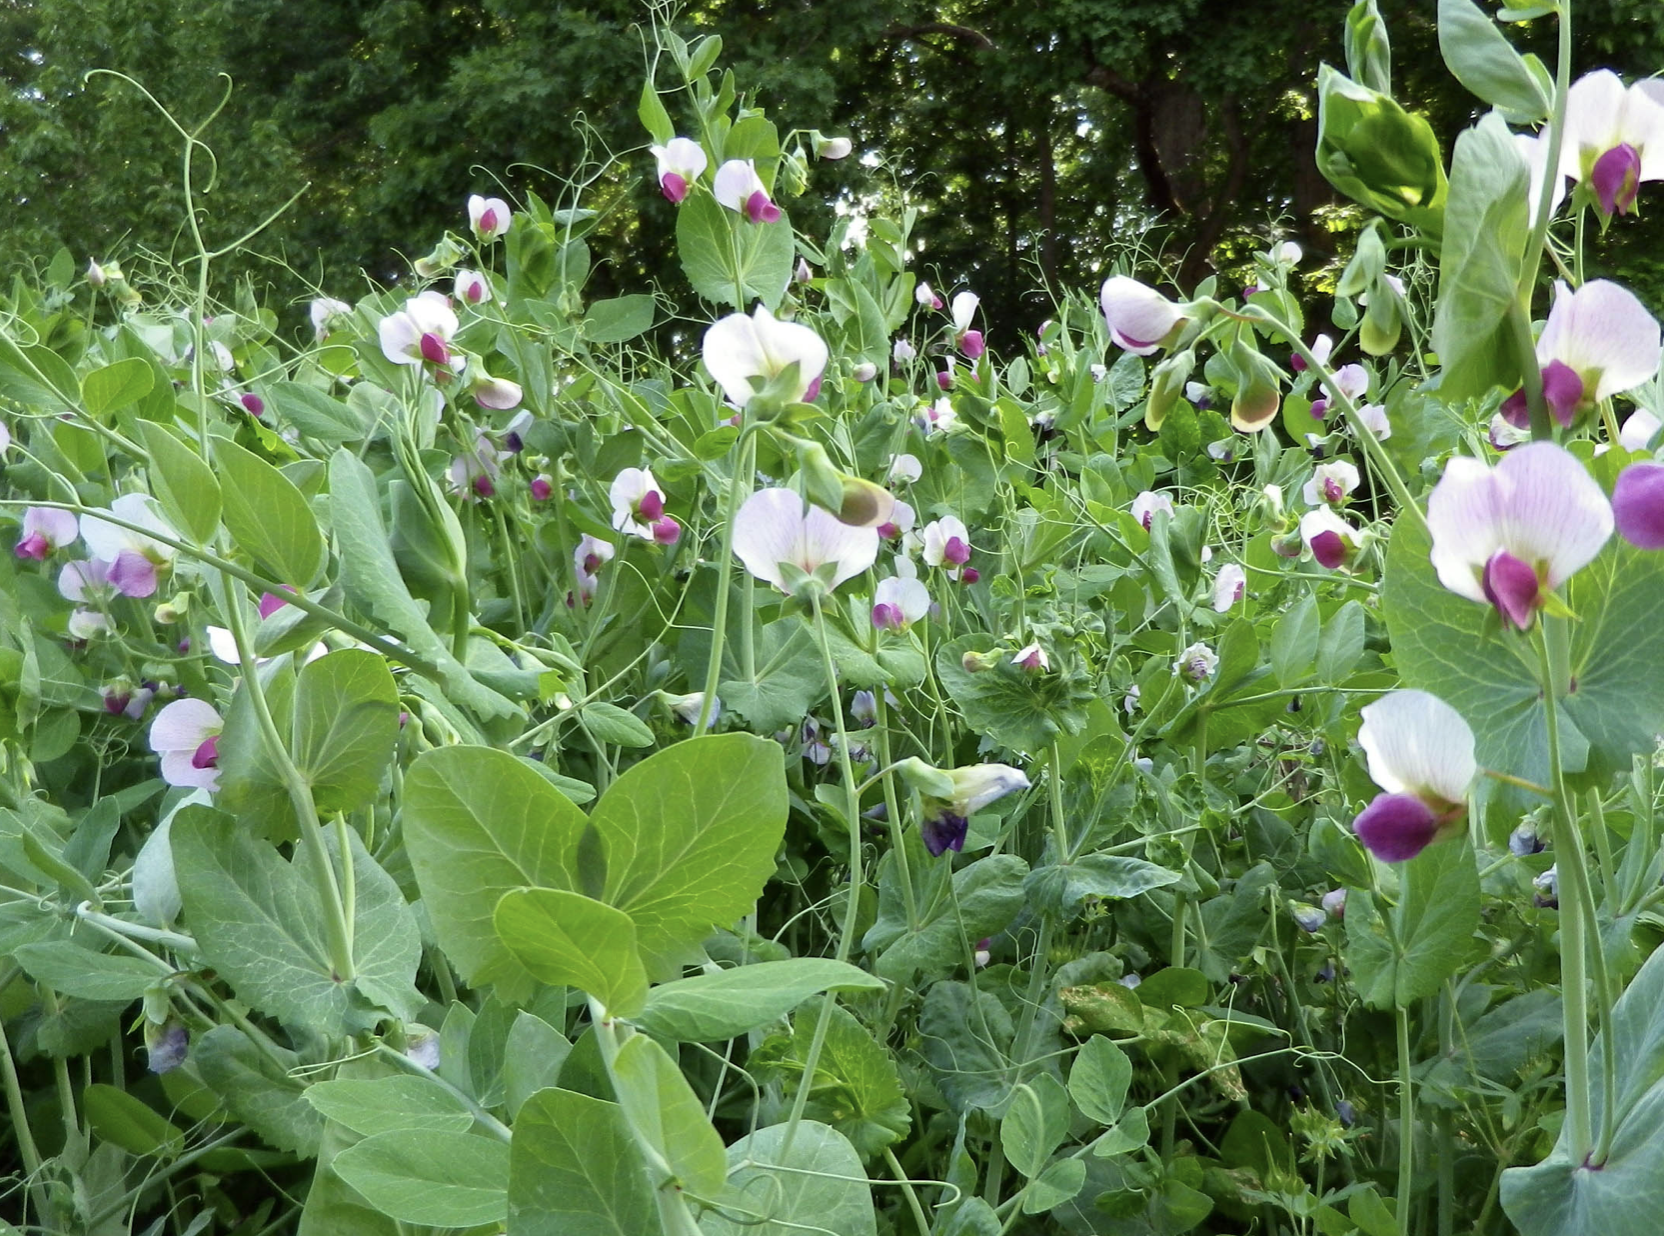
 Flowers & Plants that Attract Beneficial Insects
Flowers aren’t just for bees and butterflies! Lacewings, parasitic wasps, lady beetles, and other insects use them too. For example, the larval stage of Convergent Lady Beetles feeds on insects, but the adult stage feeds on nectar, pollen, and honeydew. The females need a certain amount of these foods before laying eggs.
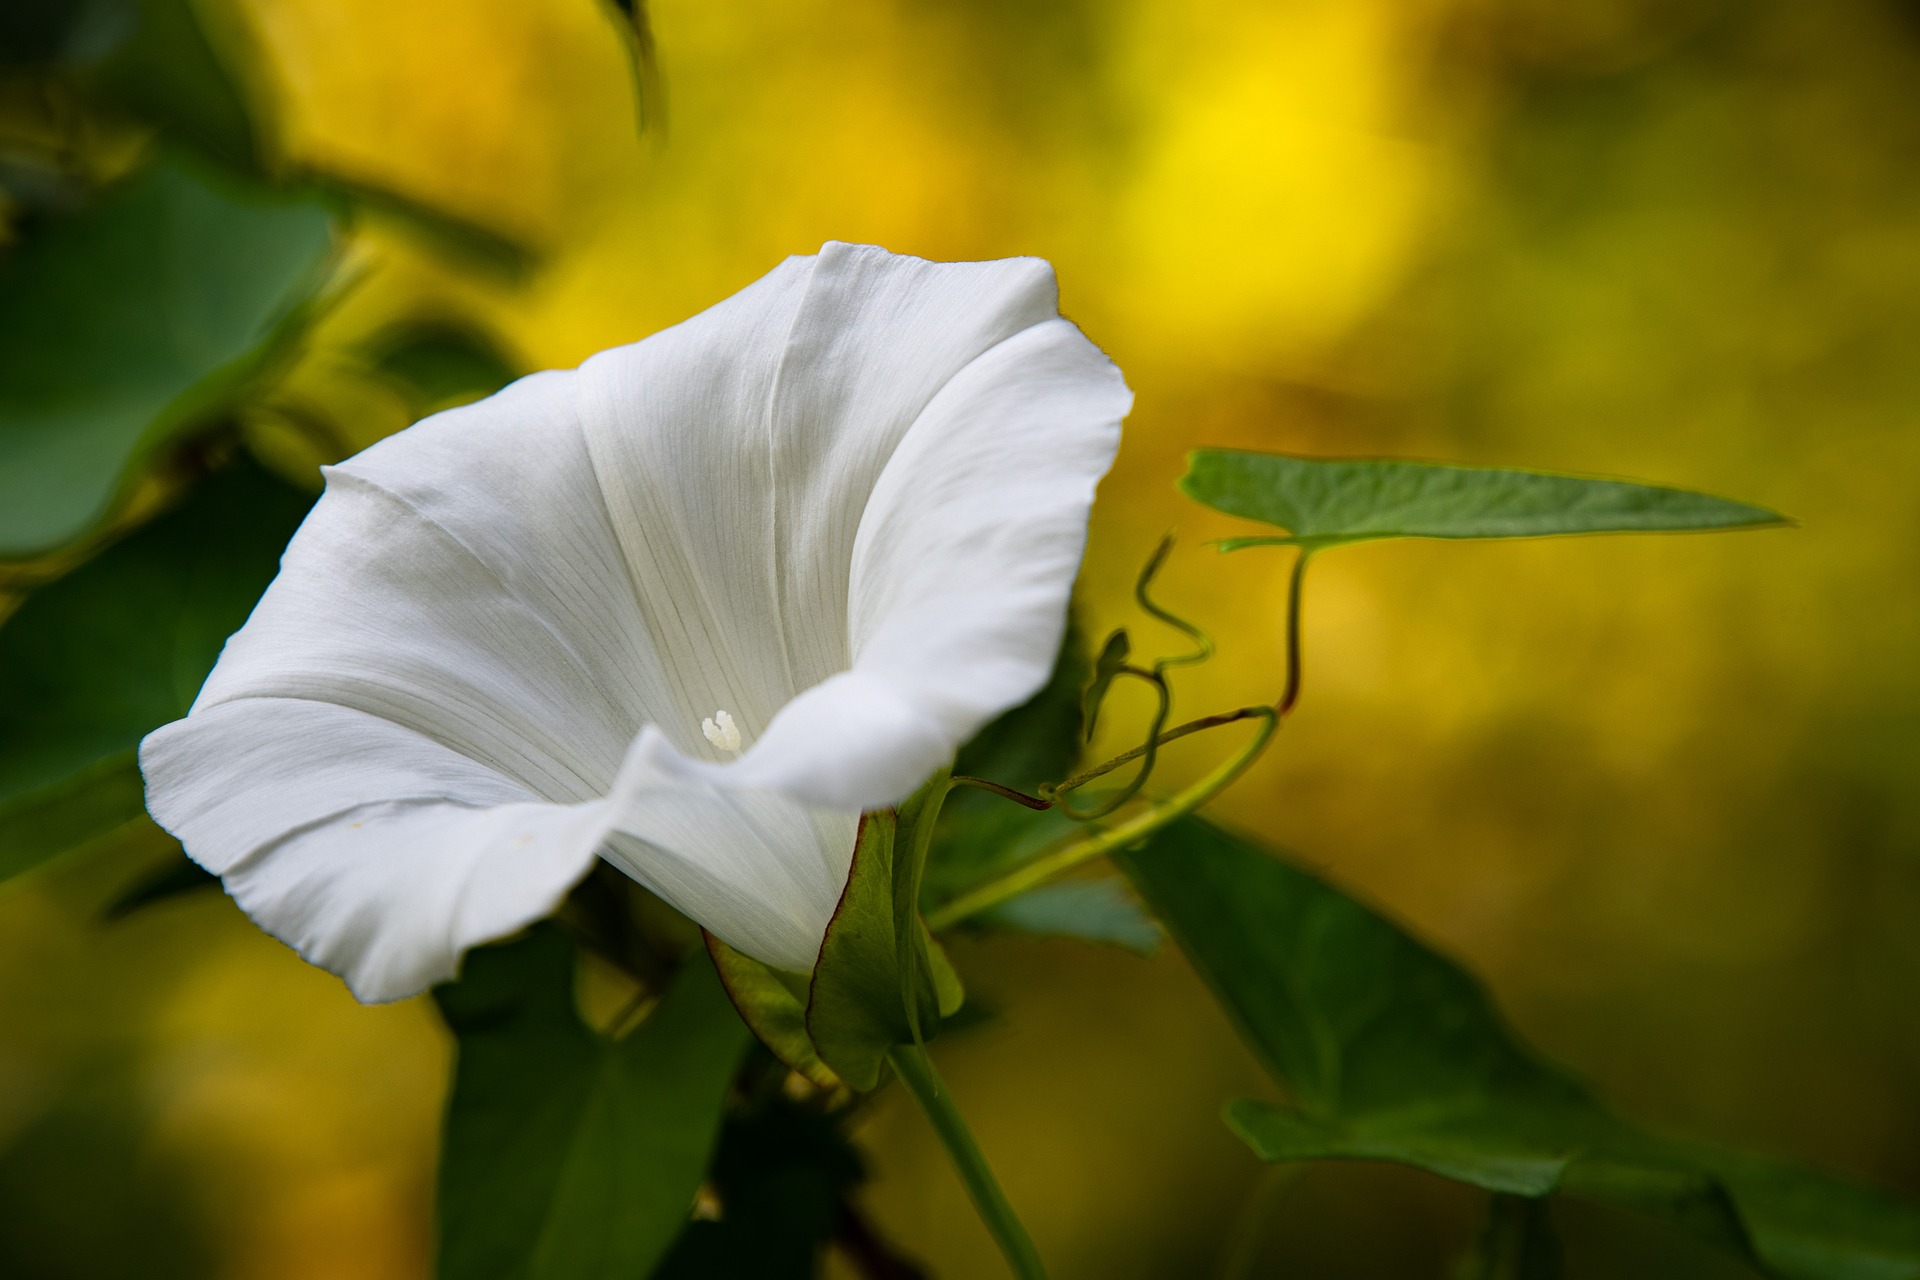
Conversely, many species, including bees and butterflies, need plants that aren’t in their flowering stage. For example, the caterpillars of the Black Swallowtail Butterfly will feed on the leaves of carrots, dill, fennel, and parsley.
Selecting Plants & Flowers
While poppies, roses, tulips, and hydrangeas are all stunning flowers that are great for human enjoyment, they may not be a favorite among beneficial insects. Flowers that are native or user-friendly typically will attract and support more beneficial insects.
Native Plants
- Lemon Bergamot (Monarda citriodora)
- Goldenrod (Solidago spp.)
- Yarrow (Achillea millefolium)
- Butterfly Weed (Asclepias tuberosa)
- Coreopsis (Coreopsis tinctoria)
Native Shrubs
- Eastern Sweetshrub (Calycanthus floridus)
- Southern Highbush Blueberry (Vaccinium formosum)
- Allegheny Serviceberry (Amelanchier laevis)
- False Indigo Bush (Amorpha fruticosa)
- American Beautyberry (Callicarpa americana)
Native Trees
- Eastern Redbud (Cercis canadensis)
- Sourwood (Oxydendrum arboreum)
- Tulip Poplar (Liriodendron tulipifera)
- Sugar Maple (Acer saccharum)
- Black Cherry (Prunus serotina)
Your local extension agency may also be able to provide more information on native species specifically suited to your area.
User-Friendly Flowers
Generally, beneficial insects find get the most food from a few different types of flowers: those with flat umbels of tiny flowers (looks a bit like a lace umbrella) like Queen Anne’s Lace, those with daisy-like flowers made up of tiny flowers like sunflowers, and those with loose spikes of tube-like flowers like mint.
- Dara (Daucus carota)
- Dill (Anethum graveolens)
- Borage (Borago officinalis)
- Marigolds (Tagetes spp.)
- Sunflowers (Helianthus annuus)
- Anise-Hyssop (Agastache foeniculum)
- Chamomile (Matricaria recutita)
- Bronze Fennel (Foeniculum vulgare dulce var. Rubrum)
- Mint (Mentha sp.)
These are just a few plants beneficial insects love. While it’s still perfectly fine to have and enjoy other flowers and plants, it’s important to plant some that consider our local insects.
Incorporating these strategies into your garden plan can help you attract beneficial insects and have a successful season. Happy growing!
") Why Did Humans Begin Saving Seed?
Why Did Humans Begin Saving Seed?