Spring is full of hope. It’s tough to think about pests as we’re dreaming of the season to come, but spring is a good time to prepare for common garden pests like cucumber beetles. Learning to identify, prevent, and treat cucumber beetles can help ensure you have a productive season.
What are Cucumber Beetles?
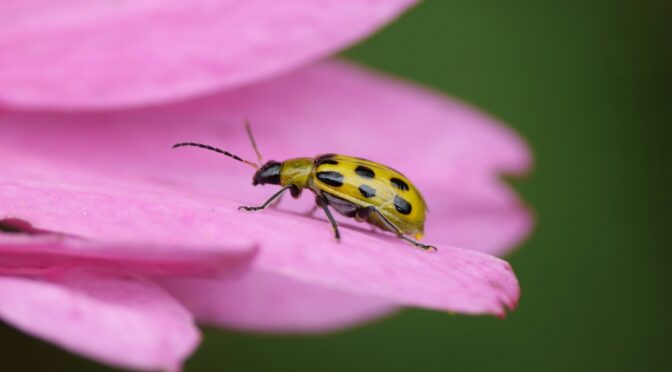
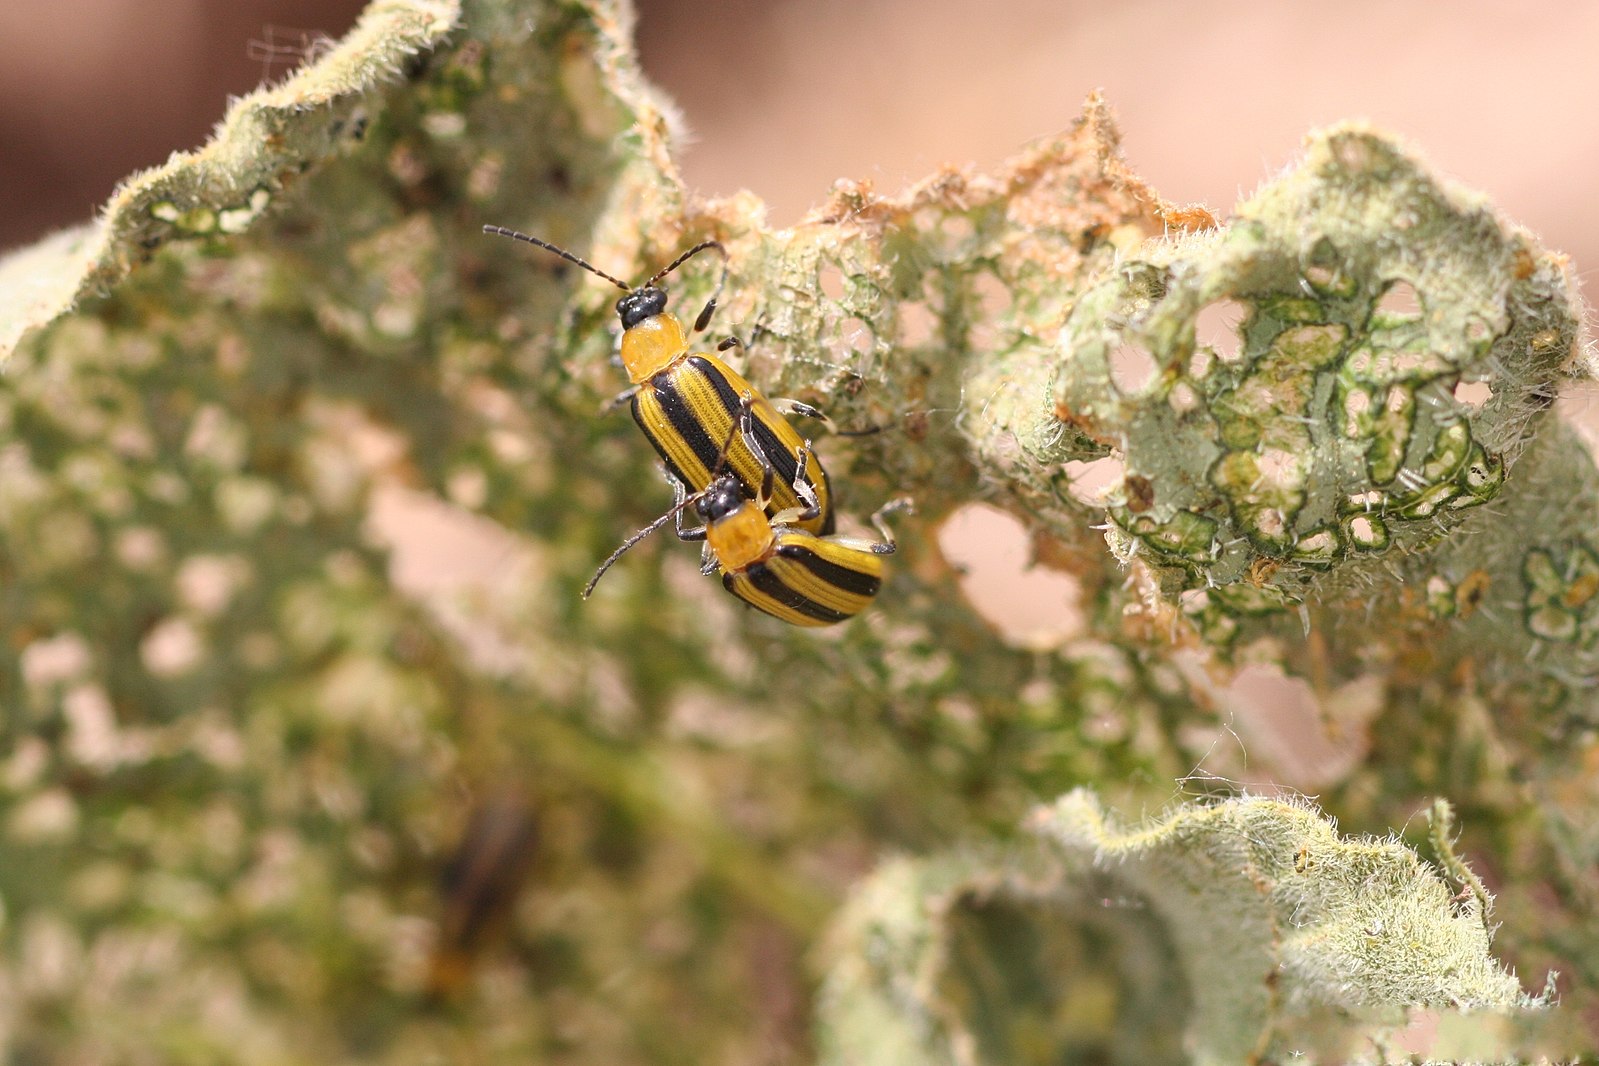
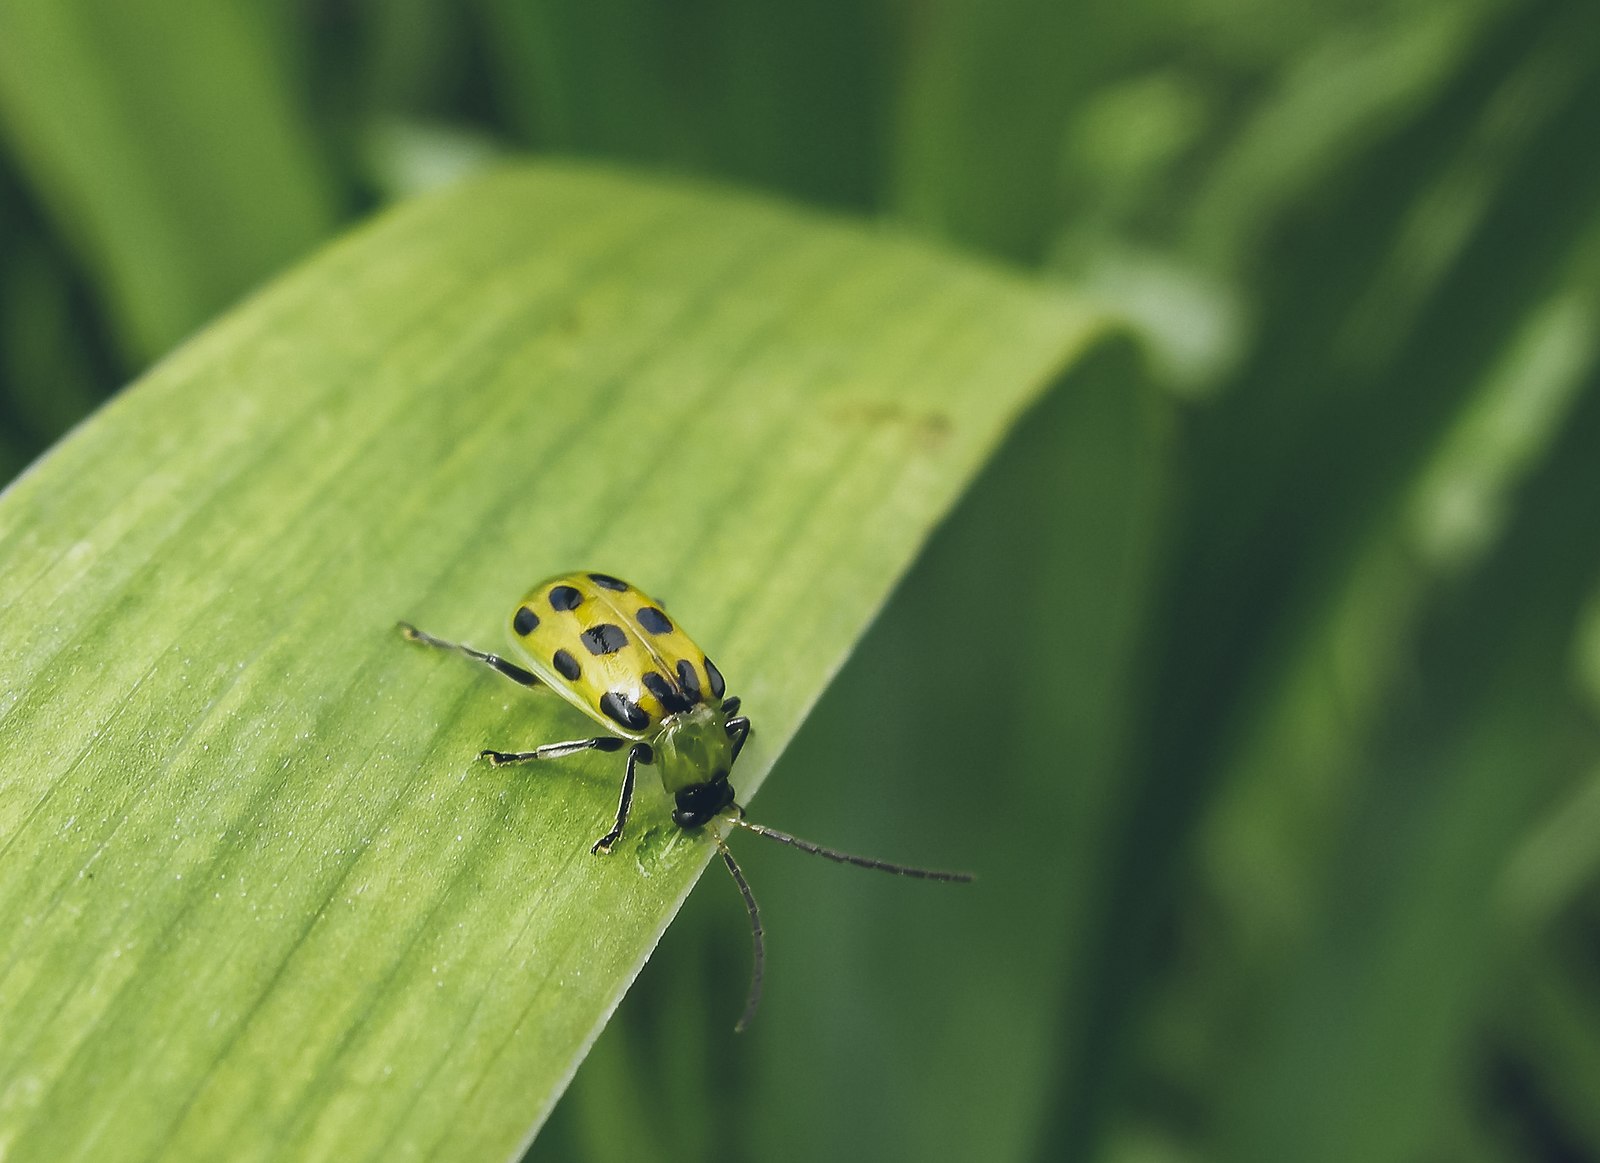
When people say “cucumber beetle” they’re often referring to more than one species. Here in the Southeast, we typically see striped cucumber beetles (Acalymma vittatum) and spotted cucumber beetles (Diabrotica undecimpunctata).
In other parts of North America, you may find other beetles that fall into the cucumber beetle category like western striped cucumber beetle (Acalymma trivittatum).
Adult striped cucumber beetles feature a dark head, dark antennae, and yellow back, typically with three distinct black stripes running the length. They are about 1/4 inch long. They feed on vegetables in the cucurbit family, including zucchini, cucumbers, yellow squash, pumpkins, watermelons, and winter squash.
Adult spotted cucumber beetles feature a dark head, dark antennae, greenish yellow backs with six black spots. They are about 1/4 inch long. In their adult form, these beetles may feed on cucurbits like cucumbers and squash along with other crops like corn, beans, cotton, and soybeans
Besides the physical damage from feeding, cucumber beetles are also vectors for several plant diseases, including squash mosaic virus, cucumber mosaic virus, bacterial wilt, and Fusarium wilt.
Cucumber Beetle Life Cycle
Both species of cucumber beetle overwinter as adults. They often remain in plant debris in or near the garden. Depending on your location, they leave their hibernation sites in mid-April to June as the temperatures rise.
The adults feed on seedlings and can kill the plants. They lay their eggs near the base of cucurbit host plants. When their larvae hatch, they feed on the plants’ roots.
The larvae grow and emerge from the soil as adults between July and September. They continue to feed on plants as adults before finding places to overwinter before cold temperatures set in.

Signs of Cucumber Beetles
Often gardeners will find the cucumber beetles on their plants. They feed on the stems, leaves, flowers, and fruit, often near the soil. Besides finding adult beetles on the plants, there are a few telltale signs that your garden may have a cucumber beetle problem.
You may notice plants wilting, particularly at the cotelydon stage on young plants. At this stage, large amounts of beetles may also completely defoliate or kill the plants.
On large plants, they create holes in the flowers and leaves. Large infestations may girdle plant stems, weakening or killing the plant. Infested plants may also be more susceptible to lodging in high winds. Cucumber beetles will also feed on the fruit, leaving scars and pockmarks on the surface.
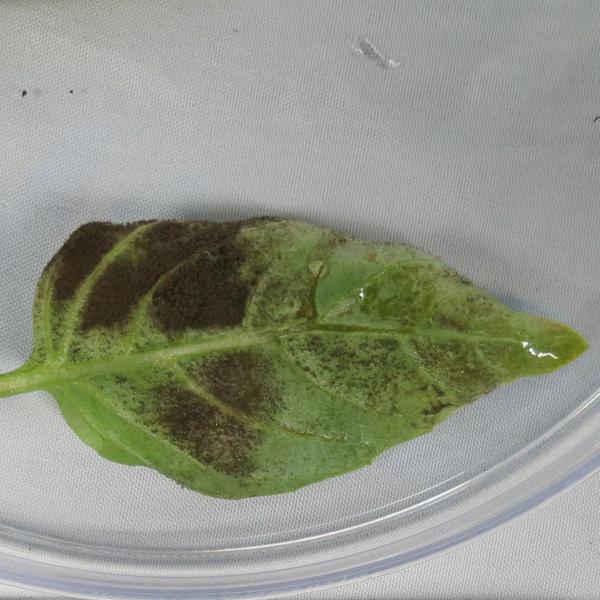
You may also notice disease like bacterial wilt, Fusarium wilt, squash mosaic virus, or cucumber mosaic virus killing your plants. Cucumber beetles may spread these diseases.
How to Prevent Cucumber Beetles
Prevention is the best treatment! While there is no way to guarantee a cucumber-beetle-free garden, there are a few ways you can deter them and reduce their impact.
- Provide habitat for predatory insects and animals. Researchers have found lower numbers of cucumber beetles in fields with higher populations of wolf spiders and carabid beetles. Encouraging these beneficial insects and other wildlife, like songbirds and toads which feed on the beetles, can help reduce their numbers.
- If you have a severe infestation, follow a strict fall clean-up. As the adult beetles must overwinter, you can kill them in the fall. Thoroughly clean up any gardens infested with beetles. Destroy plant material and till the garden to exposure them to the cold temperatures.
- Rotate your crops by family. Cucumber beetles often overwinter right in the garden. Practice crop rotation to avoid planting cucurbits into beds with overwintering populations.
- Transplant your cucumbers and other cucurbits rather than direct sowing. This will protect new seedlings from cucumber beetle damage.
- Plant late. If cucumber beetles are regularly a problem on your young plants, sowing or transplanting late may help. Cucumber beetles are most tempted in spring but young, weak seedlings. Waiting to plant until summer can reduce the damage to seedlings.
- Plant trap crops 3 to 8 feet from your main crop. Certain crops like Hubbard squash are highly attractive to cucumber beetles. Plant them to lure the beetles away from your other crops. When they’re heavily infested, you can burn them to knock back cucumber beetle populations.
- Try companion planting. Some gardeners have luck deterring cucumber beetles with companion plants. Recommended companion plants include nasturtiums, radishes, marigolds, and catnip.
- Plant under row cover. Row cover is useful for excluding cucumber beetles from the plants. Just remember to remove it when the plants flower to allow for pollination.
How to Treat Cucumber Beetles
While prevention is best, if you notice you have cucumber beetles this season, there are a few steps you can take.
The first is to physically remove the beetles. Handpicking is tough with cucumber beetles, but if you only have a few plants, it may be worth it. Some gardeners have luck with rubbing petroleum jelly on the fingertips of their gloves to help them grab these little insects.
A slightly easier solution is to use a handheld vacuum to suck up the beetles before dumping them into a container of soapy water.
Yellow sticky traps are another popular way to kill cucumber beetles. Keep in mind these traps can also capture pollinators and other beneficial insects visiting the plants.
There are few chemical controls available (organic or otherwise). Cucurbits are sensitive, making them tough to treat in this way. One organic solution some gardeners use is neem oil.