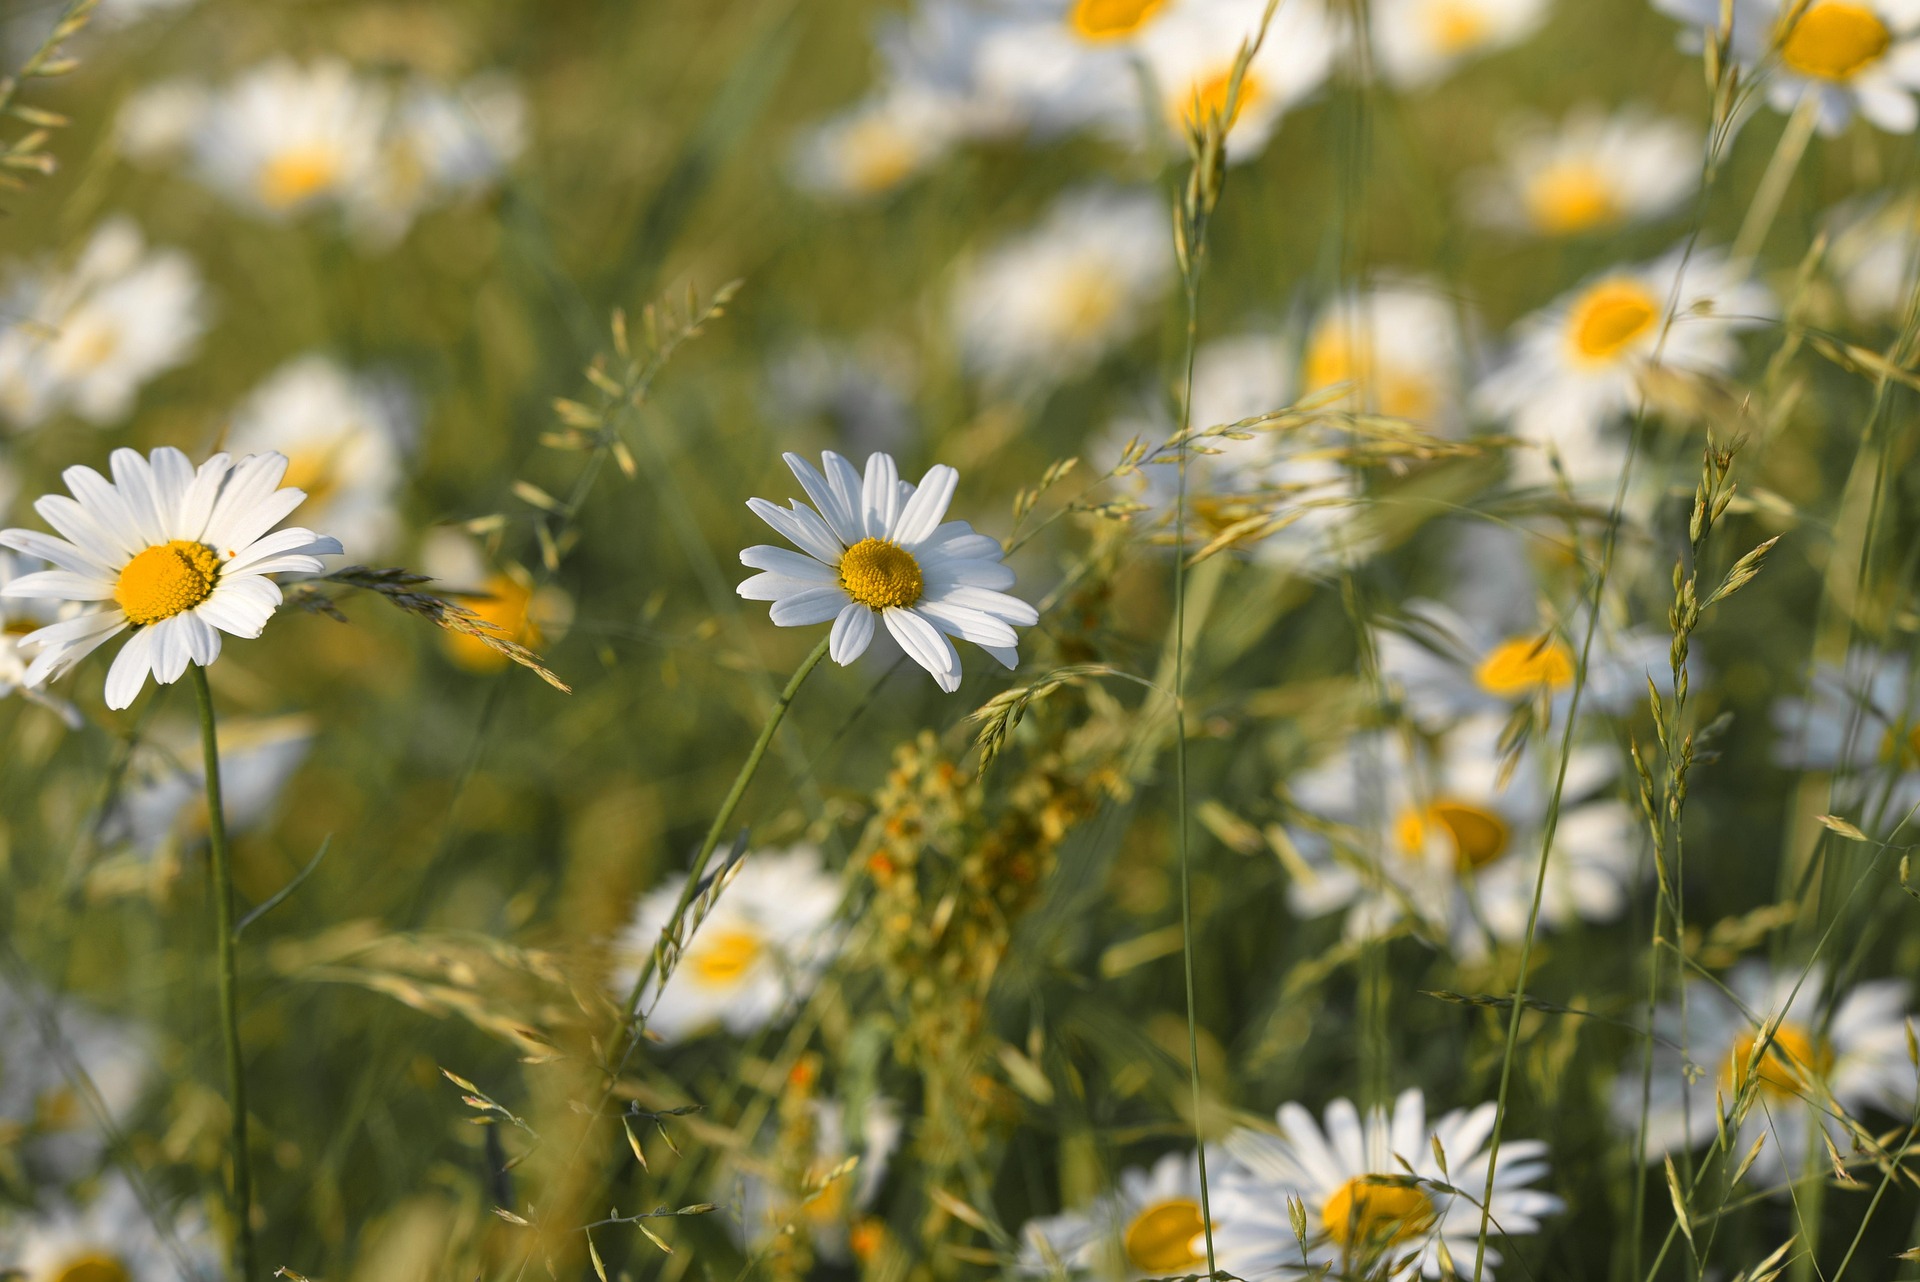
Annuals may only last one season, but they are an easy way to add tons of color to the garden. They are easy to grow, affordably started from seed, and are great for filling in gaps in a perennial bed or attracting pollinators to vegetable gardens. These annual flowers also offer the advantage of continuous blooms. With a bit of maintenance, you and the pollinators can enjoy them until they’re killed by frost.

Bachelor’s Buttons
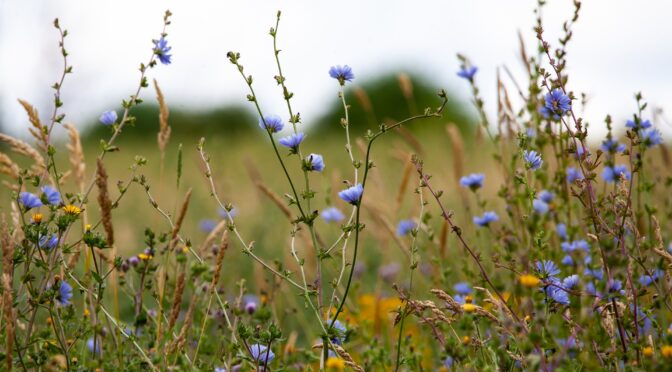
Bachelor’s buttons are easy to grow from seed. They’re a hardy, low-maintenance option, which is why they’re often included in “wildflower” mixes. Bachelor’s buttons also make wonderful cut flowers for fresh or dried arrangements. Plus, they’re also edible and make adorable natural decorations for baked goods.
We carry three varieties of bachelor’s button:
-
Black Ball (maroon-black flowers)
-
Blue Boy (deep blue flowers)
-
Polka Dot Mix (mixture of red, rose, blue, and lavender flowers)
Bachelor’s buttons thrive in well-drained soil in full sun. It will tolerate partial shade but may not bloom as well. Bachelor’s buttons are also tolerant of poor soils.

Celosia
Celosia is a good flower for beginners that makes excellent borders or cut flowers. It blooms throughout summer and fall and offers a wide selection of bright colors. Celosia has unusual flower shapes that add fun texture to fresh and dried arrangements.
The variety we carry, Tall Menagerie Mix, that includes mostly “cockscomb” or “coral” type blooms with some spikes. Menagerie Mix produces sturdy, heat-resistant 3 to 4½ foot tall plants.
Celosia thrives in well-drained, moderately fertile soil in full sun.

Cosmos
Cosmos offer some of the biggest bang for your buck. They’re super easy to grow from seed and provide tons of colorful blossoms over a long season. Their large flowers look stunning on their light, feathery foliage.
Cosmos are also great for attracting butterflies and come in a range of colors like white, pink, magenta, orange, and yellow. We carry six cosmo varieties.
Cosmos grow well in full sun in well-drained, average soil.

Marigolds
Marigolds are the classic companion plants for vegetable gardens. Their bright blooms attract beneficial insects all summer long. There’s some evidence that they deter pests. One study found that a particular variety we carry, Golden Guardian, reduces the presence of nematodes more effectively than chemical insecticides.
We carry nine marigold varieties in a range of patterns and colors, including yellow, orange, golden, red, and red-purple.
Marigolds thrive in moist, well-drained soil where they receive full sun.

Petunias
Petunias are incredibly popular though most people only find the over-priced containers of petunias at big box stores. Thankfully, petunias are easy to grow from seed in the garden or containers. Homegrown petunias will offer blooms over a much longer season and are more affordable.
We carry two petunia varieties and both will bloom until frost.
Petunias like full sun and moist, well-drained soil.

Zinnias
Zinnias are among the easiest flowers to grow and offer a near rainbow of colors. They bloom from early summer until frost, especially with a little care. They also make excellent cut flowers and cutting theoccasional bouquet will encourage them to branch out and create more blooms.
We offer nine zinnia varieties with a range of shapes, sizes, and colors, including white, light pink, magenta, red, yellow, and light purple.
Zinnias thrive and offer the most blooms in well-drained soil and full sun.
Tips for Continuous Blooms
Here are a few tips to keep your garden blooming until frost.
-
Space your plants appropriately. Adequate space and airflow makes for healthy plants that will bloom over a longer period. Zinnias in particular are susceptible to Downey mildew. Providing good air circulation is key to reducing the risk of mildew and other fungal diseases.
-
Follow sunlight requirements. Unfortunately, all of these plants bloom best in full sun. If you don’t have a garden bed that receives plenty of sunlight, you can grow many of these like marigolds, petunias, and zinnias in containers on a sunny patio, balcony, or even window box.
-
Add compost to the bed. Flowers aren’t heavy feeders, but they benefit from moderately fertile soil. Adding finished compost is a great way to ensure you provide nutrient-rich soil without over-fertilizing.
-
Water consistently. These annual flowers are fairly tolerant, but for the best blooms, they’ll likely benefit from some watering, particularly during dry spells.
-
Regularly deadhead your flowers. Most annual flower benefits from deadheading every one to two weeks. When you deadhead flowers like zinnias, cosmos, and marigolds it encourages them to keep blooming to try to produce seed. If you want to save seed, let some blooms go to seed at the end of summer.

 Crop You Should Direct Sow
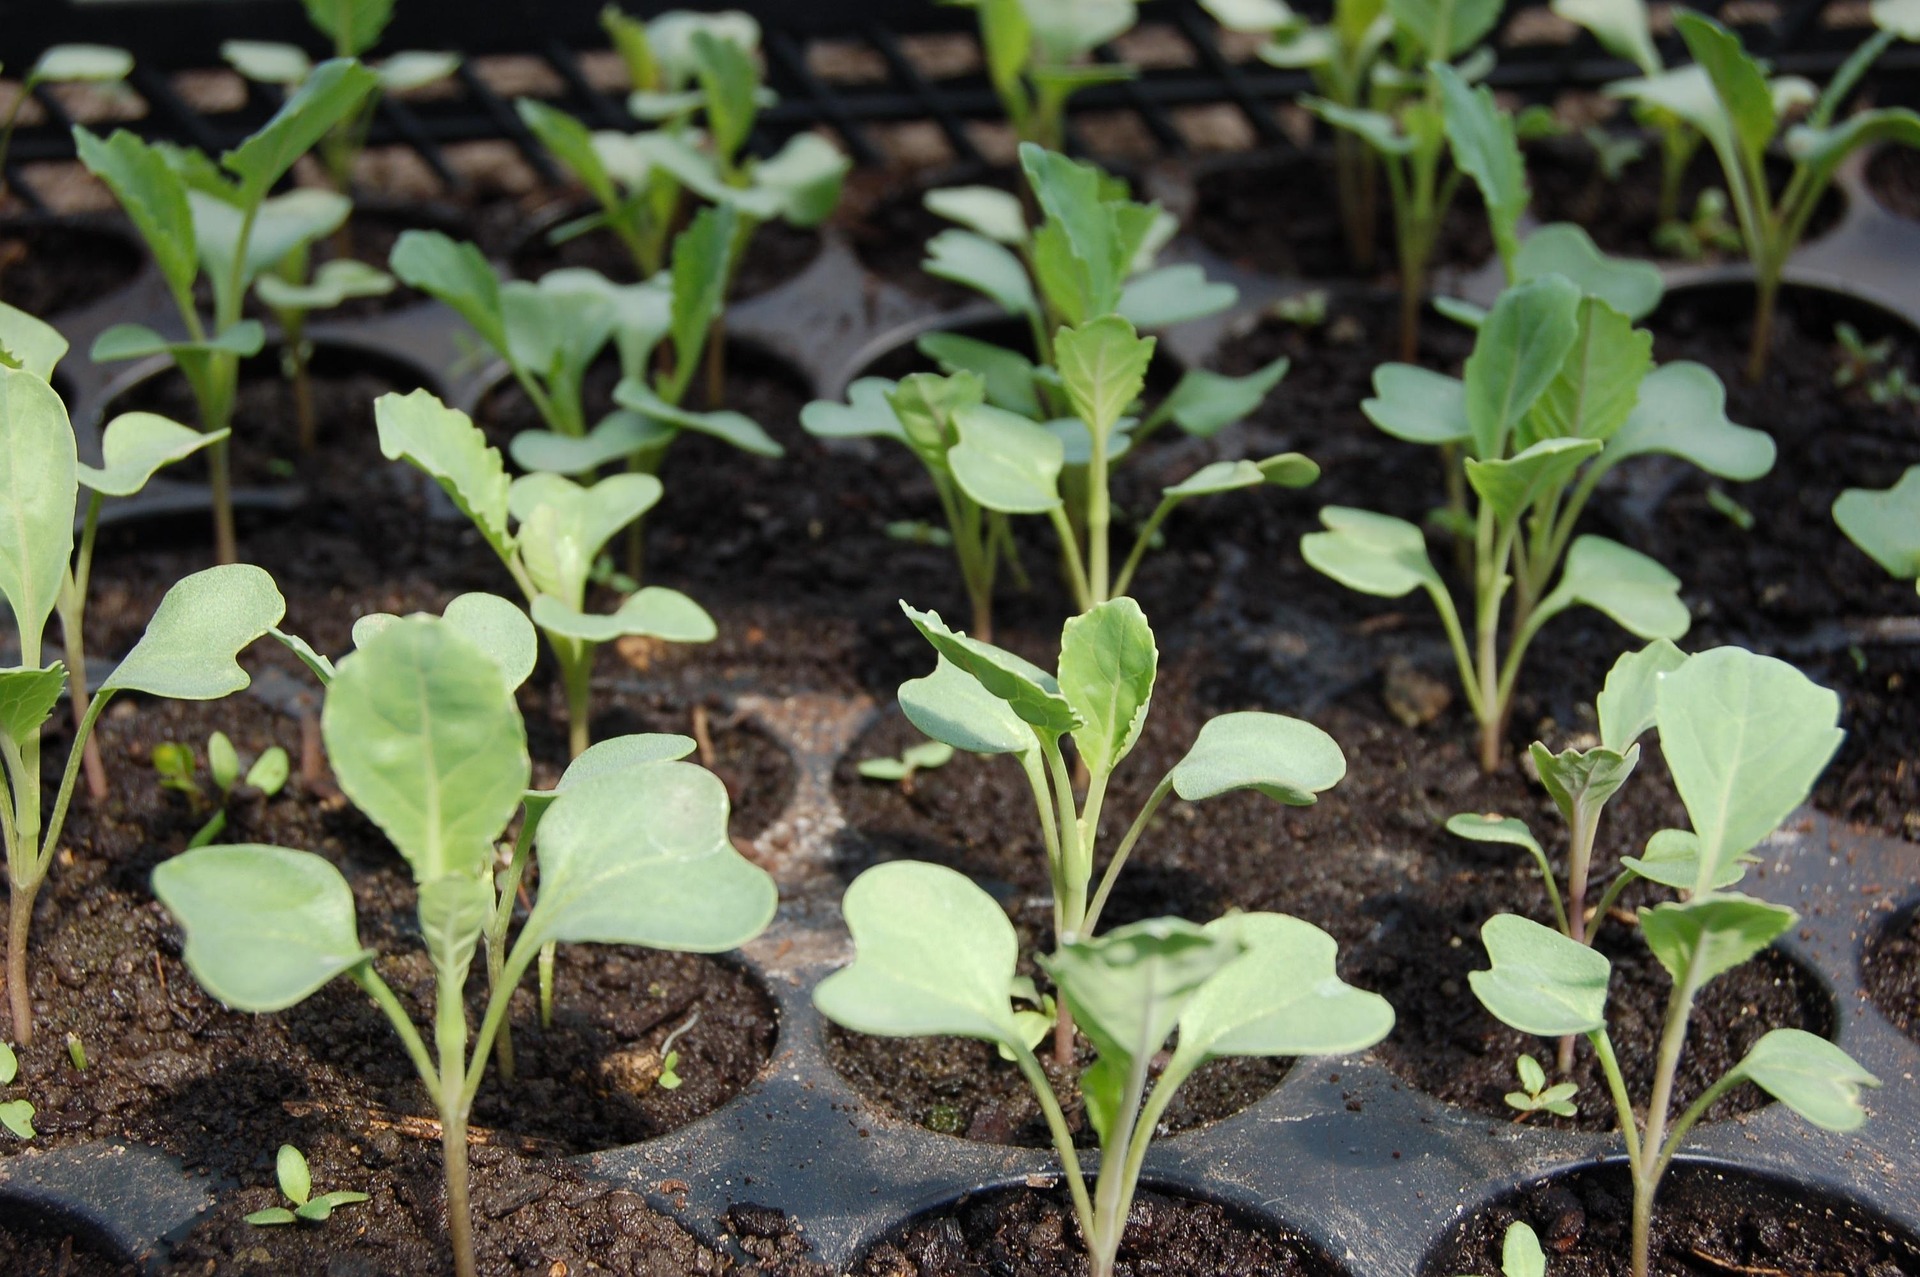
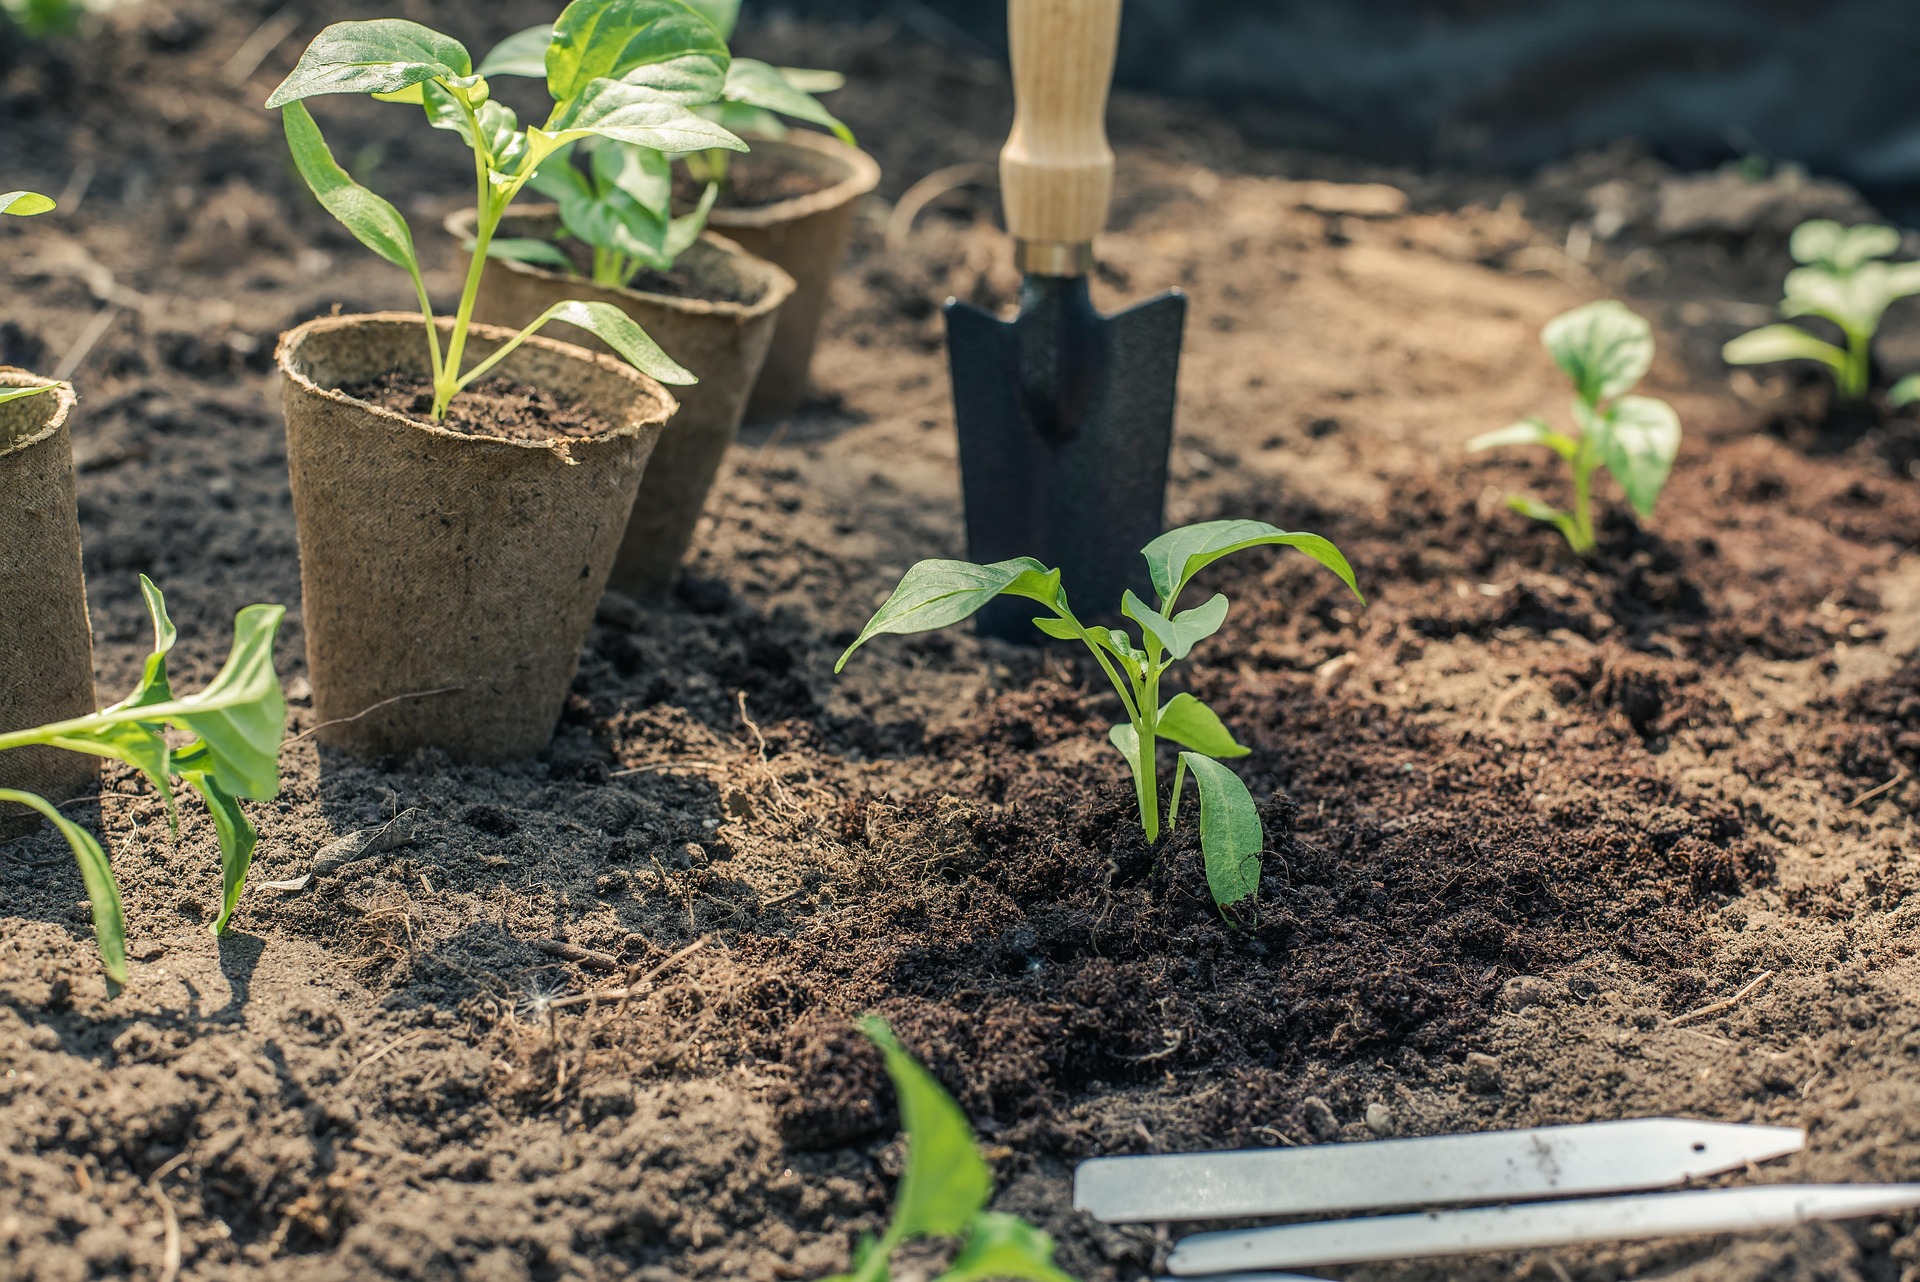 Benefits of Transplanting
 Benefits of Direct Sowing