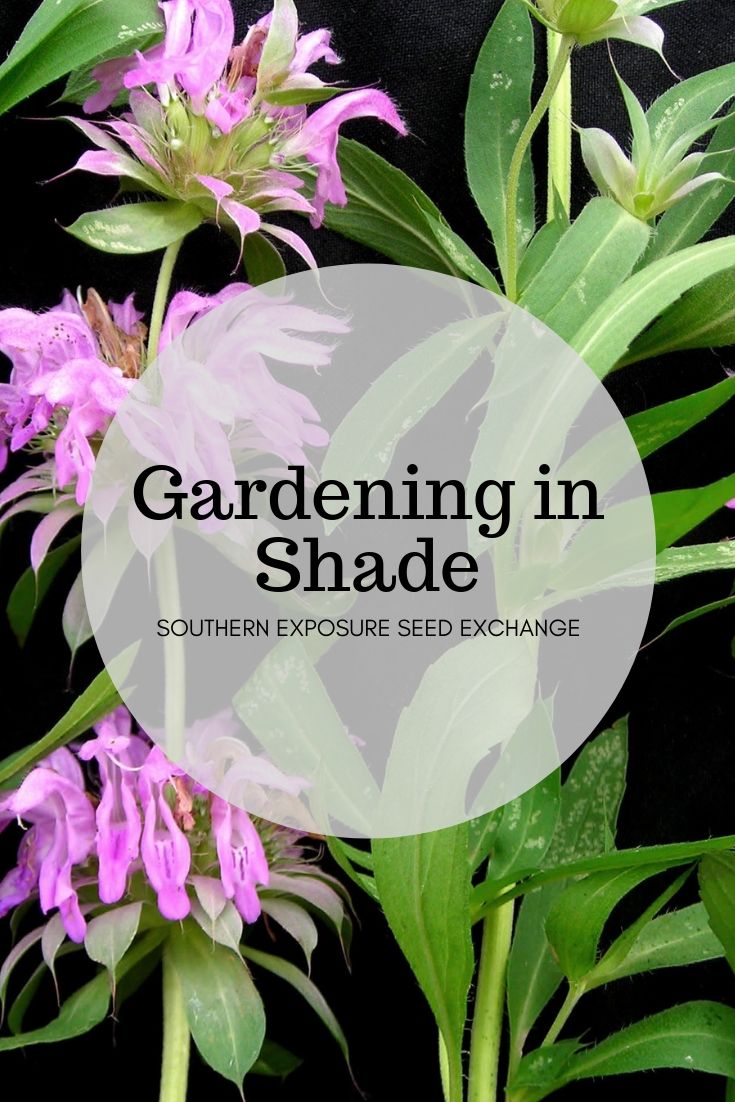
Having a shady yard can be wonderful on hot sunny days but it’s tough for those who love to garden. Thankfully there are a number of flowers, vegetables, and herbs you can grow that tolerate at least some shade.
Listed below are a few of the plants that tolerate partial to full shade (less than 3 hours direct sunlight per day) that you can order through us.
Flowers
Many flowers, particularly annuals, love full sun but there are a few that do well in more shady areas. Some flowers like nasturtiums, tolerate shade but may not bloom as much as they would in sunnier spots.
- Balsam
- Violas
- Bee Balm
- Nasturtiums
- Soapwort
- Sweet Alyssum
- Sweet William
- Sweet Wormwood (Sweet Annie)
Vegetables
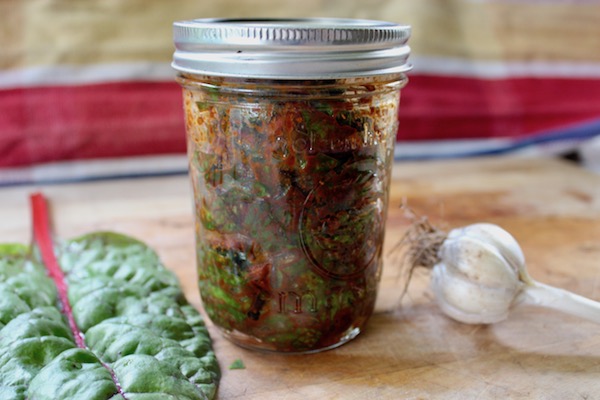
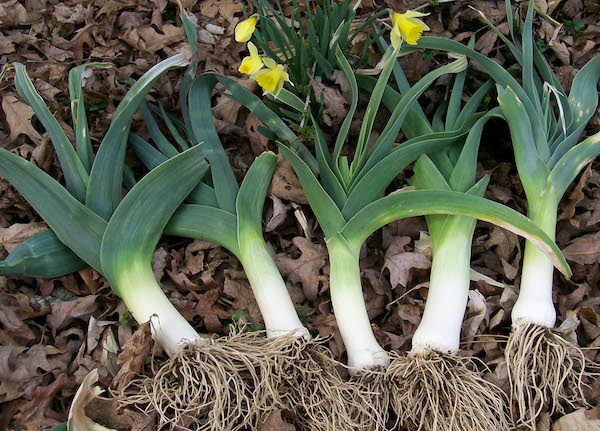
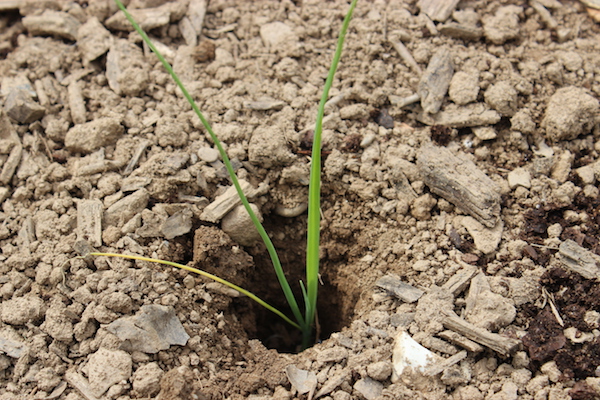
While you can’t necessarily start a vegetable garden in the middle of the woods there are quite a few plants that will tolerate some shade. In fact, having a bit of shade can help you grow cool season crops later in the south. However, it’s important to remember that many plants will grow slower in the shade than they would in full sun.
- Collards
- Lettuce
- Swiss Chard
- Broccoli
- Cabbage
- Kale
- Peas
- Beans
- Arugula
- Spinach
- Carrots
- Radishes
- Beets
- Green onions
If you have a wooded area on your property consider growing ginseng or goldenseal. Both plants are highly medicinal and native to North American forests. They do well in the forest understory or other shaded areas. Wild ginseng and goldenseal are frequently overharvested so adding them to your property can help these plants survive. You can pre-order seeds or roots will both ship in the fall.
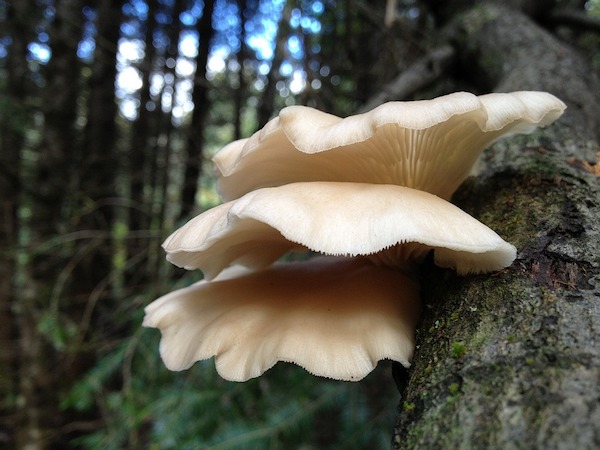 Though not actually a plant, mushrooms can help you make the most of your property because they love humid, shady spots. The mushroom spawn, available as plugs, comes from Sharondale Farms and makes cultivating mushrooms easy. The plugs are placed in holes drilled into logs and inoculate the log with mushroom mycelium. These logs will bear mushrooms for several years to come, giving you an edible product from your shaded areas. Great varieties for beginners to try include:
- Oyster
- Shitakes
- Lion’s Mane
- Reishi
If you have a wooded or very shady area on your property you can also check with local nurseries to see if they carry any plants local to your native woodland. Shrubs like holly and plants like Dutchman’s breeches and bleeding hearts are accustomed to growing in the shady understory and make wonderful landscaping plants as well!
Pin it for later.